Ever wondered how to upholster a bench? We’ve all seen that cute bench at the thrift store or yard sale and thought, man, if it just had different fabric it could be really cute! Well, that’s what I am going to show you today. It sounds intimidating but I swear it isn’t!
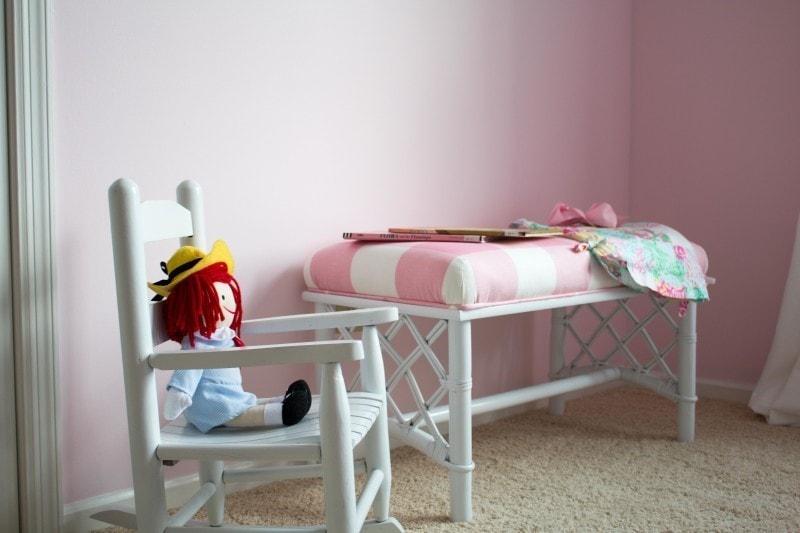
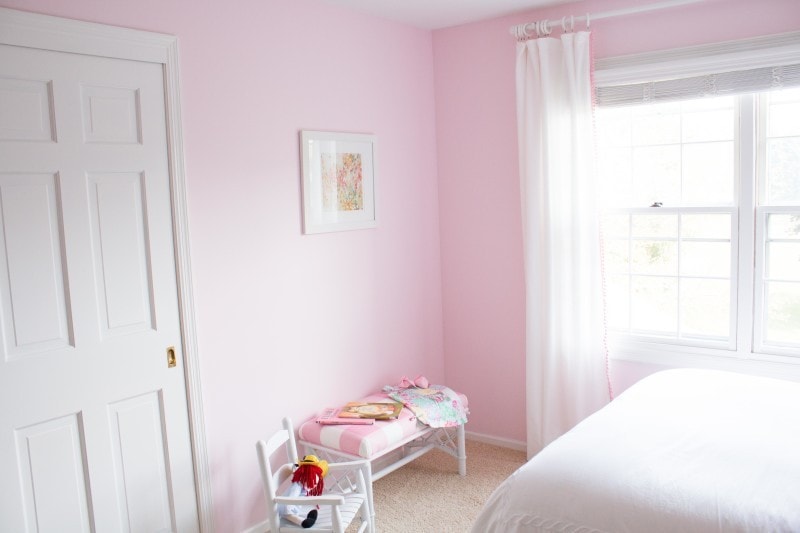
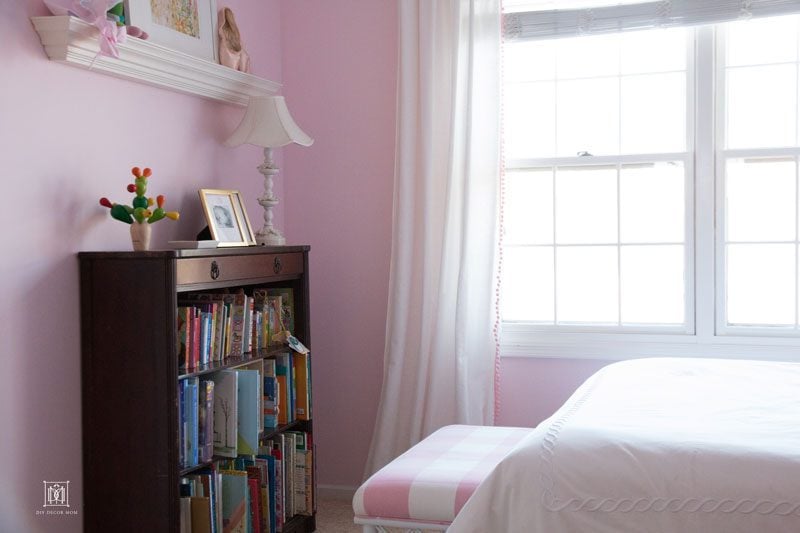
This bench was ok before; but, with a little spray paint and new upholstery it looks so much cuter!
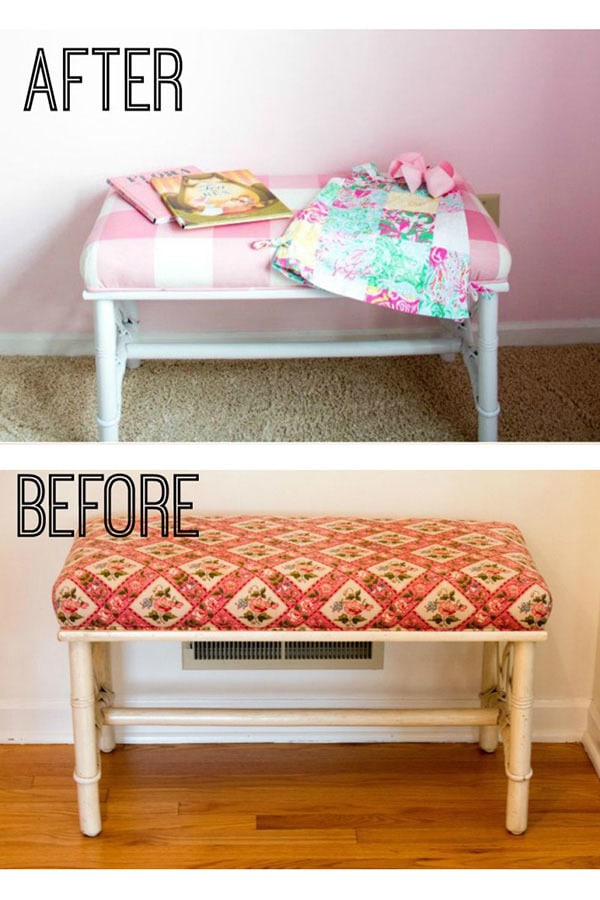
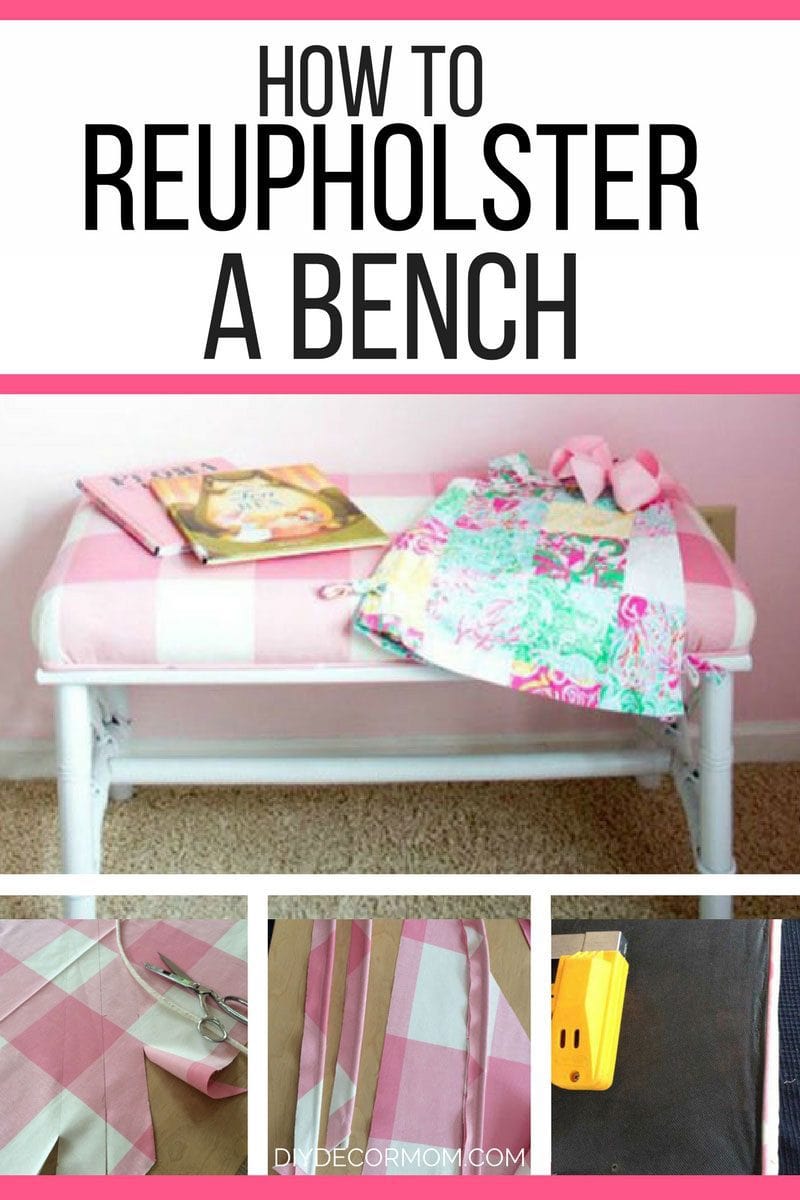
HOW TO UPHOLSTER A BENCH
*affiliate links have been used for your convenience. See my complete disclosure policy here.
MATERIALS FOR HOW TO UPHOLSTER A BENCH
- Sandpaper
- Damp cloth
- fabric shears I use 8″ gingher shears
- Spraypaint- spraypaint
- Fabric- I used fabric from here
- batting 4 oz. weight or you can go to your local fabric store
- Cording
- staple gun *don’t skimp on it–the more expensive ones will give you more versatility
- Flat head Screwdriver
- Needle nose Pliers
- Sewing Machine
DIRECTIONS FOR HOW TO UPHOLSTER A BENCH
- First, we detached the top cushion from the base with a screwdriver. I took the bottom portion outside, sanded it with 150 grit sandpaper, wiped it down with a damp cloth, and then sprapainted it with Rustoleum’s 2-in-1 Primer and Spraypaint in High Gloss White. I did probably four light coats waiting at least a minute in between (per the instructions.)
- While the spraypaint was setting (I left it to set 2.5 days to be sure!) I removed the old fabric from the cushion using a needle nose plier and a flat head screwdriver.
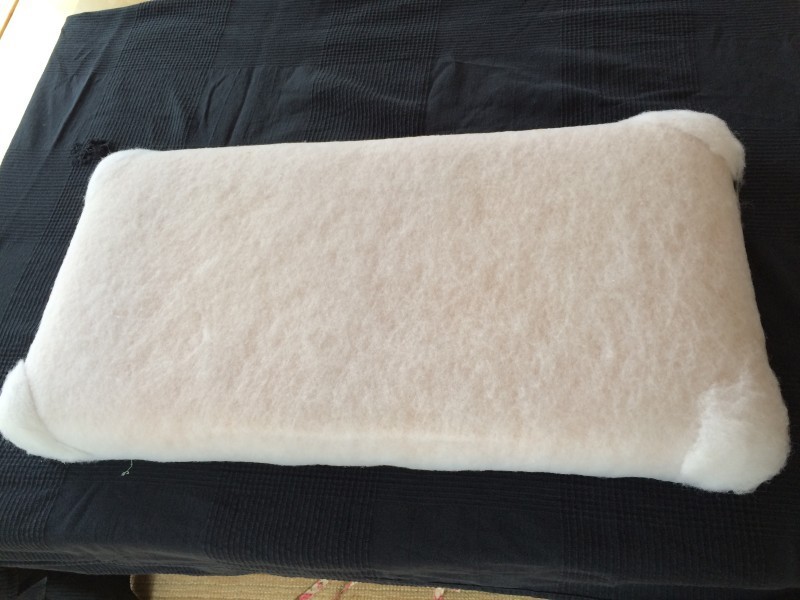
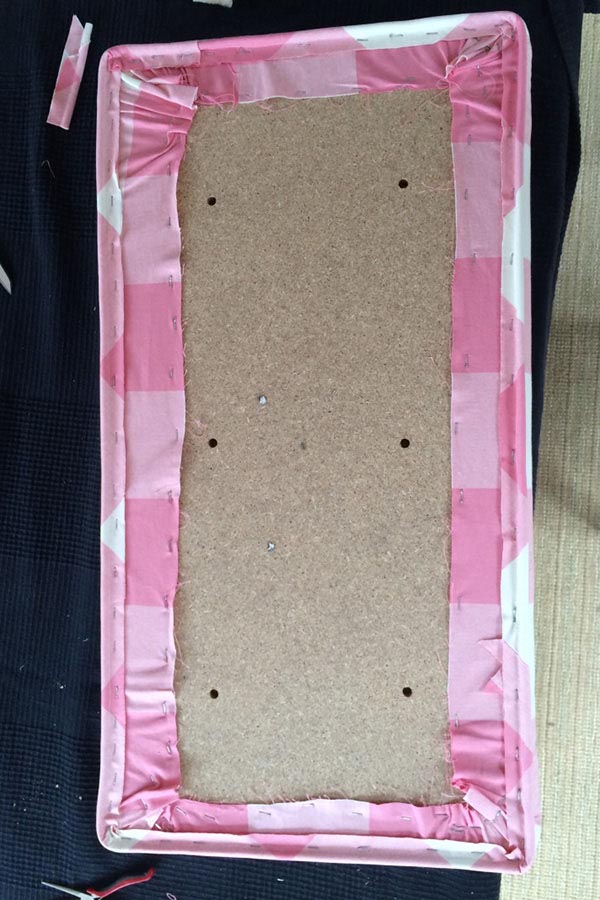
- After laying the fabric on top, I set about stapling it.First, put a few staples in each side making sure to pull the fabric really taut. Start at the middle of each side and then work your way out. Then go back and put in additional staples all the way until you get to the corner. Then do your best to create a rounded corner. Trim off the excess fabric.
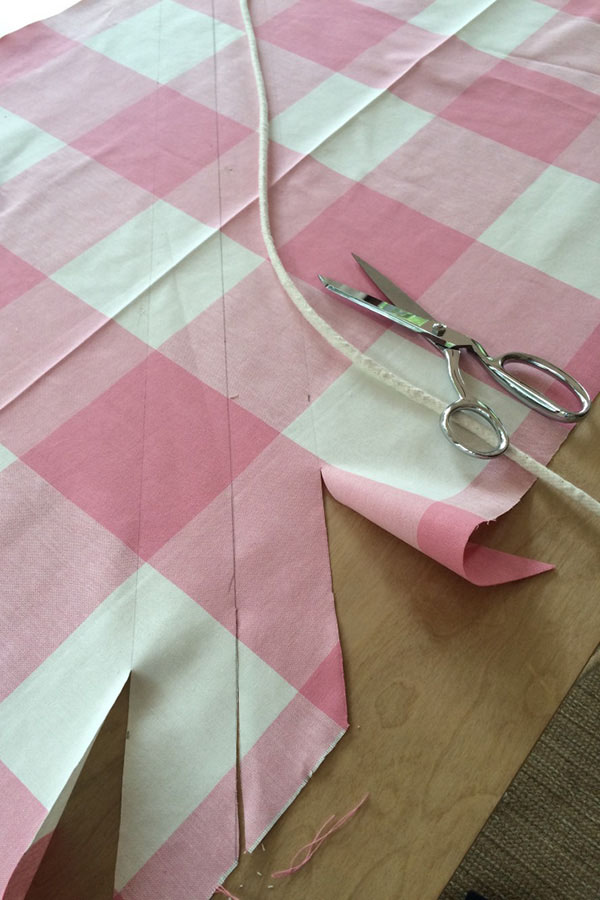
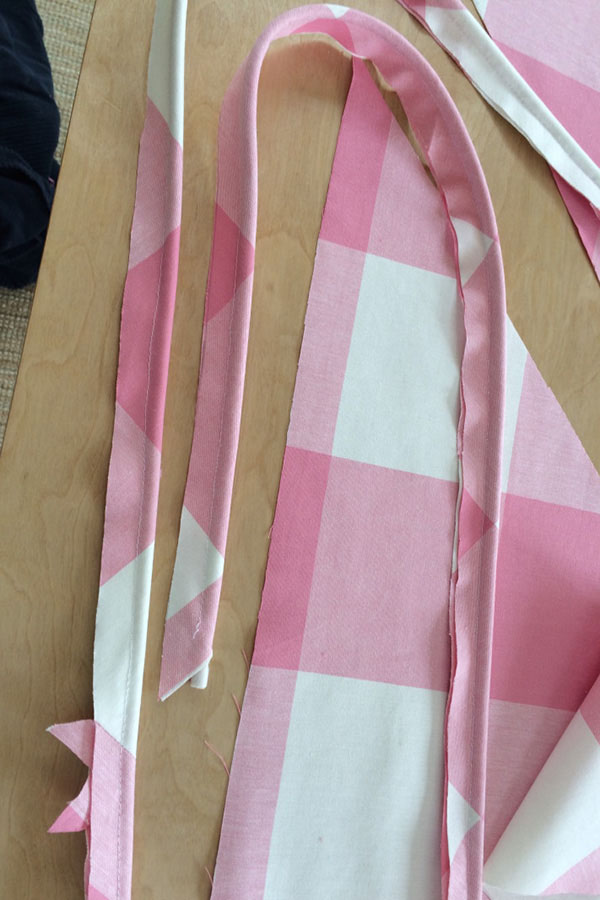
- Make the cording. It is best to make the cording using the fabric on a diagonal if possible. That way it minimizes the ruching of the fabric.
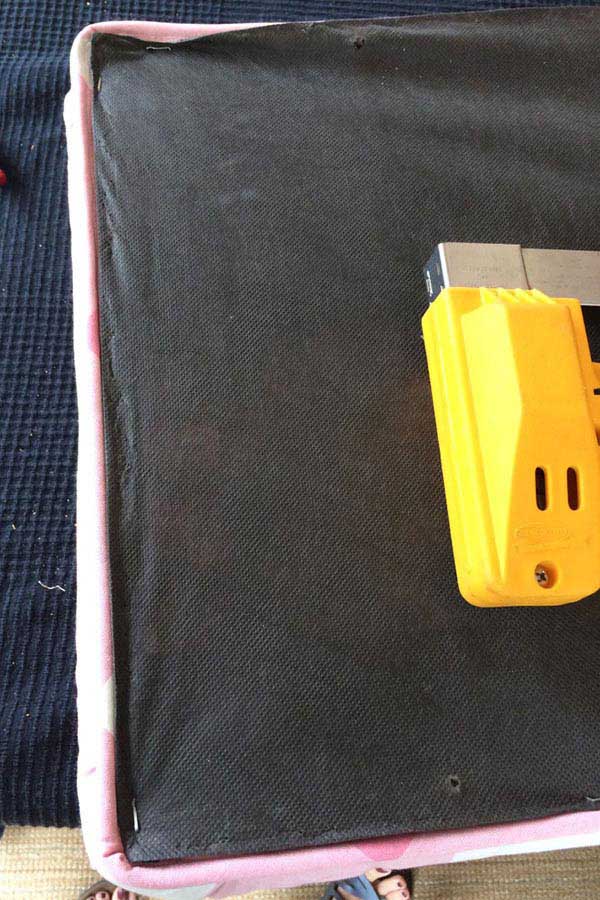
- Attach the cording to the cushion with a staple gun.
- Then attach the protective cover over the bottom. We didn’t need to buy new fabric, but you can get this at any JoAnn fabrics (we couldn’t find it at Michael’s).
- Reattach the cushion to the base. Voila!


FAQs ON HOW TO UPHOLSTER A BENCH
- How do you replace the cushion?
- If you need to replace the cushion, I would use something with thick foam padding and wrap it in new batting like we did in our DIY Upholstered Headboard tutorial.
- What type of fabric do you need to use to upholster a bench or any type of furniture?
- You will generally want to buy an “upholstery weight” fabric or heavier weight fabric. I wrote a bit about this (and my mistake of buying an inexpensive light-weight fabric) and trying to recover our DIY upholstered rocking chair here.
- How did you paint the upholstered bench?
- After removing the cushion, I spray painted the bench with primer and then high-gloss spray paint. With something like this upholstered bench, I knew painting it would be too time consuming to paint by hand. There are too many nooks and crannies, so I decided to spray paint it. If you are painting vintage furniture and want some tips, check out my post on How to Paint Vintage Furniture, and download Free E-Book Here
Looking for more upholstery projects? See my favorite DIY Furniture Projects here:
- DIY Upholstered Rocking Chair
- DIY Upholstered Cushion Makeover-
- DIY Upholstered Headboard
- DIY Upholstered Cushion Makeover--See how we made over our piano bench cushion!
- DIY Upholstered Cushion Makeover-
PIN THIS SO YOU CAN REMEMBER IT!

I’ve only done dining room chairs before but this project is truly inspiring and right up my alley! Two questions: 1) where is the fabric from and 2) will you please do a tutorial on cording? Now if only I could find a bench like that… 🙂
wow, it looks so good! love the fabric 🙂
Meg, you are too sweet! The fabric is from Calico Corners and is called Strawberry Buffalo Check. Sign up for their emails and they will let you know when they have seasonal sale. I was able to pick up the fabric for 20% off, at about $18/yd. I will definitely do a tutorial on cording! I know, I was so lucky to get this hand-me-down from my mom!
xo
Annie
Kristen, thank you so much! I have been dying to use pink buffalo check for years now, and I was so happy to finally have the chance to use it!
xo
Annie
I love the fabric you chose, it turned out so cute!
So cute- thanks for sharing at FNF!
Great project! It was nice to see one of our older staple guns hard at work! How long have you had it? #MadeWithArrow
Thank you! It’s actually a hand-me-down from my mother-in-law. I am not sure how long she had it before giving it to me! But I know it has done a lot of upholstery and DIY projects!
Annie
Awesome! Glad it’s been able to take on a lot of projects!