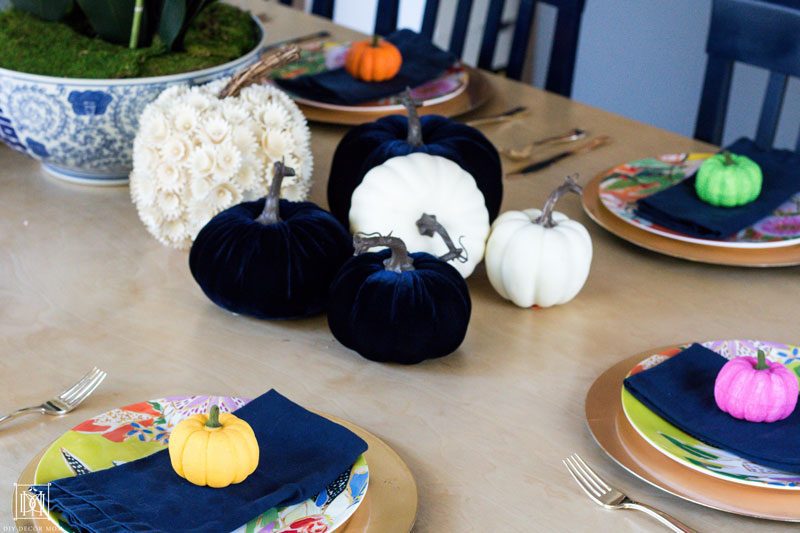
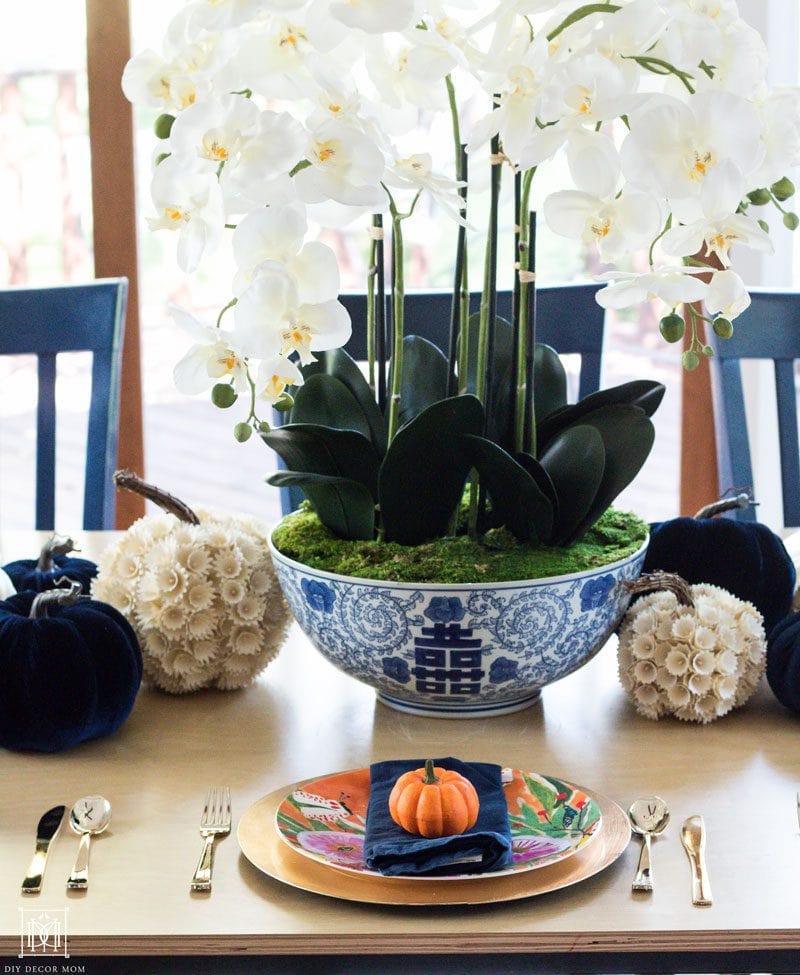
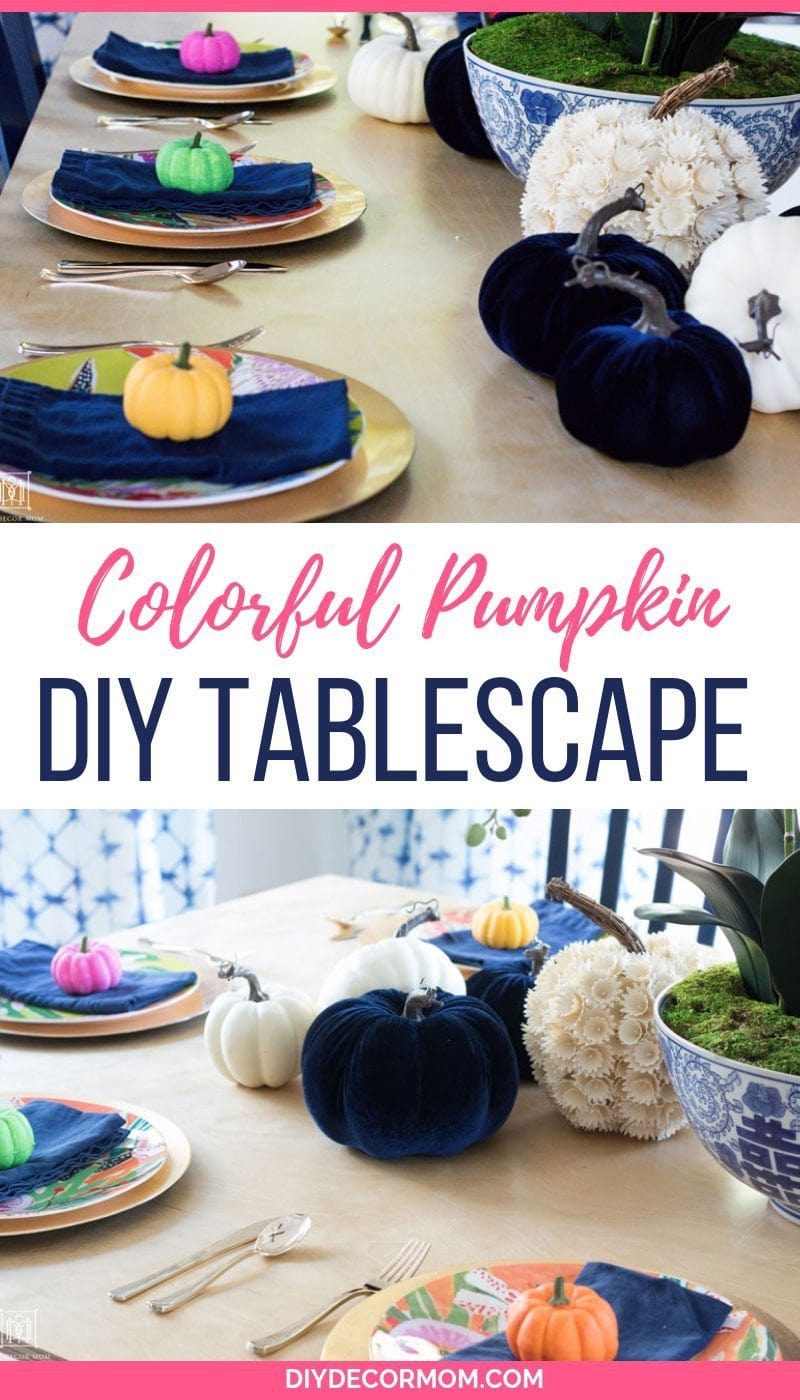
Colorful Pumpkins: A colorful tablescape to ease into fall! If you are like me and greet fall with a tentative acceptance, then this fun color-loving tablescape is the perfect way to ease yourself into autumn! Plus, it’s a fun DIY that is easy to achieve and looks stunning! See how to arrange and make your own colorful pumpkin tablescape here.
*This is a sponsored post in partnership with JOANN Stores. All thoughts and opinions expressed are mine alone.
COLORFUL PUMPKINS
For this simple DIY project, all you need are materials you can easily purchase at JOANN. Mix and match what you have already in your home and what you love from the store for a unique style that is all your’s! Here is exactly what I used.
MATERIALS:
- (2) 4-packs of JOANN Fab Lab Floracraft Styrofoam Pumpkins
- An assortment of Simply Autumn Navy Velvet Pumpkins (small, medium, and large)
- An assortment of Blooming Autumn Round White Pumpkins
- An assortment of Simply Autumn Plastic Woodchip Pumpkins
- (8) 13-inch Gold Charger Plates
- (5) DecoArt Americana Acrylic Paints
- Toothpicks
- Some extra styrofoam packaging or shoe-boxes (something to stick the toothpicks into to let the pumpkins air dry)
First, Collect all your supplies at your local JOANN. When at the store, I like to grab a cart and peruse the front several aisles to see their seasonal home decor. It always inspires me to decorate my house for the season, even if I am feeling salty about summer being over 🙂 This year, I was overjoyed to see all the navy velvet pumpkins because you know blue and white is my jam!
SETTING THE TABLE WITH COLORFUL PUMPKINS
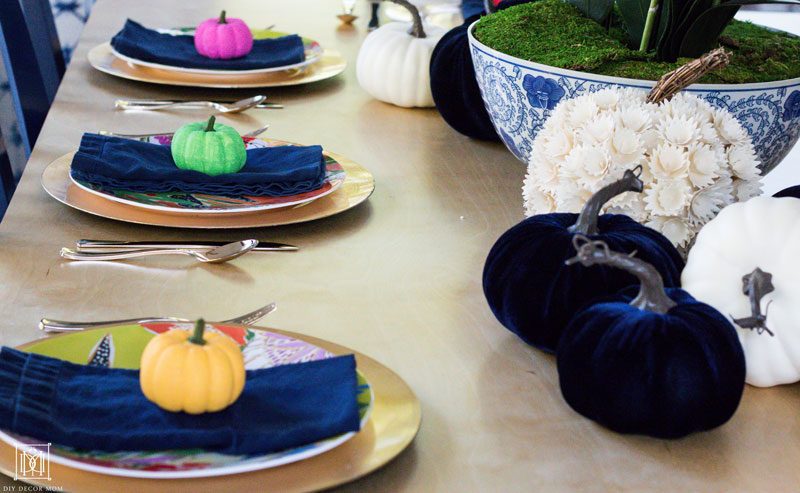
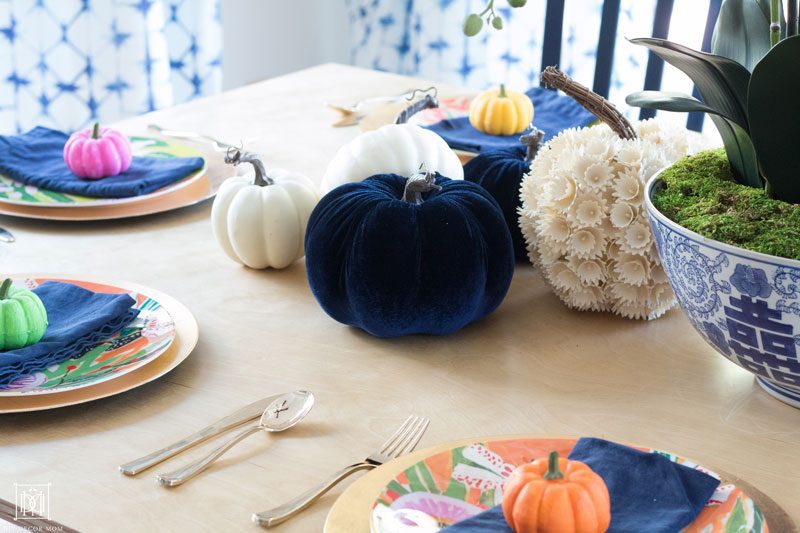
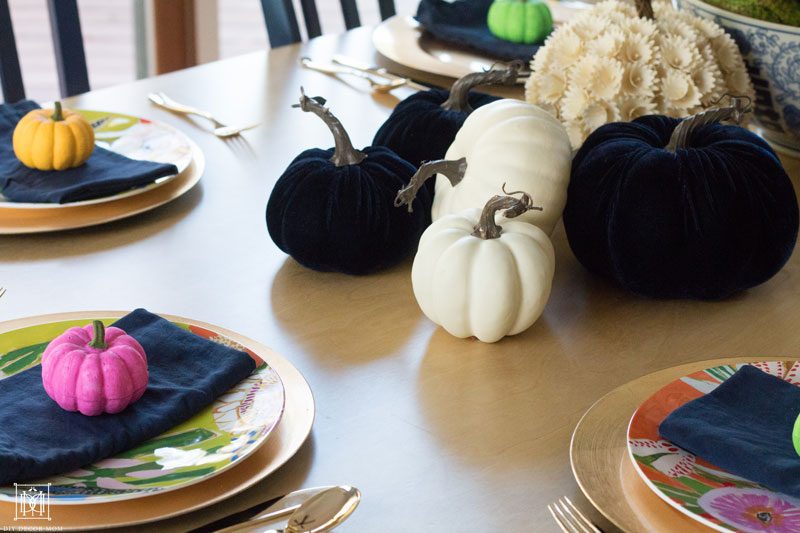
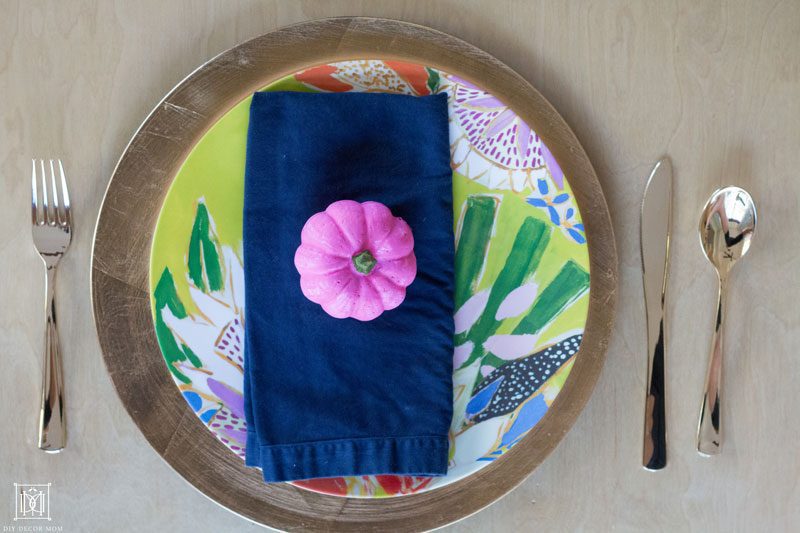
When you get home, start arranging your tablescape. I like to use some colorful melamine plates I had on hand (melamine is always good with kids) and some beautiful and inexpensive 13″ gold chargers I picked up at JOANN. For each plate setting, I laid out the gold flatware, gold charger, and a colorful melamine plate, our everyday cotton napkins and added some panache with a colorful pumpkin DIY!
HOW TO MAKE A COLORFUL PUMPKIN TABLESCAPE
Step 1: Start with the focal point or centerpiece
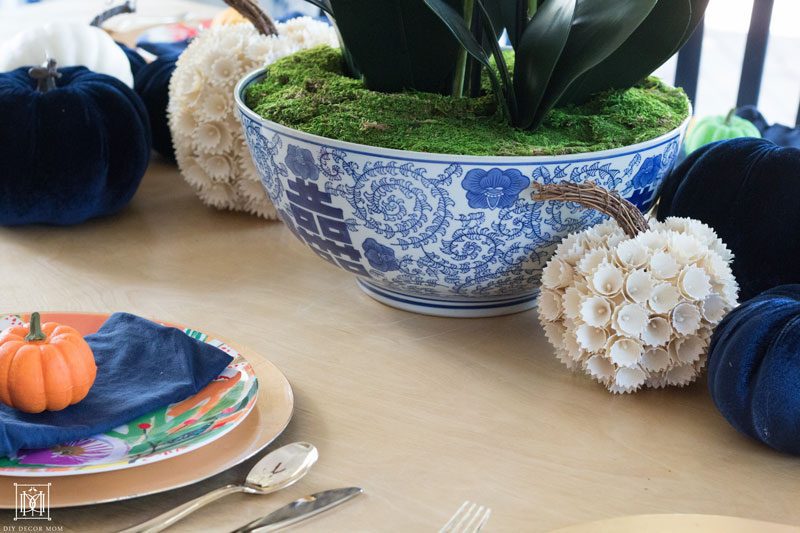
The first step of any tablescape is to start with the focal point or centerpiece. I already had a blue and white ginger jar with some orchids in it; but, this could easily be replicated with faux flowers from JOANN and a decorative bowl you had on hand.
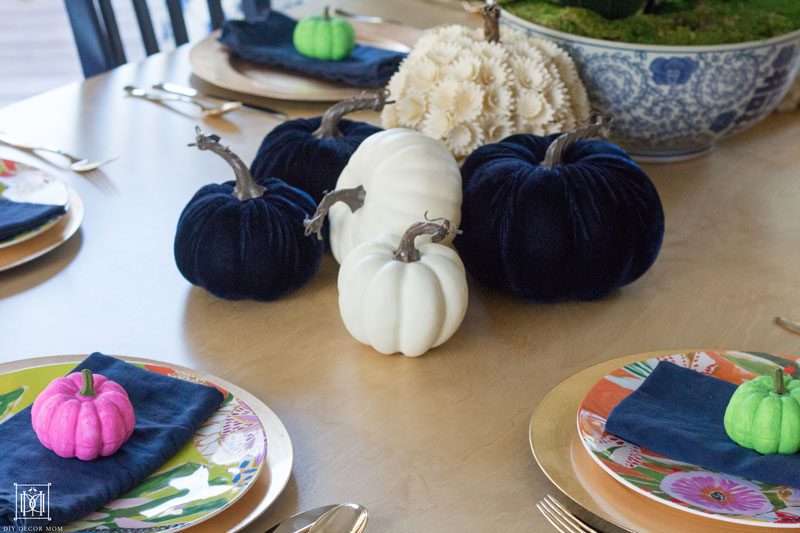
Once you have focal point, start grouping your navy velvet and white faux pumpkins small groups on either side if you have a rectangular table, or all around the centerpiece if you have a round dining table.
Step 2: Assemble small groupings of smaller objects
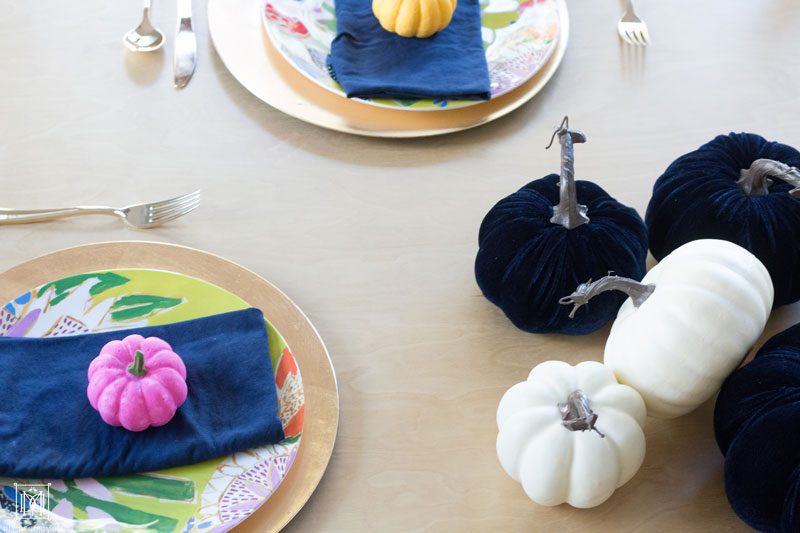
Gatherings of three and five are the most aesthetically pleasing. I arranged the pumpkins so they looked natural on the tabletop, alternating textures (having three different textures is always interesting.) Between the three textures of the Simply Autumn Plastic Woodchip Pumpkins, the Simply Autumn Navy Velvet Pumpkins and the Blooming Autumn Round White Pumpkins and the varying sizes of each, the arrangement of the colorful pumpkins is a feast for the eyes.
Step 3: Add a pop of color
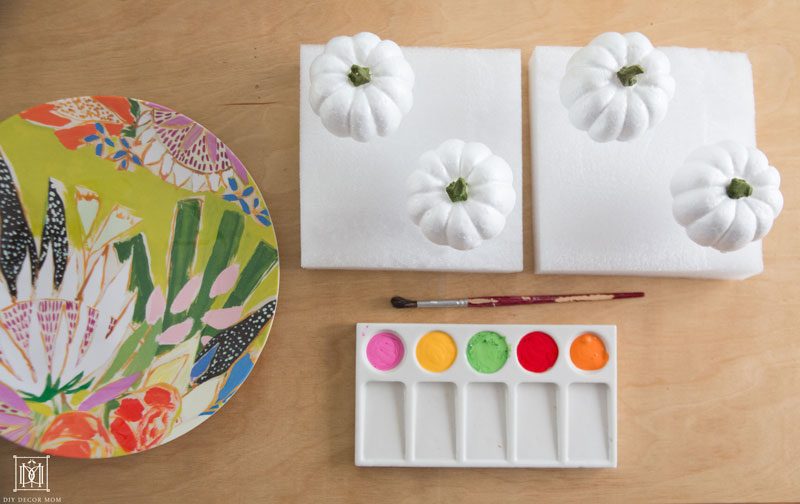
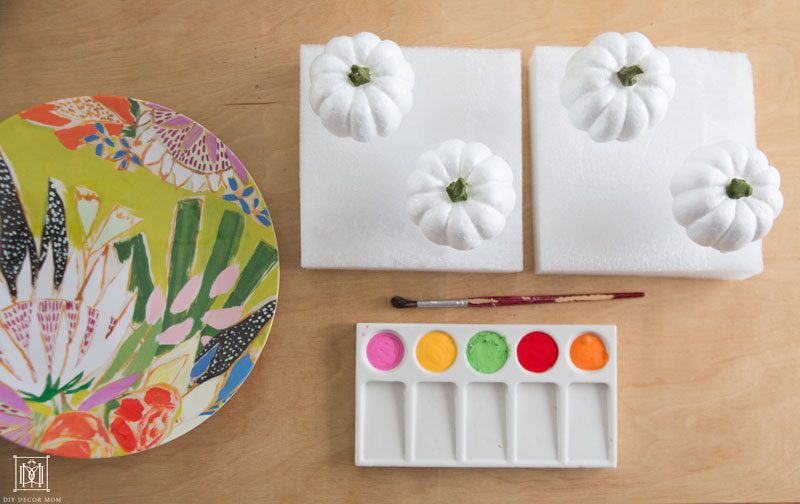
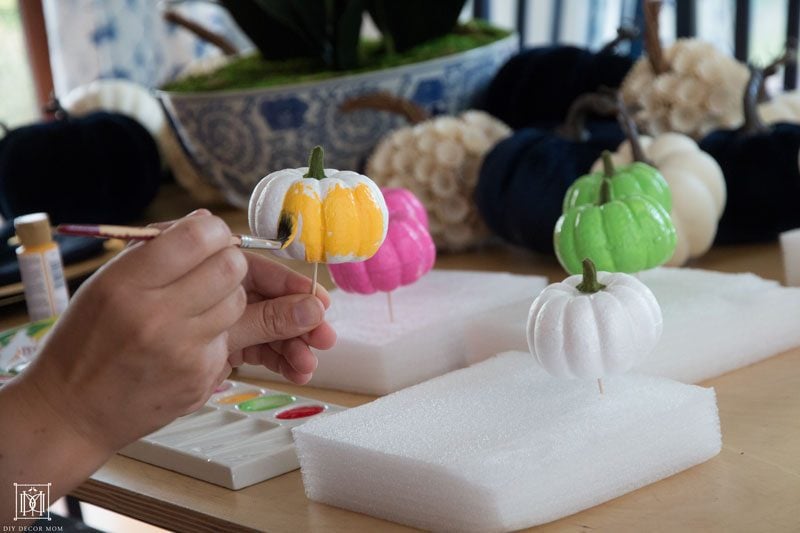
To easily paint the small styrofoam pumpkins, I inserted a toothpick into the bottom of each and placed them in a styrofoam packaging sheet I had left over. To select the colors I was going to use, I used my inspiration piece, our melamine plates which I’ve had for several years, and selected four colors.
If you are hesitant about which colors to pick, bring your inspiration piece (whether it’s a piece of fabric, a plate, or a small painting) to JOANN. Next, start painting with your acrylic paints making sure to wash the brush completely in between colors.
Let the painted colorful pumpkins air dry for at least 45-60 minutes.
The finished product was a beautiful colorful pumpkin tablescape that will welcome in the fall season and serve as a nice prelude to Halloween! With the beautiful white, navy, and woodchip pumpkins from JOANN and my DIYed colorful pumpkins, I achieved a fun twist on the traditional pumpkin tablescape and made it my own! Now it’s your turn!
