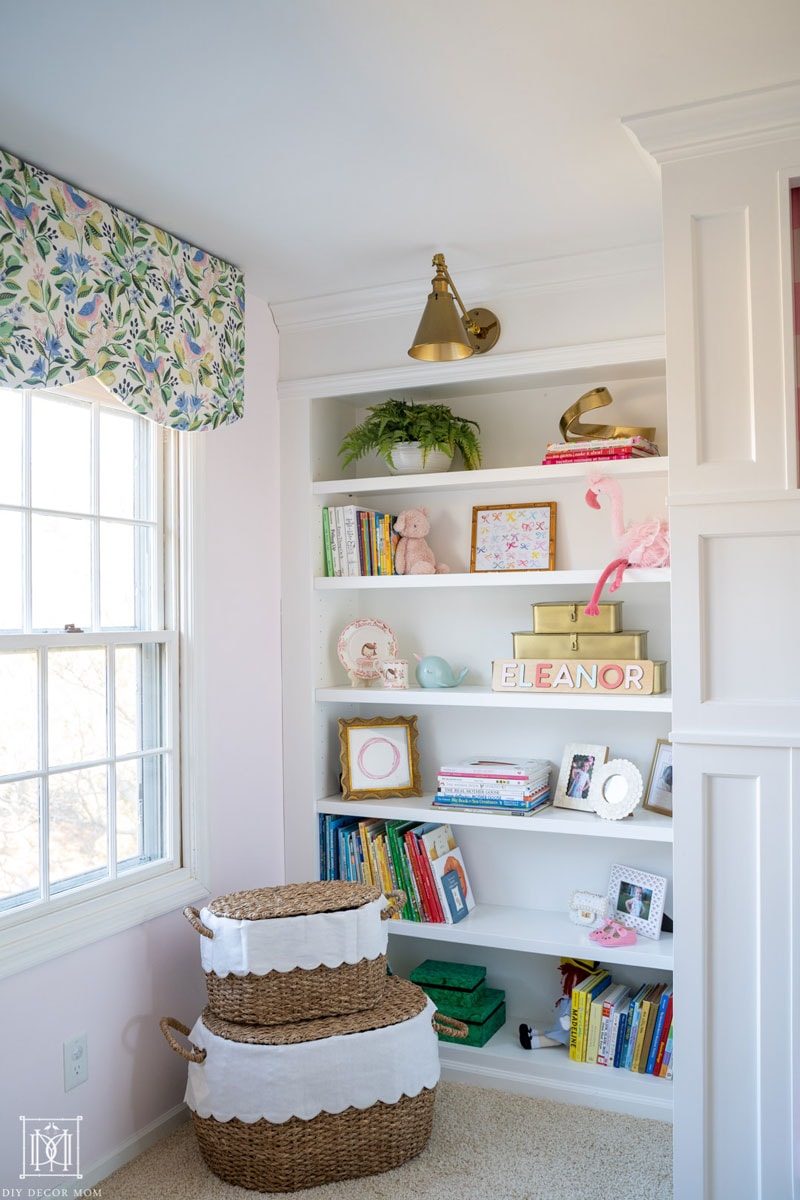
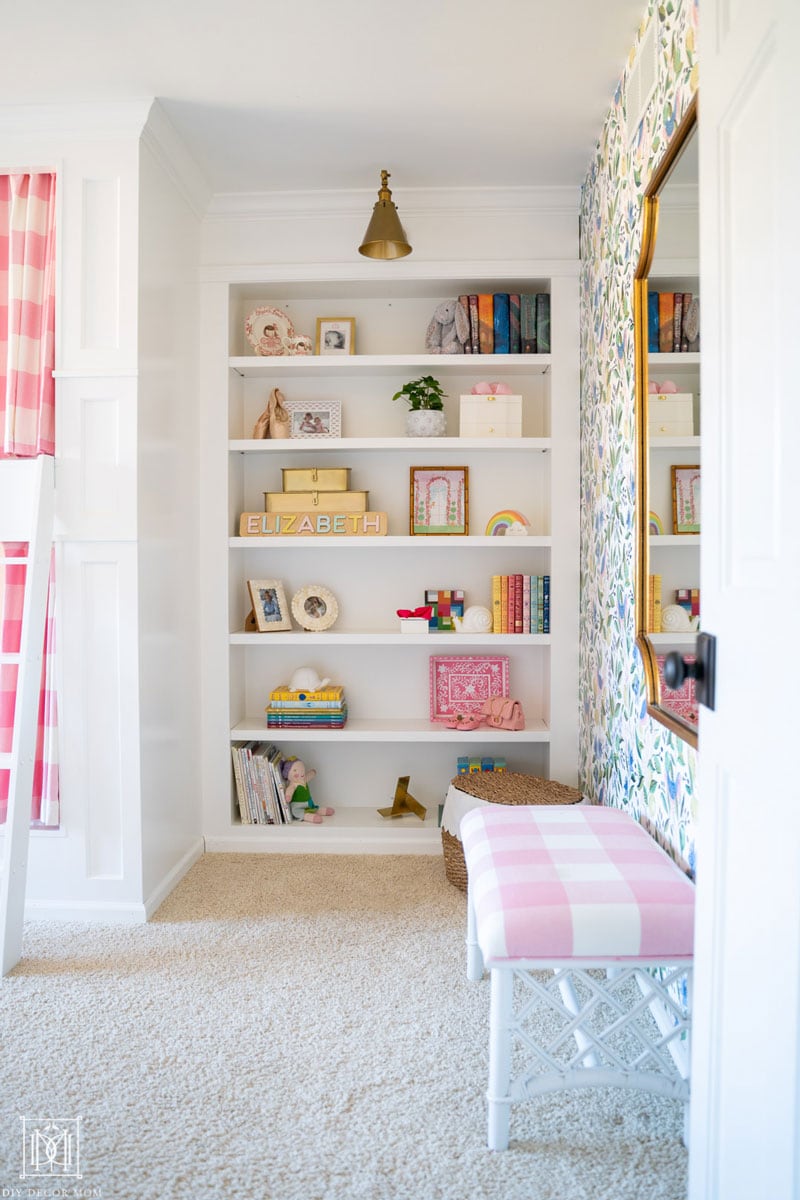
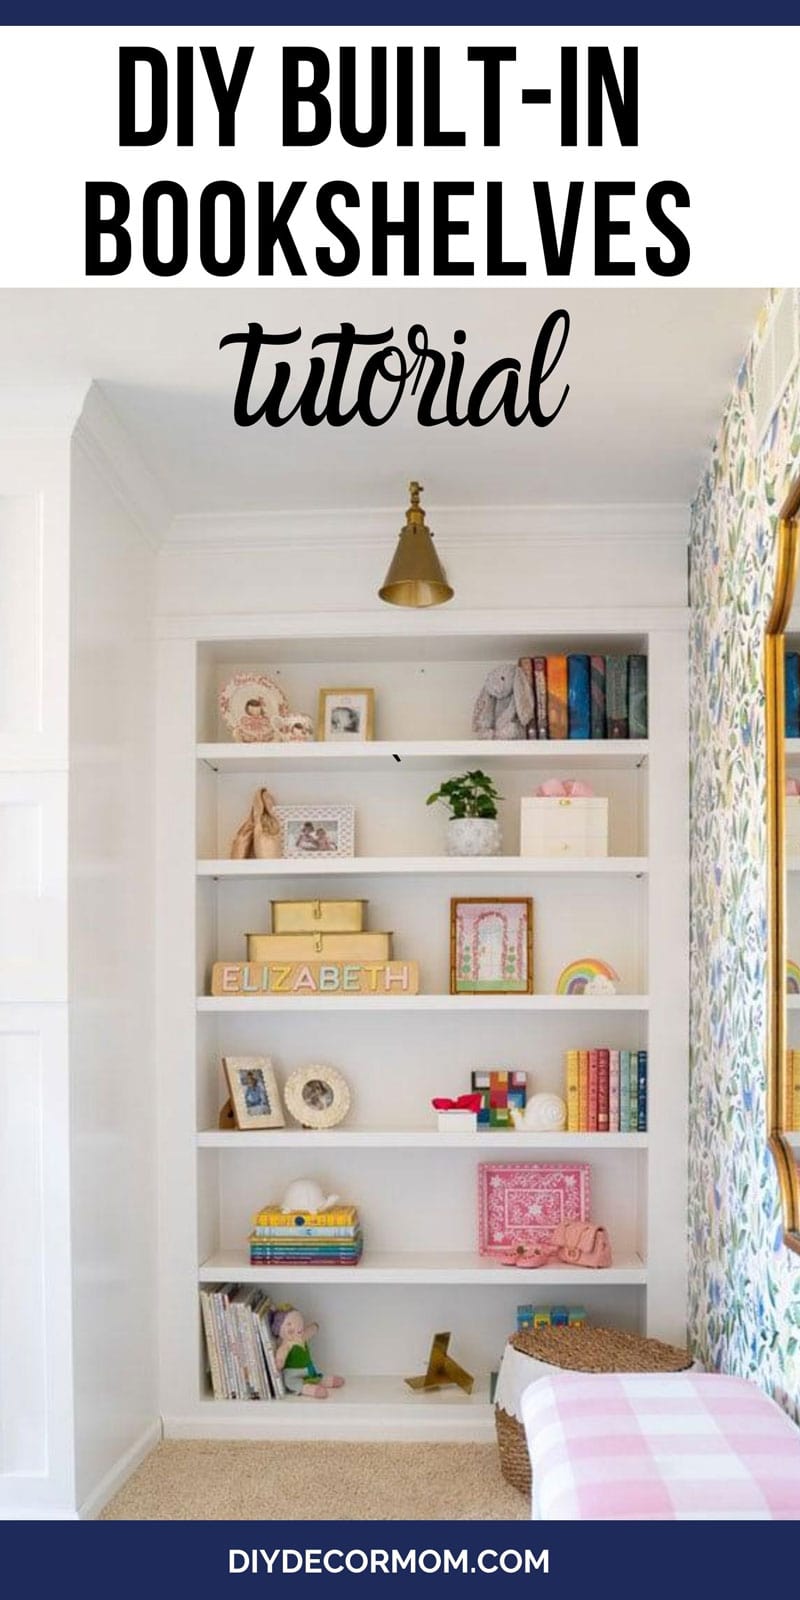
DIY Built-In Bookshelves: See how we built our DIY built-in bookcases in our girls’ shared bunk room with built-in bunk beds. Below you’ll find how to design, build, and paint a bookcase in your own home that even a beginner DIYer can do!
DIY BUILT-IN BOOKSHELVES
Jump ahead to...
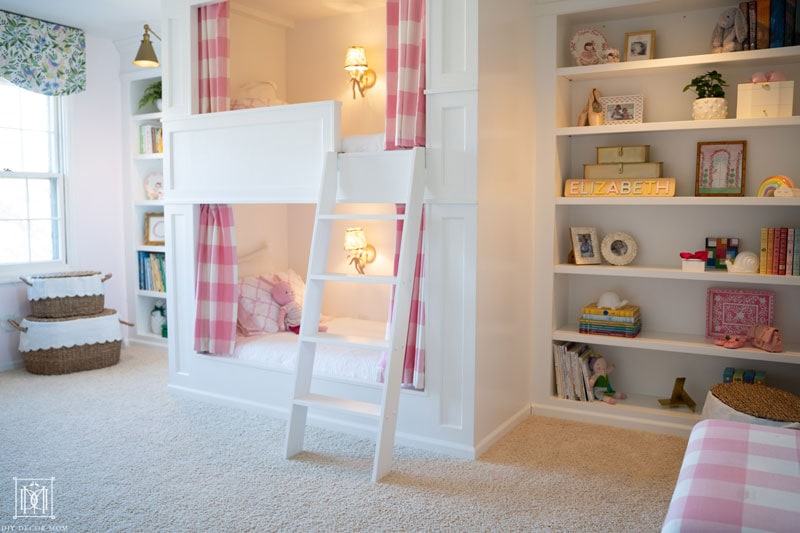
Designing a Built-in Bookcase
Even if the built-in bookshelves look complicated or challenging, the design is actually pretty simple and straightforward and anyone with some patience can pull this build off. Another nice thing about this design is you can change it for just about whatever size opening you have. So even if you’re not building them next to a bunk bed the design can still apply and be scaled to fit your space!
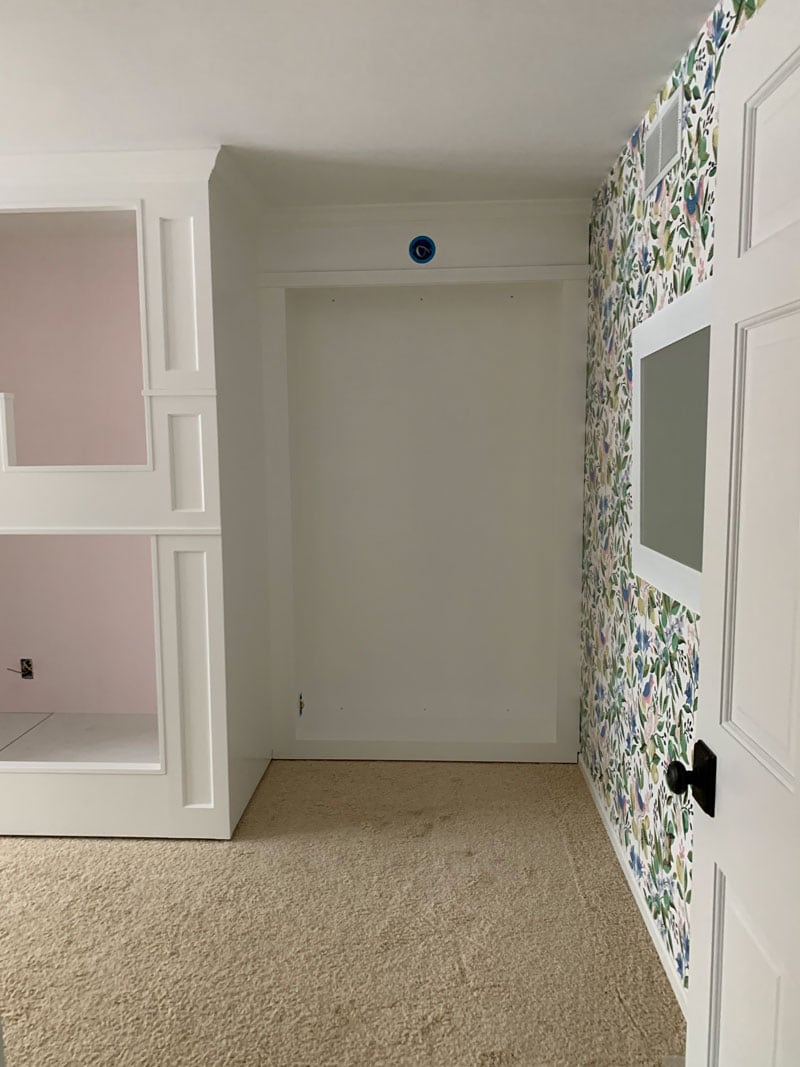
For our girls room installation, once the bunk beds were built (DIY built-in bunk beds), we had a 53 inch wide alcove on either side of the bunks. We wanted the shelves to be as wide as possible – but since plywood only comes in 48in wide sheets, we designed the shelves to be 48 inches wide to get as much yield as we could out of our plywood. The extra couple inches on either side of the shelves are simply “dead space” and get covered up by the bookshelf face frame.
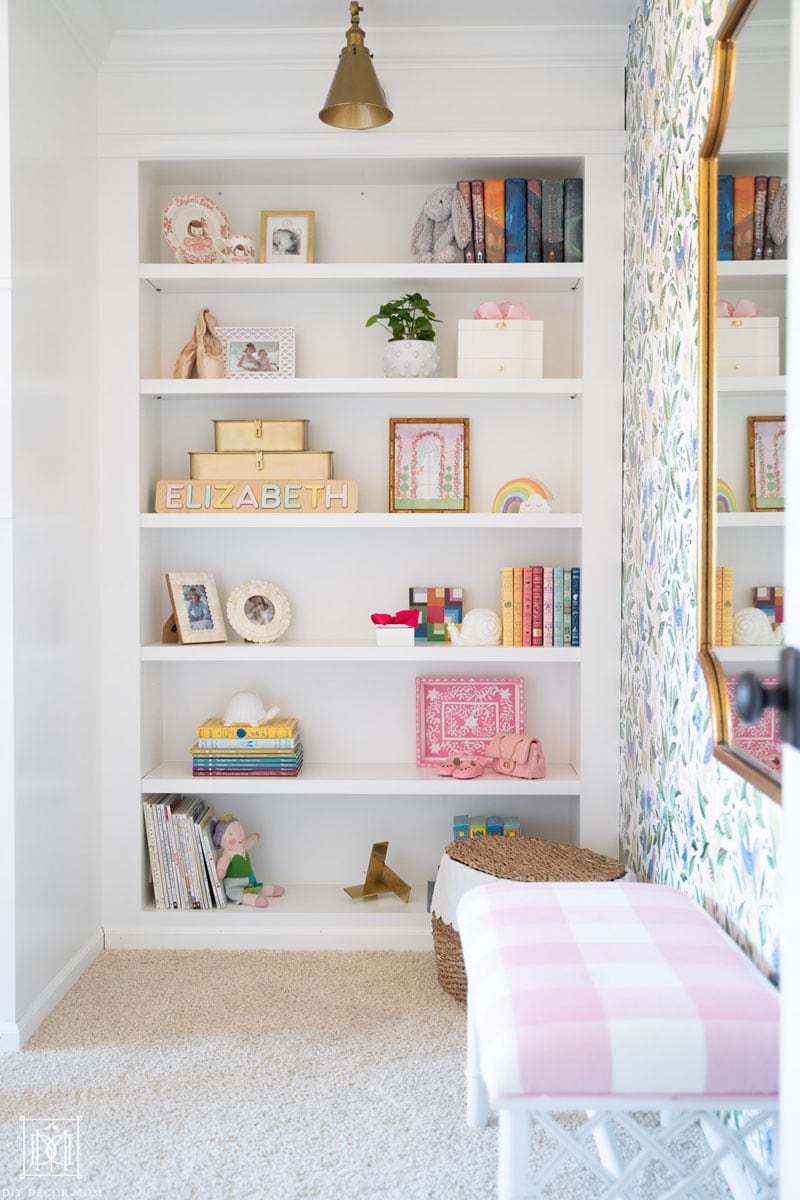
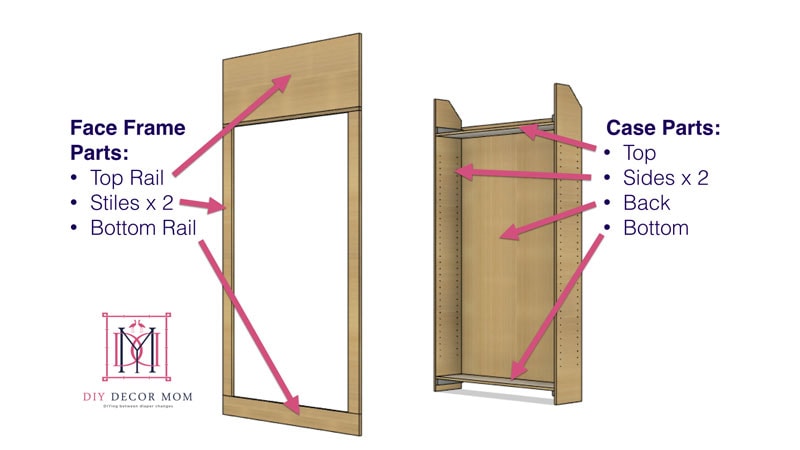
The bookshelves are made of two primary sets of parts – the “Case” and the “Face Frame.” The case is made up of side panels (with shelf-pin holes for the adjustable shelves), a top, a bottom, and a back. The face frame has two side “stiles” and a top and bottom “rails”. The face frame is really just there to cover the exposed plywood edge grain and trim-out the dead space around the perimeter of the opening.
BUILDING DIY BUILT-IN BOOKSHELVES
*This post contains affiliate links at no cost to you see my complete disclosure policy here.
Materials:
- MDO Plywood ¾” thick 4’x8’ sheets $65 each 3 sheets (same material as we used for the DIY built-in bunk beds)
- MDO Plywood ½” thick 4’x8’ sheets $65 each 2 sheets (for back of cases)
- Select Pine 1x4x8 – 4 boards (for face frame stiles)
- Select Pine 1x6x8 – 8 boards (for lower rails and edge banding)
- Wood glue
- 1-⅝” Drywall Screws
- 3-⅛” cabinet screws
- 1-½” 18ga brad nails
- Shelf Pins
- Caulk
- Spackle
- Sandpaper 120 grit
- Primer- buy at a paint store for best price
- Paint
- Painter’s Tape
- Plastic sheeting
- Paint filters
TOOLS
- Circular saw or table saw
- Miter Saw
- Tape measure
- Shelf Pin Hole Drilling Jig
- Stud finder
- Drill /drivers
- Laser level
- 18ga brad nailer
- Paint sprayer
- Spray Tip
- Spray Tip Guard
HOW TO MAKE BUILT-IN BOOKCASES
PART I: BUILDING THE CASE (OR CABINET)

1. Break down the plywood parts to their final dimensions.
When working with full sheets of plywood, we typically first start by cutting the full sheets a little oversize out in the driveway with a circular saw. This makes the pieces easier to carry into the workshop and more manageable to handle. We then cut them accurately to their final dimensions on the table saw.
If you don’t have a table saw, often you can ask the home center to cut your sheet goods for you to your measurements for a small fee. It could also all be done with only a circular saw and straight edge – just be careful and be sure to measure twice!
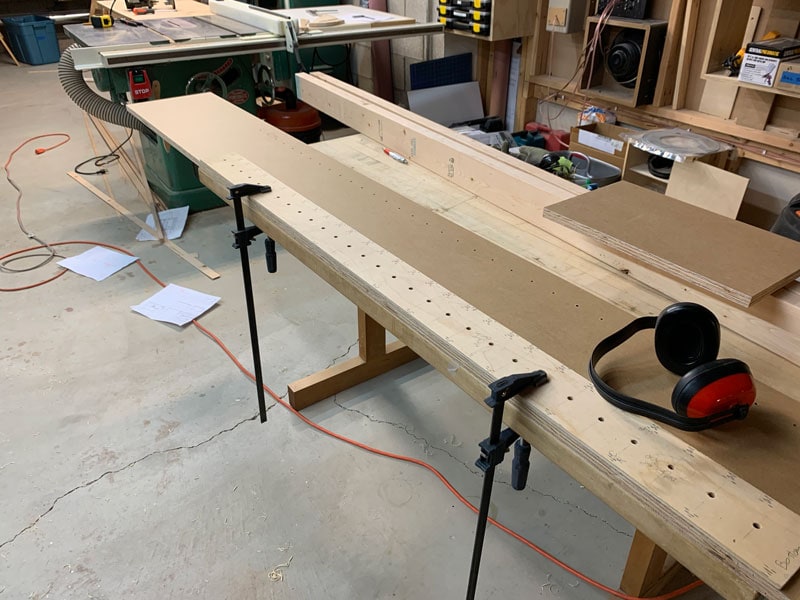
2. Drill shelf pinholes.
We used a homemade jig for our router that we made about 10 years ago for a cabinet at our old apartment. However, there are several commercially available jigs that are available now that work great and are reasonably priced. Our jig drills 5mm diameter holes at a 2” spacing which has worked out fine for us. The trick is to start each row of holes the exact same distance from the bottom of the shelves – this way each shelf will sit evenly on all four shelf pins.
3. Next, trim the top back corners of the case side panels off.
This will allow the cabinet to be pivoted up into position without the top back corner hitting the ceiling.
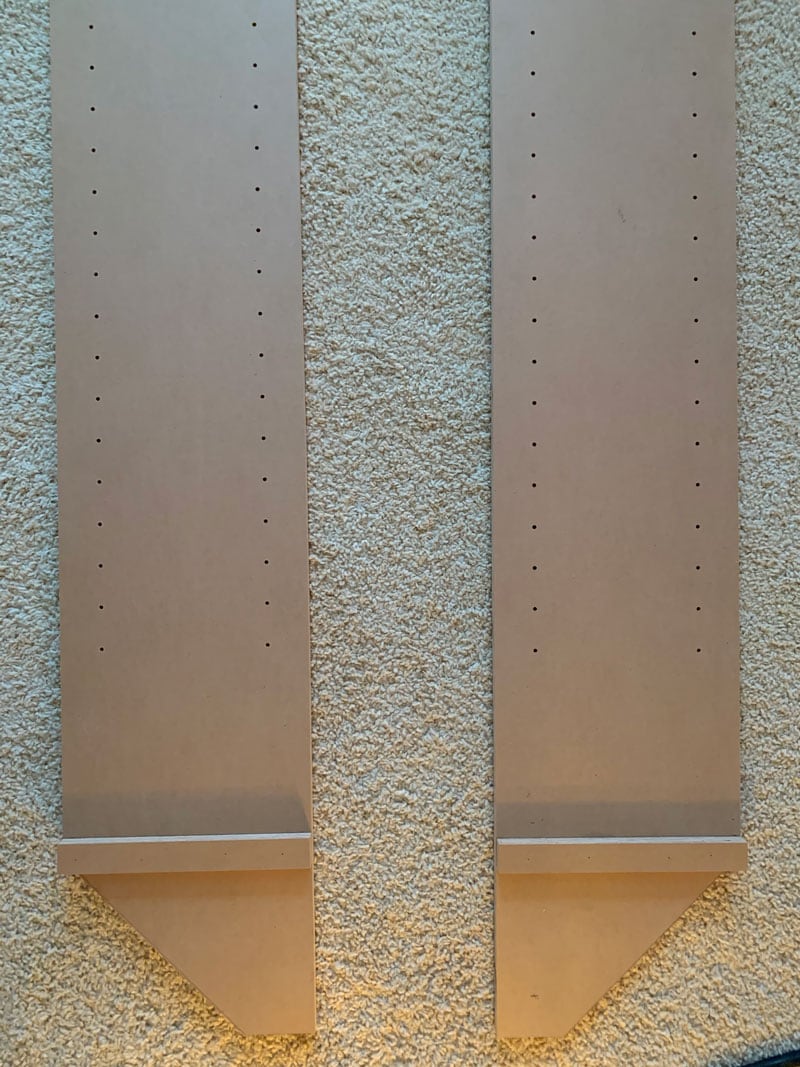
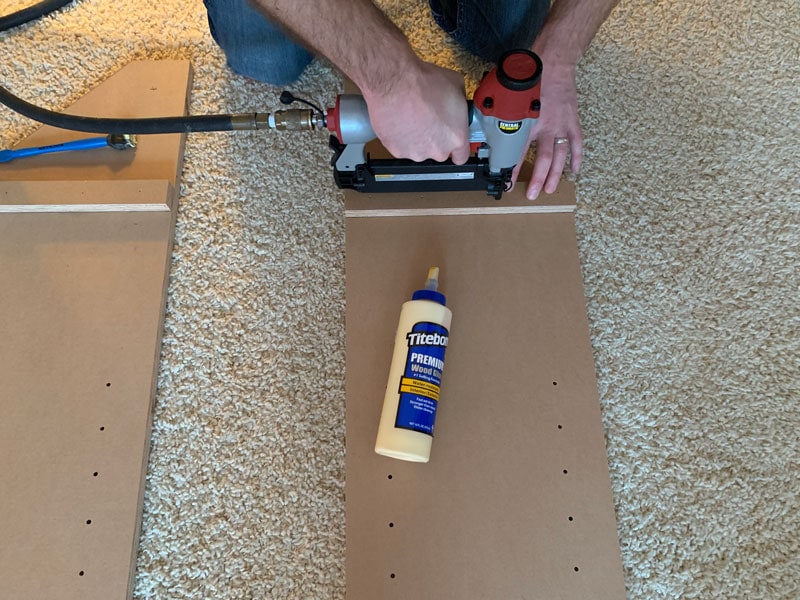
4. Cut and attach four cleats to the side panels – two above the top panel – and two below the bottom panel.
These cleats make it much easier to get the top and bottom panels in just the right position when assembling the cabinets. They also provide additional glue area for a stronger joint. These cleats were glued and brad-nailed in position.
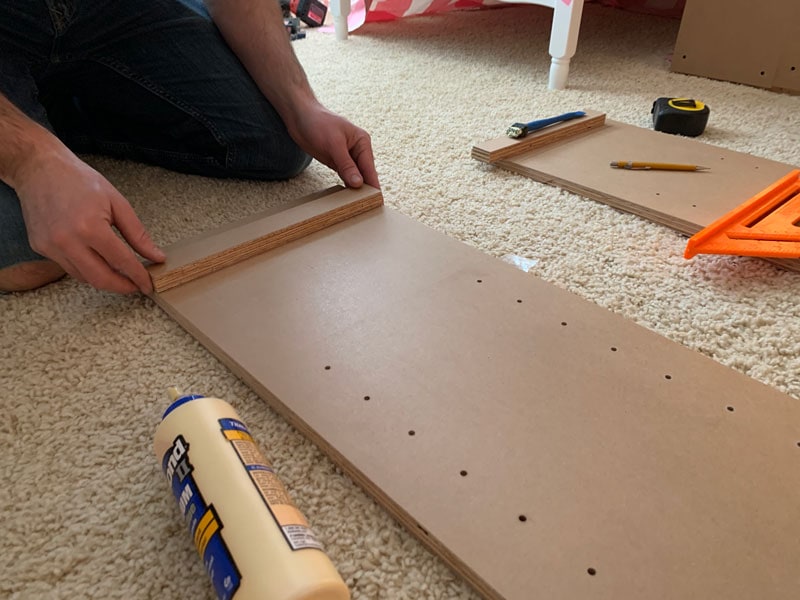
5. Assemble the cases.
We decided to assemble the cases right in the girls’ room. They are pretty big and it seemed like they might just not fit up the staircase, so we decided not to take any chances and built them right in place. Assembling the cases on top of carpet is not ideal as the floor was not flat, but this is where having those cleats to align the pieces really paid off. A little glue, some brad nails to pin the top and bottom in place, and finally screws from the outside, and the case was ready for the back.
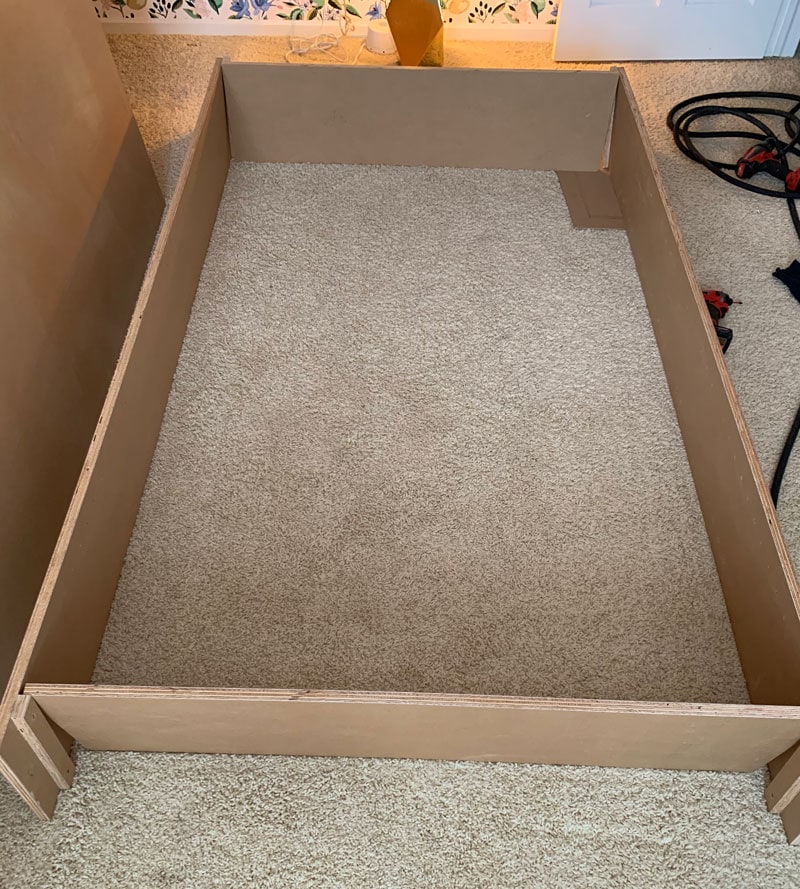
6. Attach the back panel of the bookcase.
The back panel was cut from ½” MDO plywood. We went with ½” just to save a few bucks since the back doesn’t need to be that strong. The back was cut to size, and nailed and screwed on from the backside. The back really helps ensure the cabinet is square – but we made sure to measure the diagonals just to be sure.
7. Position and secure the cabinet.
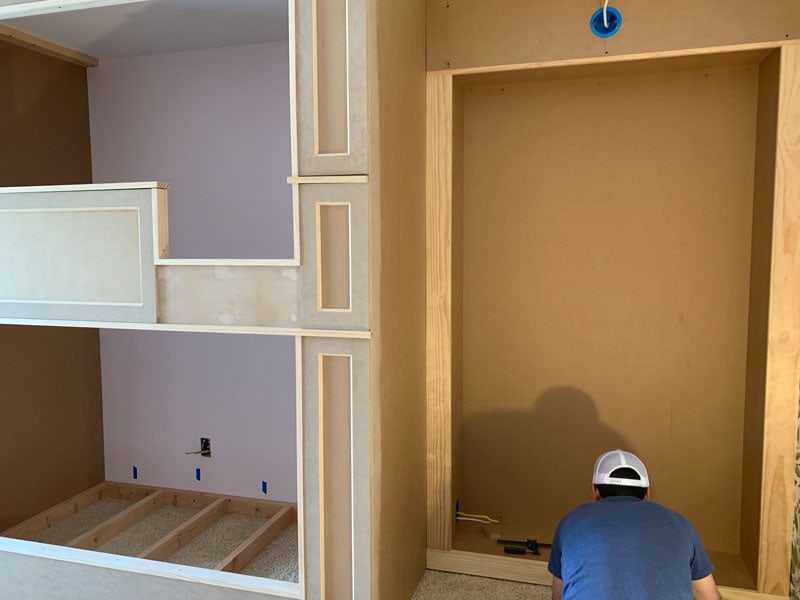
Finally, we tipped the cabinet up into position, and using 3-⅛” cabinet screws, secured the cabinet to the studs inside the wall. Then the process was repeated for the other bookshelf. With both cases in position and attached to the wall, we last-minute decided to add some nailer-strips to the outside of the cabinet sided. These would give more surface area to glue/nail the face frames. These strips were made from scrap MDO plywood offcuts from breaking down the mail cabinet pieces. This step may have been overkill, but it gave us a little more peace of mind that the face frames would stay put.
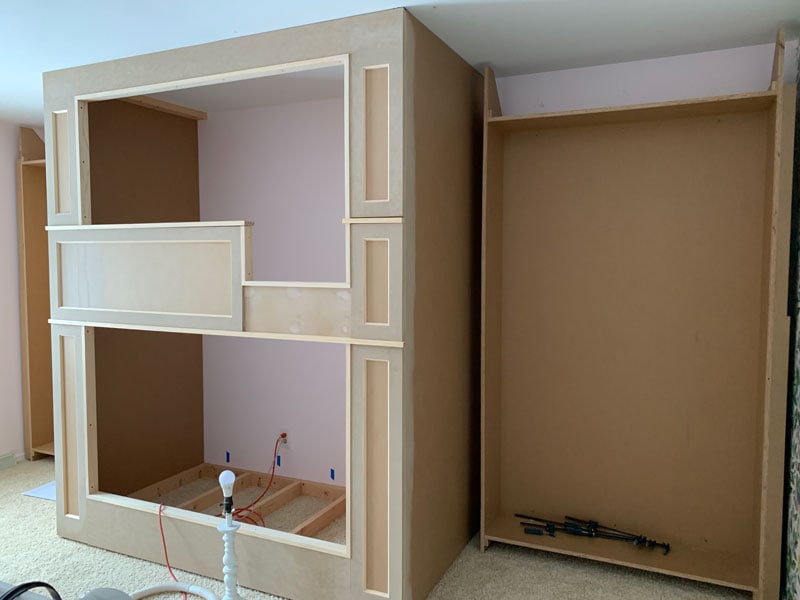
PART II: HOW TO BUILD AND INSTALL A FRACE FRAME FOR DIY BUILT-IN BOOKCASE
1: Cut out the top rail, glue and brad-nail in place.
The top rail is mostly ¾” MDO, but has a small solid wood edge strip glued to the bottom edge. This covers the edge-grain of the plywood that would otherwise be visible. The top rail also each needed a hole cut out for the electrical boxes that would eventually hold the lights above the bookcase. This piece is finally glued and brad-nailed in place with some construction adhesive or wood glue.
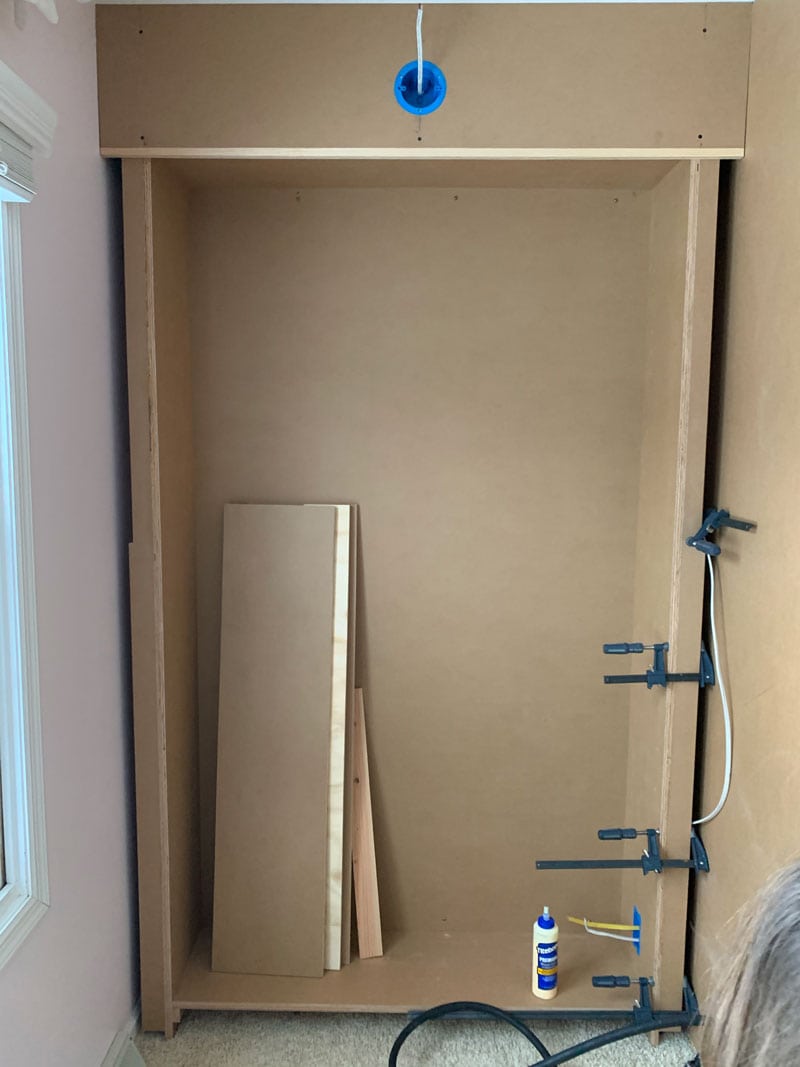
2. Cut the bottom rail and brad-nail into place.
This is simply, 1x material cut to fit. The top edge of the bottom rail should overlap the bottom shelf by just a little bit. Once cut to fit, the bottom rail was brad-nailed into place.
3. Cut and install the side rails.
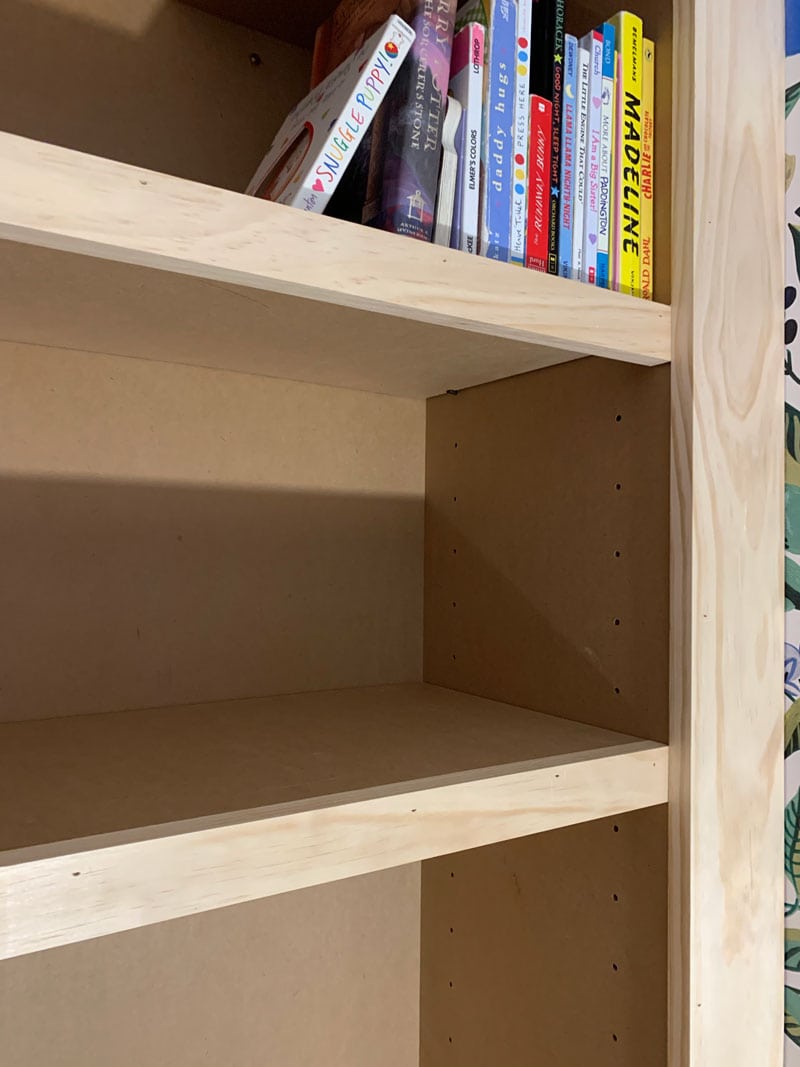
The side rails were cut and installed next, and were sized to cover the “dead space” next to the cabinet and overlap the inside edge of the side panels by about ¼”. This ¼” reveal serves two purposes – first, it helps account for any misalignments or warp in the case side panels and second, it provides a lip so that the shelves won’t slide out of the case when installed.
PART III: SHELF DESIGN AND CONSTRUCTION
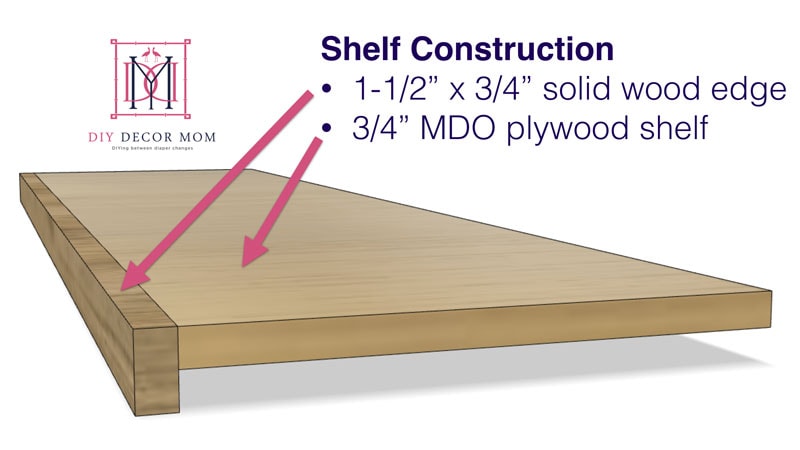
The shelves are ¾ MDO plywood with a 1-½ solid wood lip attached to the front edge.
The solid wood lip serves three functions.
- It covers the exposed plywood edge grain along the front edge of the shelf
- It adds strength to the plywood shelf to prevent sagging over time
- It gives the shelf a larger visual thickness which is more proportional to the overall design
HOW TO BUILD THE SHELVES
- Cut plywood shelf pieces to size
- Attach the front lip with glue and brad nails
- Once the glue dried, fill brad-nail holes with spackle and sand smooth prior to paint
PART IV: FINAL TRIM AND PAINT
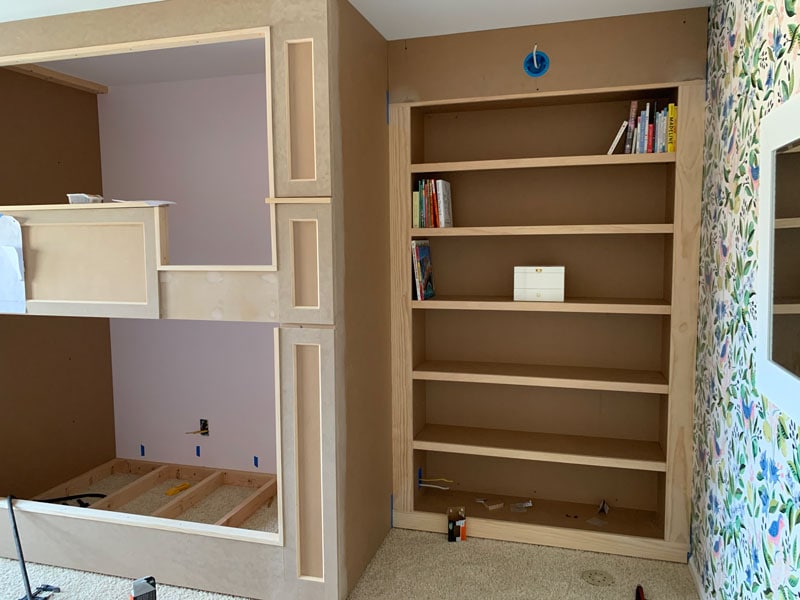
1. Add the crown molding, baseboard, and a small trim strip below the light fixtures.
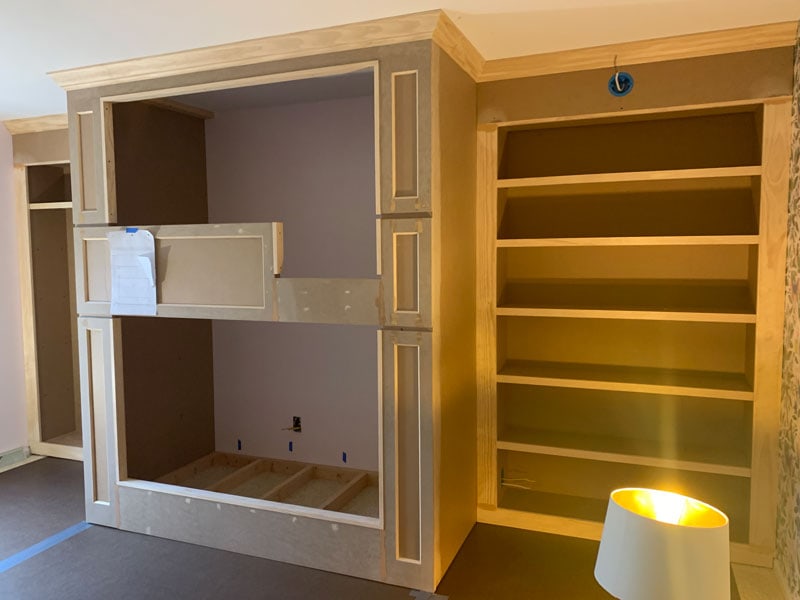
2. Follow the same prep and paint procedure as the bunk beds. Fill every brad-nail hole and small crack with spackle. Allow spackle to dry, and sand smooth.
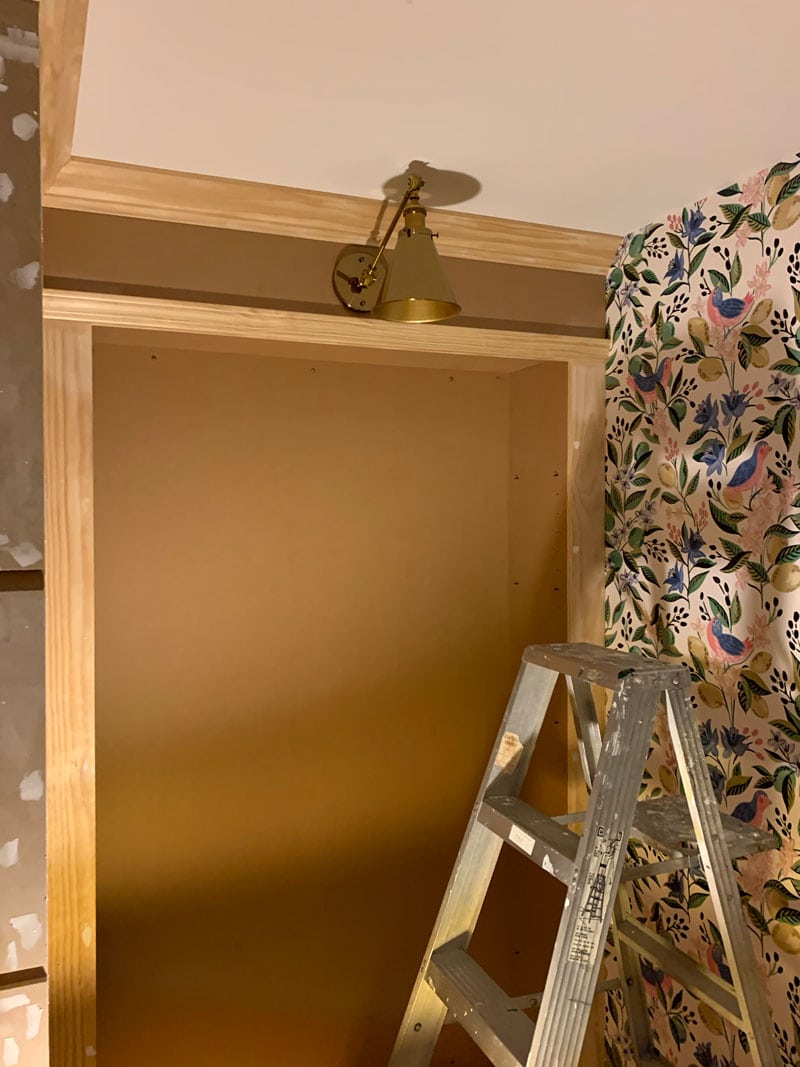
3. Caulk each inside corner with a small bead of caulk. This is a tempting step to skip but DO NOT skip it! It is the absolute key to a tight looking paint job!
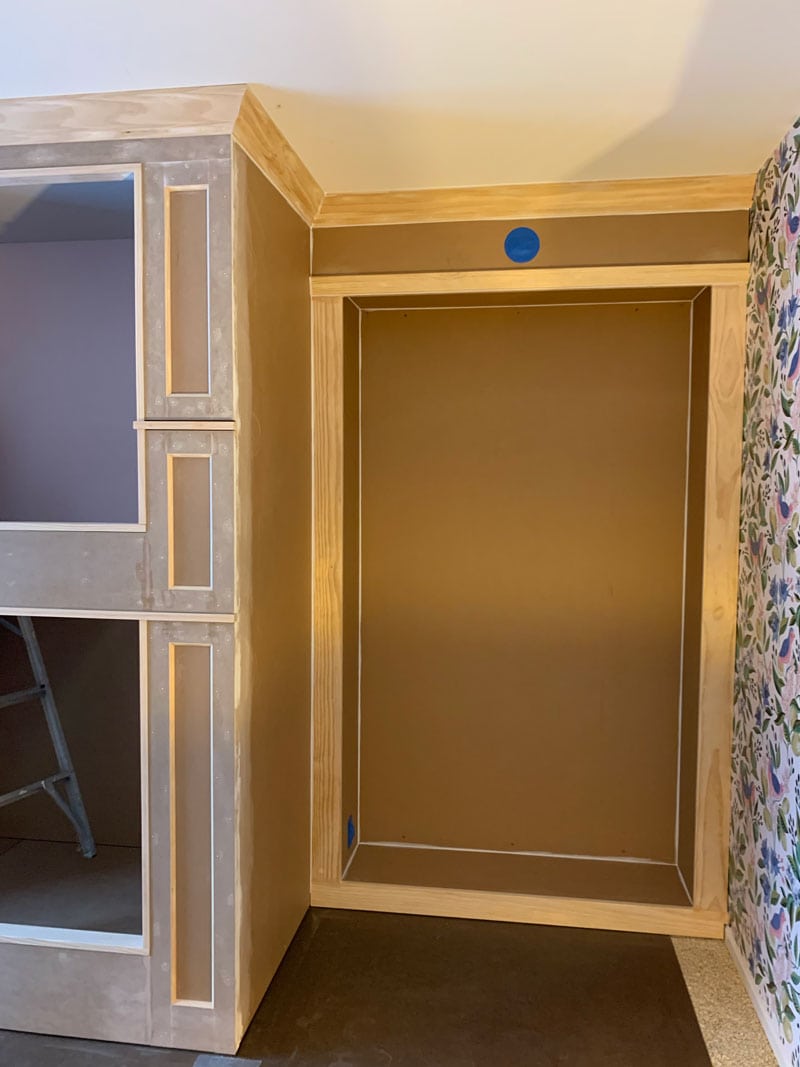
4. Prime and paint! Take the shelves out of the frame, spray them with a paint sprayer and set the shelves up on sawhorses so you can spray them as well. See the details on how we painted them here: DIY Built-In Bunk Beds
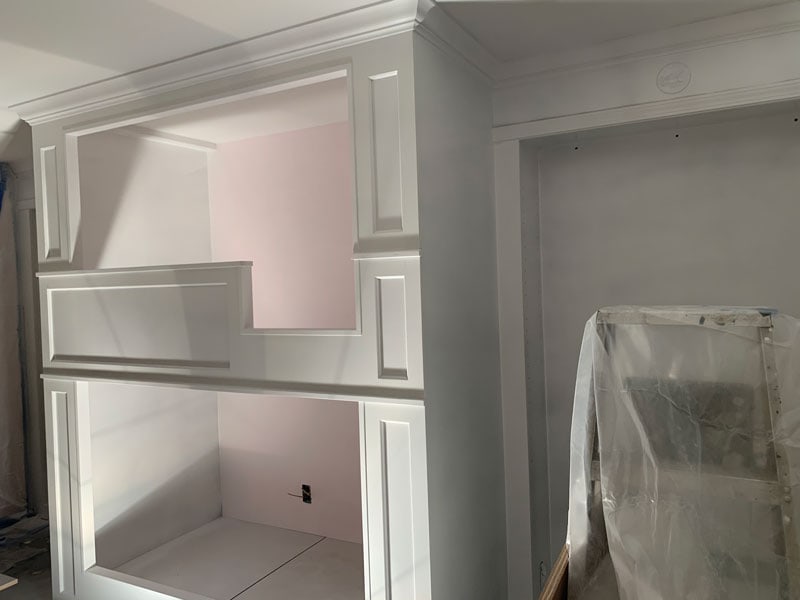
BUILT-IN BOOKCASE CONCLUSIONS
Overall, we are really happy with how the built-in bookshelves in the girls’ room turned out! So far, the bookshelves have provided plenty of storage for the enormous amount of “stuff” kids seem to accumulate–and they still look reasonably stylish several months later!
