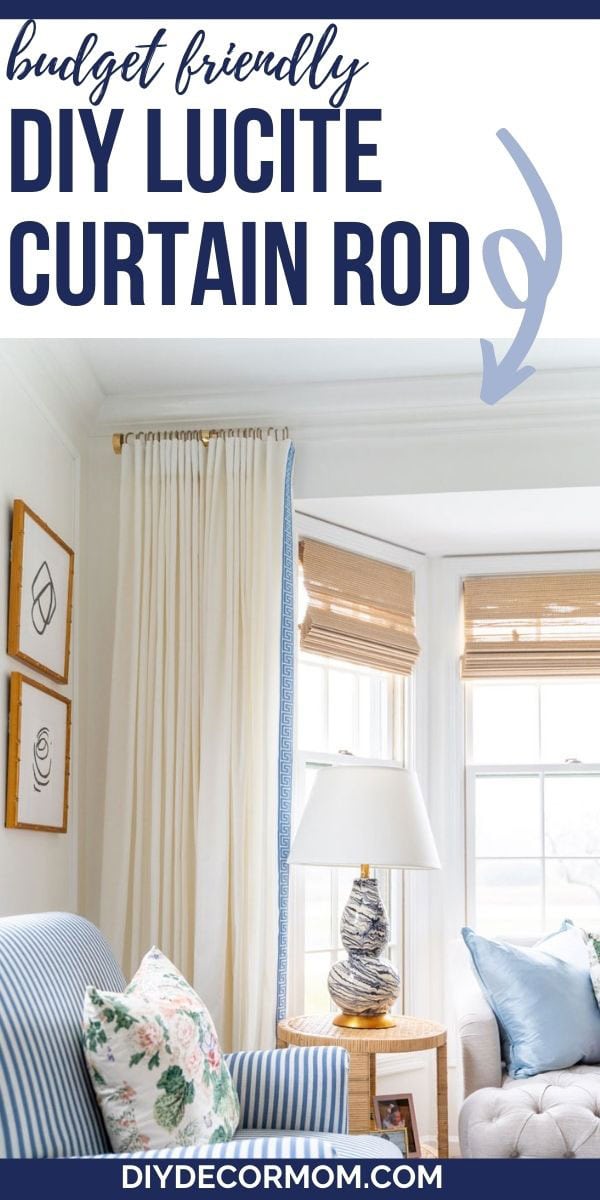
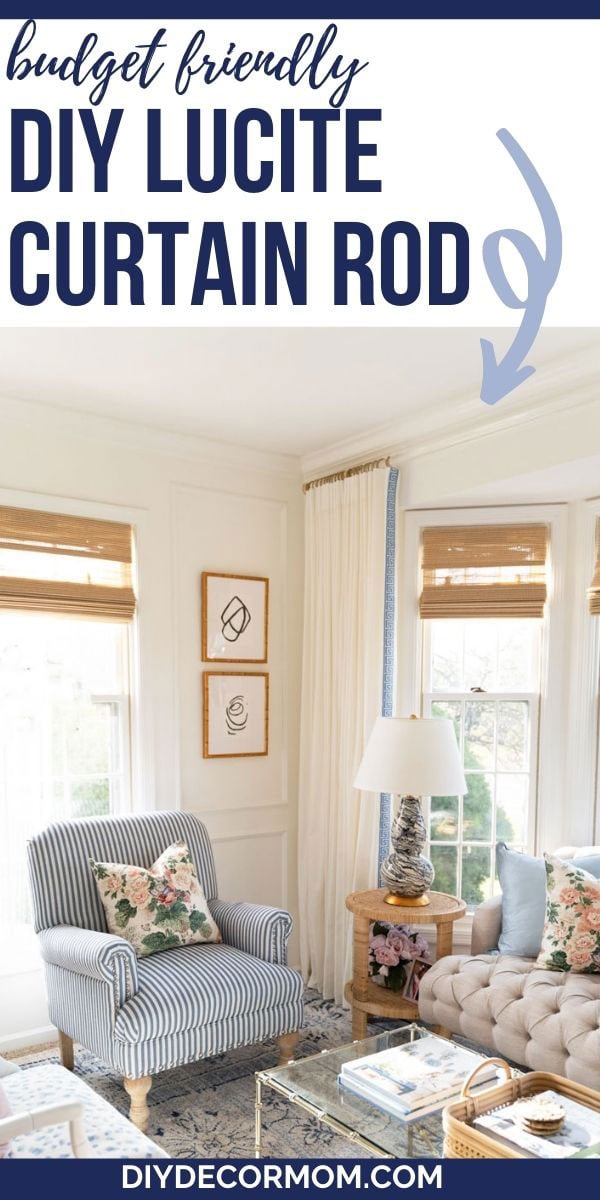
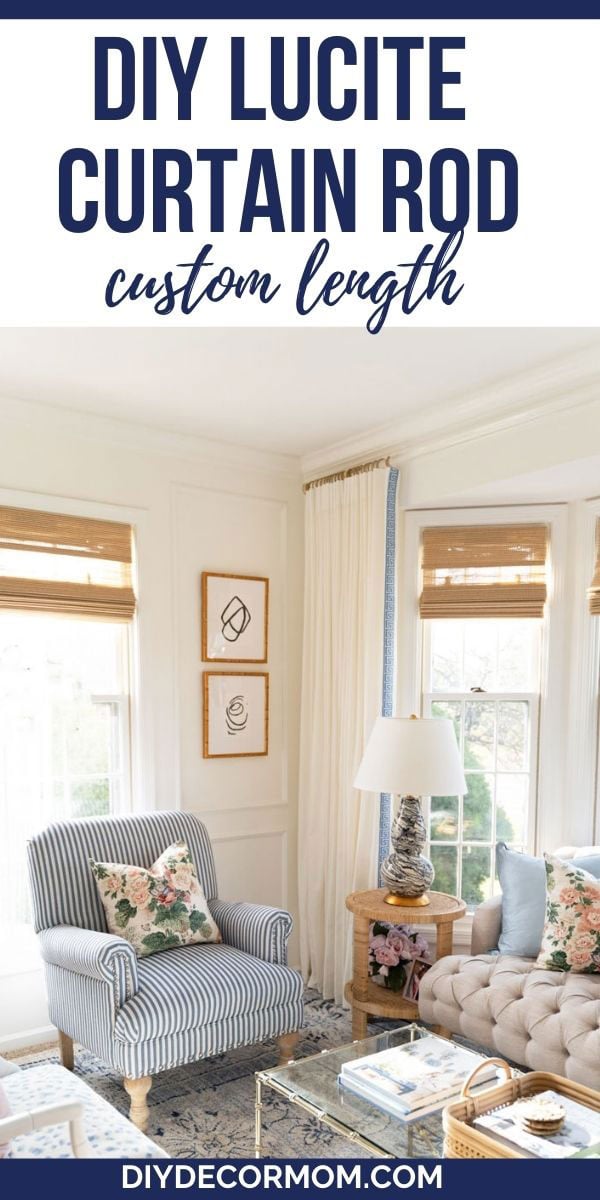
DIY Lucite Curtain Rod: Lucite curtain rods are very trendy; but, custom acrylic curtain rods can run you anywhere from $200 to $1,100 for a single window! Our oversize bay window custom curtain rod would have cost us over $1,200 if we hadn’t DIYed it ourselves! See how we saved a ton by making our own acrylic curtain rod, and all the materials and sources you need to make your own!
DIY LUCITE CURTAIN ROD
Jump ahead to...
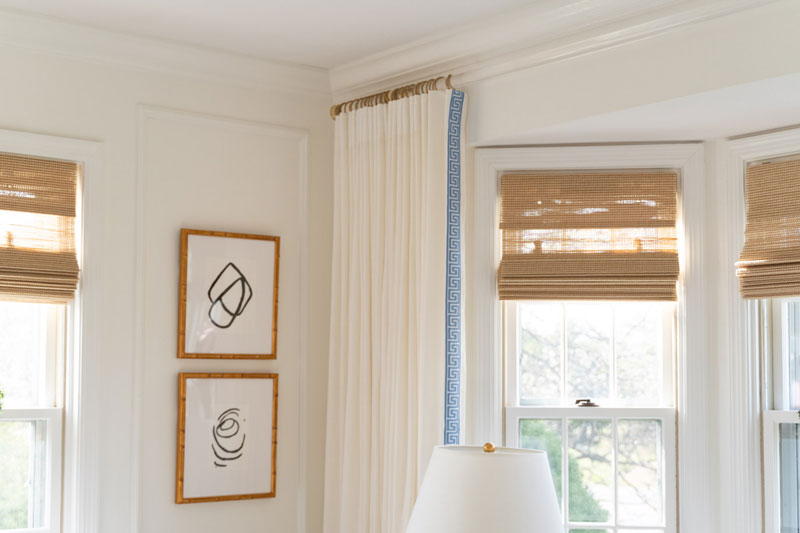
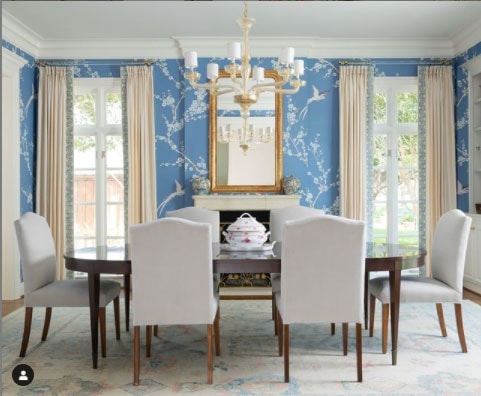
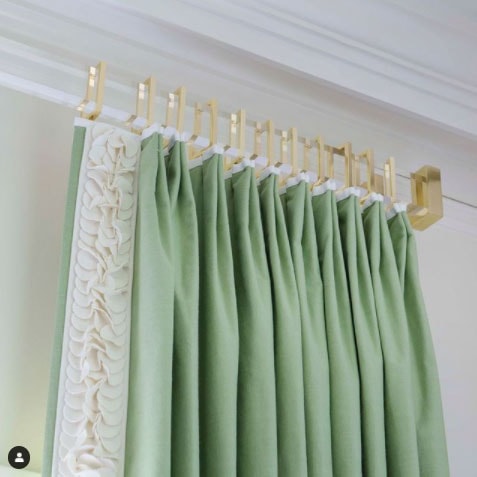
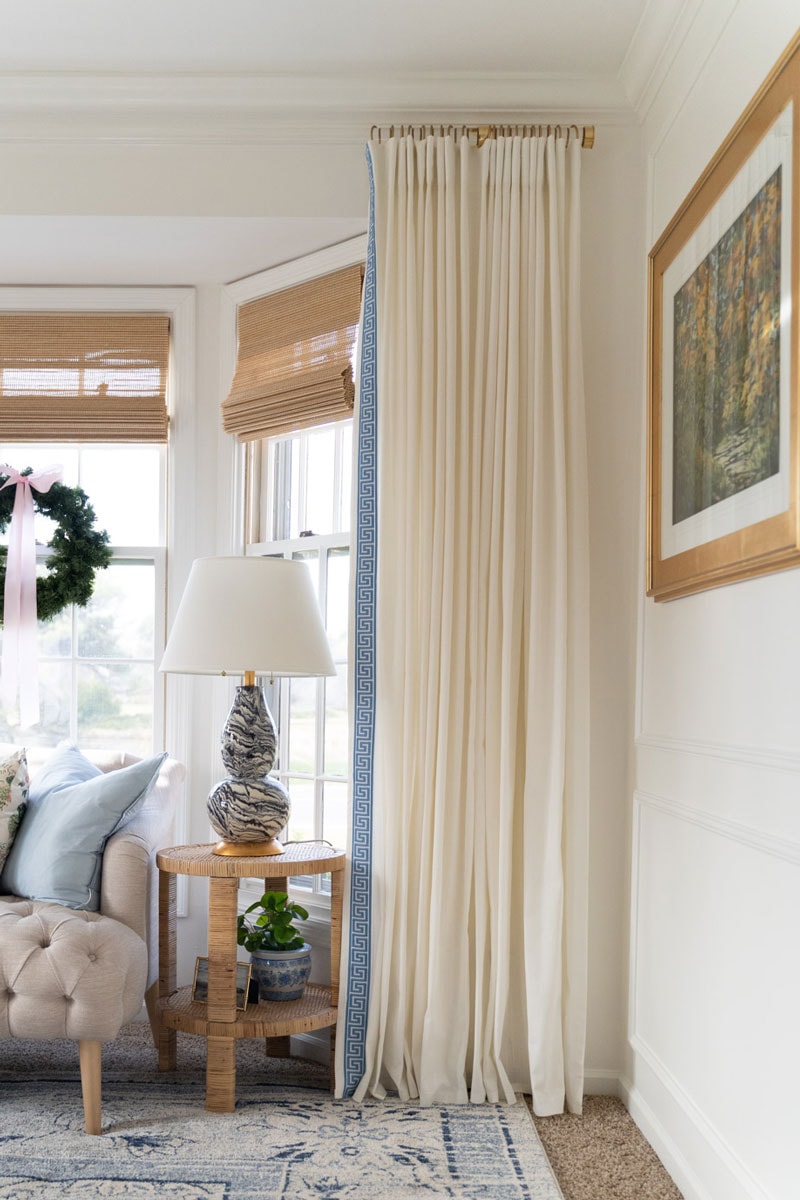
I’ve long loved the look of acrylic curtain rods. They have an airiness and elegance that traditional curtain rods don’t. Furthermore, they add a slightly modern touch to drapery that might be considered traditional. Over the years, these are the images I’ve always loved and what I sought to emulate in our living room design.
*This post contains affiliate links at no cost to you. See my complete disclosure policy here.
Most of these are custom curtain rods using cast lucite.
That’s because it’s expensive to make 1.5″ and 2″ thick acrylic. While you can use a 1″ diameter acrylic curtain rod for a shorter window; it will bow under the weight and sag with a long window like ours (over 12.5 feet in length.)
I’ll share what we did to make our 12.5 foot one sturdy!

Related: Affordable Bamboo Shades
ACRYLIC CURTAIN RODS
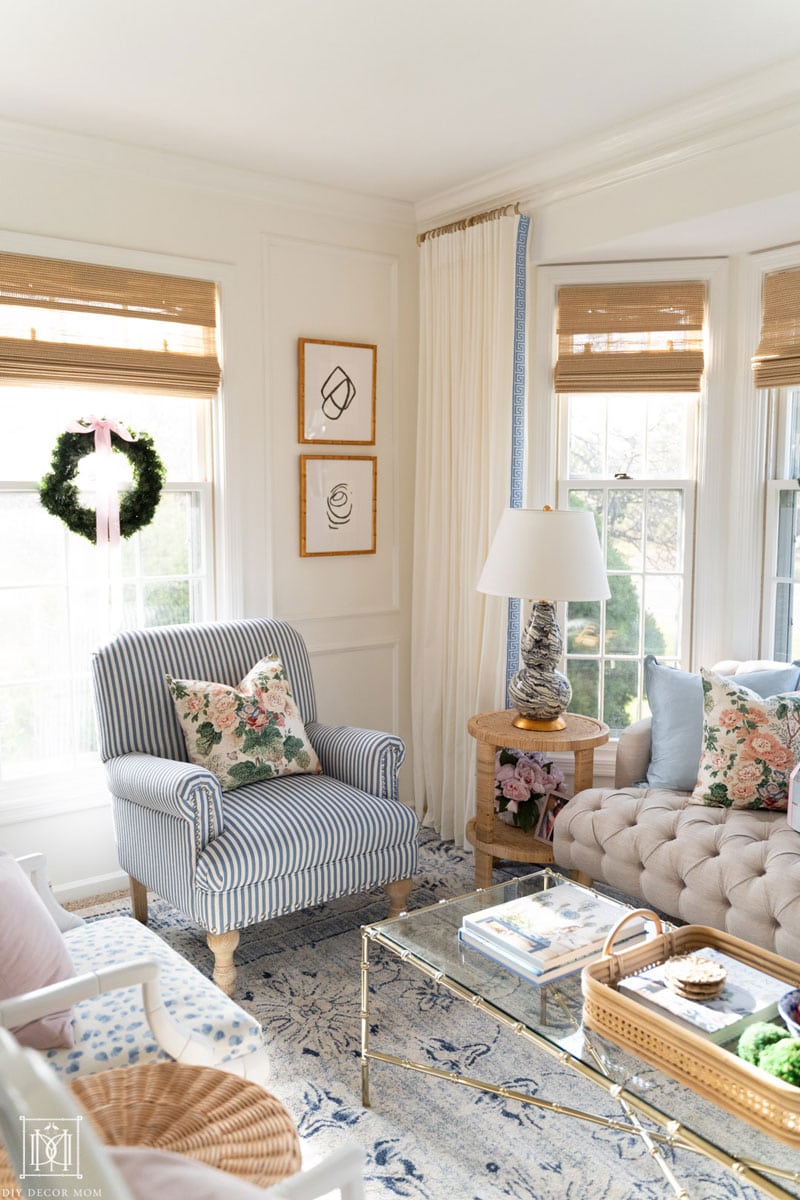
Related: See the rest of our living room makeover here
What is lucite?
Lucite is a brand name–the proprietary name of DuPont’s highest-end plastic that has similar properties to glass (it is transparent and strong.) But most people use the terms interchangeably to denote a high-quality clear plastic that is strong and doesn’t scratch. There are different grades of acrylic, and lucite is considered the highest quality you can find. When you talk about lucite, you are most often referring to high quality cast acrylic.
Are there different types of acrylic?
Yes, the way in which the acrylic (or lucite) is manufactured determines the qualities it has. There are two main types of acrylic: cast acrylic and extruded acrylic. These are subtle differences, but they make a difference in how good your curtain rod looks
- Cast acrylic is much higher-end plastic–it will be more transparent and scratch less. It won’t be cloudy.
- Extruded acrylic is a cheaper process that results in a more cloudy product, and it will scratch more easily.
Here are some examples of cast acrylic and extruded acrylic:
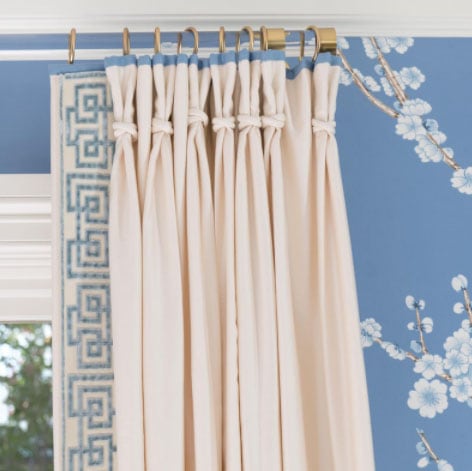 this is cast acrylic–a premium product and solid brass hardware
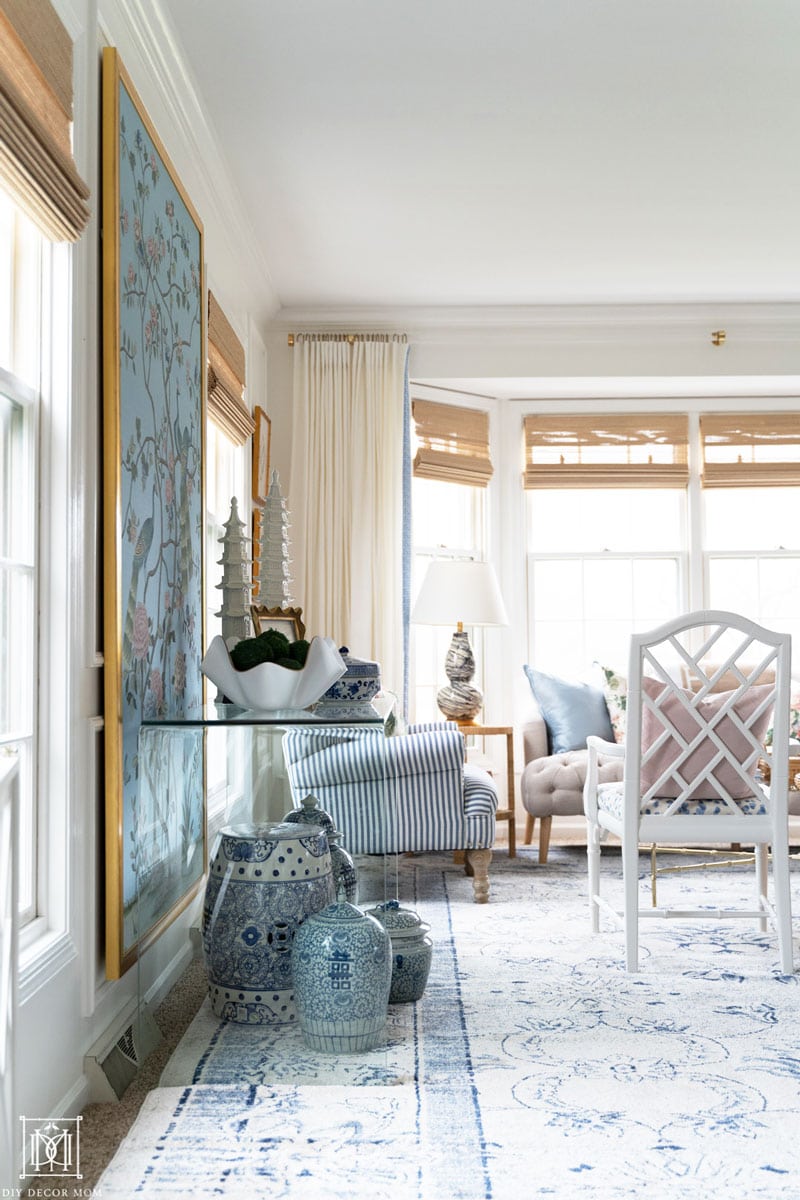
we also used cast acrylic (the good stuff) in our living room with solid brass hardware
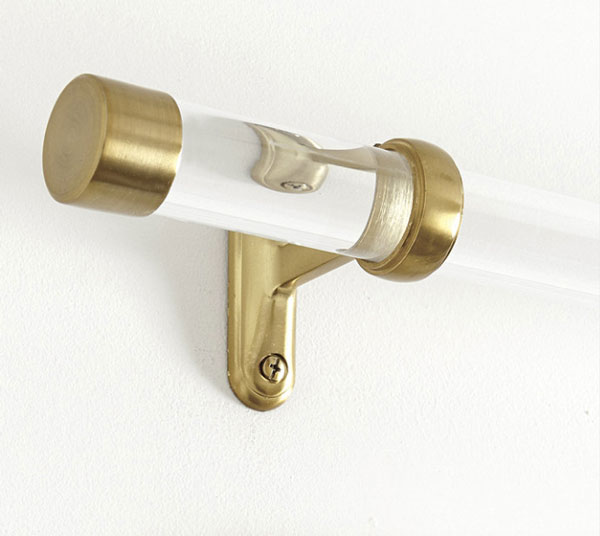 Ballard Designs– extruded acrylic with steel (less expensive)
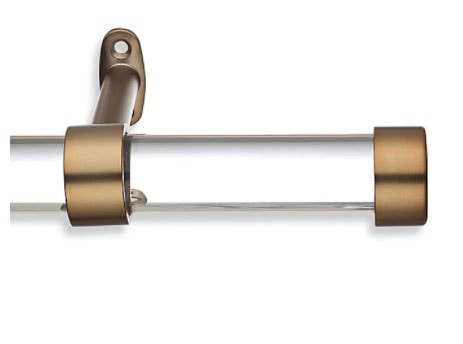 Umbra Curtain Rod- extruded acrylic and steel
HOW TO MAKE A DIY ACRYLIC CURTAIN ROD
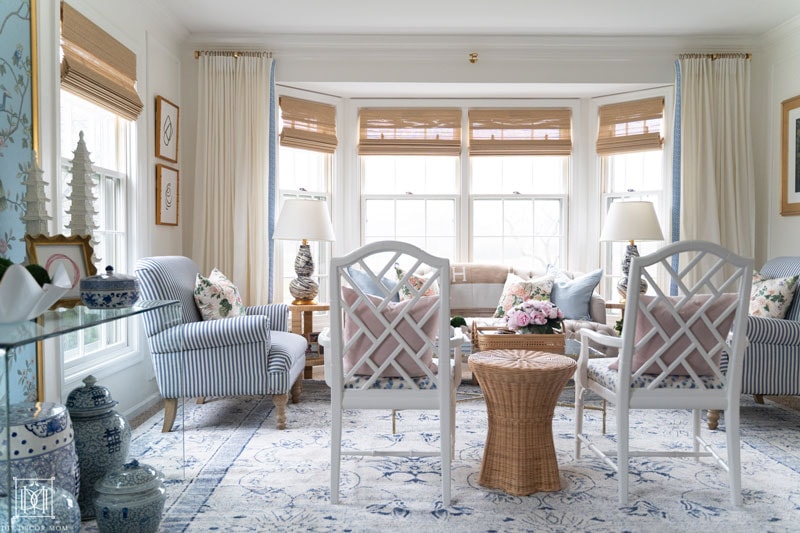
Making your own acrylic curtain rod is quite simple–the hardest part is gathering all the materials and assembling it, and then mounting it securely (something more important the larger the curtain rod.) This was the most time-consuming product in our living room to source; because we had to try to find the right products from five different vendors. And the end product, while it is pretty good–isn’t perfect.
We are working on coming up with a better solution for our readers so it’s easier and you don’t have to just “make do” with different types of finish and hope that the pieces all fit! Because believe me, we had to do this and it took three different orders just to get the right end caps. Small problems, I know, but it is frustrating and time-consuming!
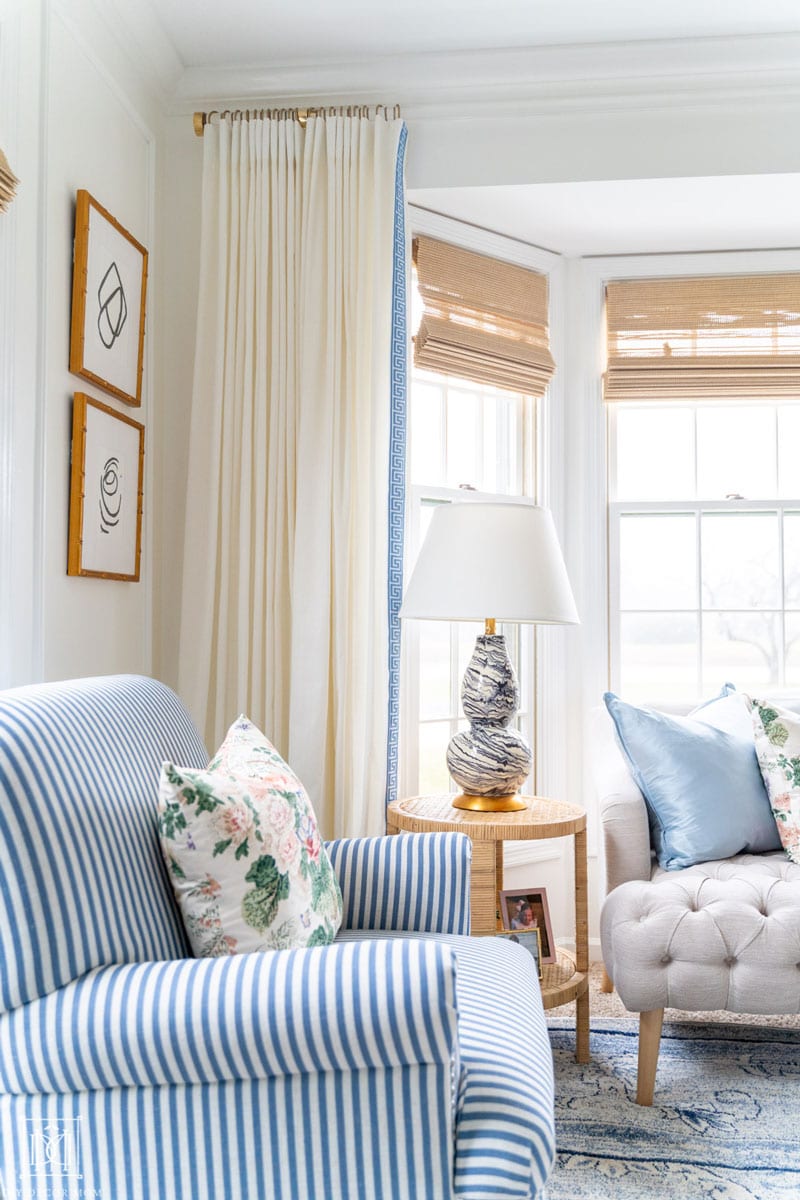
MATERIALS:
- 150″ lucite rod from Curbell Plastics (around $180 with shipping)
- 3 brass curtain posts (2 for each side and one for the center) available here, here, and here (you can use the same diameter post as you have, or use one that is .5″ larger) We used a 1.5″ diameter rod with a 1.5″ OD post)
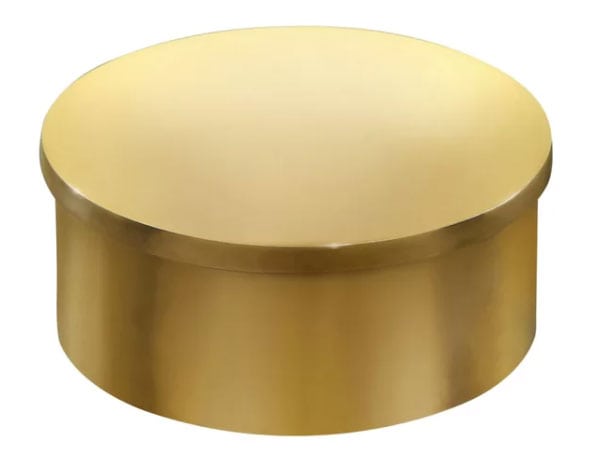
- 2 brass end caps– use an inset mount 2″ OD brass end cap and just add a bit of tape on the inside so it sticks. It will be a little loose; but, it will work!
- Drill and tap set to add two set screws to the center rod support

DIRECTIONS
How to determine what curtain rod length and diameter to order:
The thickness of your curtain rod is going to depend on how big your windows are. In general, you are going to want a larger diameter rod for a longer curtain rod so it is stronger.
- Curtain rod length: Measure the length of your window, then add 8-12 inches on either side for your curtains.
- Curtain rod diameter: If your curtain rod length is greater than 4 feet, I would recommend a 1.5″ diameter curtain rod. A thicker diameter curtain rod will always look more expensive and custom. If it is greater than 10 feet, you can also opt for a 2″ diameter rod for added stability.
- ) 1.37″ diameter- best diameter for single-width windows (30″-50″ wide)
- ) 1.5″ diameter- better for long windows and rooms with very high ceilings (this is what we used)
- ) 2″ diameter- good for very large rooms and high ceilings but makes a bold statement.
FYI: Our curtain rod length was 150″ so we used a 1.5″ rod. We have 8 ft. ceilings and it still looks good!
Where to get your DIY acrylic curtain rod:

We used Curbell Plastics for our DIY lucite curtain rod. All you need to do is use their contact form and you will get a message from their team. If you have a greater than 8-foot length, you’ll have two options. You can have two rods cut to half-length (and you are responsible for joining them with hardware and a set screw.) Or you can order two separate pieces, and have them create a special connector (but this is significantly more expensive.) We opted to join the two ourselves with a brass post (which we would have used anyway) and a simple set-screw.
Budget-friendly option (what we did):
- (2) 1 ½” DIA. X 96” CLEAR ACRYLIC CURTAIN ROD = 2x $76.53/EA
- Total: $153 plus $40 in shipping
More expensive option (still DIY):
(1) CUSTOM MALE/FEMALE CONNECTION $120.00
(2) 1 ½” DIA. X 96” CLEAR ACRYLIC CURTAIN ROD = 2x $76.53/EA
Total: $273 plus $40 at least in shipping
Expensive option:
Splurge option (order it completed and it includes the mounting hardware and set-screw done for you): $683
Order your brass curtain posts, curtain rings, and end caps:
Brass posts:
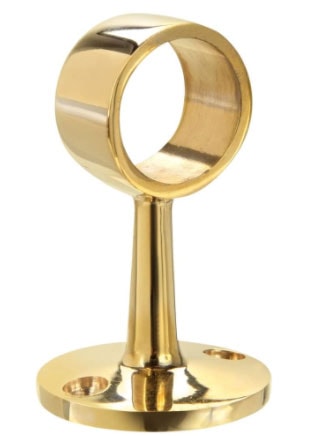 Buy them here, here, and here
You’ll want two or three brass posts to support your lucite rod. We ordered from BuyRailings but I wouldn’t recommend them. They charge an insane amount for shipping. For a 1.5″ rod, you can use a rod with 1.5″ diameter or a 2″ diameter post (and you’ll have a little extra room.)
You can get your brass posts from here, here, or here. Again, BuyRailings has the same exact posts (it’s all the same manufacturer) but it will cost you at least $17-$36 for shipping. And their return process and customer service was horrible!
Less expensive (premade posts like those from Ballard Designs and Umbra are made of steel and powder-coated zinc.) The posts we used are solid brass and super heavy!
Curtain rings:
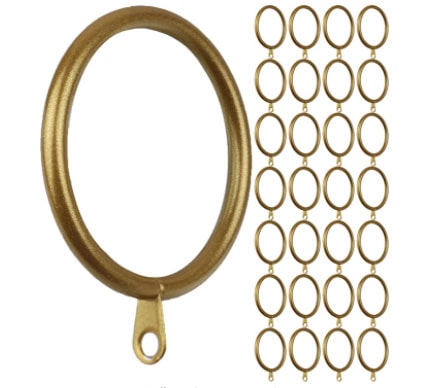 inexpensive brass curtain rings with free shipping
We used 2″ rings for our 1.5″ diameter rod. These aren’t solid brass like the more expensive ones; but, for 40 rings, we only paid around $40 (comes out to about $1/ ring.) The other option would have cost $8/ each. Note: The finish is not the same. Our brass posts are solid polished brass and our rings are a bit darker and not polished. Conversely, the curtain rings are steel and sprayed gold.
We needed 40 curtain rings because we had two curtain panels on each side. If you have a standard window, you’ll likely only need 20 rings.
budget-friendly brass curtain rings $40 total/splurge curtain rings ($320 total)
VanDykes also carries 2 3/8″ curtain rings; but, they were back-ordered for several months when we DIYed our lucite curtain rod. They run about $36 for a set of 6.
End caps:
So this is something we had to do a lot of trial and error on. You won’t find a perfect brass end cap for a 1.5″ lucite rod easily. We ended up using a 2″ inset brass end cap (it’s meant to sit inside a lucite curtain rod that is 2″ diameter) and ended up just putting it around the outside of the curtain rod.
We also tried a “1.5” inset curtain rod end cap and it was too small, and a 2″ brass end cap (designed to go over the curtain rod) was way too big for a 1.5″ curtain rod.
The only one that worked was a 2″ inset brass end cap that is meant to go inside a 2″ diameter rod. We bought it from BuyRailings; but, I wouldn’t recommend it. You can buy them here, here, and here depending on what diameter you need.
Mounting your curtain posts:

Now here is the important part–believe me, you don’t want to mess up mounting your DIY lucite curtain rod! We did not use the screws provided with our brass posts–we wanted something significantly more sturdy (ahem, four kids) so we used 2″ drywall screws that are significantly longer. These screws are then mounted directly into the studs so they are secure.
I always have our curtain rods extend beyond the brass posts, and we just mount the brass post into the stud using these long screws. Our curtain rod always extends 8-12″ beyond the window, so I just find a place to put the support that is within that distance. I usually will put some curtain rings inside it, and some outside.
Where to mount your curtain posts:
You always want to mount your curtain support posts into studs. Most of the time, there is usually a stud on either side of the window that frames the window opening which a great way to put the side ones. And if you have a very large window, you most likely have a header that you can drill right into.
How to add a set-screw:
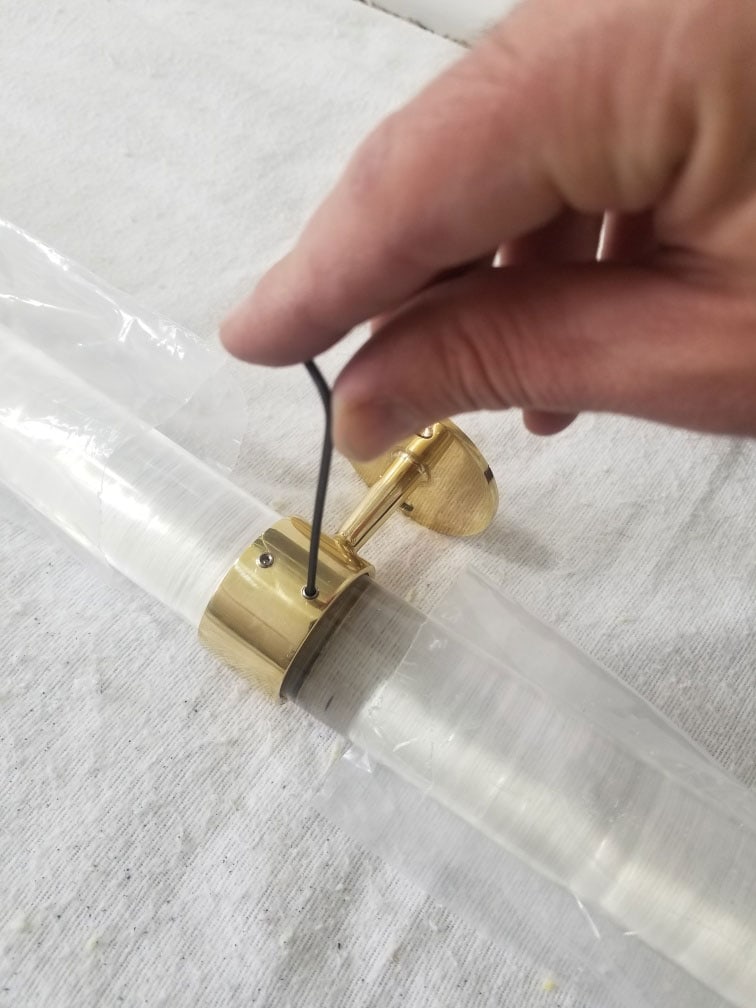
In lieu of a male/ female curtain rod which would have been less aesthetically pleasing as well as much more expensive; we opted to use two set screws that keep each lucite rod in place. That way, the two lucite rods join together inside the middle brass post; but, you never see it!
We added two set screws to secure the end of each rod in place so they wouldn’t slide out. If you’ve never drilled and tapped a hole in metal before that’s OK brass is very easy to work. First, you drill the holes where you want the set screws to be located using the correct size drill bit (most taps come with the correct size drill bit – for our #10-24 set screws, it requires a #25 drill bit). Next, you slowly screw the tap into the pre-drilled hole trying to keep it as straight as possible – especially as you’re getting the threads started. Stop and unscrew the tap about a 1/4 turn for every full turn you go down. As soon as the tap threads easily, you’re done and can carefully unscrew the tap from the hole and you’re done! We bought our set screws at our local hardware store and you can buy a nice tap and drill set here.
ACRYLIC CURTAIN ROD FAQs
What length of curtain rod should I buy?
You always want to hang your curtains high and wide. Plan to have the curtain rod extend 8-12″ from the window. This will make your windows seem much bigger.
Where should I hang my curtain rod?
Plan to hang your curtain rod above your window–approximately 4″-6″ above your window. I usually hang them about 4″ below the ceiling on our 96″ ceilings.
How do I mount a curtain rod?
We cover the best practices in how to mount curtains here!
What diameter acrylic should I use?
Acrylic curtain rods are usually 1.37″, 1.5″, and 2″ diameters. 1.37″ is good for single windows, 1.5″ is good for larger windows and ceilings, and 2″ is good for very large windows and rooms (but it can look a little bulky.)
What type of curtain hooks should I buy?
We ordered 2″ curtain rings and they work well. Other people have used 2.38″ curtain rods.
Do your curtains open and shut?
Nope. Our curtains in our living room are purely decorative. The sofa is nestled in the bay window, so we never close them.
Where did you get your curtains?
We DIYed our curtains and used Ikea curtains and inexpensive greek key trim.
Related: See how to make DIY Curtains here
BEST ACRYLIC CURTAIN RODS
If you aren’t up for DIYing, here are the best options for custom and premade acrylic curtain rods.
They do sell lucite curtain rods pre-made but, in general, they are much thinner, and won’t span as large of a window as custom ones. Their diameter is 1.37″ and 1″ respectively. Another difference is that these inexpensive acrylic curtain rods are from extruded acrylic not cast acrylic (a higher-end and clearer looking product that won’t scratch as easily).
 Ballard Designs– extruded acrylic with steel (less expensive)
 Umbra Curtain Rod- extruded acrylic and steel
