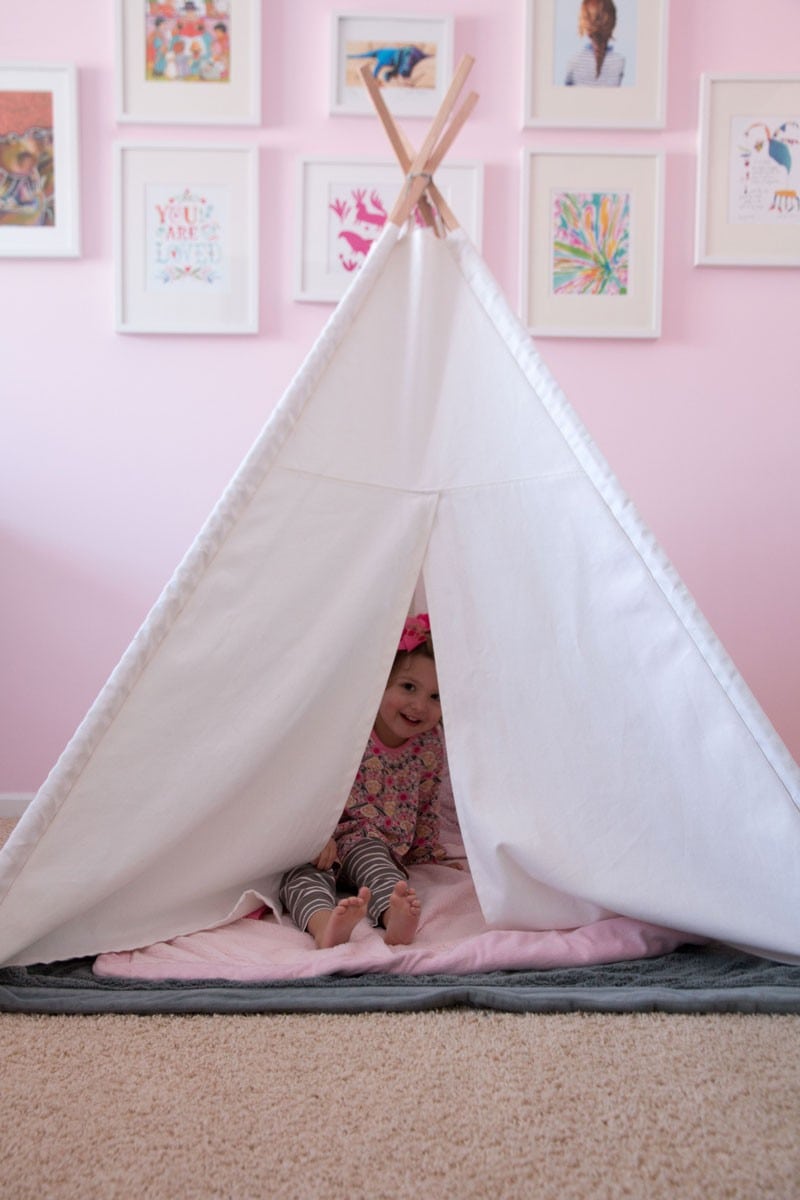
You have most likely seen the infamous Land of Nod teepee in every blogger’s playroom; but, what you probably haven’t seen is a DIY teepee that costs less than $50 to make! This was an easy DIY that Santa was able to bring to our house this Christmas! The teepee is gender neutral, will grow with the kids, and has been a hit with the kids (after we showed them how to use it of course!)
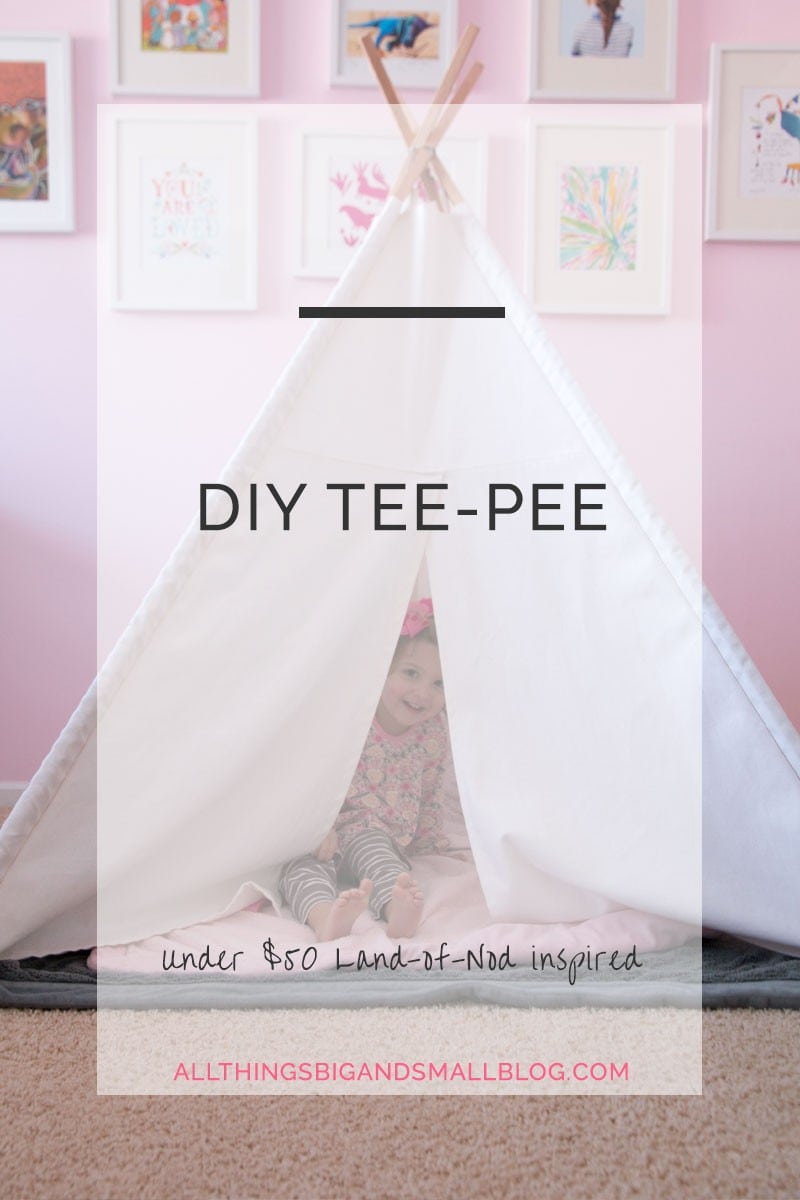
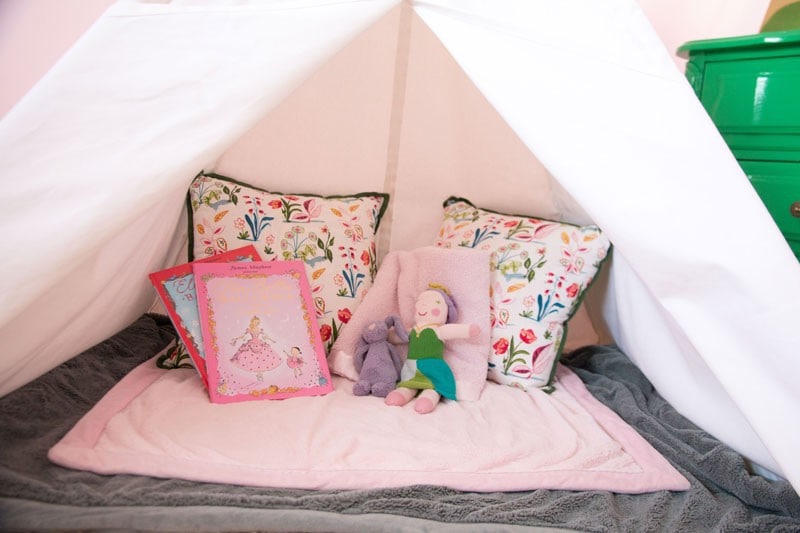
Christmas morning, we did have an awkward moment when B literally walked out around it completely ignoring it in pursuit of other presents, which made me worry it was a total flop! Nothing says true love like complete disinterest. The entire first day, the most excited about it was Denali, our 6 year old great dane, who decided that it was a great place to hide. Now to get the whole picture, imagine a great dane sticking his head into the teepee and laying down. He thought he was hiding but 2/3 of his body protruded into the living room. #greatdaneostrich Luckily, after we played a few rounds of hide-and-go seek with the kids and shooed Denali out of there, the teepee got some use. Now, it is our favorite place to not only hide but read books. Just last night I was read a very animated rendition of Ella Bella Ballerina and Cinderella and Ella Bella Ballerina and The Nutcracker by B herself. Anytime I tried to read, I got a polite but insistent “Please STOP.” The girl doesn’t read (she is not even three but she has memorized over 10 books!) And she is totally onto my trick of skipping pages when bedtime is running late.
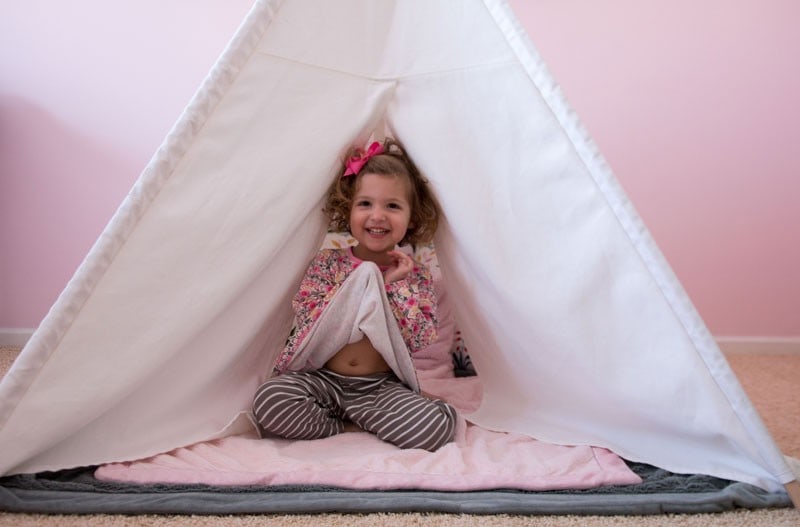
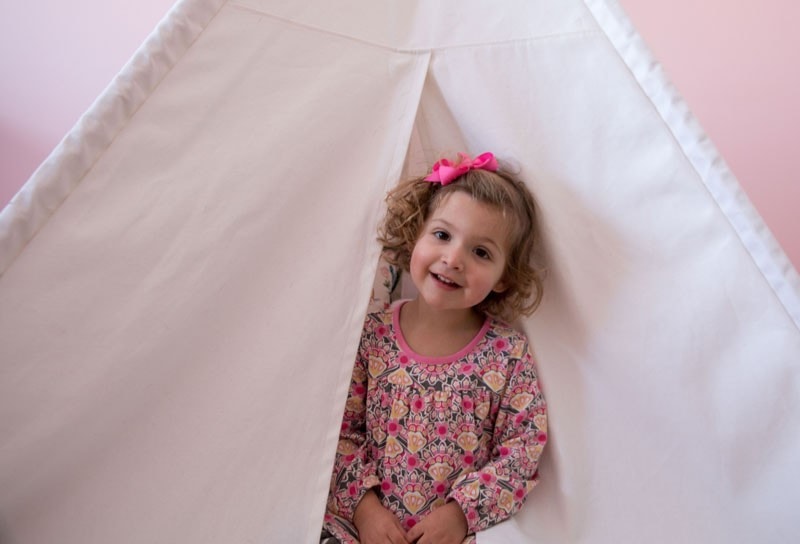
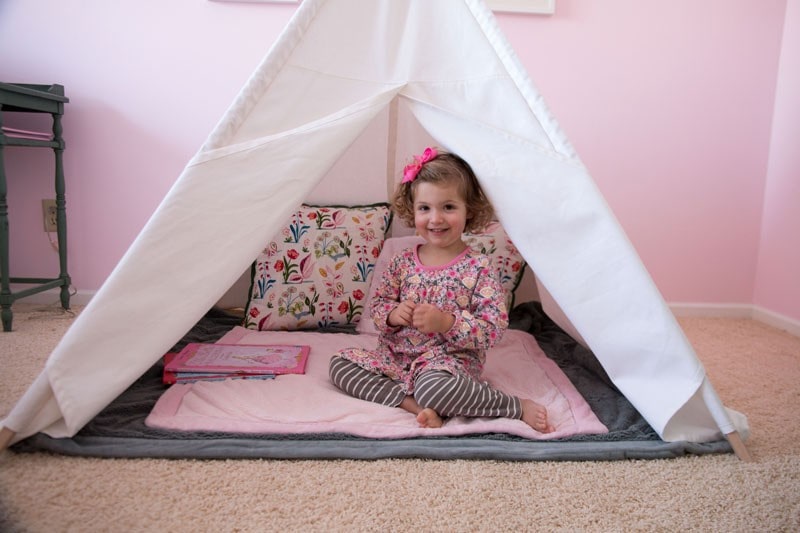
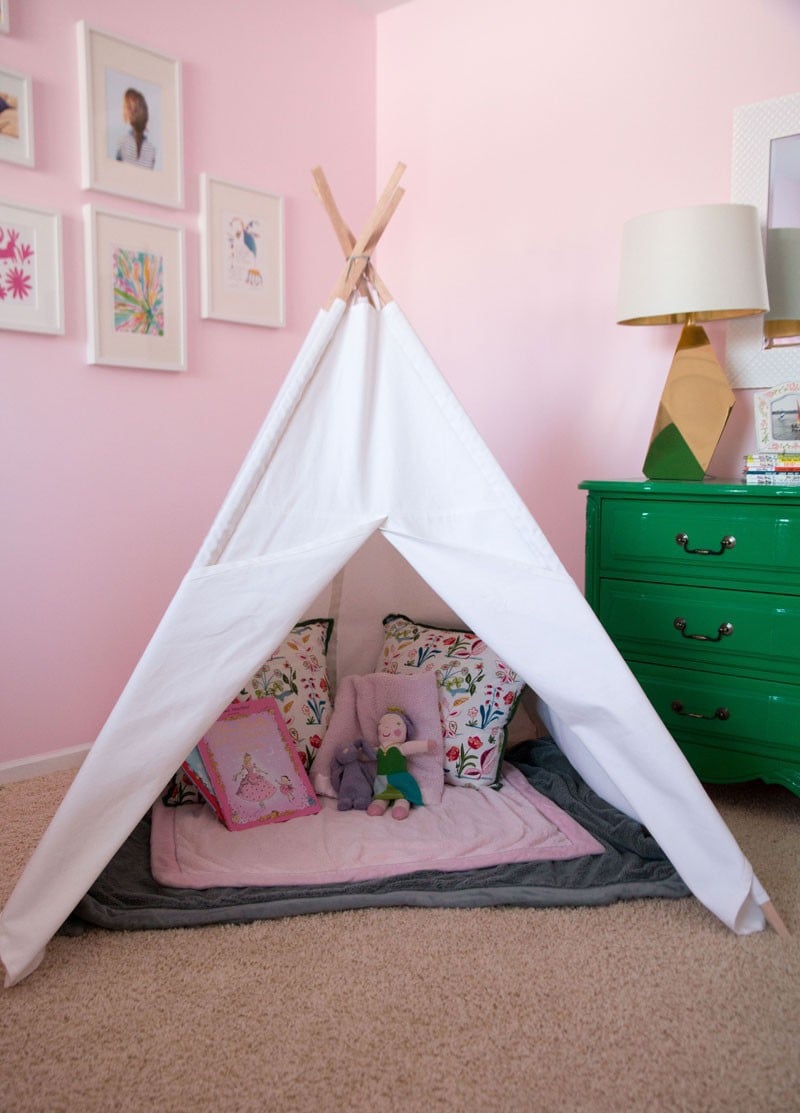
Right now the teepee is situated in her bedroom. We moved it up there after Christmas day to make more room in the living room and to keep Denali out of it!
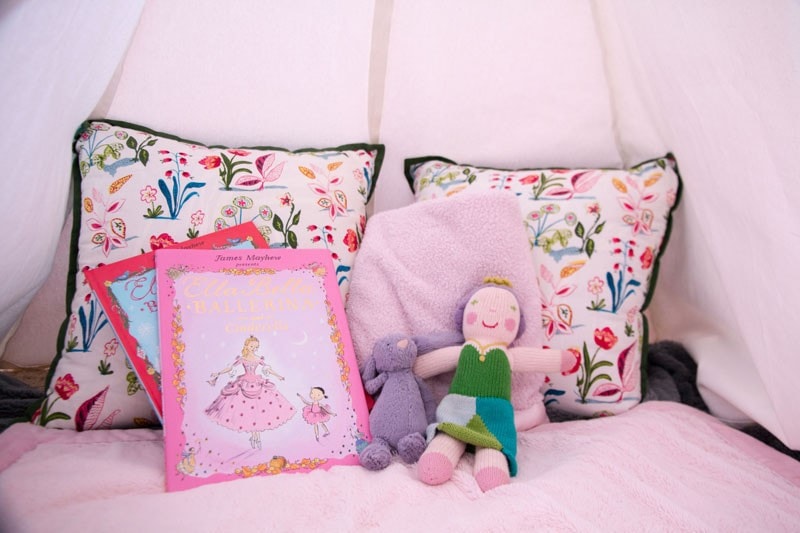
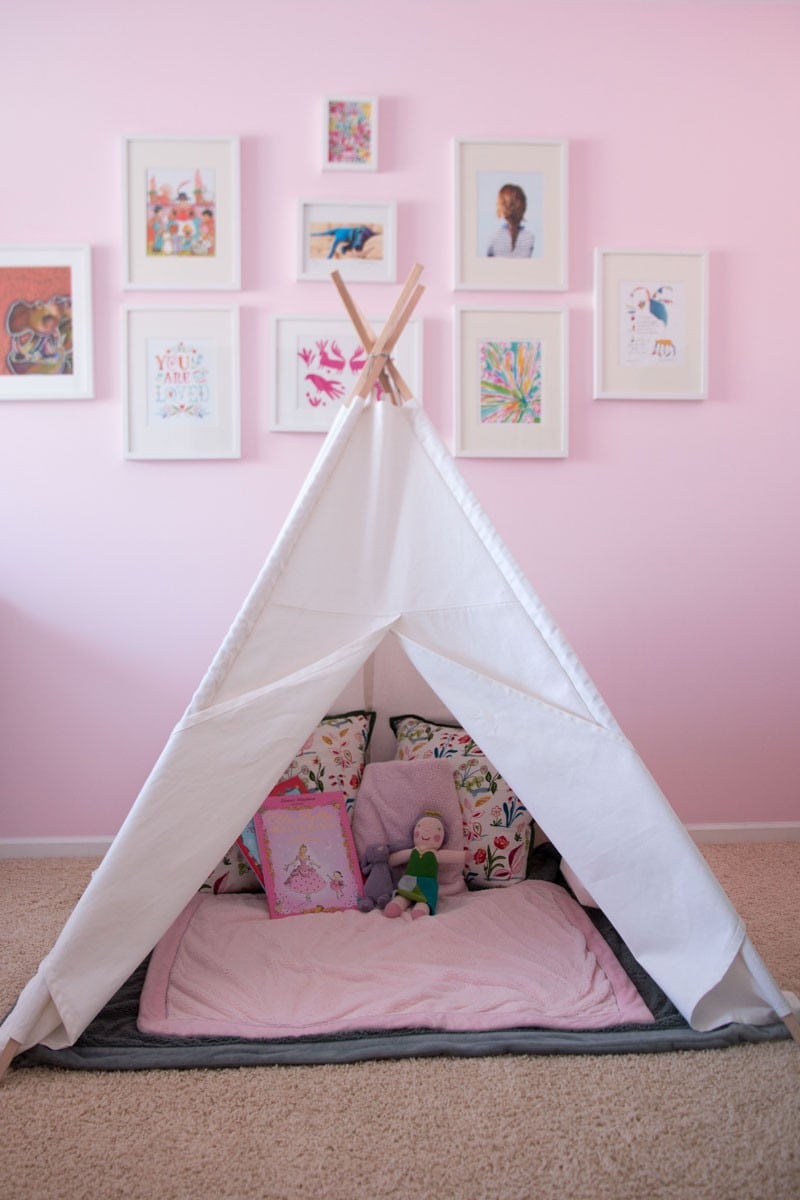
I figure when Jack gets old enough, we can always relocate it to another room or the playroom. But right now, we all play in it. #realmenlovepink And while it might look super girly in her pink bedroom, throw a blue blanket down, some truck books, and it is a “boys only tent!”
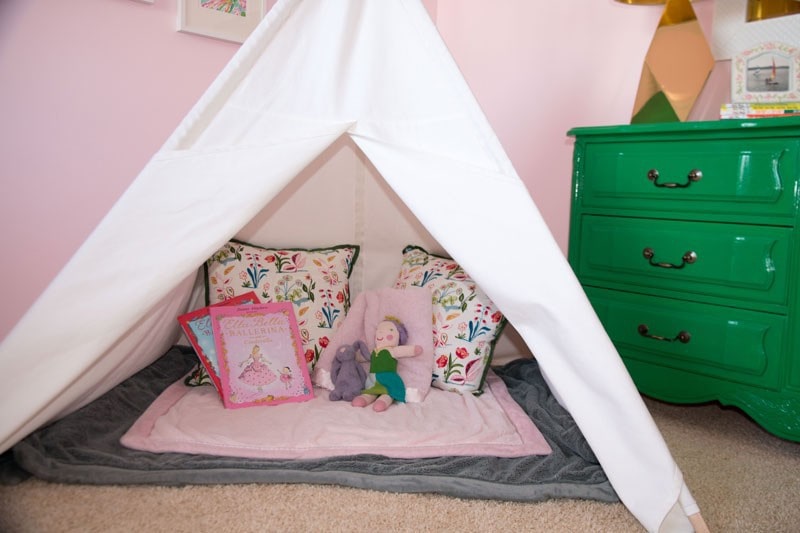
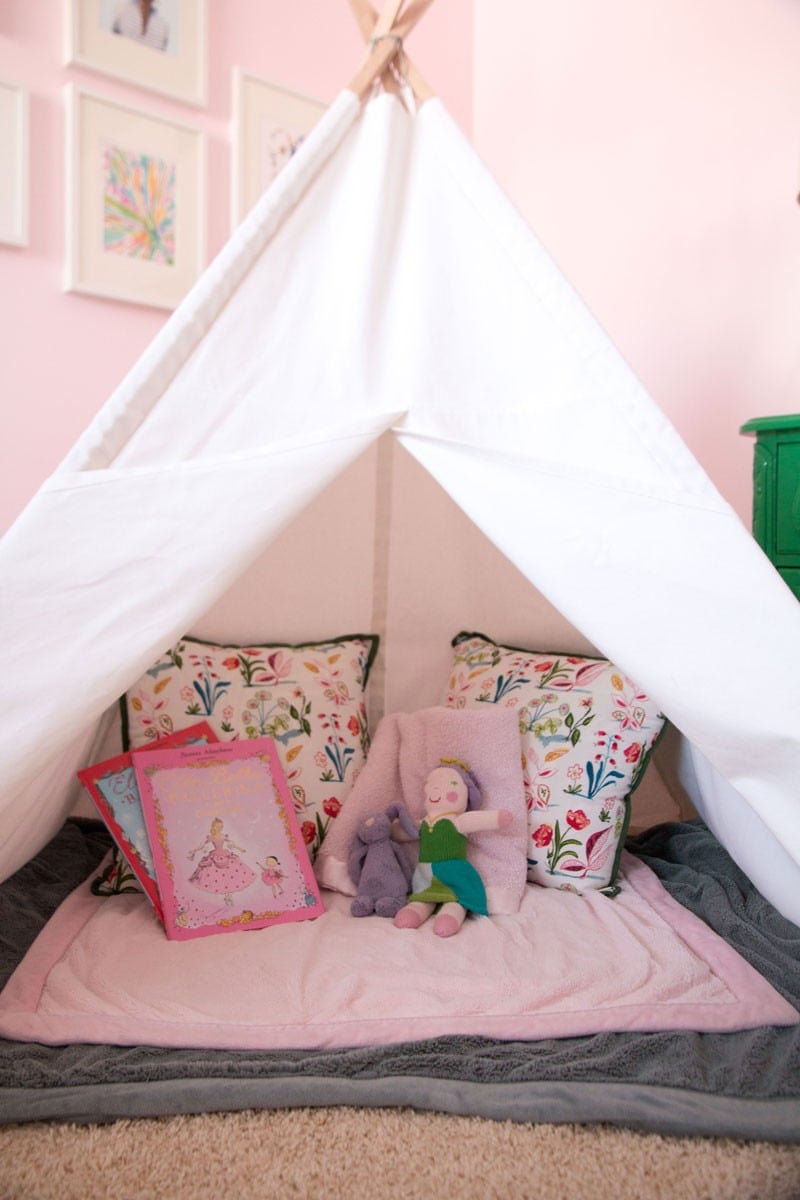
There were a ton of good resources for the exact plans for this tent, so I won’t try to reinvent the wheel by doing a full tutorial. Although, if you would like me to post the plans and detailed directions, please comment below. I am more than happy to if you guys want it! For directions, we followed these ones found here. We made a few adjustments: utilizing rectangular wood instead of PVC pipes. We also only used one type fabric–white denim from JoAnn Fabrics which was on sale for $7.99/ yd.
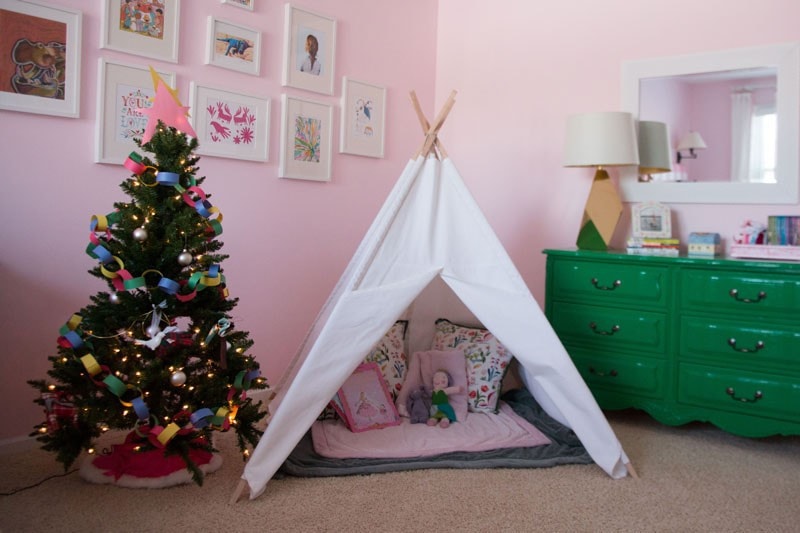
B’s little Christmas tree in her bedroom (our old apartment one)
I think Santa did good this year! In our house, Santa always brings one big toy for the kids (last year he brought a grocery store) and one present for each kid; in addition to a few stocking stuffers (the rest are from us and family members). B got Elsa and Anna (on sale for $24) after asking Santa for it, and Jack got some MegaBloks but being the awesome Mom I am I accidentally ordered them in pink. Oops! As far as stocking stuffers, Santa left some shakers (seriously such an awesome and easy toy!) and animal figurines in addition to an orange for each child. This was quite different than growing up in our house, where Santa brought a lot of toys and we got fewer from my parents. But we still always got an orange in our stocking. What is it like in your family? I have talked to a few friends who have done it both ways. Have you heard of an orange in your stocking? E still thinks it is so weird!
To see more of B’s room read about all of the DIYs in this post.
LOVE this idea! Definitely pinning for when the babe is old enough.
Oh thank you Mar! You are so sweet! I have been dying to do one forever!
xo
Annie
My parents always put an orange in our stocking too and I never knew why, but I’m planning on passing down the tradition when we have kids eventually!
Whitney, that is so funny! I wonder why? Maybe from when citrus was more of a delicacy? For my kids berries this time of year would be much more appreciated 😉
xo
Annie