DIY Console Table: Have you ever wanted a piece of furniture but couldn’t justify the price tag, and figured, well I will just build it myself then! That’s exactly what we did here! Below, I’ll share the step-by-step instructions on how to make an easy behind-the-couch or entry console table!
DIY CONSOLE TABLE
Jump ahead to...
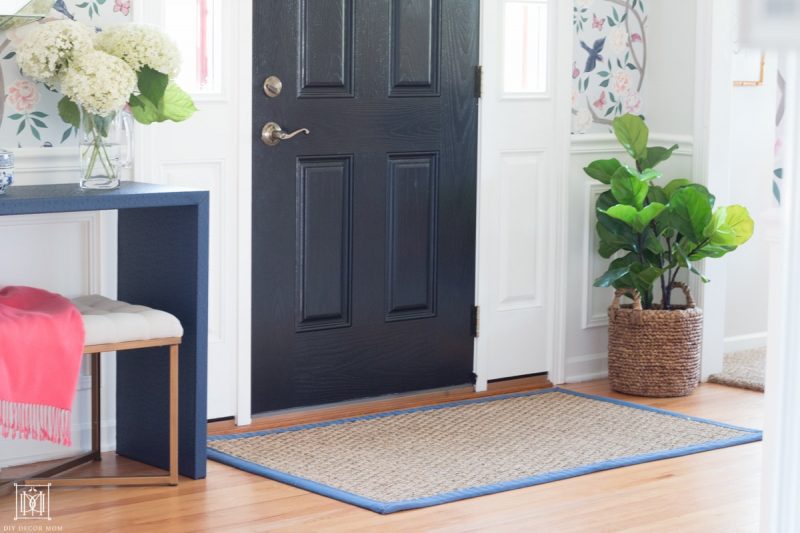
For years, I’ve dreamed about this gorgeous grasscloth table. I’d see it in shelter magazines and think, one day I will have one of those in my front hallway! Well, I got impatient. Once, we wallpapered our front hall, I knew the time had come. I’d waited long enough but there was no way I was forking over 1k+ for a table–especially one that needed to be custom made to my specifications. For just under $200, we were able to DIY our own perfect faux ostrich wrapped DIY Console Table that fits our front hall perfectly!
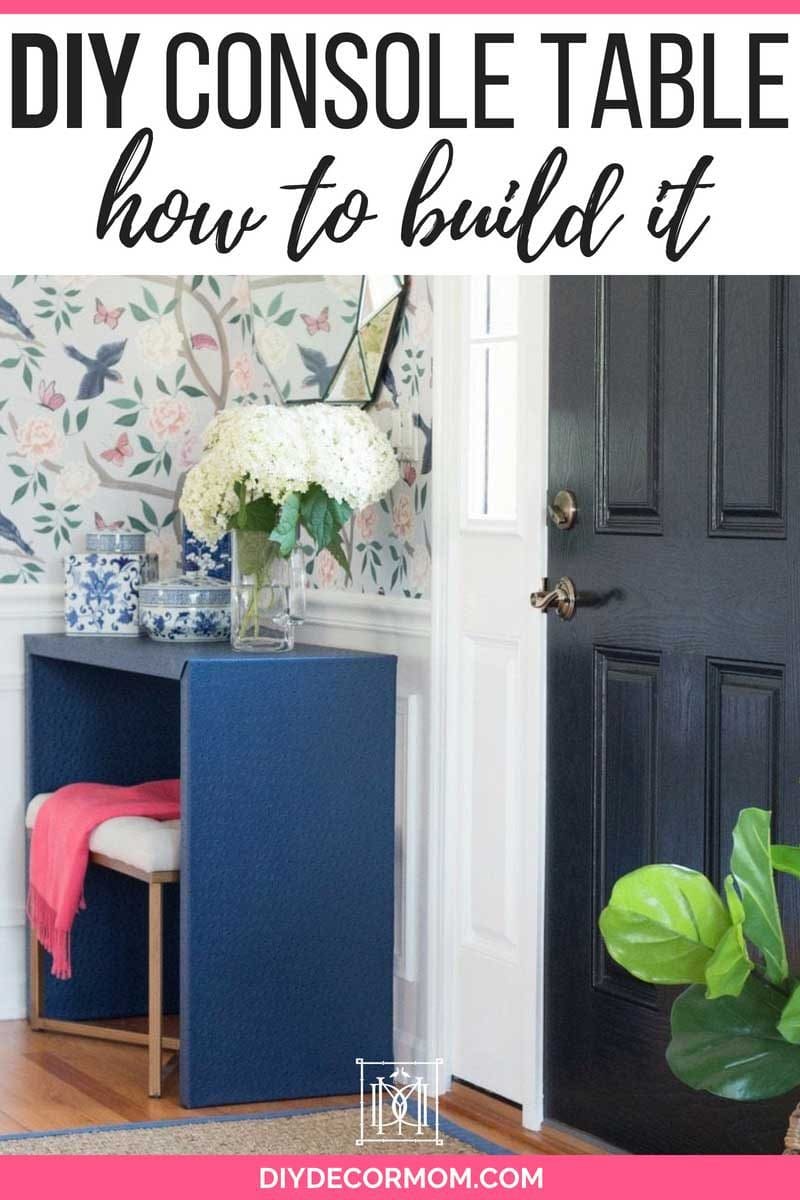
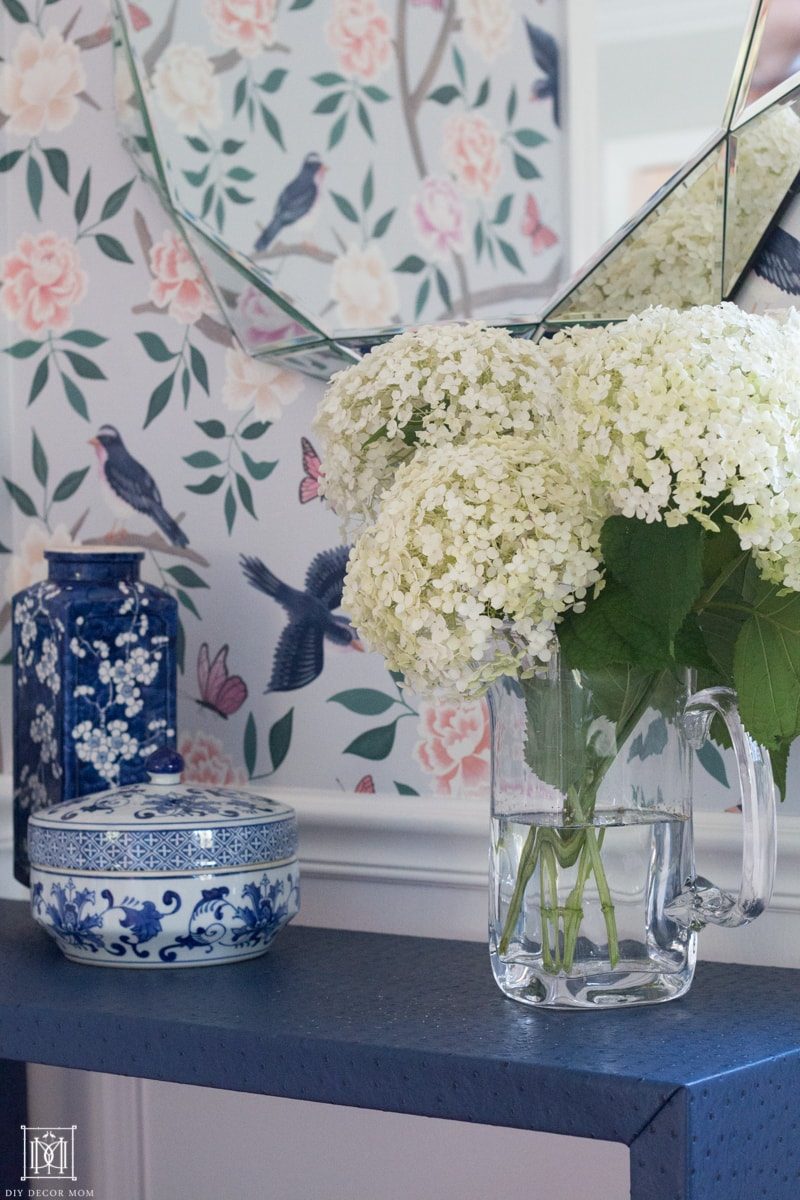
While I would have loved a grasscloth table, I knew that with three little kids running around, I didn’t want to have to worry about it getting ruined. I wanted something that was more robust, and that I could easily wipe down. That’s when I decided to use this vinyl based faux ostrich leather. I can easily wipe it down with a wet microfiber cloth. Plus, it was easier to work with than grasscloth–no wallpaper paste required!
And isn’t DIYing it so much more satisfying than going out and blowing a ton of money on something? DOWNLOAD MY Decorator’s Cheat Sheet (CLICK ON THE PICTURE BELOW OR CLICK THE PINK BUTTON) for all my tips on styling a home on a budget–plus the exact measurements your house needs to look right!
*affiliate links have been used at no additional cost to you see this vinyl based faux ostrich leather
MATERIALS FOR DIY CONSOLE TABLE
- Plywood (one sheet)
- Drill
- Wood putty
- Screws
- Wood glue
- 3 yards fabric
- Spray Adhesive
- Staple Gun
- Table saw or circular saw
- Clamps
- Measuring tape and ruler
STEPS TO MAKE A DIY CONSOLE TABLE
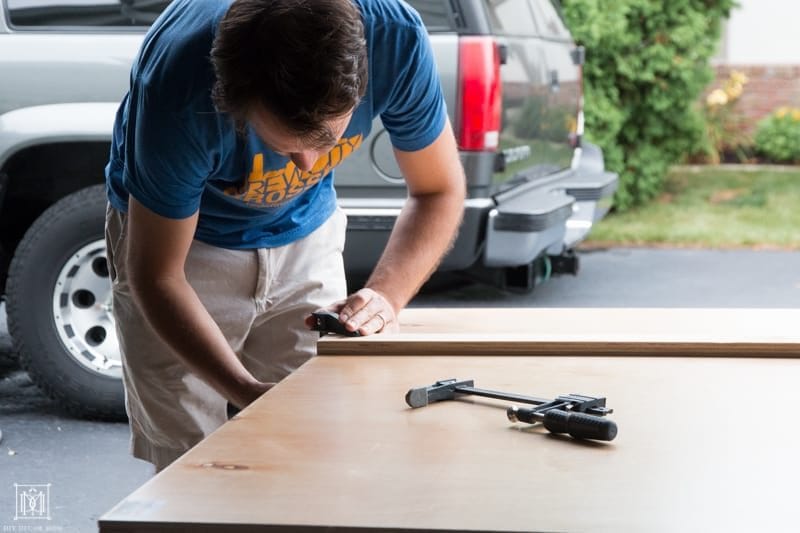
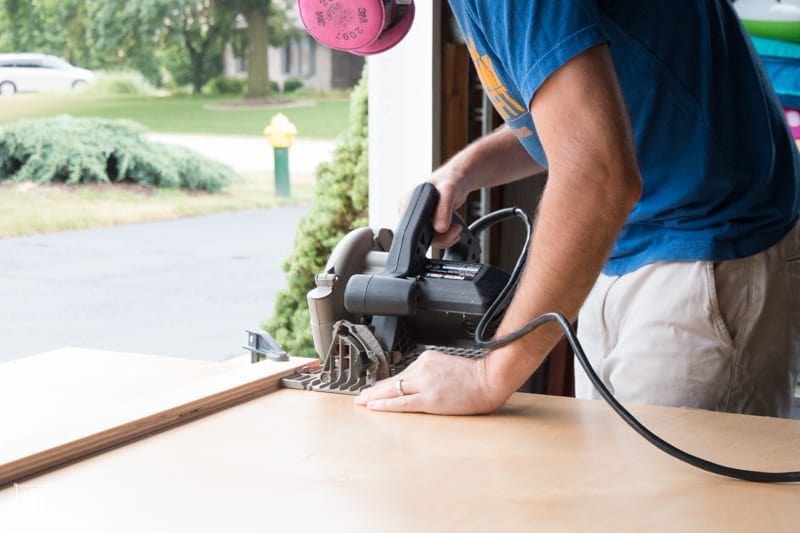
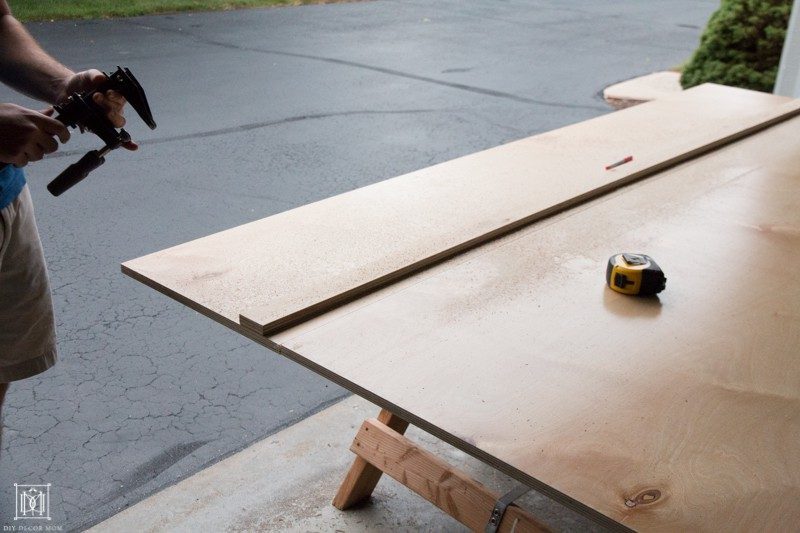
Step 1: First, you need to cut down your sheet of plywood. Cutting into smaller pieces not only makes it safer to wrangle on the table saw; but, it will fit in your house if you have a basement workshop like our’s and have to maneuver it down a narrow stairway.
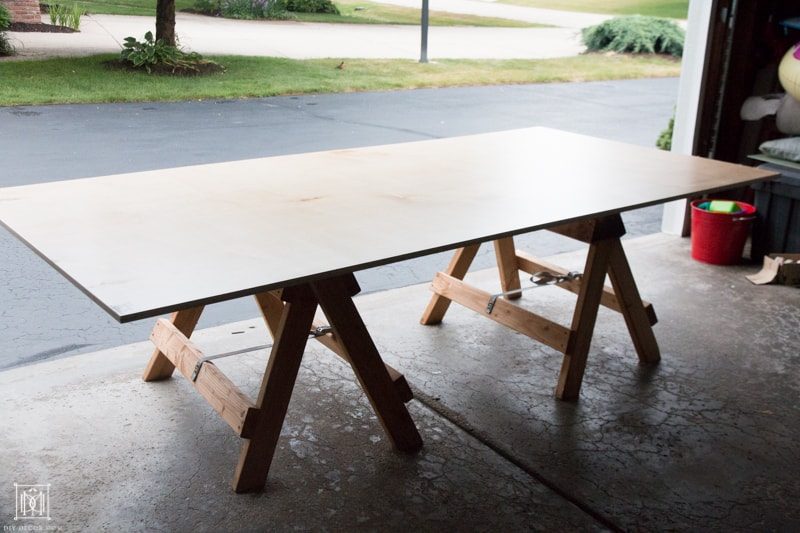
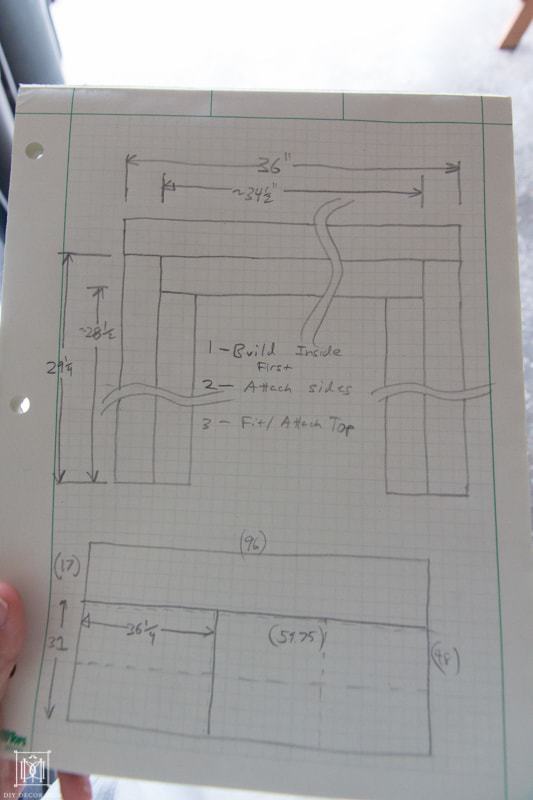
Here’s our cut list, so you can see how we planned to make the DIY console table using one sheet of plywood.
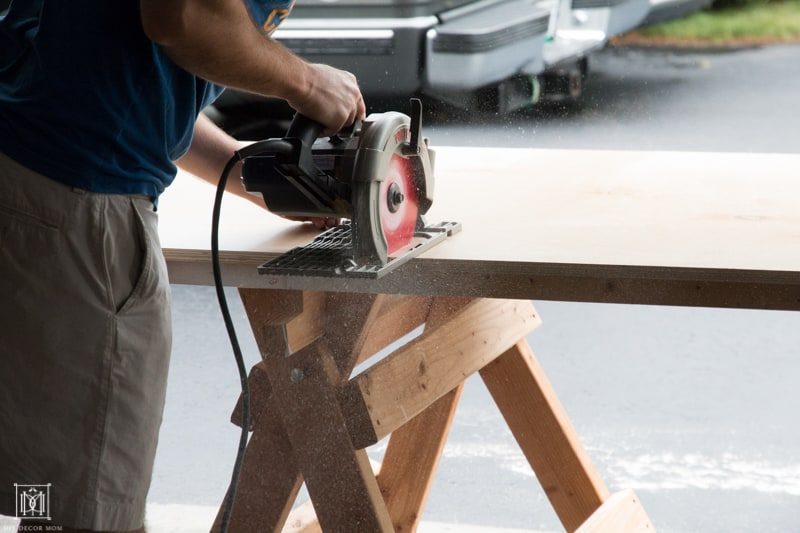
Step 2: Now, it’s time to cut the individual panels for the legs. You are making more precise cuts now so measure twice, cut once!
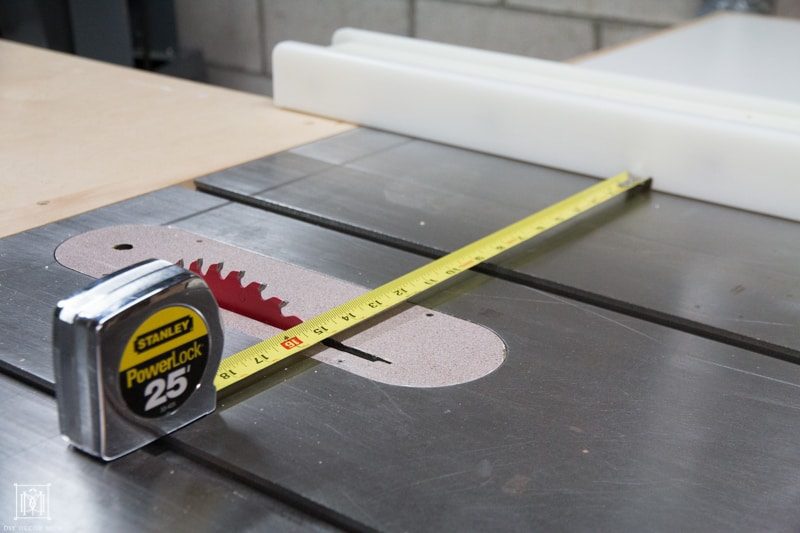
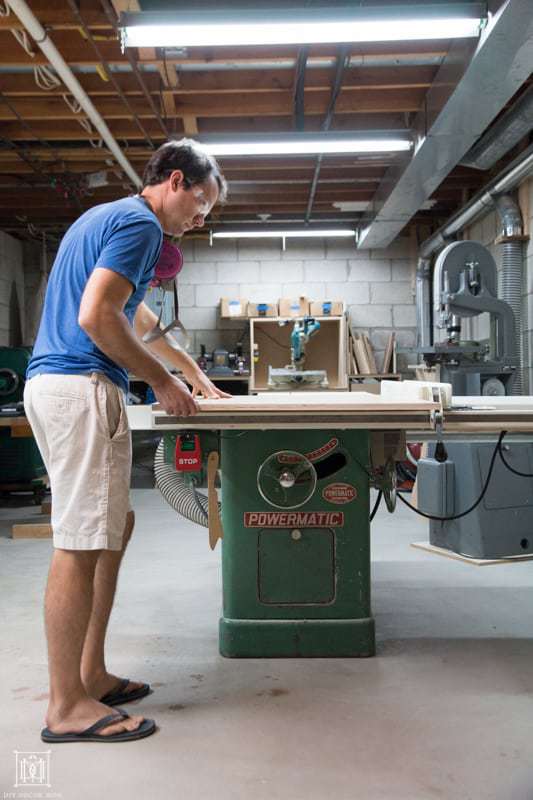
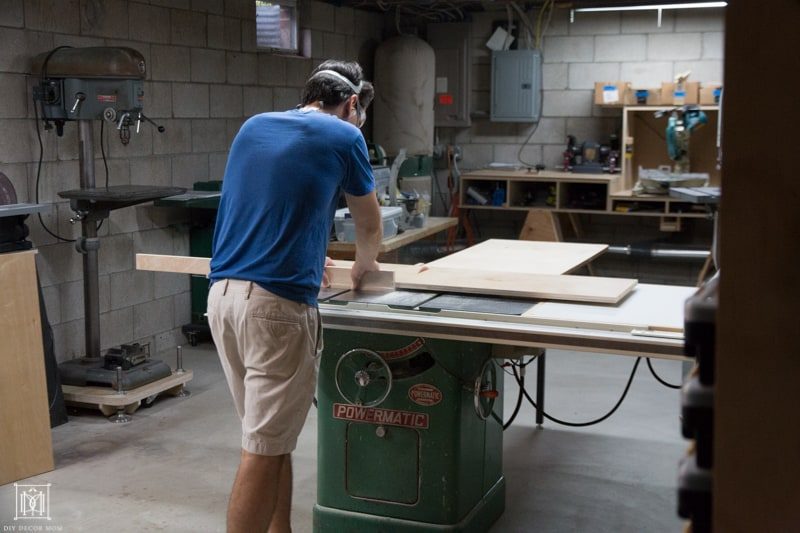
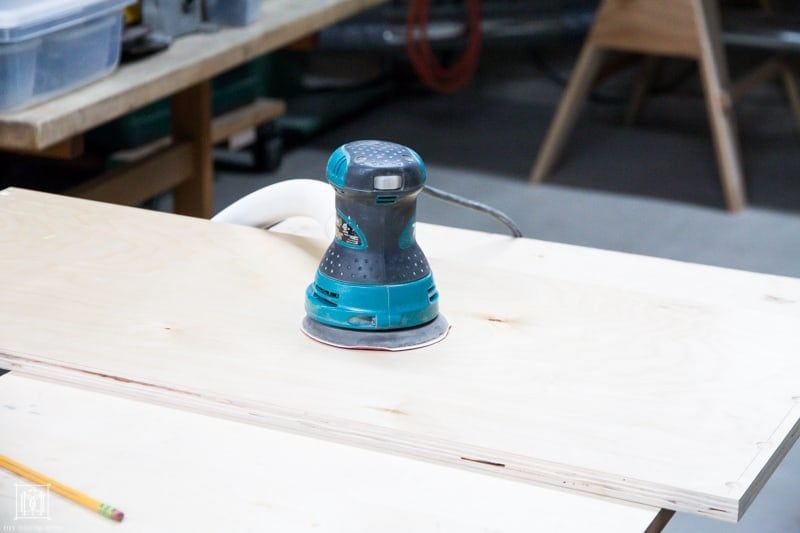
Step 3: Drill the holes when you will secure the boards together to form the plywood table base, sand the panel that will get glued and set up your clamps so you can glue and screw the two boards together forming the diy console table.
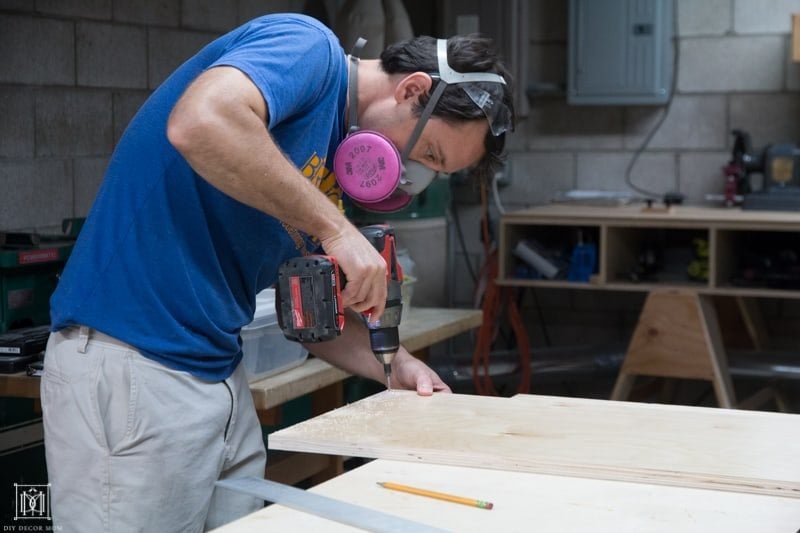
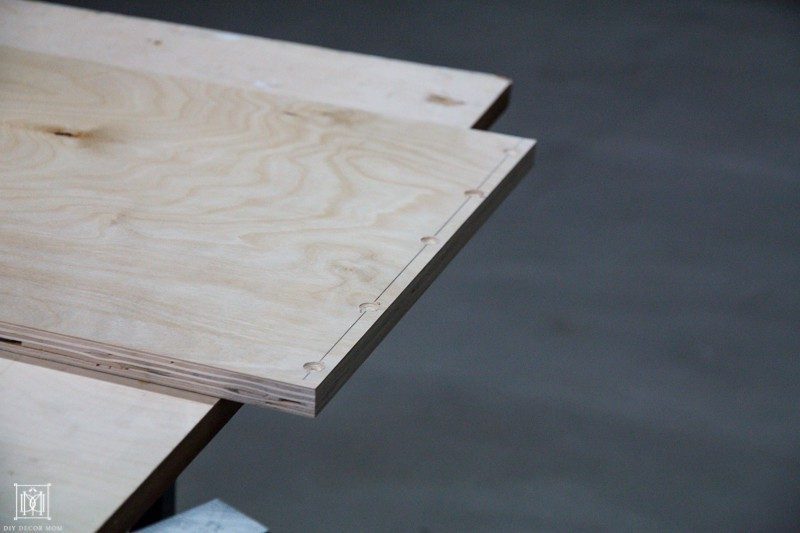
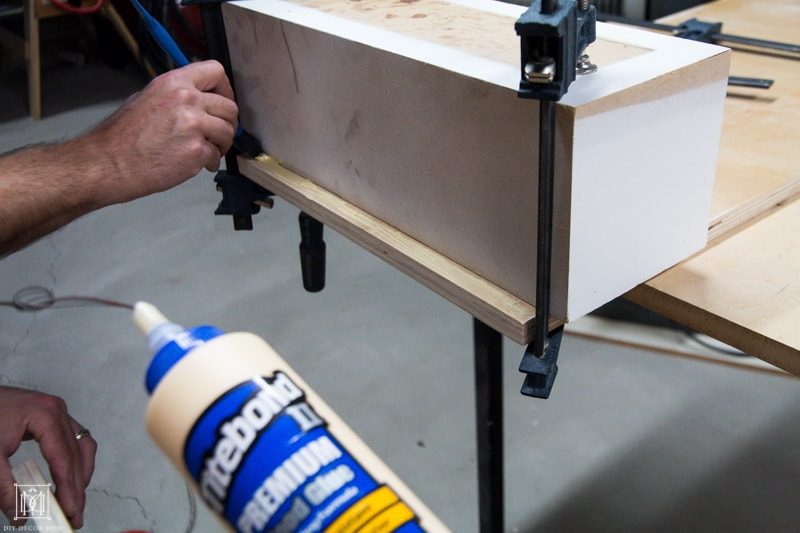
Step 4: Apply the wood glue to the ends, secure it with a clamp, drill the screws. Between the wood glue and the screws, you will have a very stable DIY Console table. Wipe the excess glue off with a paper towel. Repeat with the other side so you have three panels making a table.
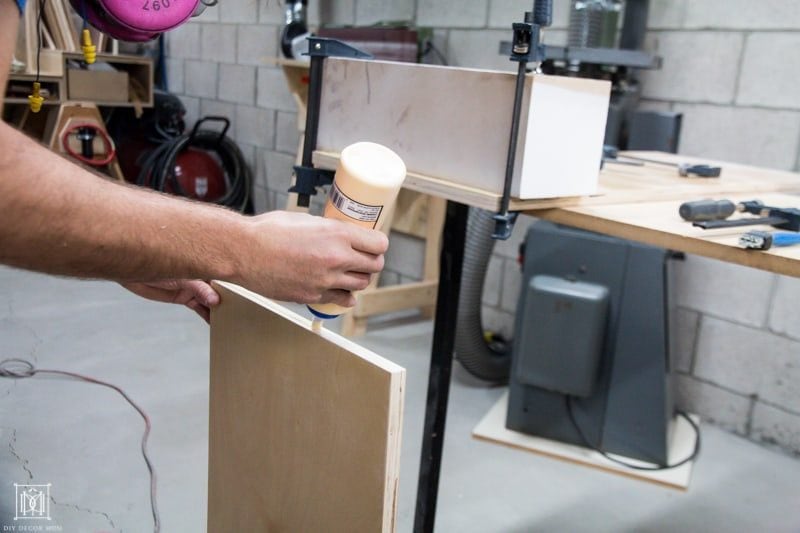
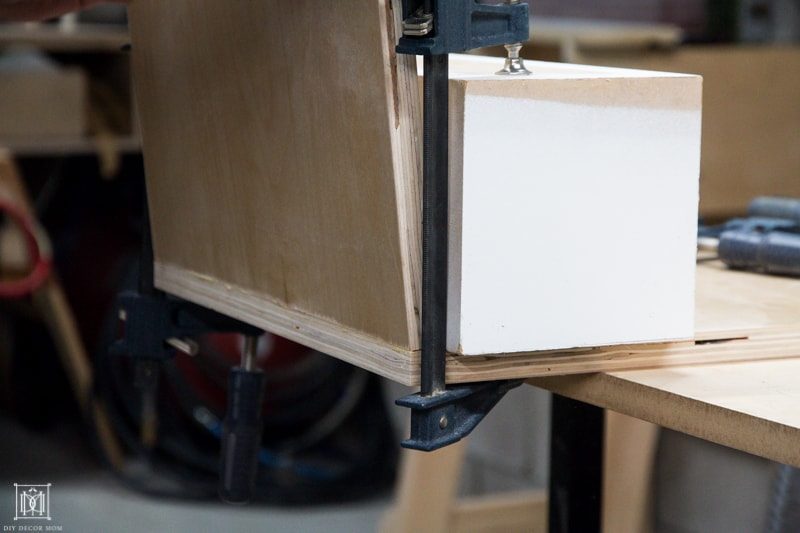
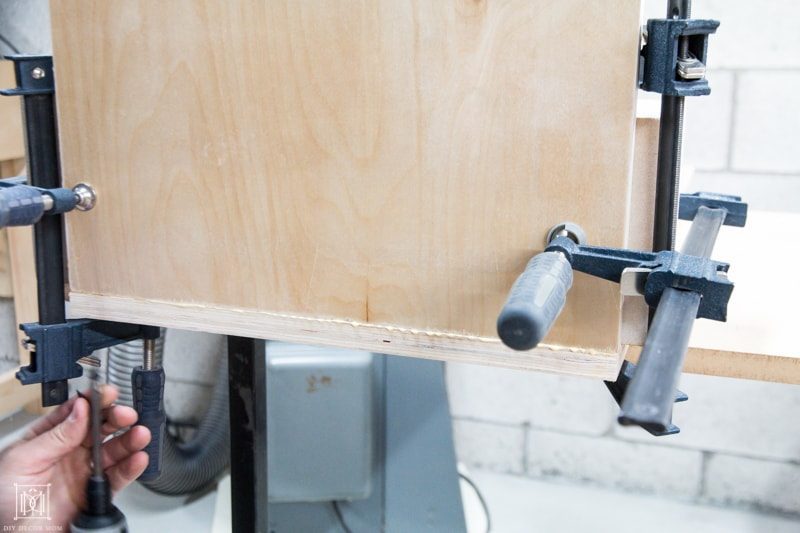
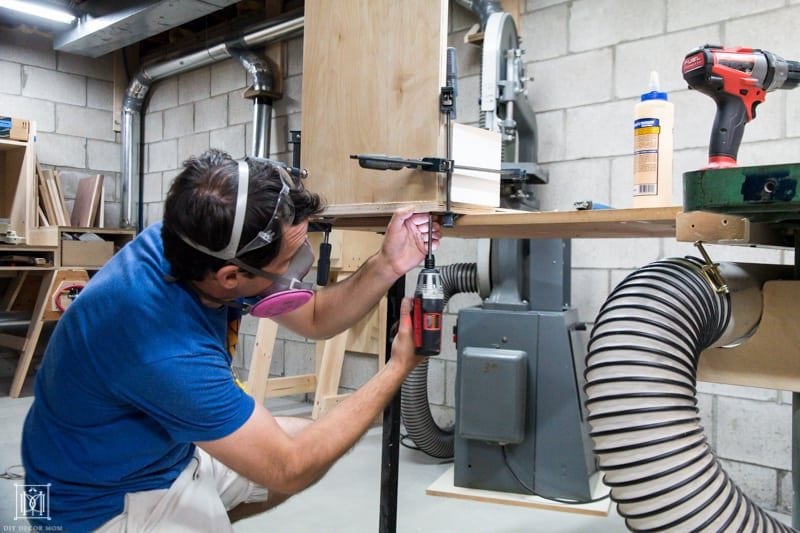
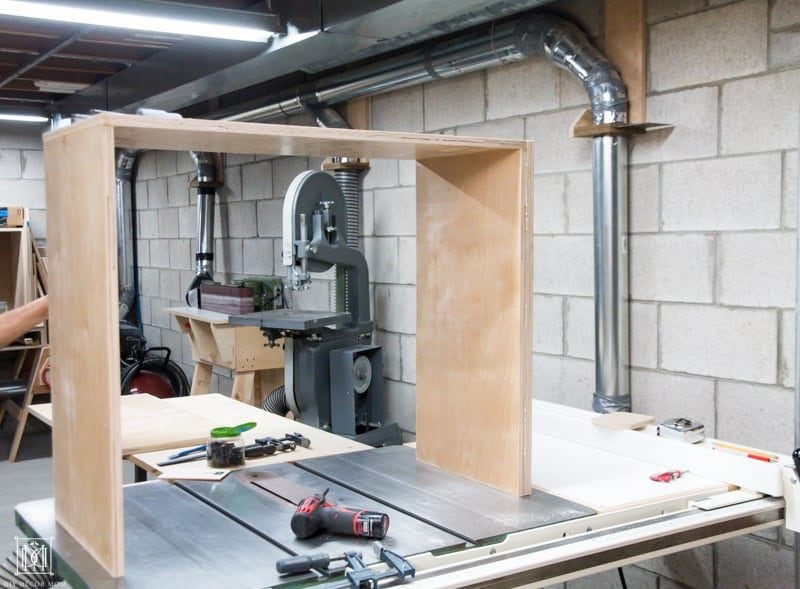
Step 5: Repeat these steps to add the second layer of the DIY Console table doubling the width of each panel.
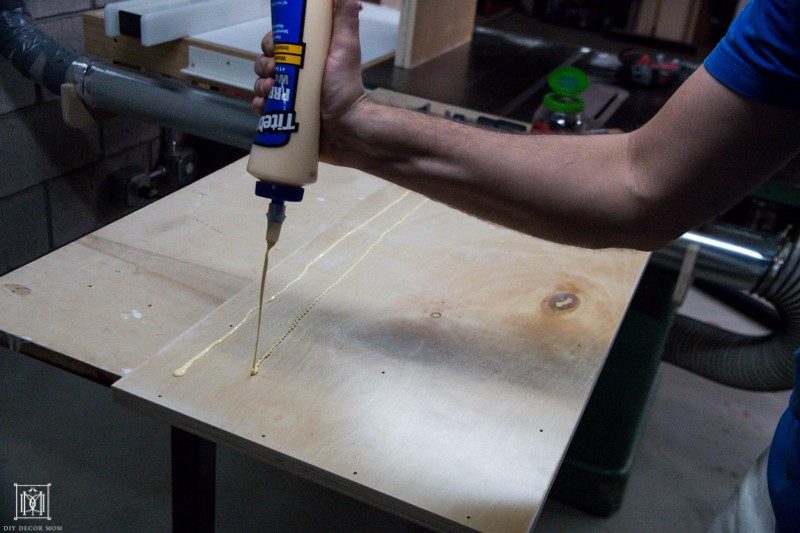
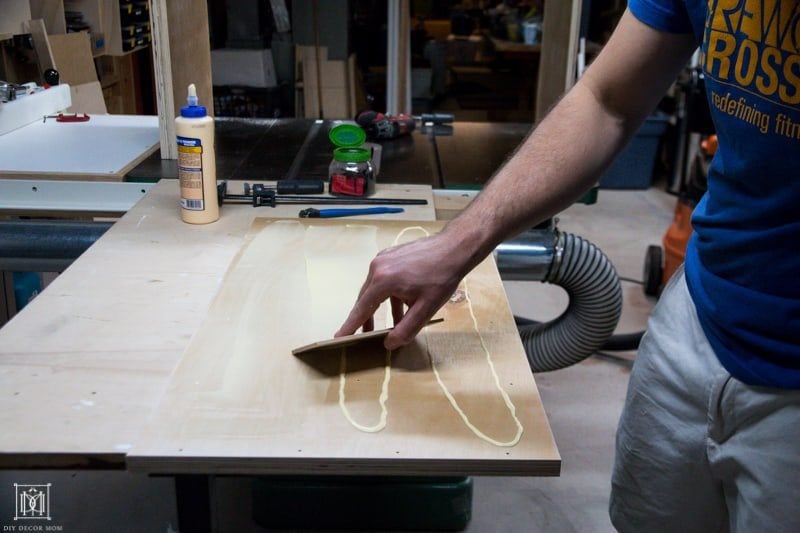
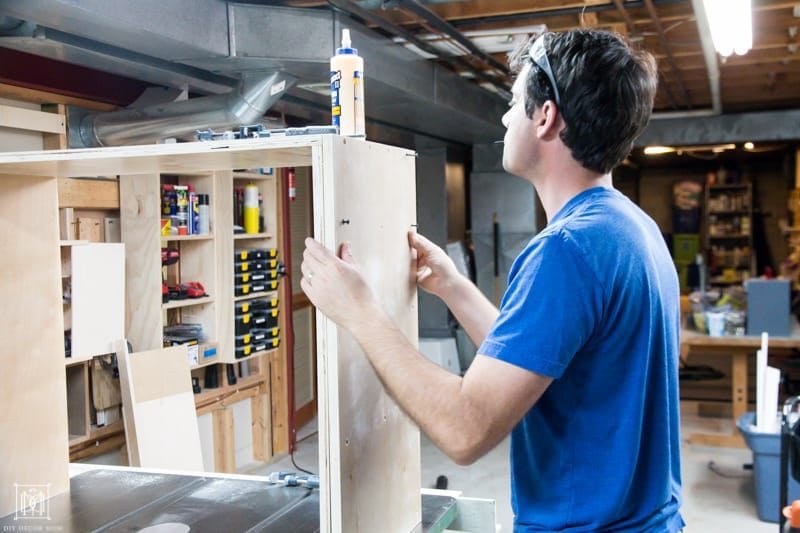
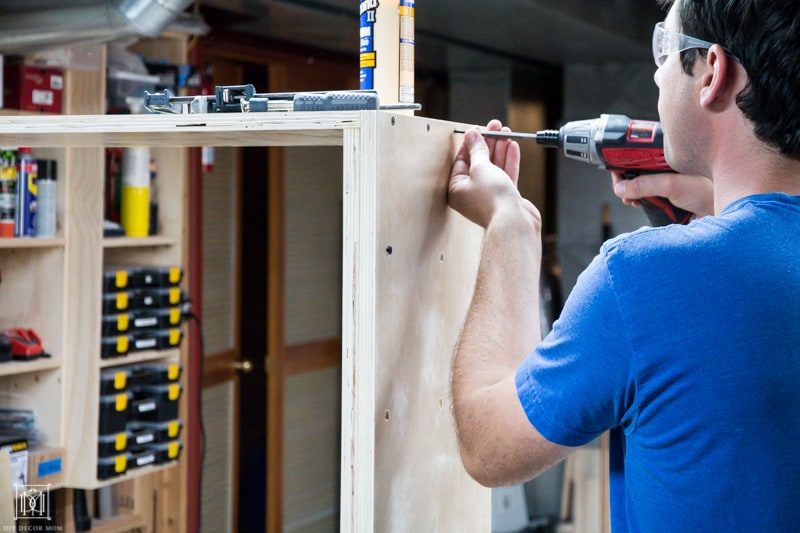
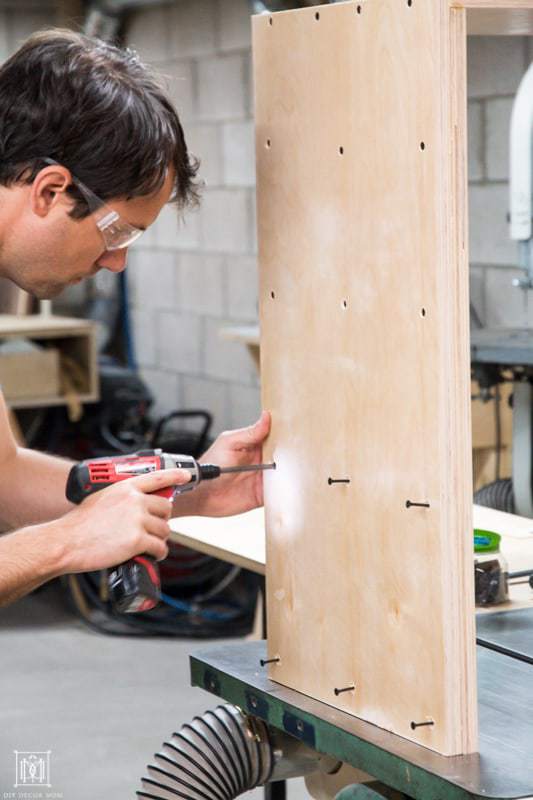
You can see now, that you have doubled the width of both side panels and just need to double the width of the top panel, with the last piece of plywood.
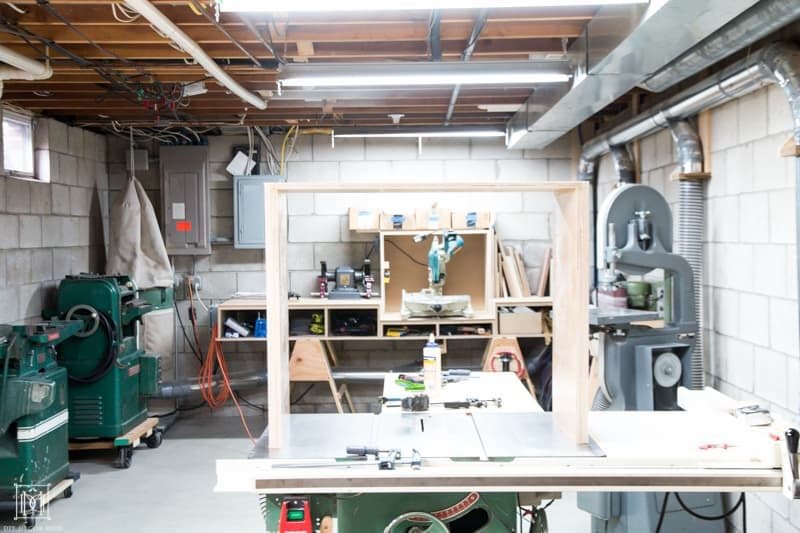
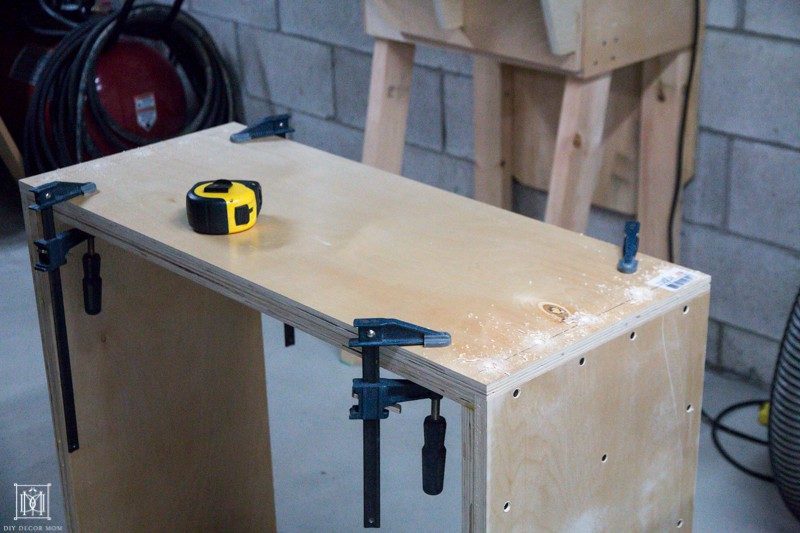
Let the wod glue set for several hours.
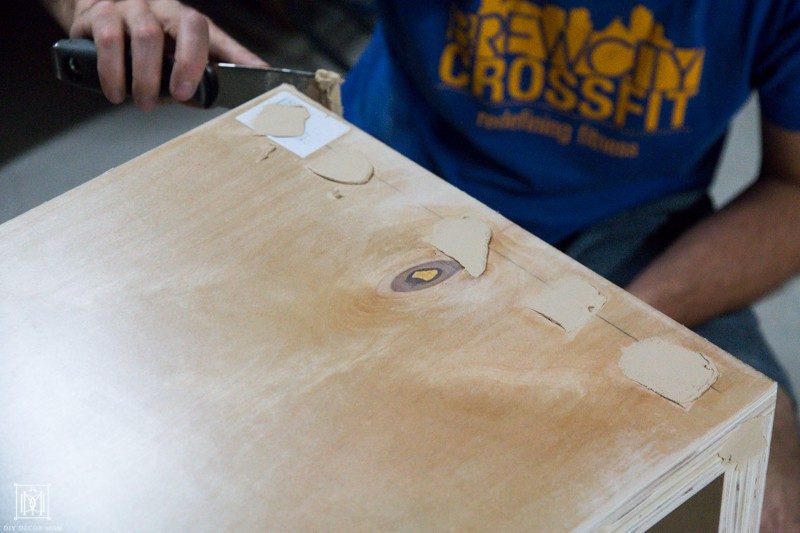
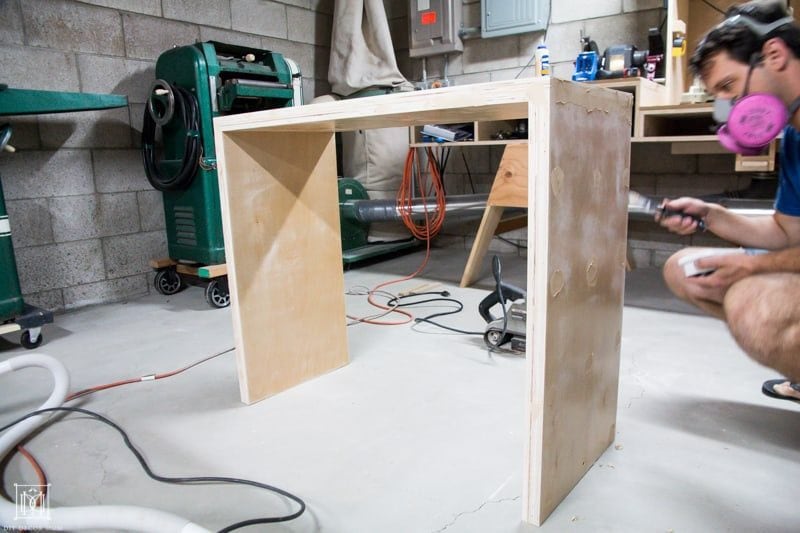
Step 6: Fill in the screw holes with wood putty, let it dry, and sand it smooth. You want your finished table to be nicely sanded, smooth to the touch, and ready to be covred in fabric.
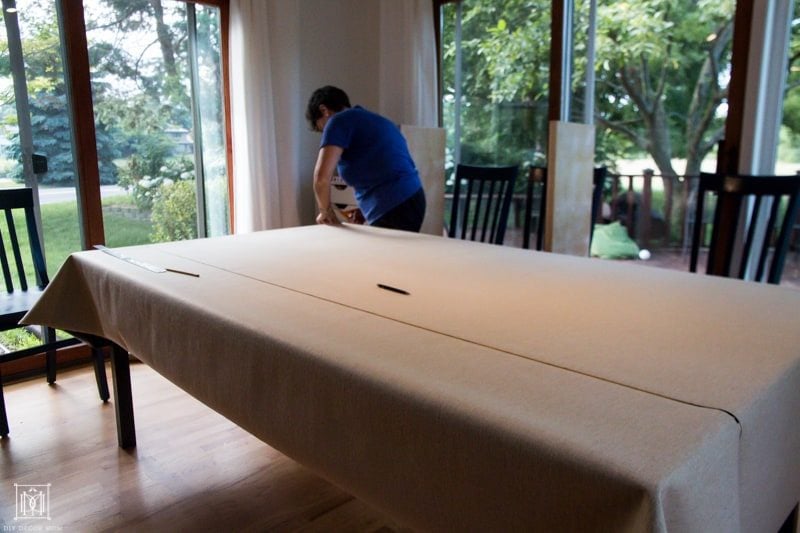
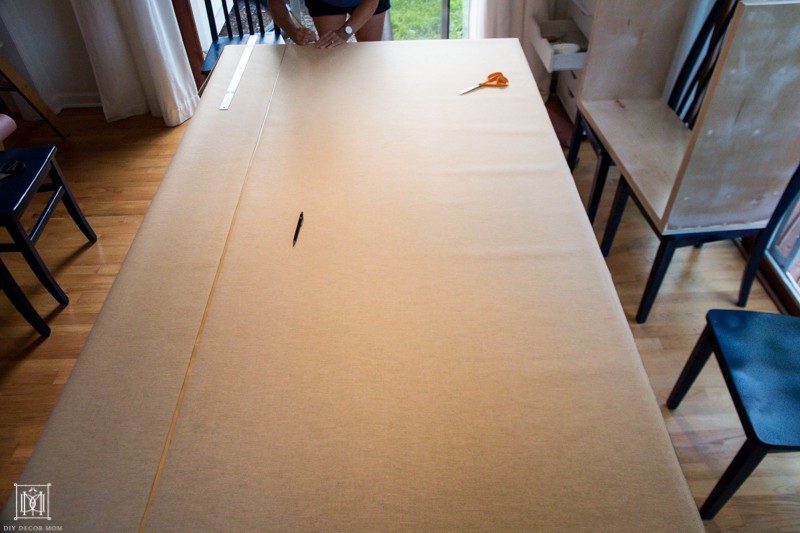
Step 7: Lay out the fabric on a large work table. We used 3 yards of fabric. Use a measuring tape and a straight edge to draw the cut lines. We laid it out so one piece of fabric covered the entire top of the table.
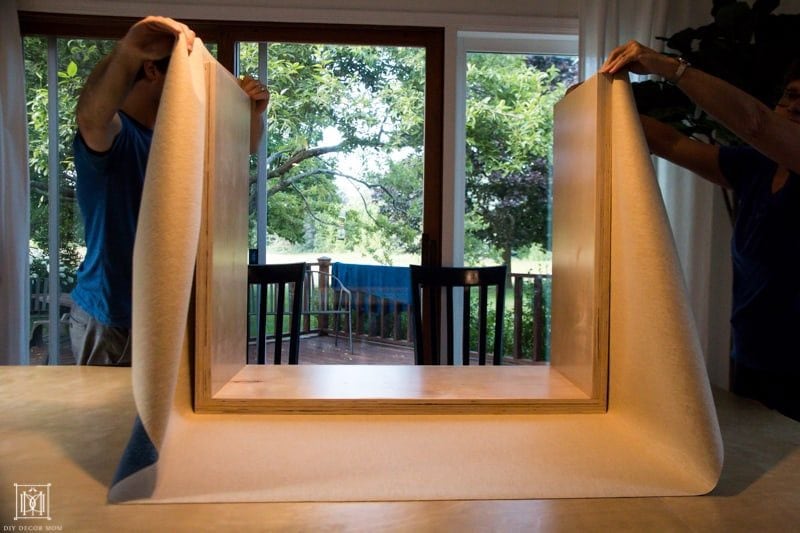
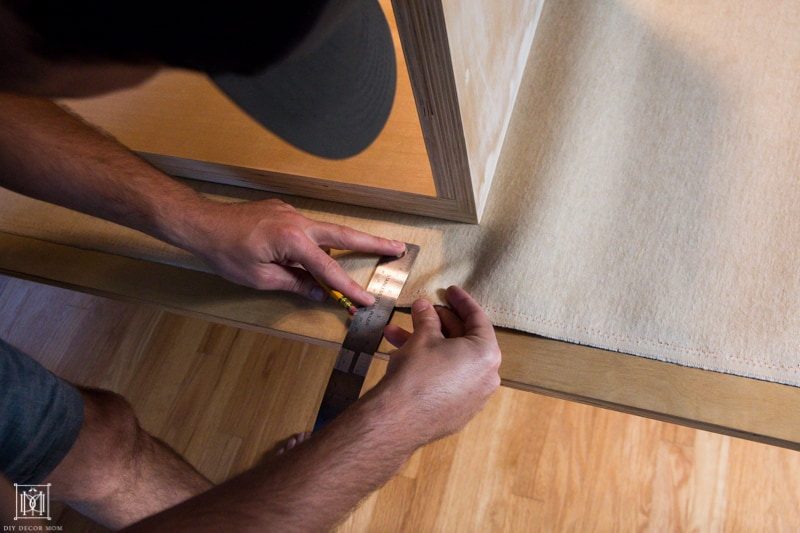
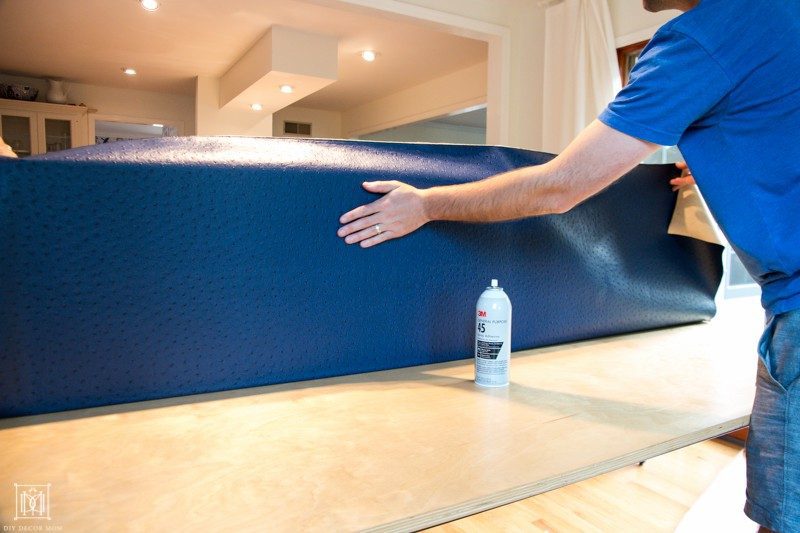
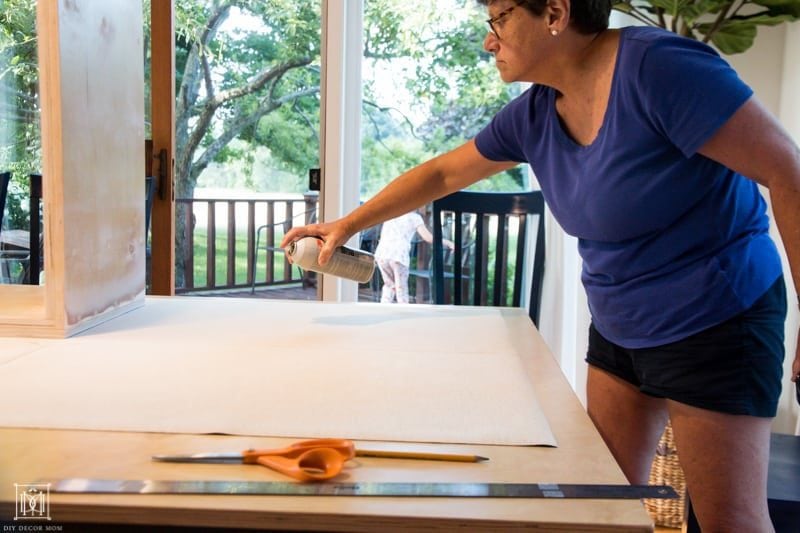
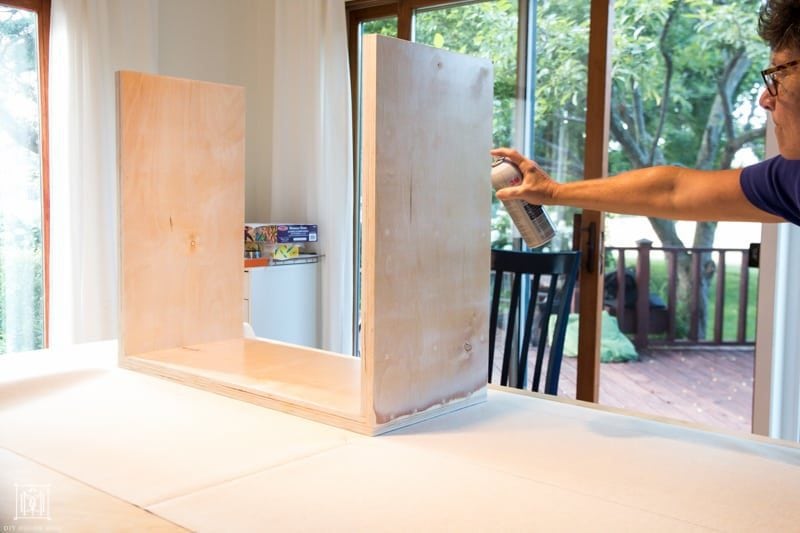
Step 8: Trace the area of the fabric that you are going to use the spray adhesive on. Spray it in a well-ventilated room (we took the kids out of the house for this) and quickly secure the fabric, ironing out any pockets with your hands.
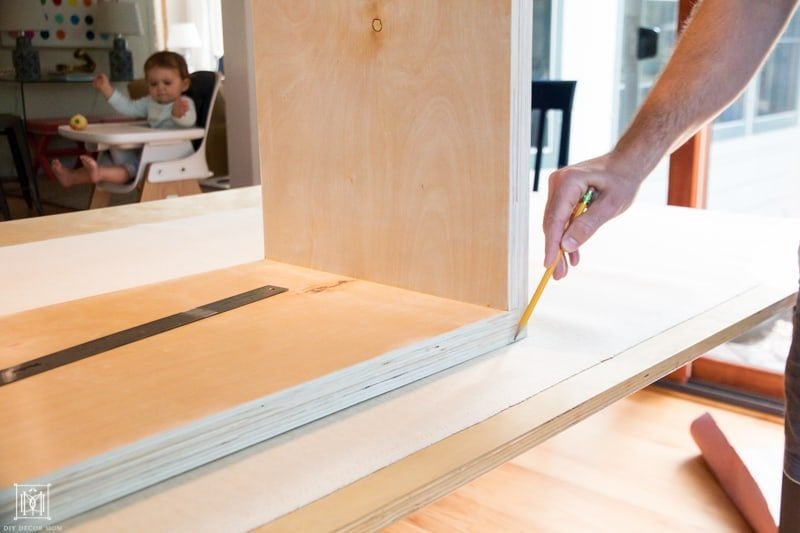
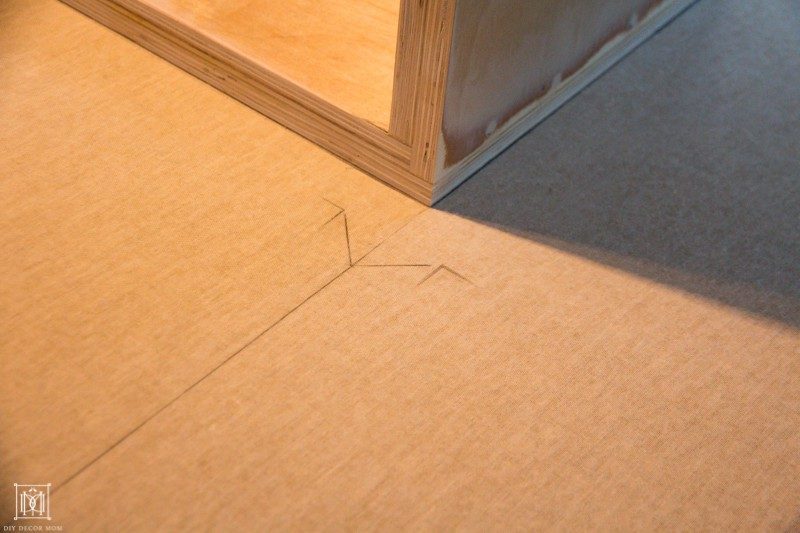
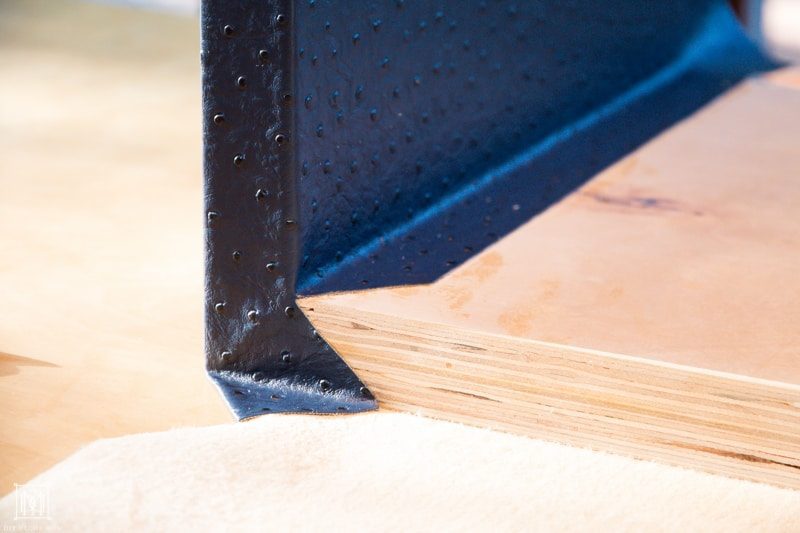
Step 9: Here are the fold lines that we used to fold the fabric for the corners of the table. Cut on the long line, and then on each adjoining offshoot.
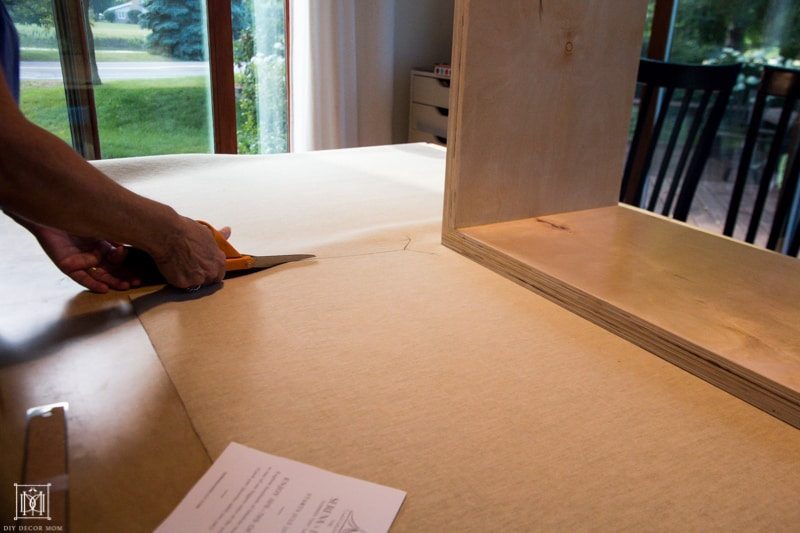
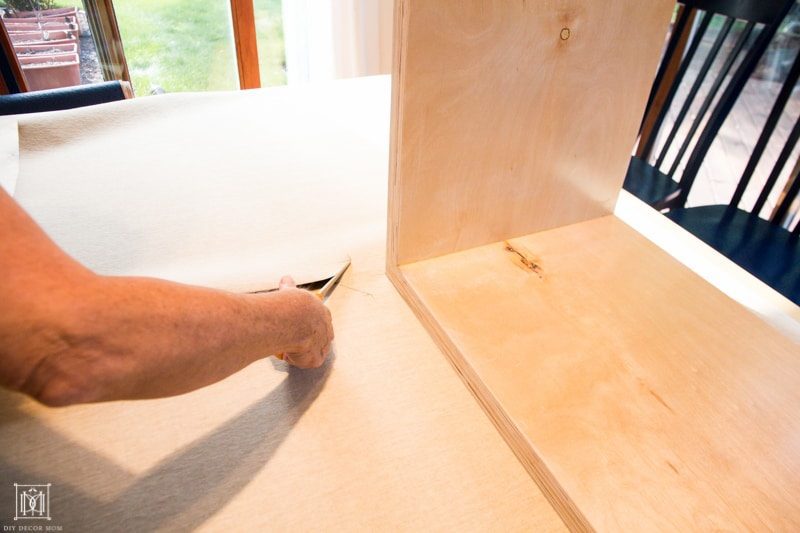
Step 10: Repeat on the other side.
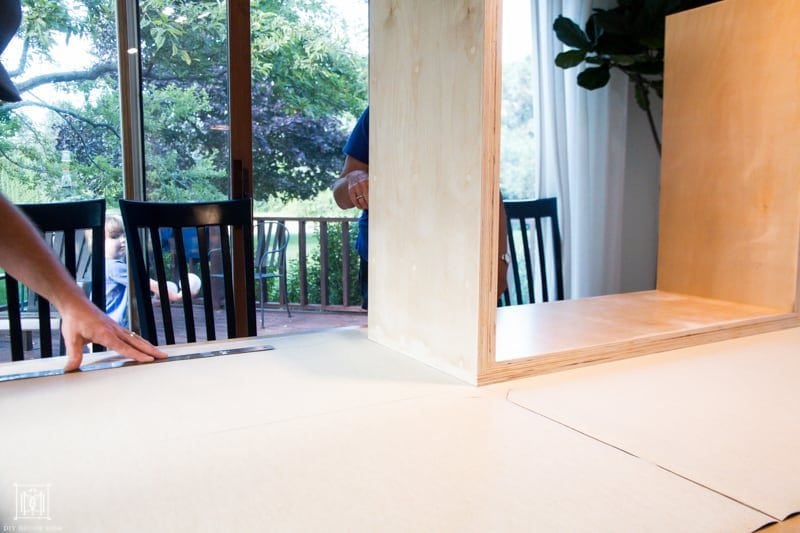
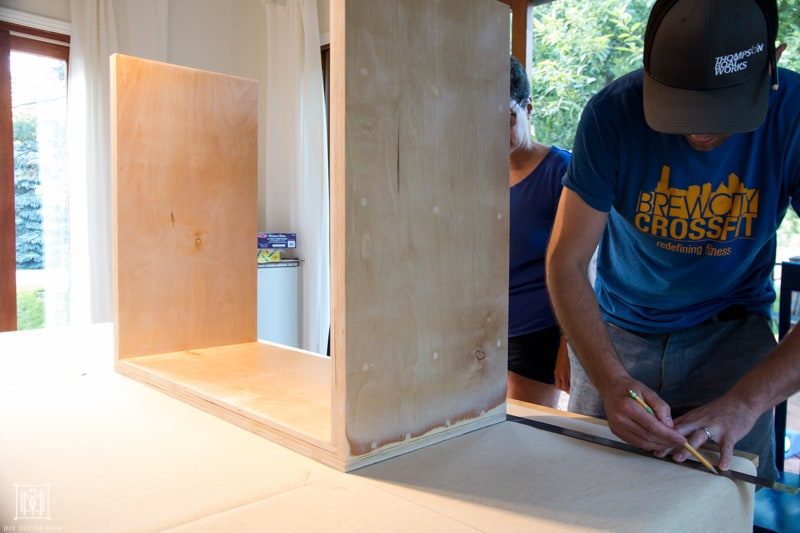
Step 11: Apply the spray adhesive to the side panel and base, then secure the fabric. Do this for both legs.
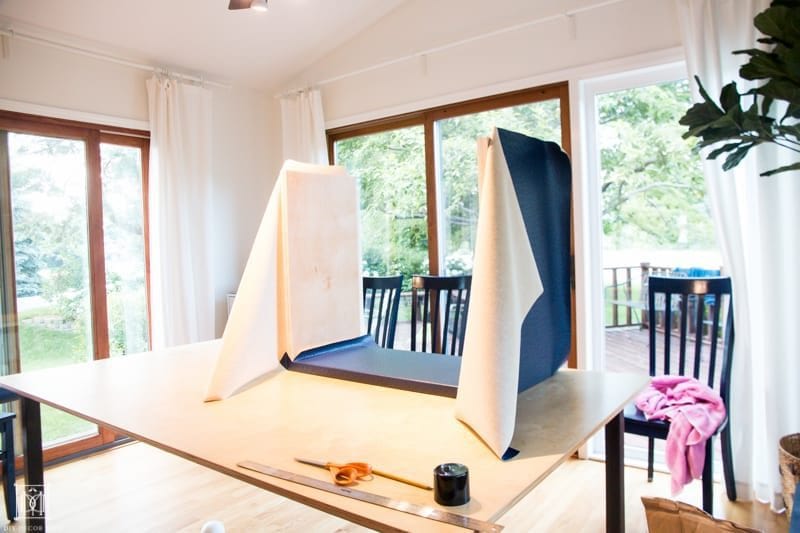
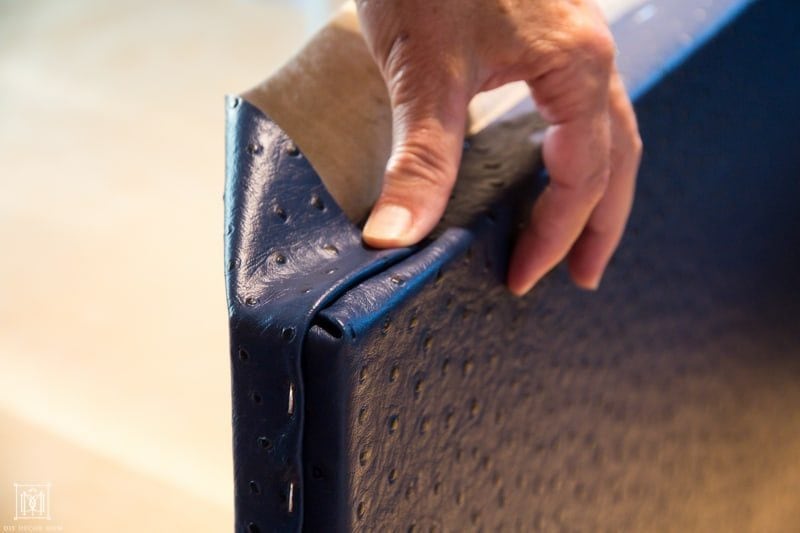
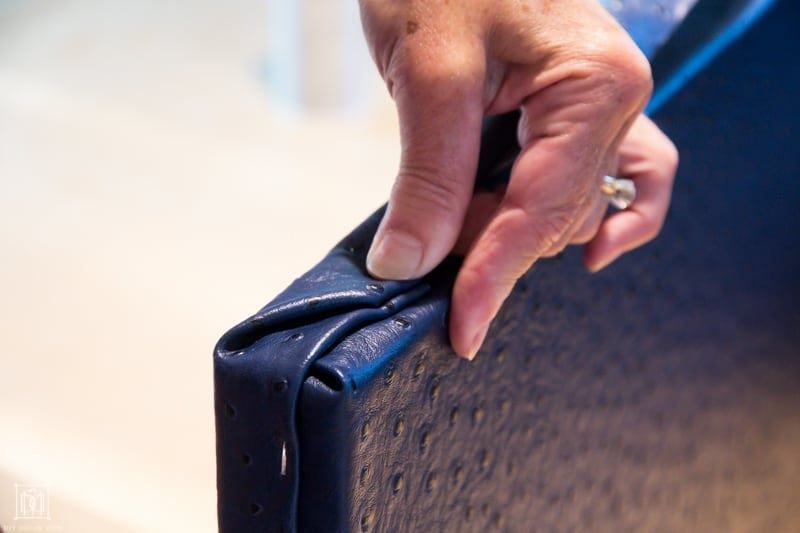
Step 12: How to fold the corners: 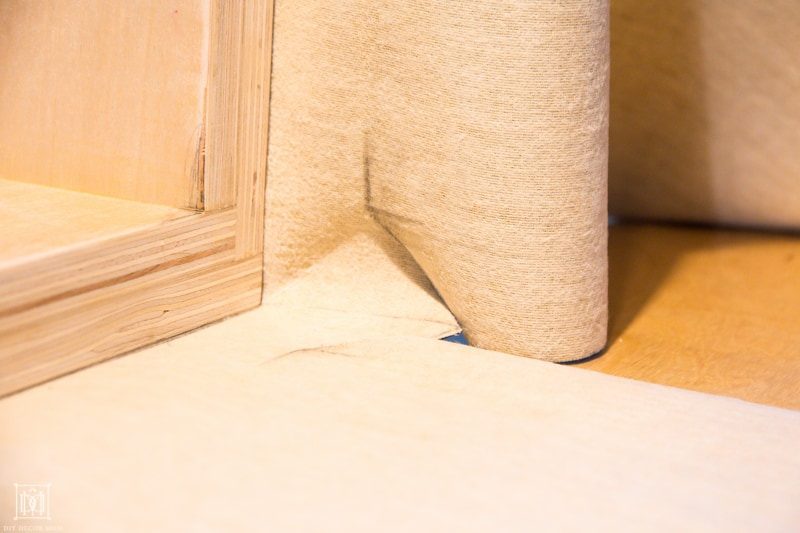
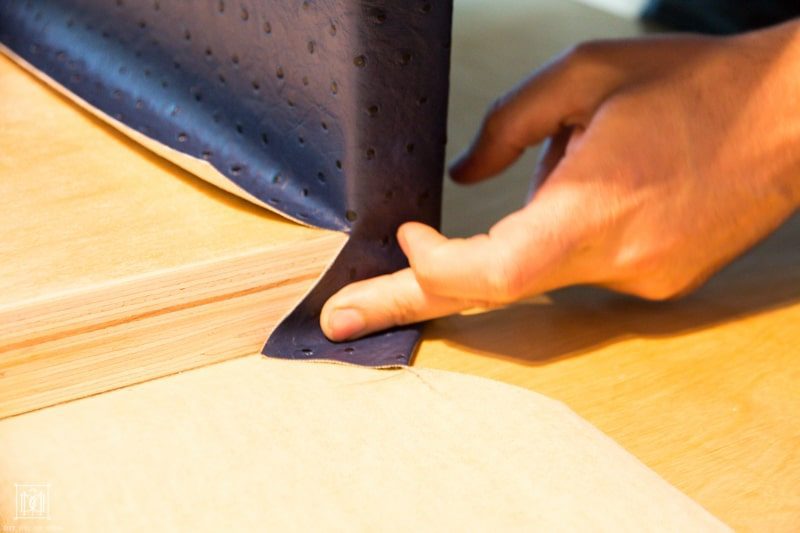
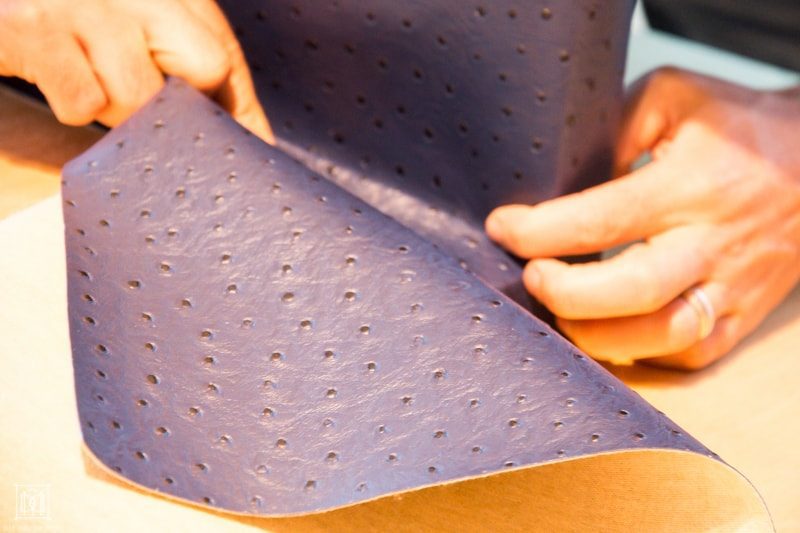
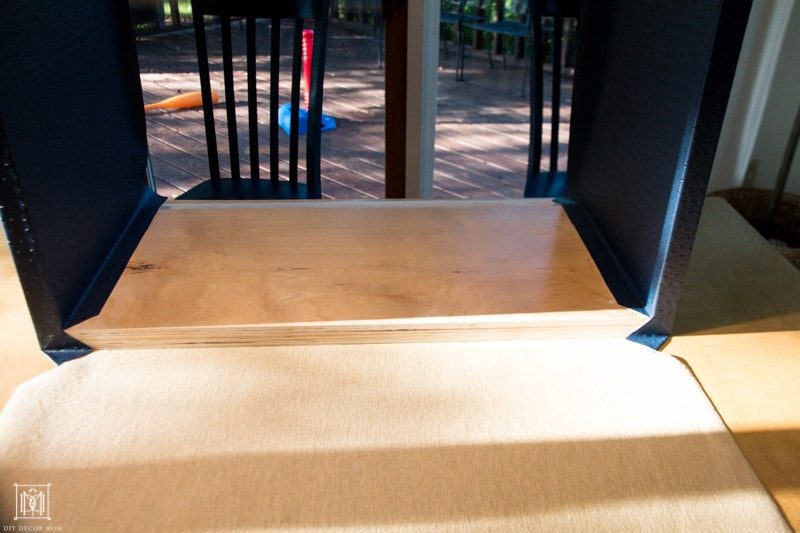
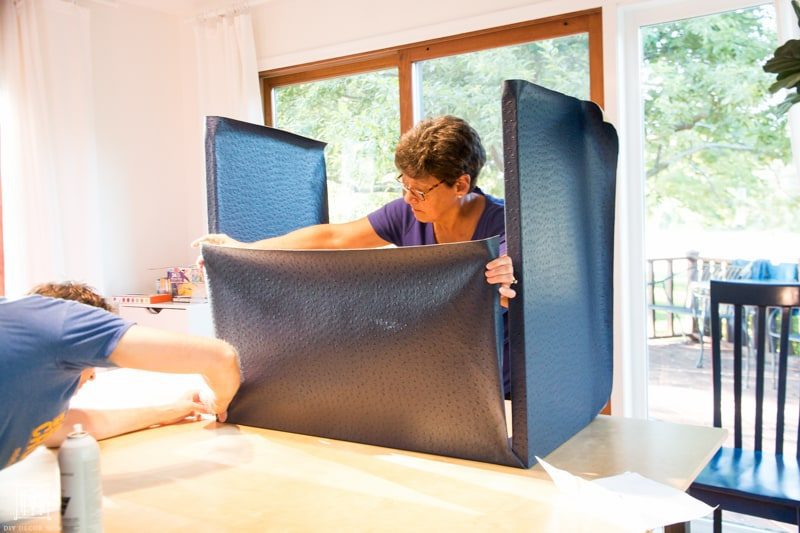
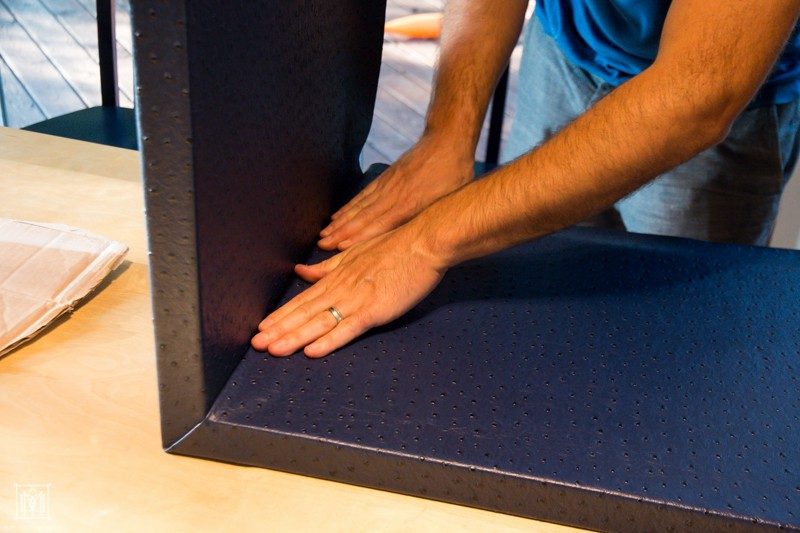
Step 13: Use spray adhesive and adhere the bottom panel (underside).
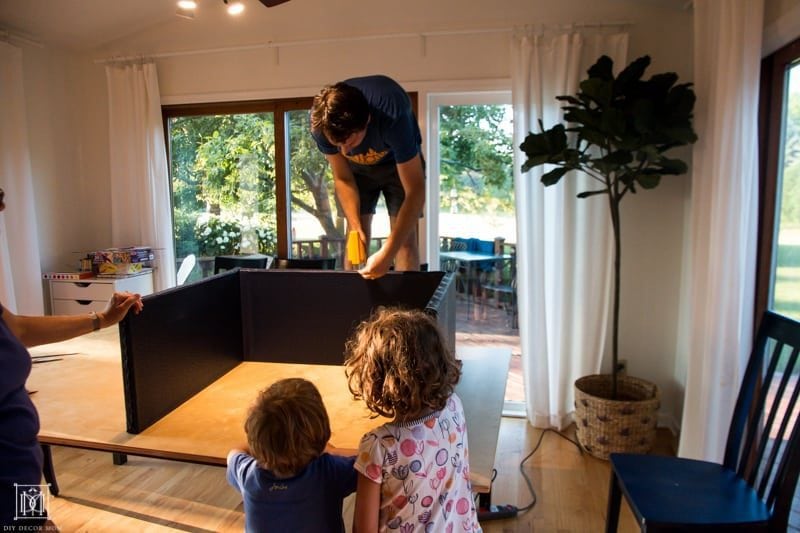
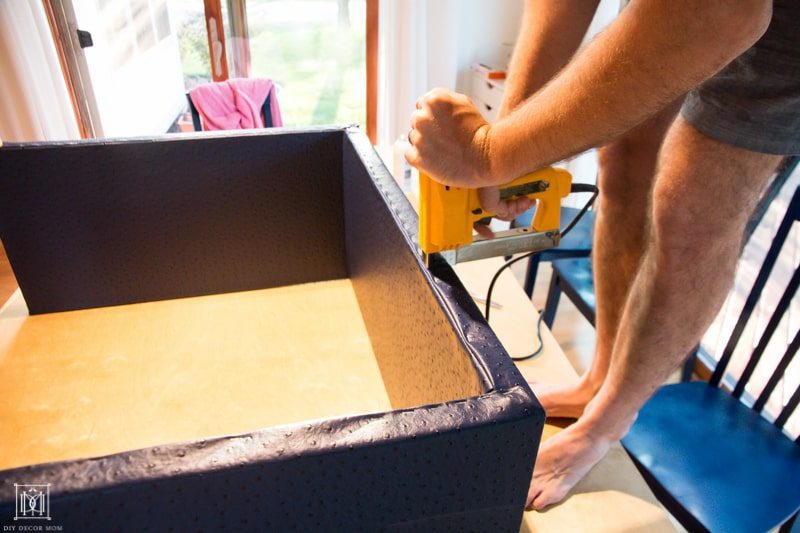
Step 14: Staple the excess fabric folding over the crease on the bottom of the two feet of the waterfall DIY console table.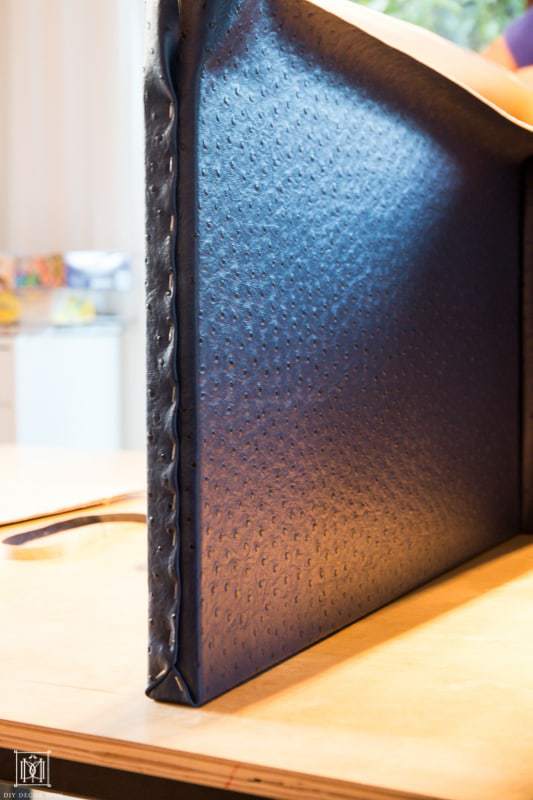
VOILA! You are done!
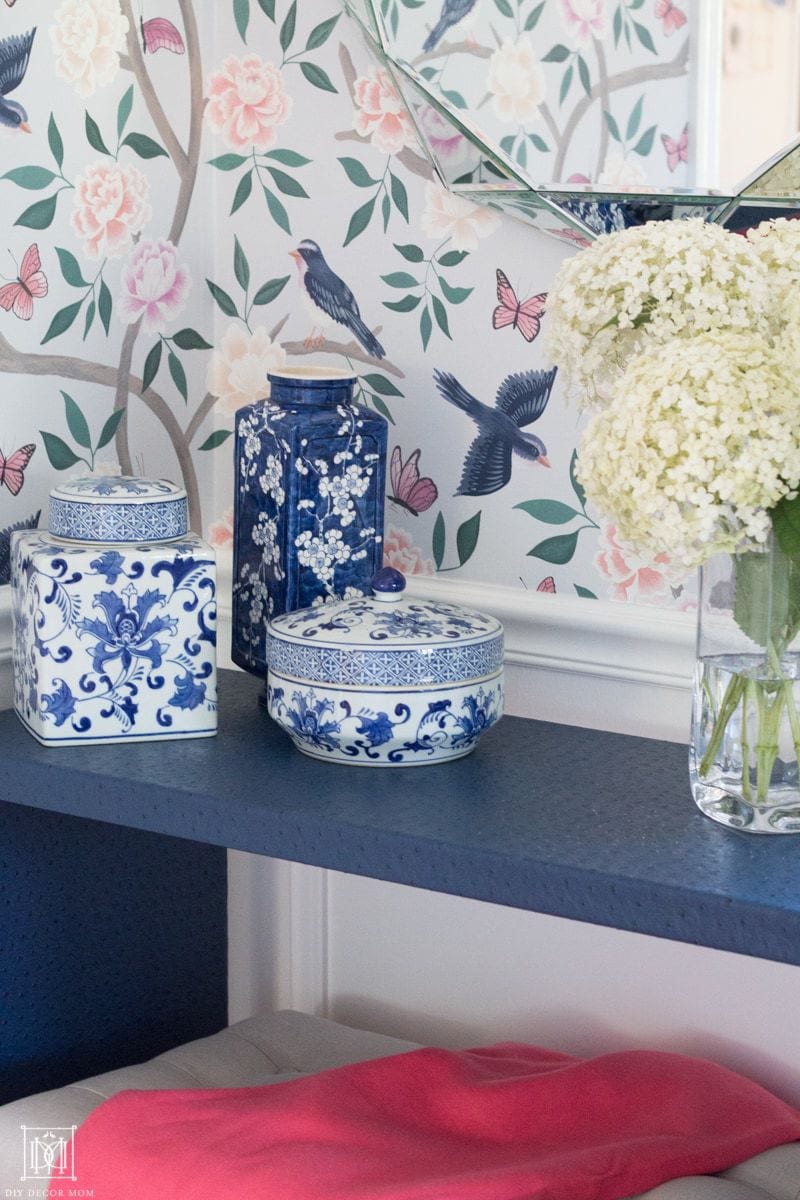
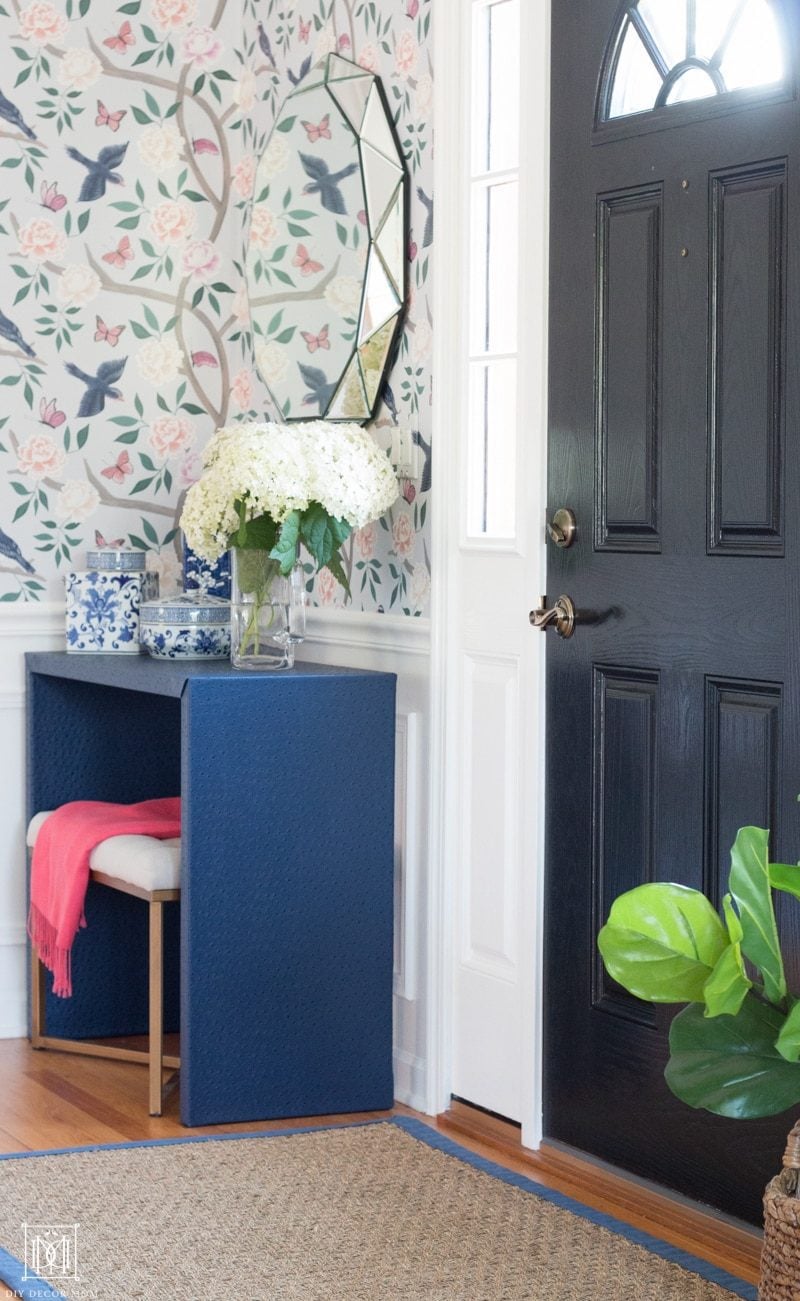
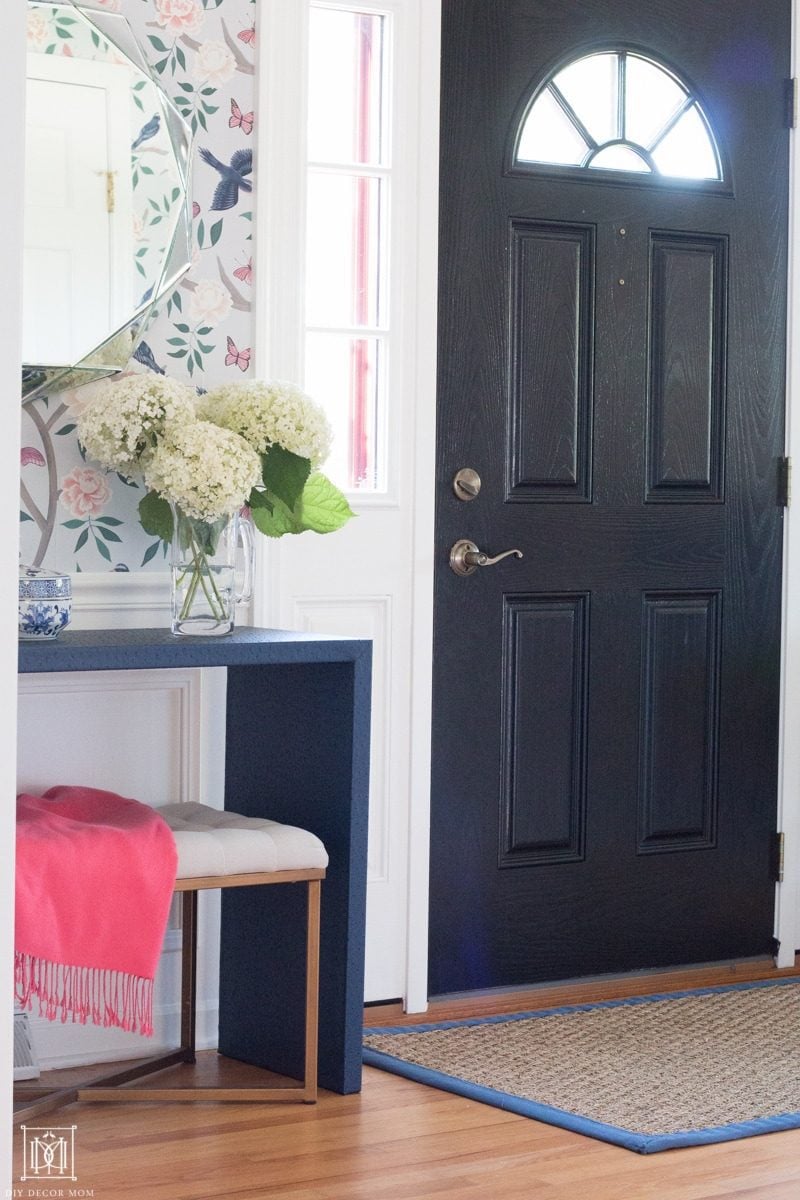
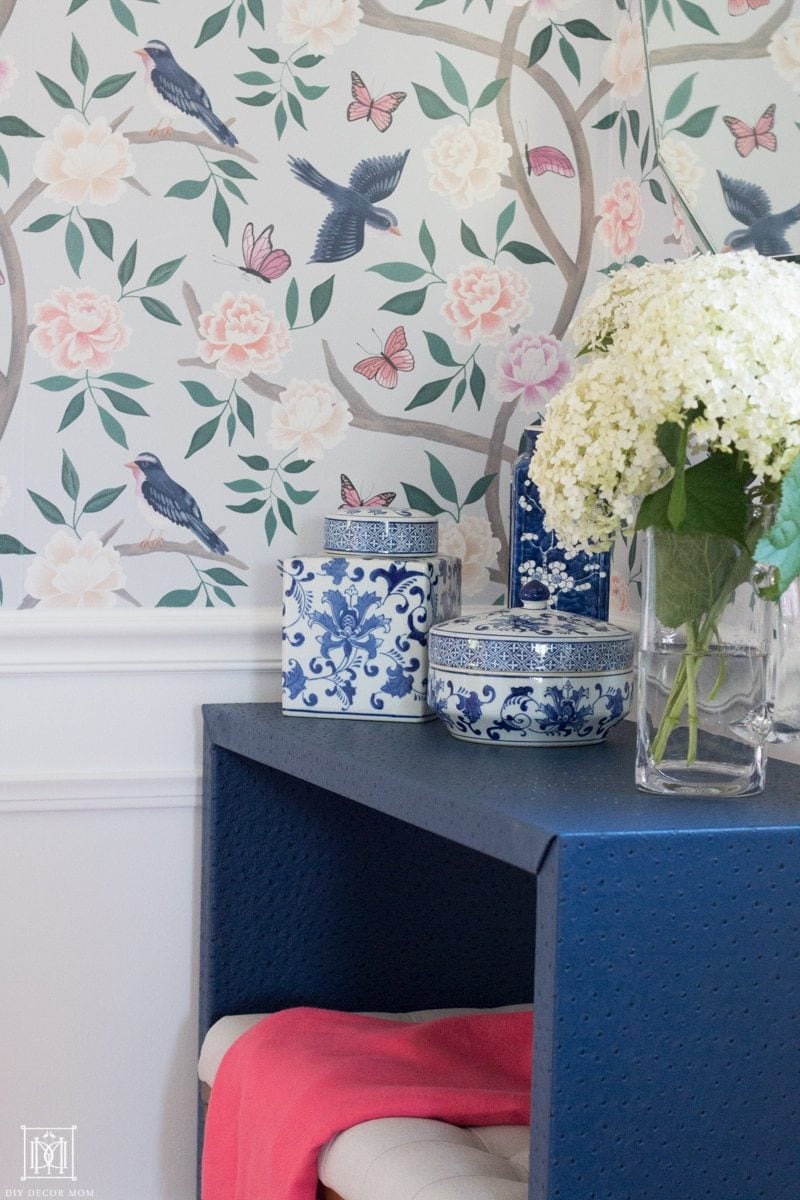


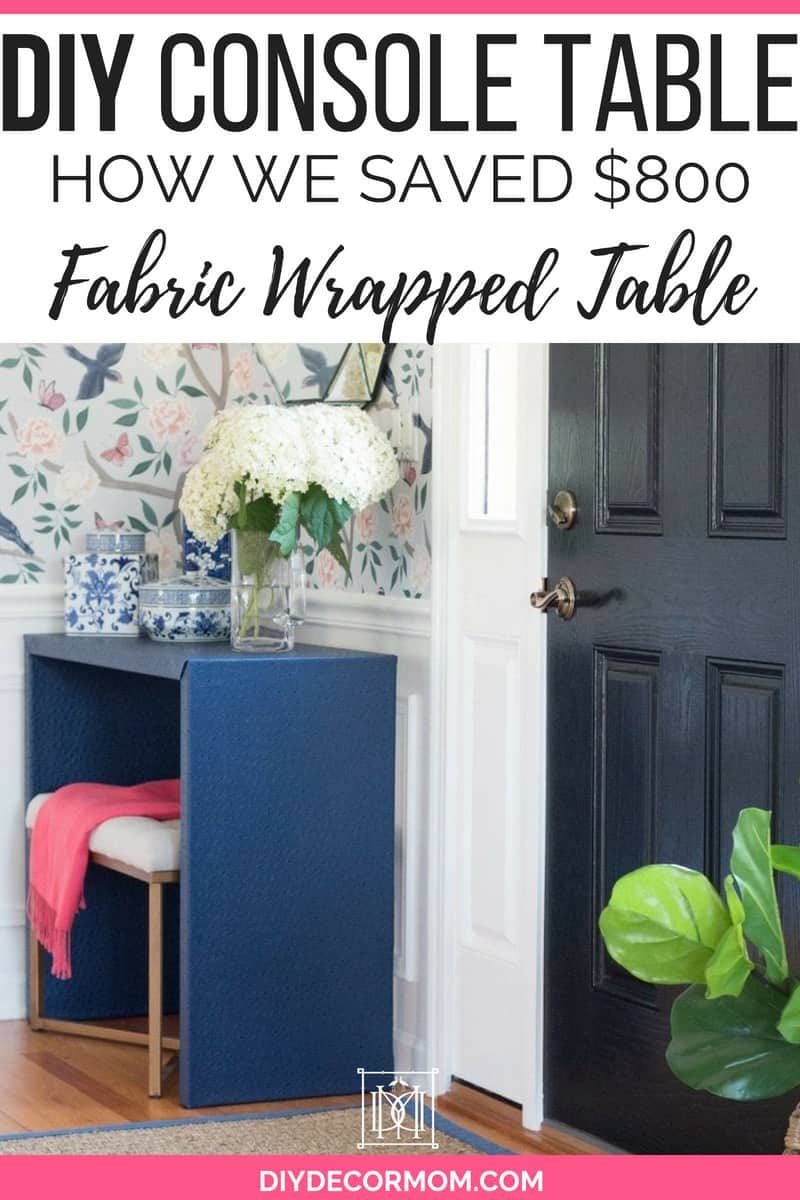
All said and done, we spent about $180 on this table, so we saved over $800 by DIYing it ourselves. It looks absolutely stunning in our new entryway and gets compliments every time someone comes over! Plus, it is wipeable!
Read Next: How to Style Your Console Table
Random question…do your entry walls have texture on them? I’m thinking of using the CW Chinoiserie wallpaper in my powder bath, but we have orange peel texture, and I’m worried about it showing through with the light blue background. We have other CW wallpaper in our house, but it has a white background, so is less noticeable up close, but I can see the little bumps. Thanks so much:)
Hi Mimi! They do not have any texture on them. I am not sure how to wallpaper over texture but it sounds like you have done it in the past! I love the CW Chinoiserie wallpaper! Good luck! Sorry I couldn’t be more helpful!
xo
Annie
Thanks so much for your reply, Annie! It’s pretty easy with pre-pasted paper since it’s so flexible when wet, but I’m just a little apprehensive with this color. Maybe I’ll try applying the sample and see how it looks. Yours is just beautiful! Take care:)