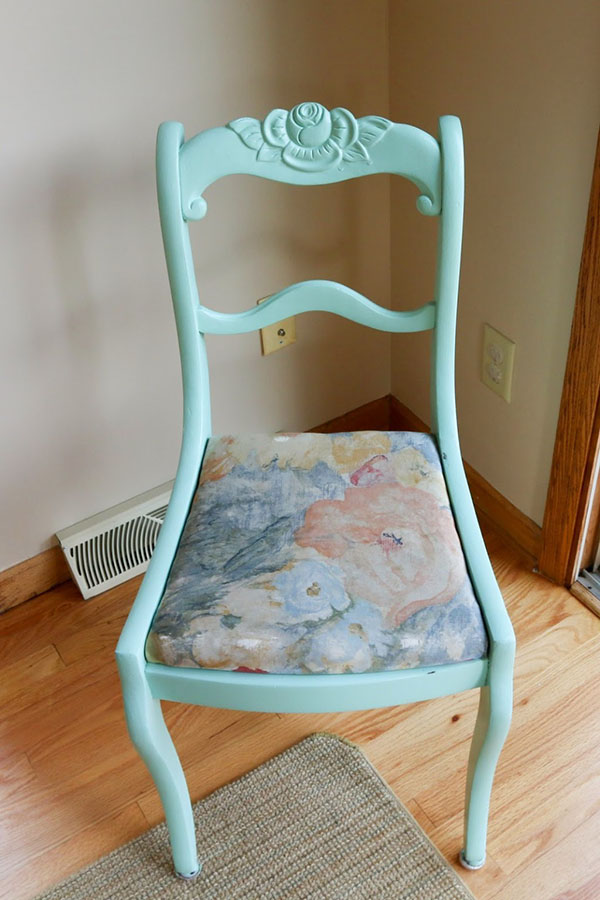

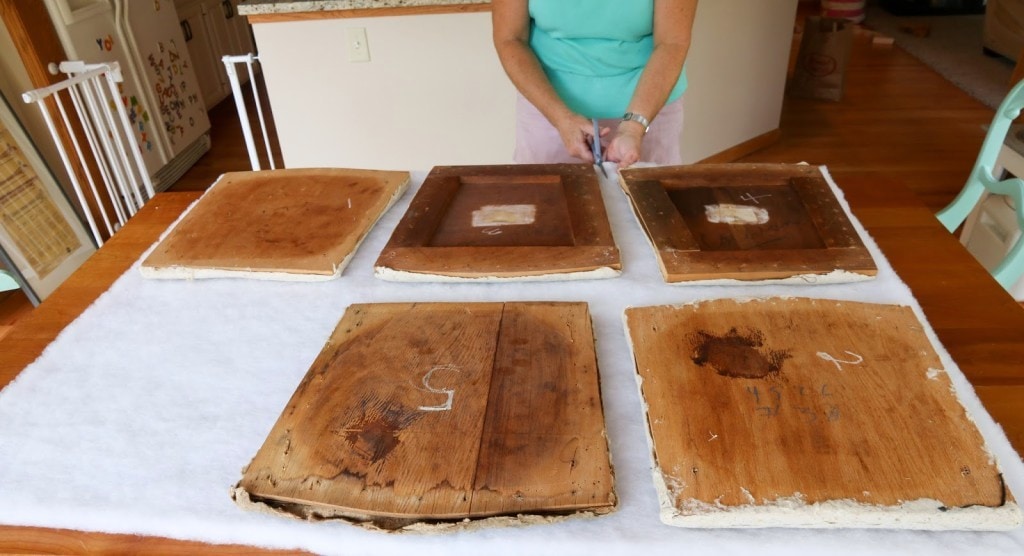
First, we took off all of the seats and numbered them according to which chair they were from. Most of them were the same but they weren’t exactly alike. We also added new batting to the chairs because some of the seats really needed it.
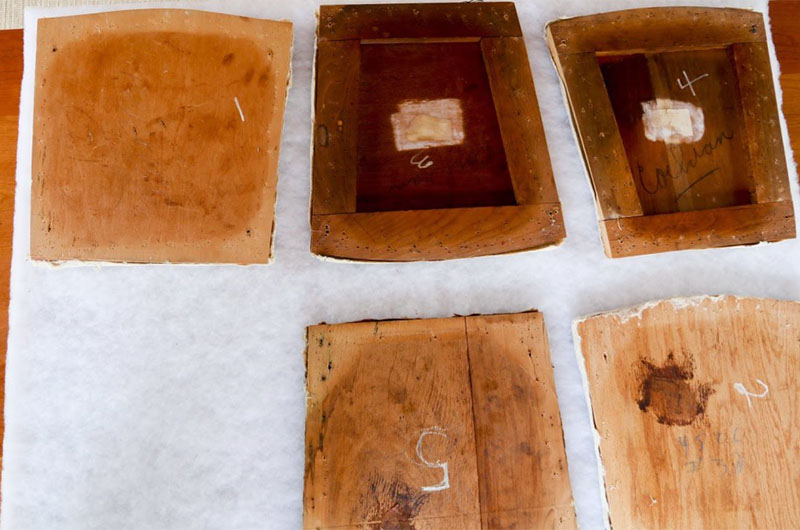
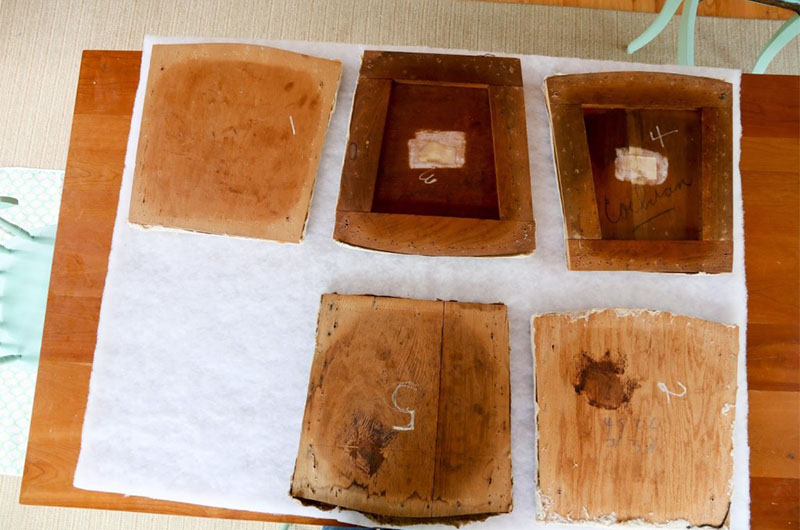
Then we cut the batting for each seat out leaving a little extra on each side.
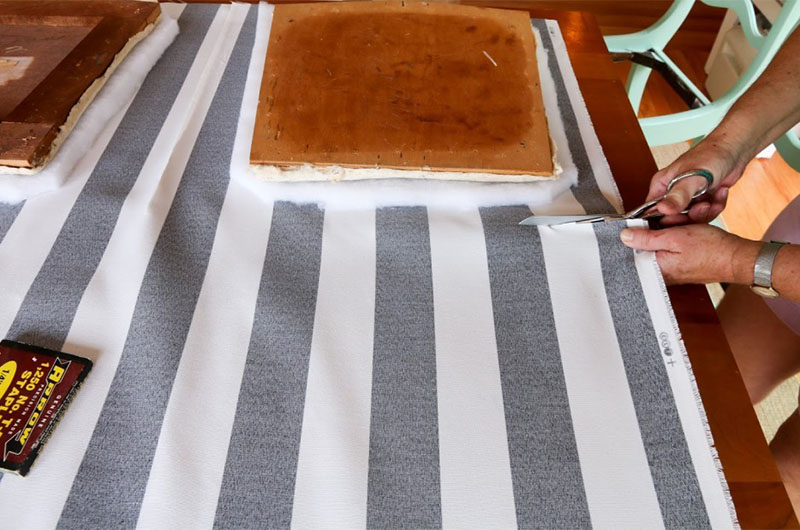
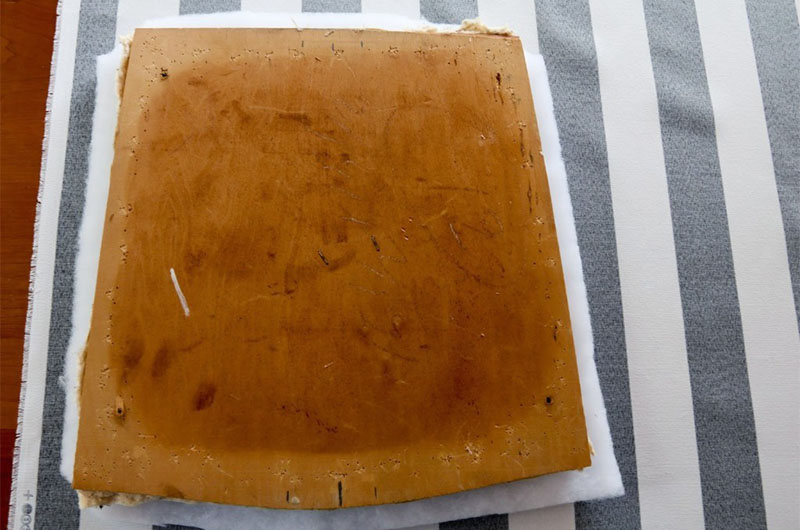
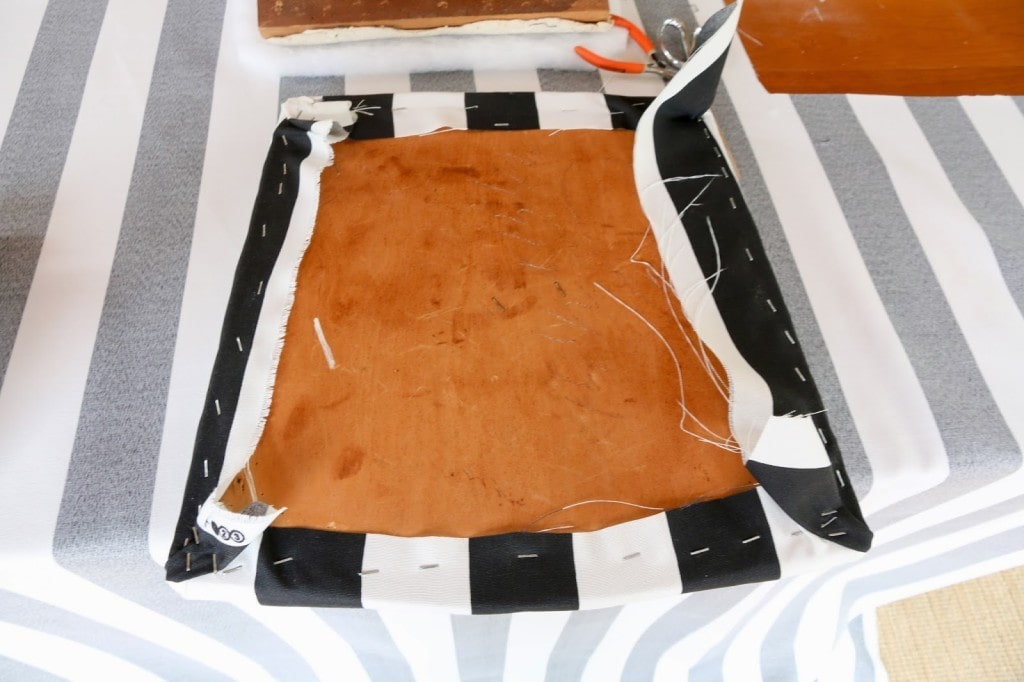
Next we lined up the seat with batting on the fabric. We allowed for a little overhang but not much to maximize our usage of the fabric.
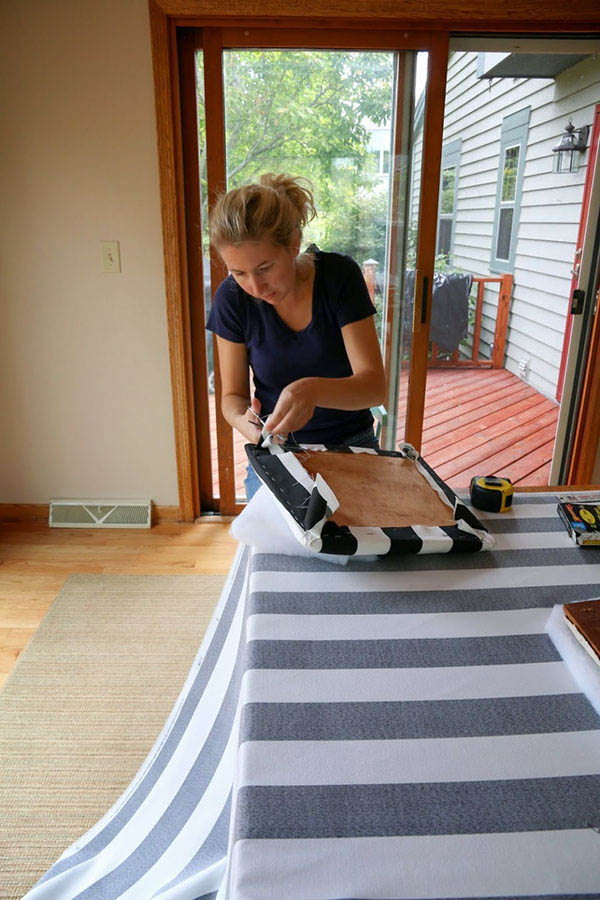
My mother-in-law is showing here how she pulled the fabric tight on each side, putting one staple in each of the sides to hold the fabric taut.
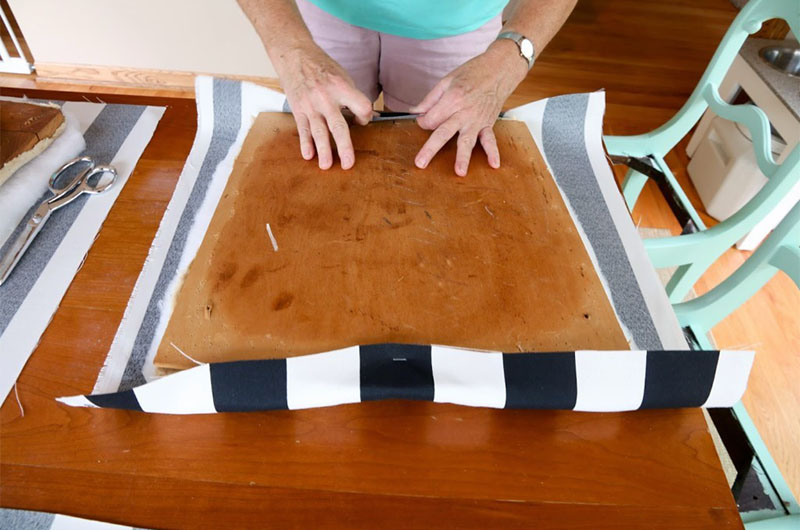
Then we added staples to each side.

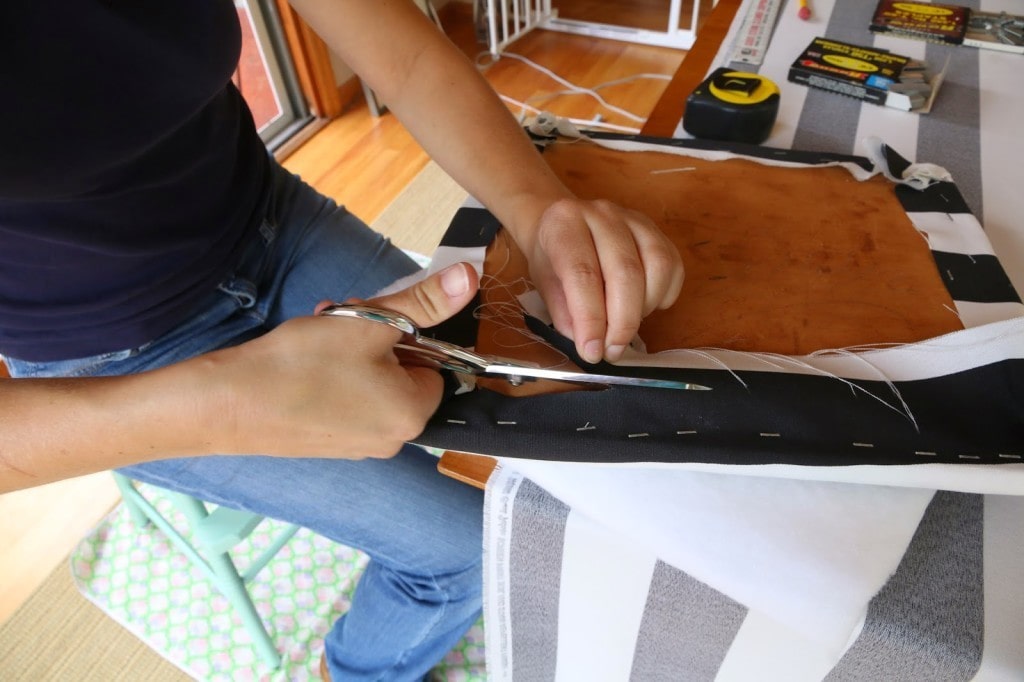
Next, my very important job was cutting off the extra fabric.
No baby bump here (just horrible morning sickness!) Oh I do not miss those first trimester days (but I could take the tan I had!)
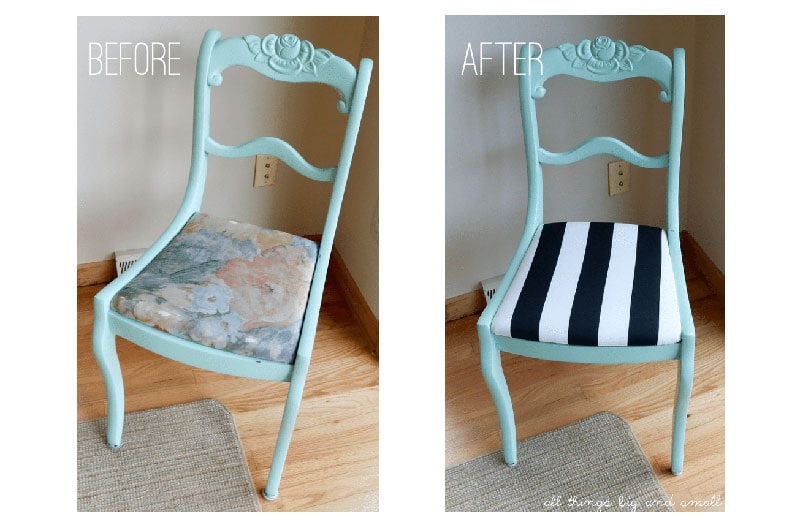
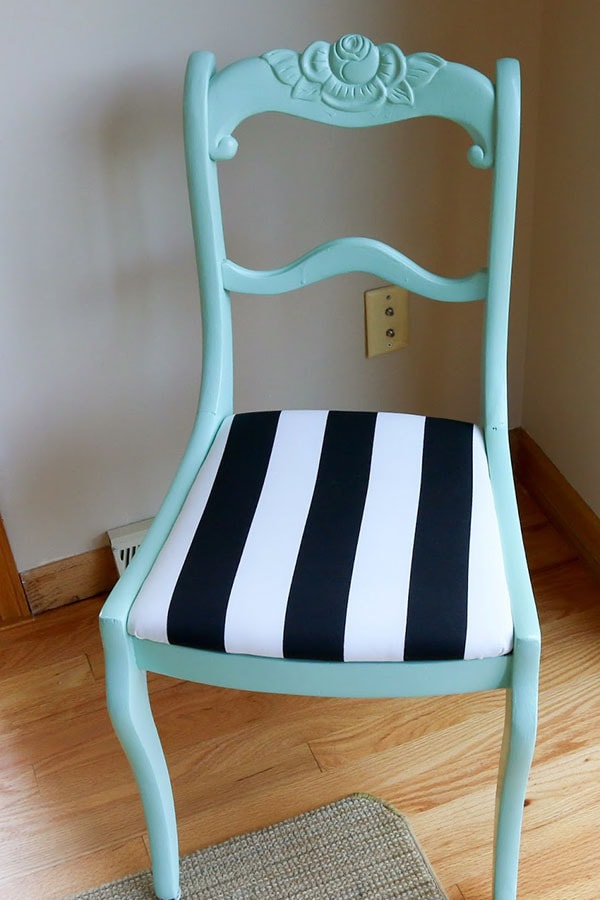
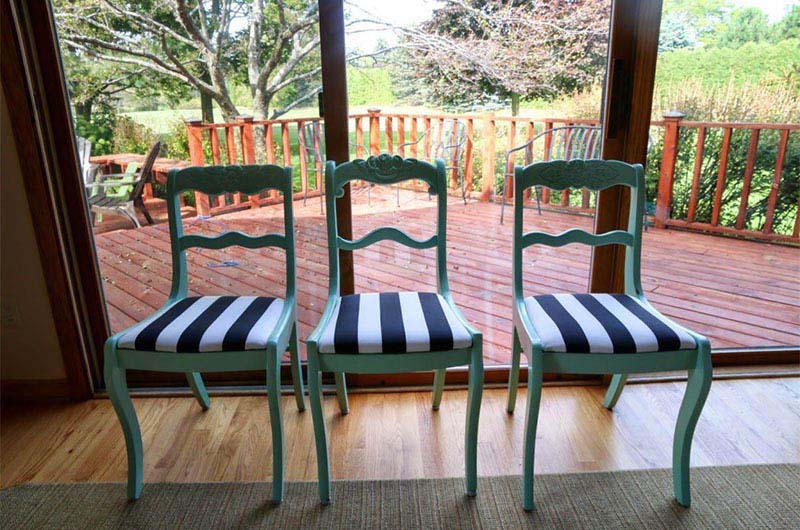
And TA DA! The whole project only took a morning so it is a great inexpensive way to update some chairs!


And the line-up. I can’t wait until our yard is this green again! But I have to say I am happy to say goodbye to most of the wood trim in the kitchen and eating-area! Check back in for the before and after on the kitchen!

 I have linked up with Not Just a Housewife and Best of the Nest at Dimples and Tangles!

I LOVE a good black and white stripe! It's so special that how you gave these chairs that have so much meaning to your family a new, updated look. Thanks for sharing your talents on Best of the Nest!