DIY Bulletin Board: Make Your Own Fabric Covered Bulletin Board with leftover fabric, a cork board, and nailhead trim in this easy tutorial.
As long as Pinterest has been around, I have had inspirational images pinned to my boards filled with fabric bulletin boards in offices and kitchens. With all the paper clutter that consumes our lives, having a dedicated spot to hang up your child’s artwork, keep a calendar and pertinent information, keeps me more organized and beautifies my home. My kids love the act of getting to display their best work by using push pins, and I love having a dedicated catch all for their creations–their small paper boxes was insufficient for these prolific artists 😉 It would also make the perfect bulletin board command center!
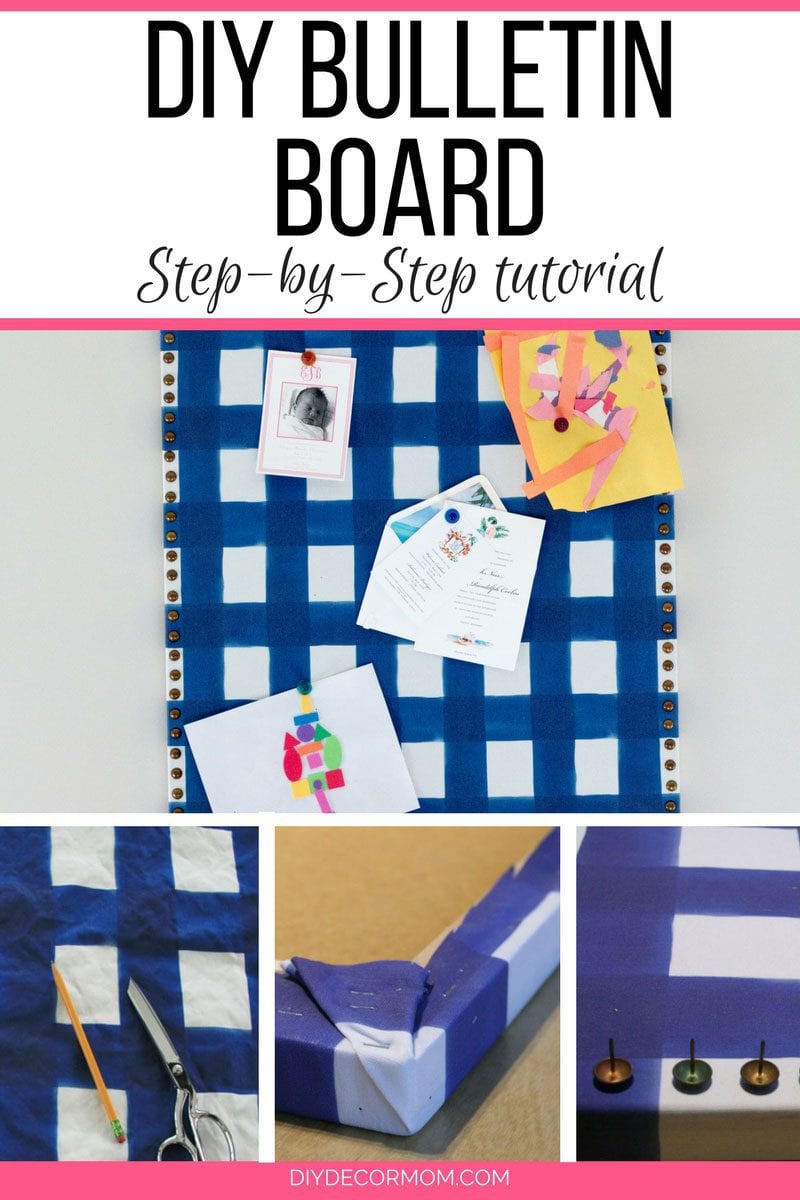
So if you are looking for instructions on how to make your own fabric bulletin board, you’ve come to the right place! After lots of research looking at tons of catalogues, and searching for reasonably-priced large bulletin boards, I decided to make a DIY Bulletin Board so I could make it would be perfect.
*this post contains affiliate links at no cost to you see my complete disclosure policy here
DIY BULLETIN BOARD
MATERIALS NEEDED FOR DIY BULLETIN BOARD
- 24×36 oak bulletin board– I used an old one with the dimensions of 27″x42″ which my in-laws had lying around but you can easily buy one and just take the wood frame off of it.
- fabric shears
- yard stick or long ruler
- nailhead trim- I used similar nailhead trim in 7/16″ antique brass finish with 1/2″ nail
- fabric- I used this fabric make sure to measure your bulletin board beforehand and add 2″ to each side so you can wrap around the back (so ours was the width 27″ +2 sides (2″)= 31″ wide ) x (height 42″ +2(2″)=46″) for an overall dimension of 31″x46″
- hammer
- push pins to hold fabric in place
- pneumatic staple gun– we recently upgraded our old staple gun to a pneumatic upholstery level staple gun and it makes all the difference!
DIRECTIONS FOR DIY BULLETIN BOARD
1.) Select your cork board and fabric. I used an old bulletin board that had been sitting in my in-law’s office for our DIY cork board.
2.) Next, we laid the fabric out on top of the old cork board. The blue buffalo check fabric was very particular with regard to how the pattern was laid out (we wanted to maximize the complete squares), so we mocked it out with the fabric overlaying the corkboard and after ironing the fabric (do whatever your manufacturer recommends) we pinned it in place.
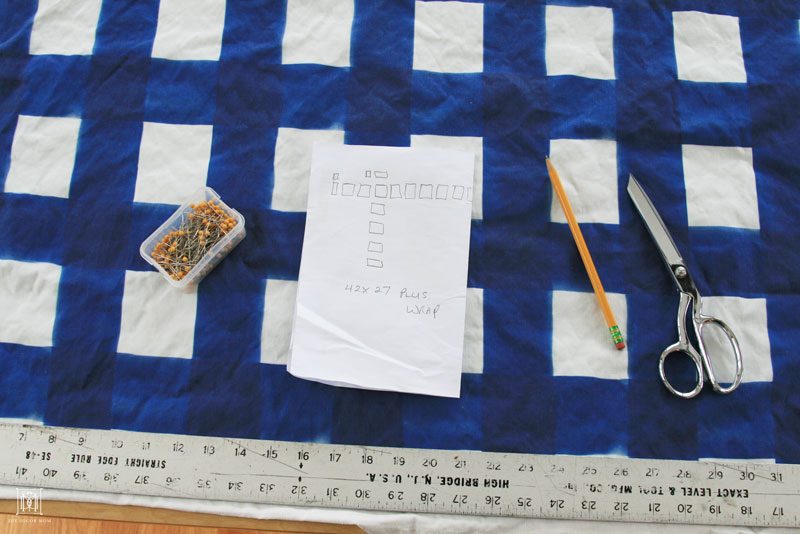
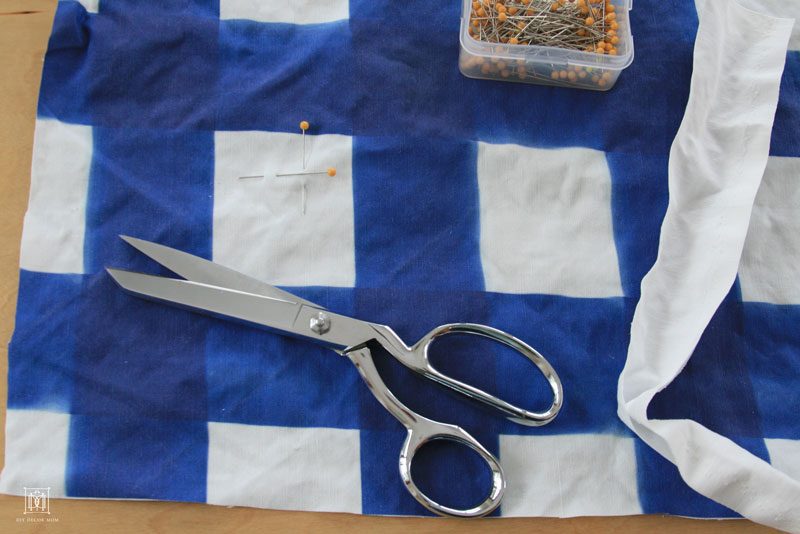
Our fabric manufacturer instructed us to wash the fabric and then iron before usage, so you can see we did that right before we pinned it in place on the cork board.
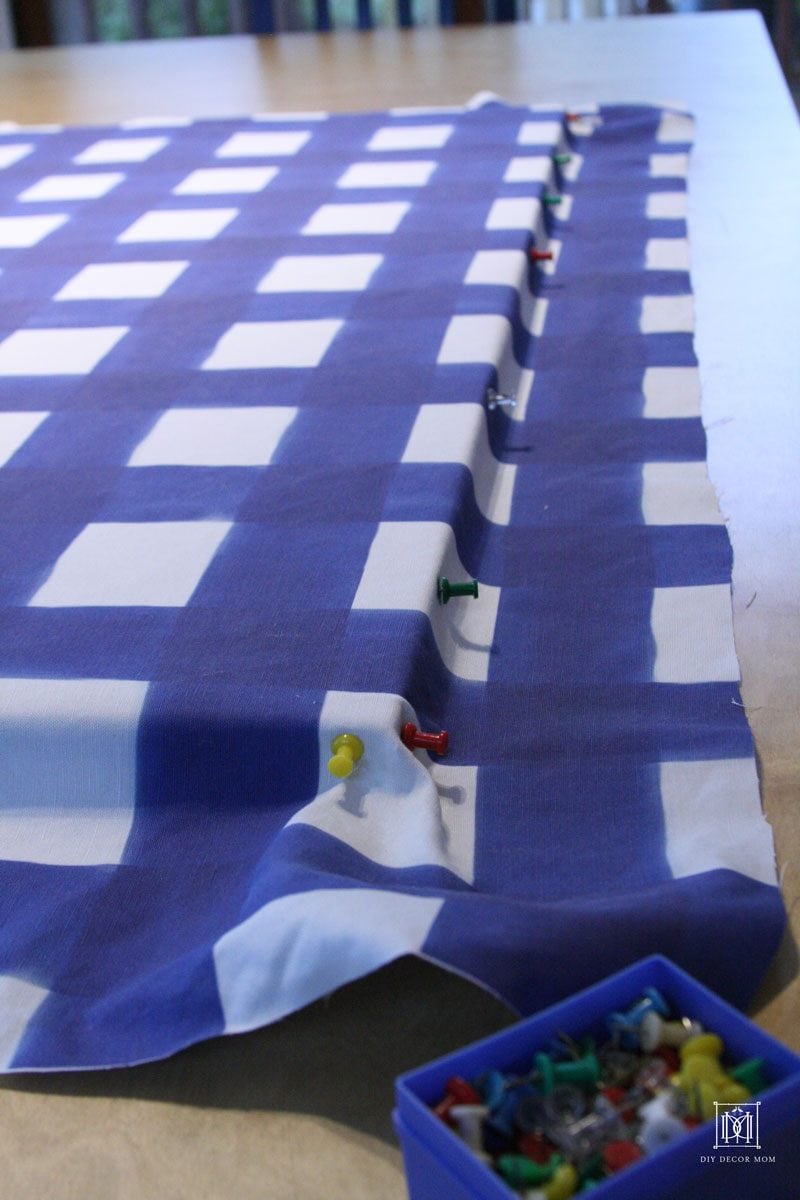
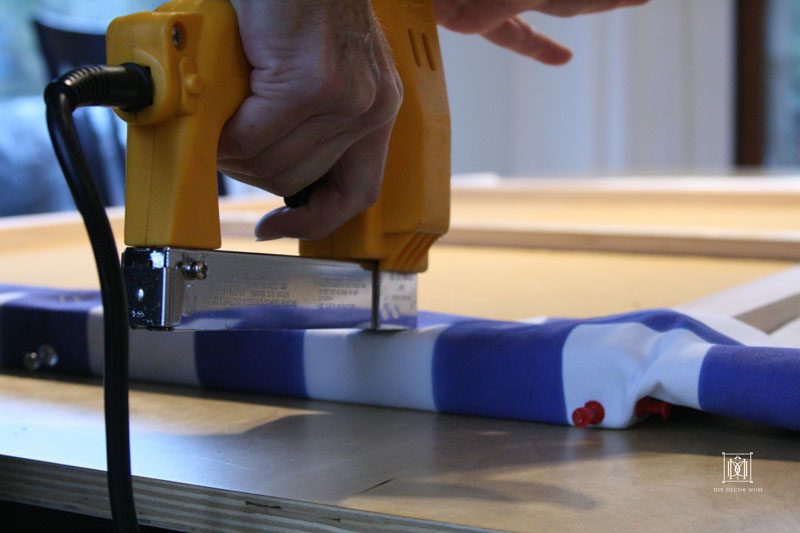
Now use your staple gun to secure the fabric to the frame of the bulletin board.
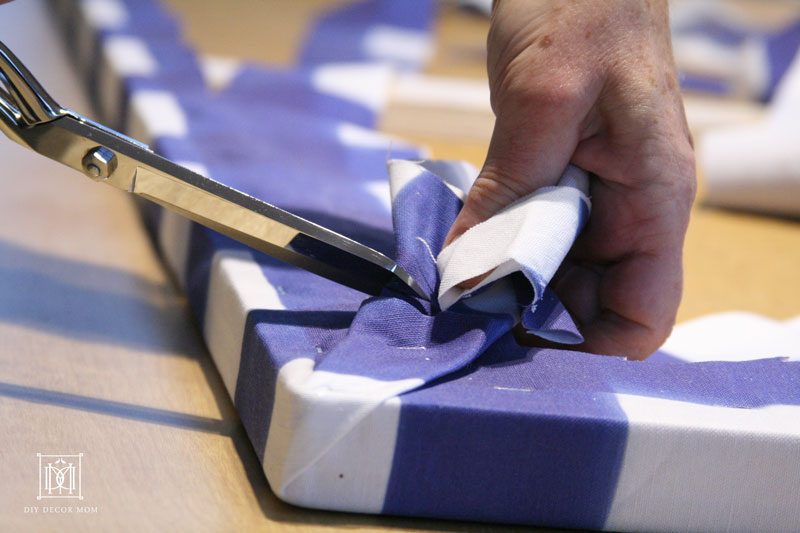
Cut off the excess fabric from the DIY bulletin board.
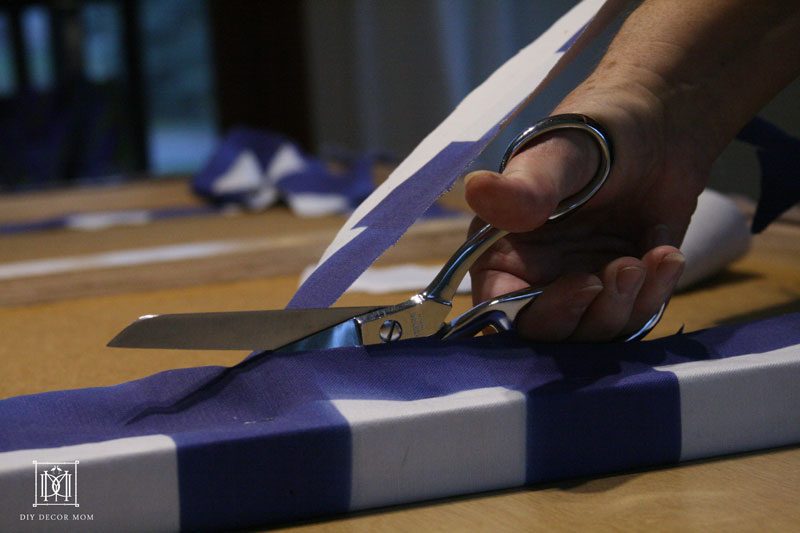
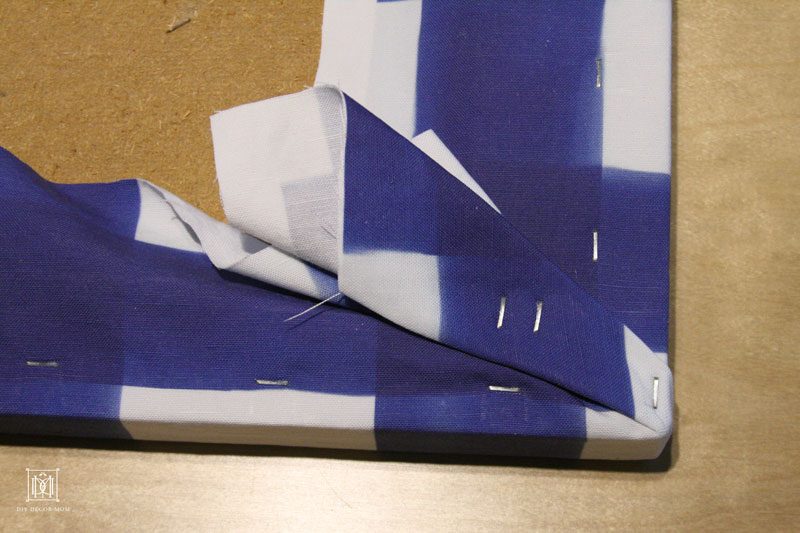
Cut the excess fabric from the edges of the fabric covered bulletin board.
You can see how sharp the edges are below–that’s because the fabric is wrapped around a flat wood frame bulletin board.
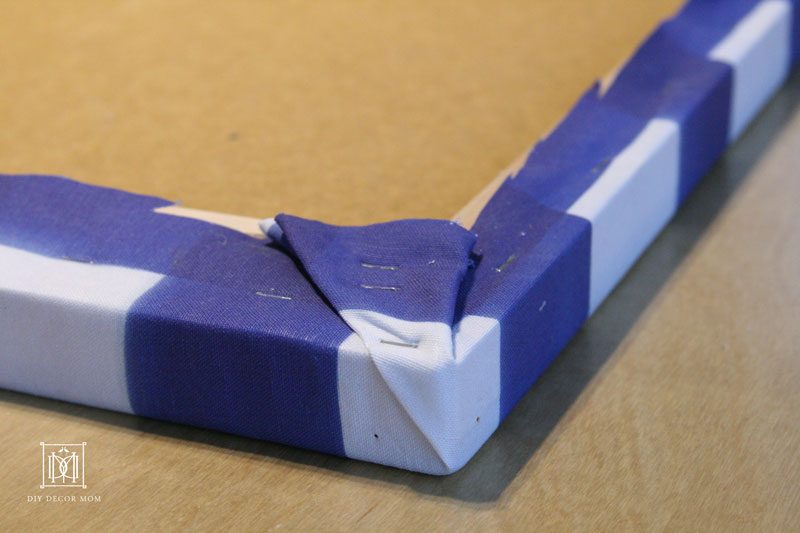
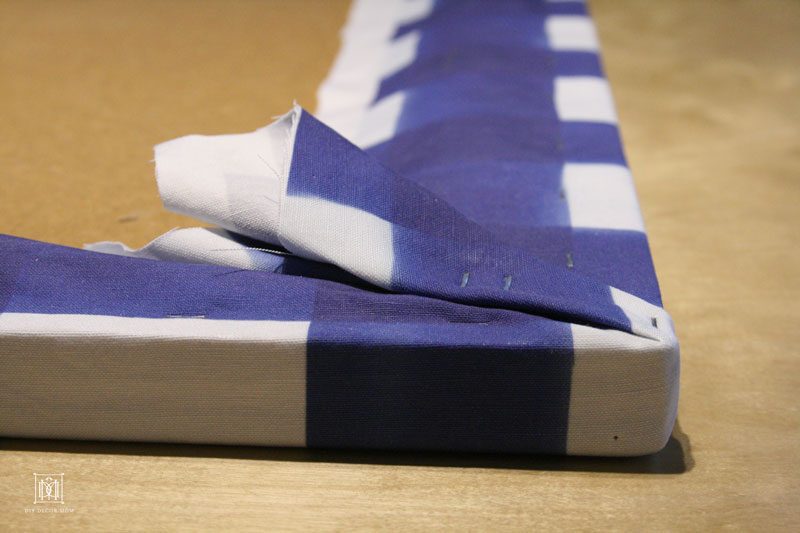
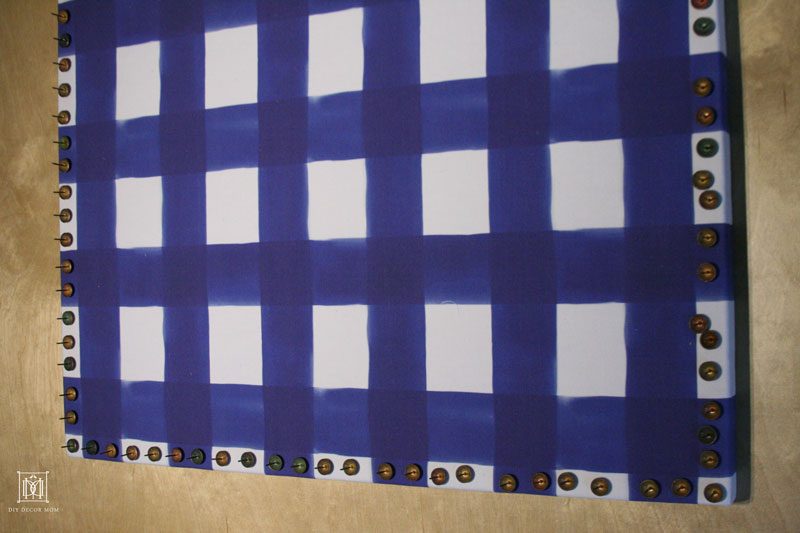
Now it’s time to install nailhead trim. We wanted a wider spacing than that of the nailhead trim roping, so we mocked it ourselves, turning the nails upside down to represent their spacing.
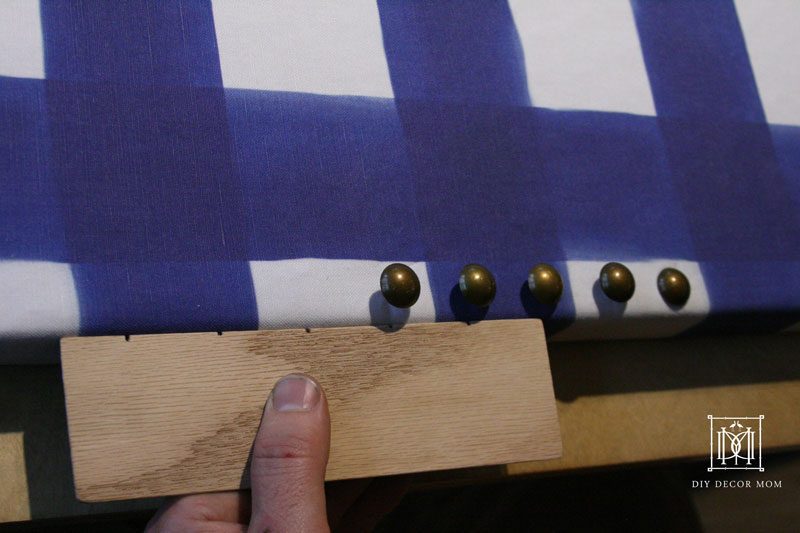
To make things easier, my husband made a simple spacer. You can easily make your own spacer by using a firm piece of cardboard or a thin piece of wood like we did. Measure the desired distance between nail heads and either make a notch in wood or a cut on cardboard. Now, you have a uniform guide to space the nail heads.
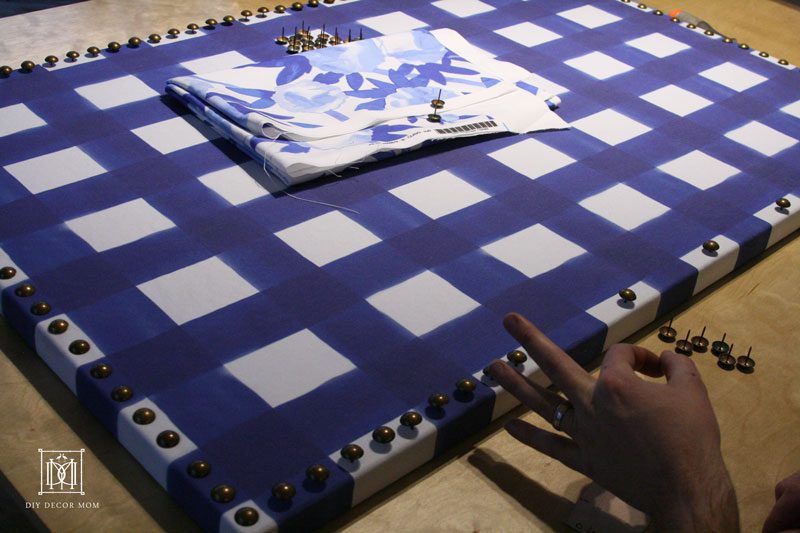
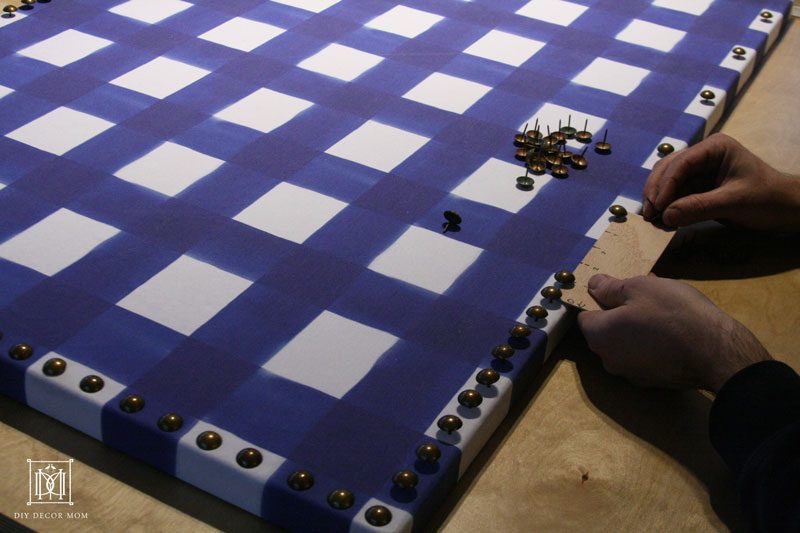
We tapped all of them in lightly with a hammer, and then came back and securely pounded them in. Because the nail heads were going into solid wood, I would recommend using a good hammer. You are going to be doing a lot of hammering for this diy cork board!
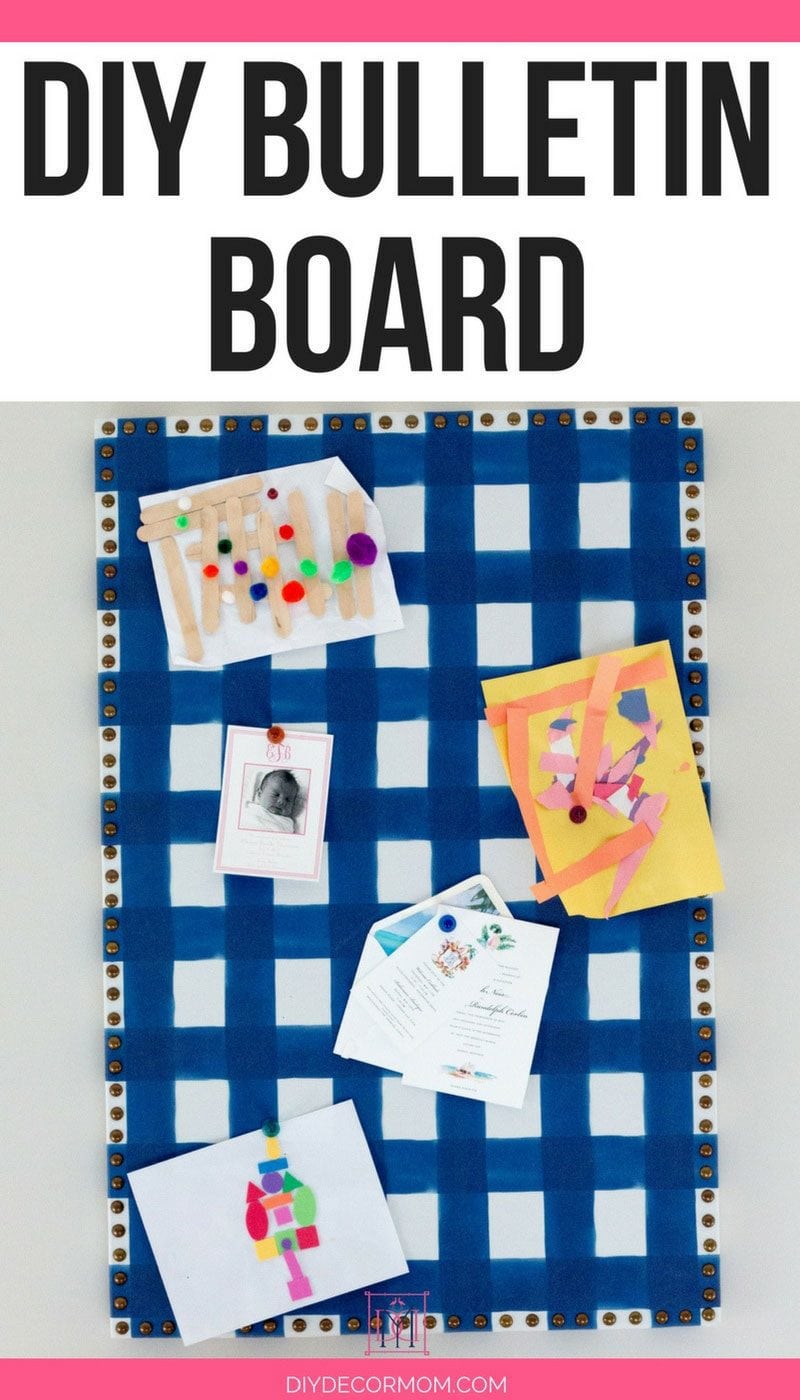
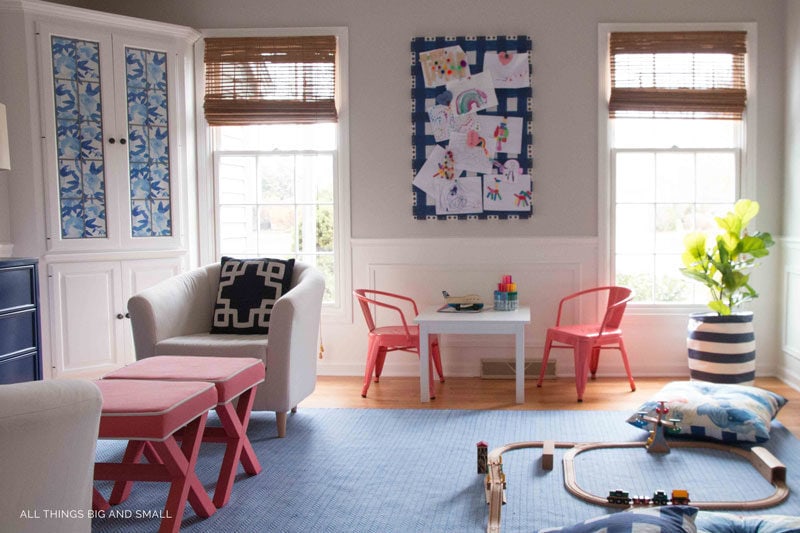
Now, we enjoy having the DIY fabric bulletin board in our playroom (see the complete makeover here). It is the perfect DIY cork board to hold all of our invitations, announcements, and children’s artwork. Depending on your needs, you could always use this DIY bulletin board in your kitchen or office as a command center and paper catch all–it’s perfect for storing school papers, schedules, and calendars!
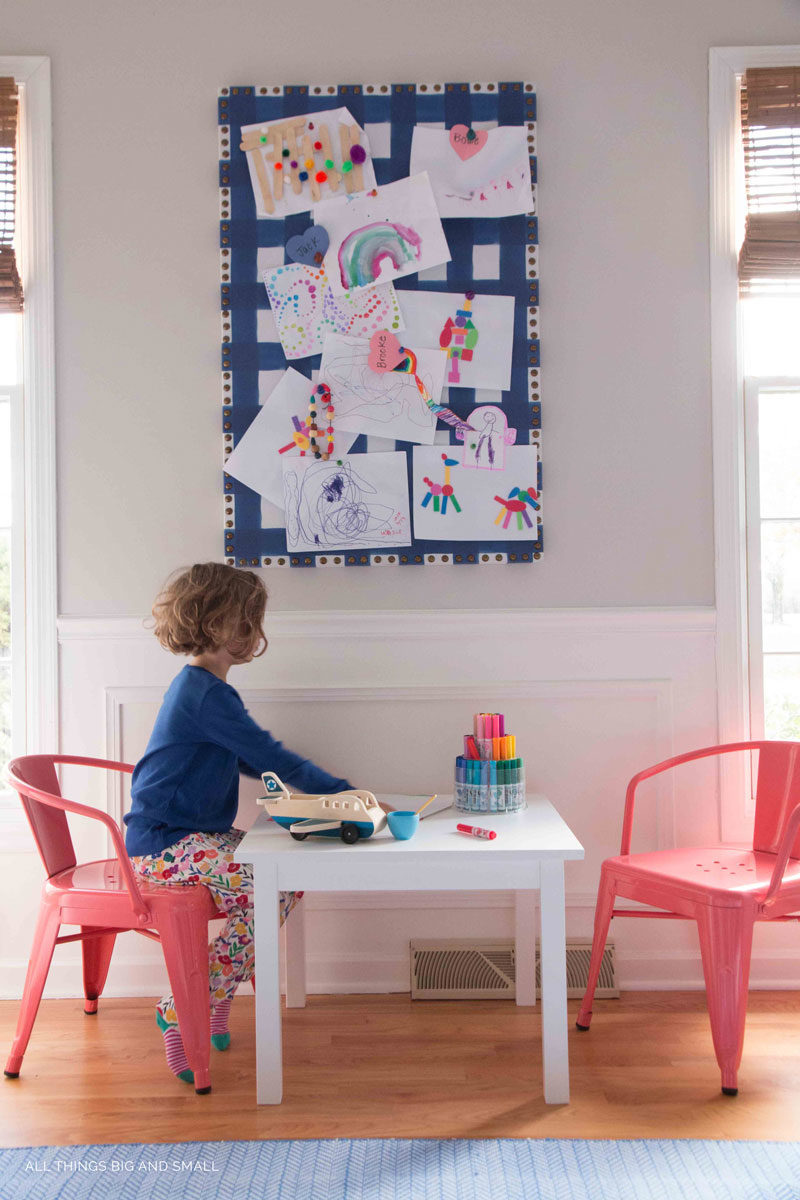
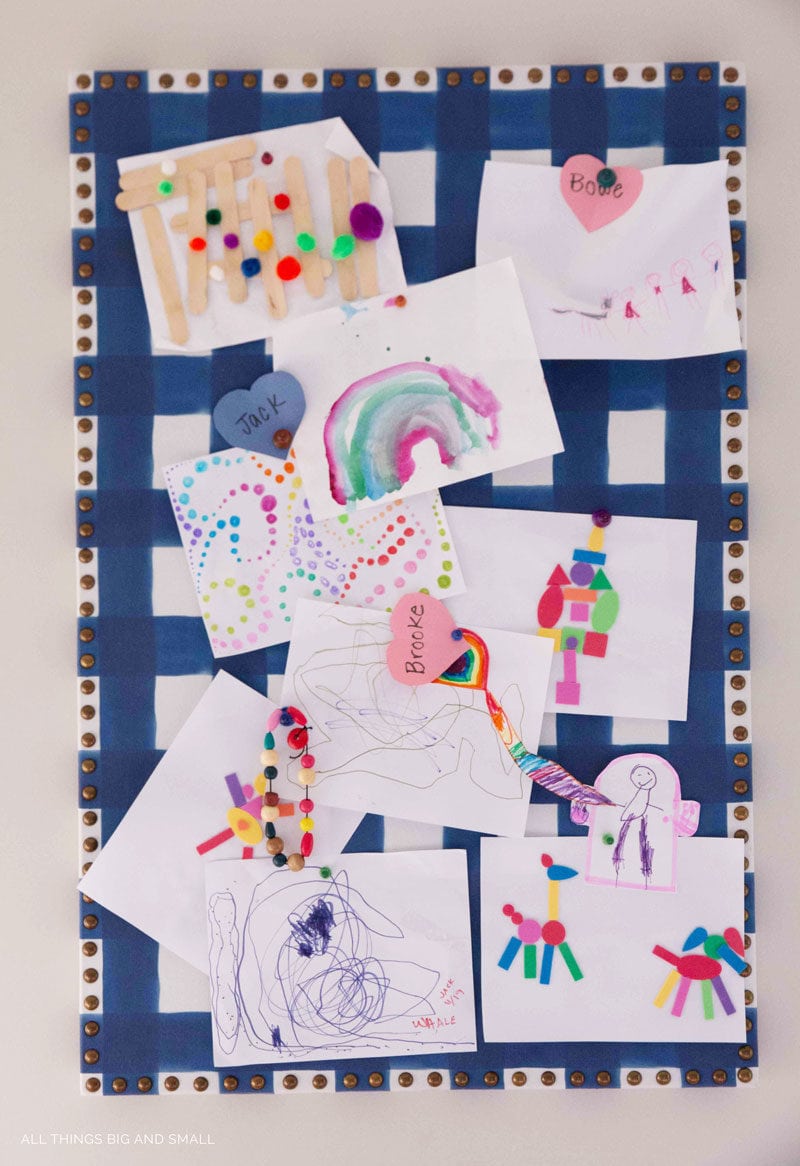
The kids love putting their artwork up on the fabric covered bulletin board, and I love looking at it! It is their own informal gallery and it was such an easy DIY fabric bulletin board, I want to make another one for our kitchen! Tell me below, where are you going to put your DIY Bulletin Board?
