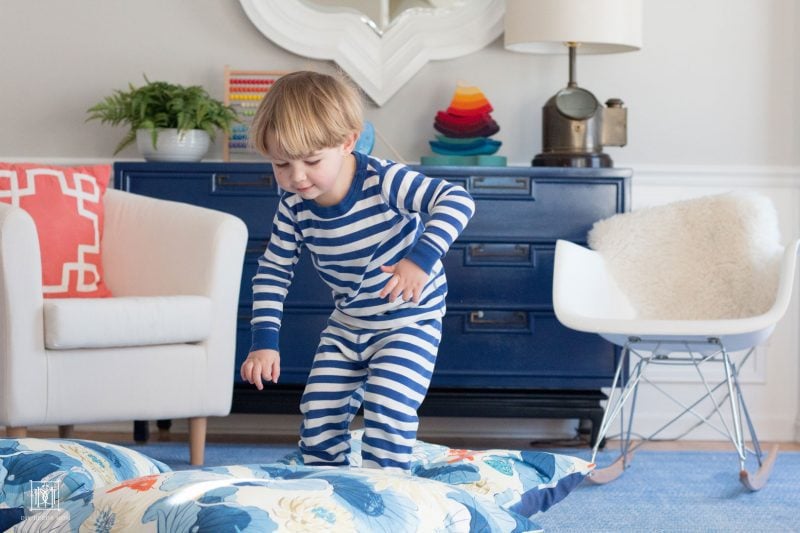
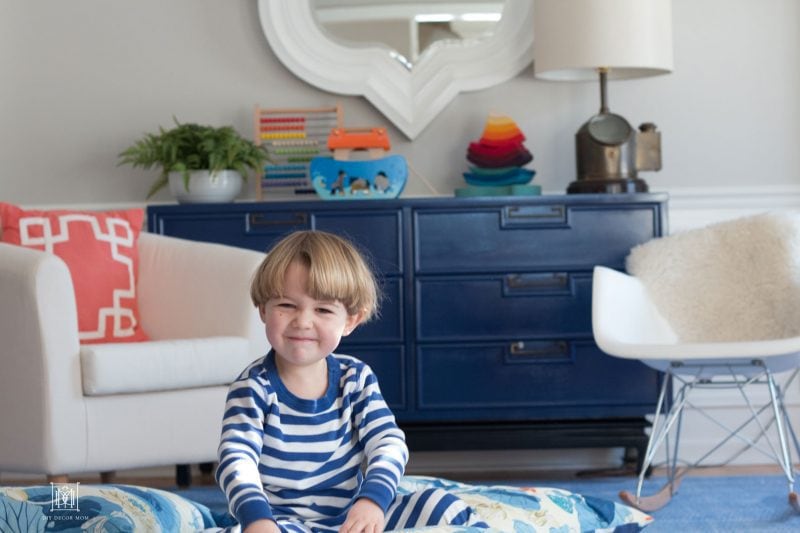
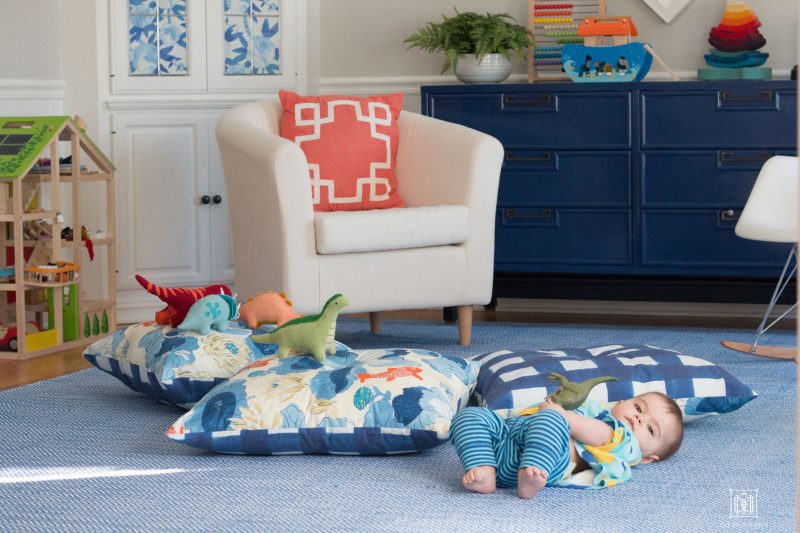
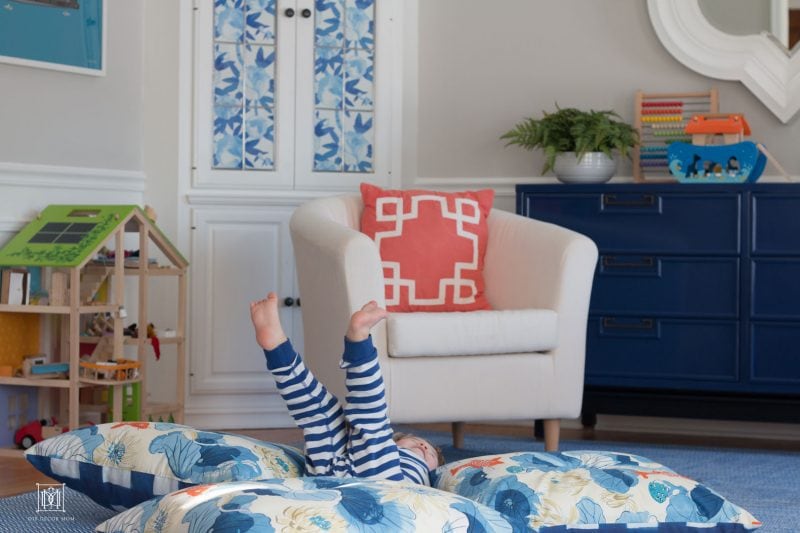
When we were making over the playroom, I knew we wanted to make some DIY Floor Pillows for the kids to lounge on, play on, and make forts out of. Three months after making them, I now realize I underestimated their potential–they are mountains for dinosaurs, bumpers for pillow fights, stepping stones for the raging river. And the best part–they weren’t expensive at all! See how we made them on the cheap using old euro pillows that were headed for Goodwill!
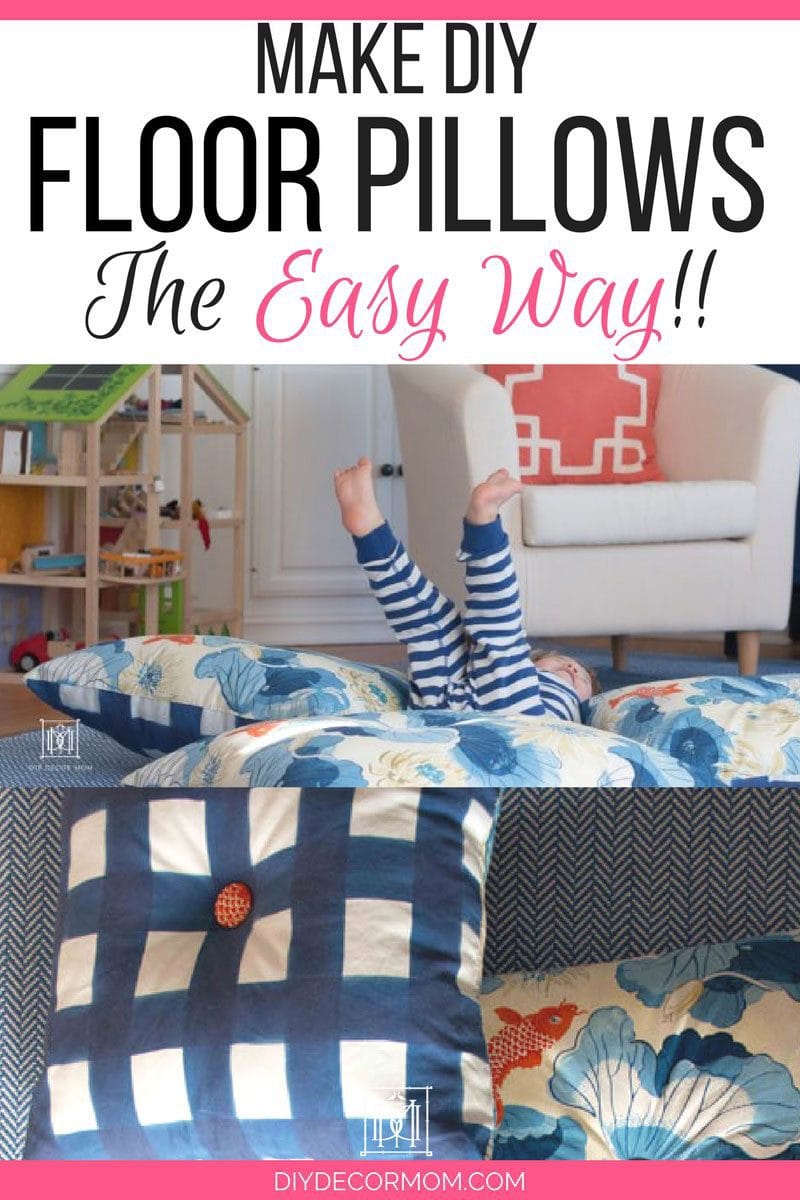
DIY FLOOR PILLOWS
*affiliate links have been used for your convenience. See my disclosure policy here
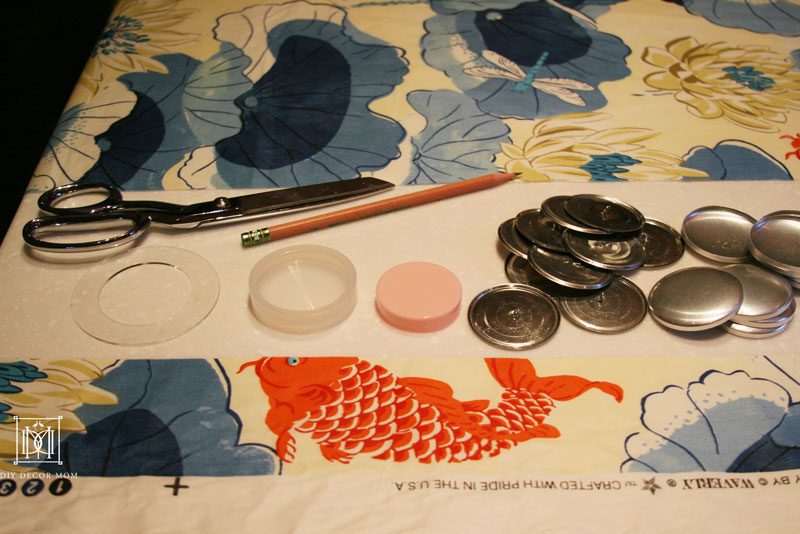
MATERIALS FOR MAKING YOUR OWN DIY FLOOR PILLOWS:
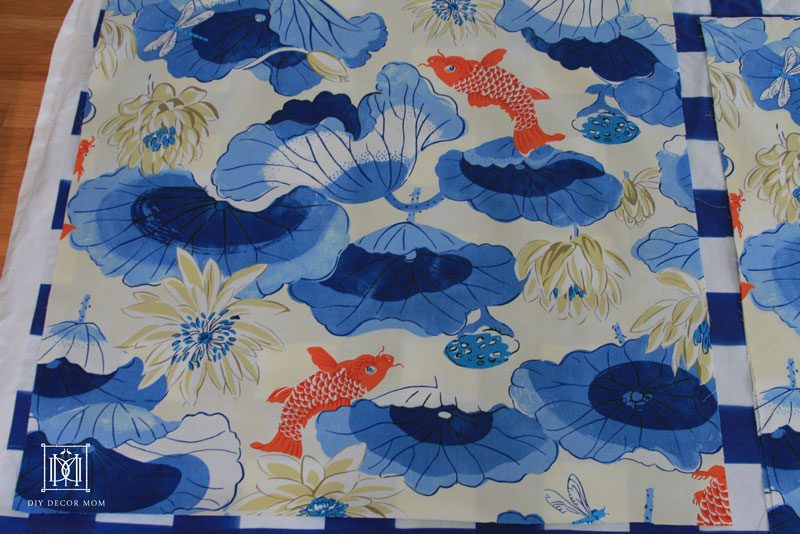
- Fabric- I used two yards of this fabric, and two yards of this fabric
- Euro inserts- use inexpensive euro pillows or inexpensive euro pillows from here
- inexpensive euro pillows from here
- Big Buttons–I ordered my buttons from I Love Big Buttons- 1 7/8″ buttons (4)
- One large eyed-needle
- Heavy-duty upholstery thread
DIRECTIONS FOR DIY FLOOR PILLOWS:
Part One: Make the Pillow Covers
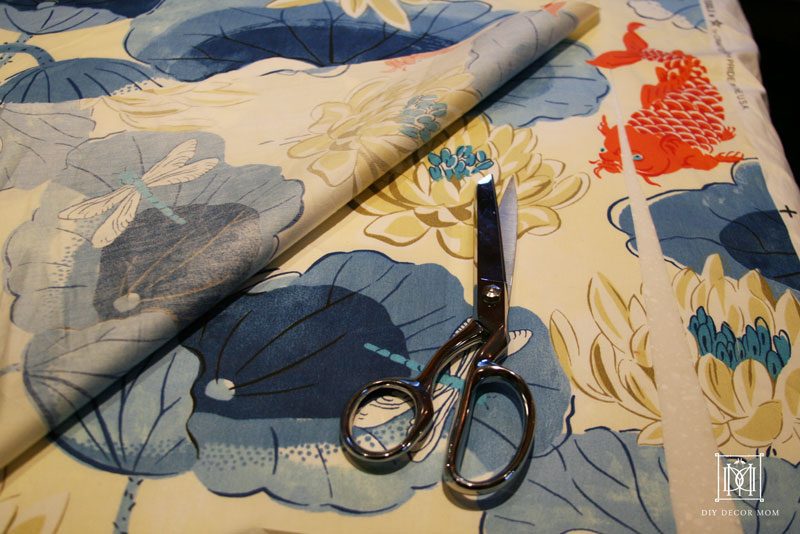
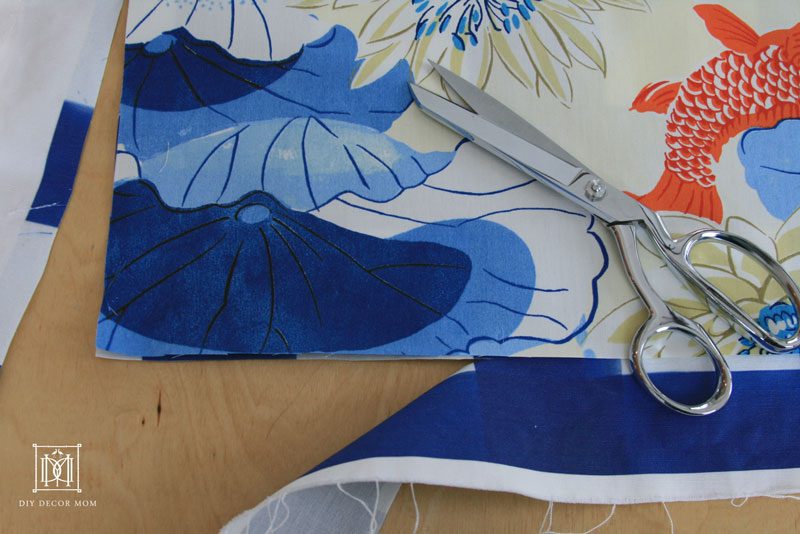
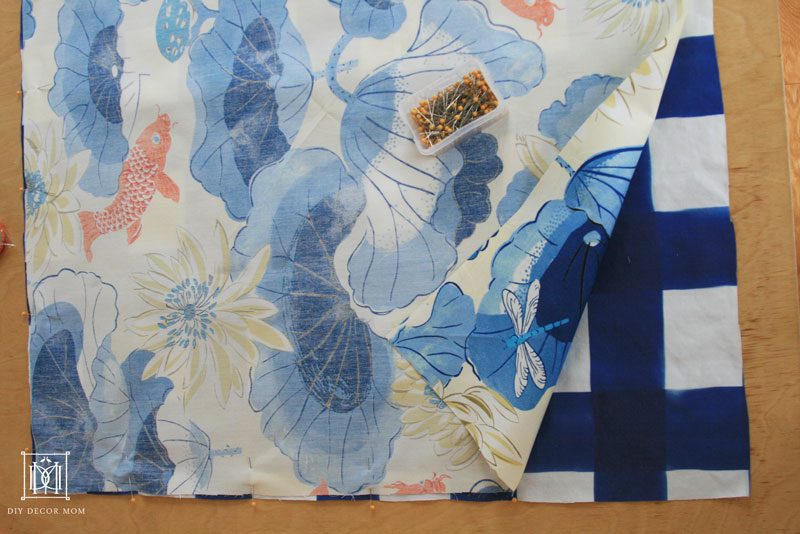
1.) Lay out and measure the fabric. To use 26″x16″ pillows that are extra full, make your pillow sleeve 25″x25″ (leave an inch less). Envision what out of your fabric is going to be shown on the pillow and place your cuts strategically. After you have one of them cut, use it as a pattern to cut the rest. For mine, I used two different fabrics (one on each side) to add some fun!
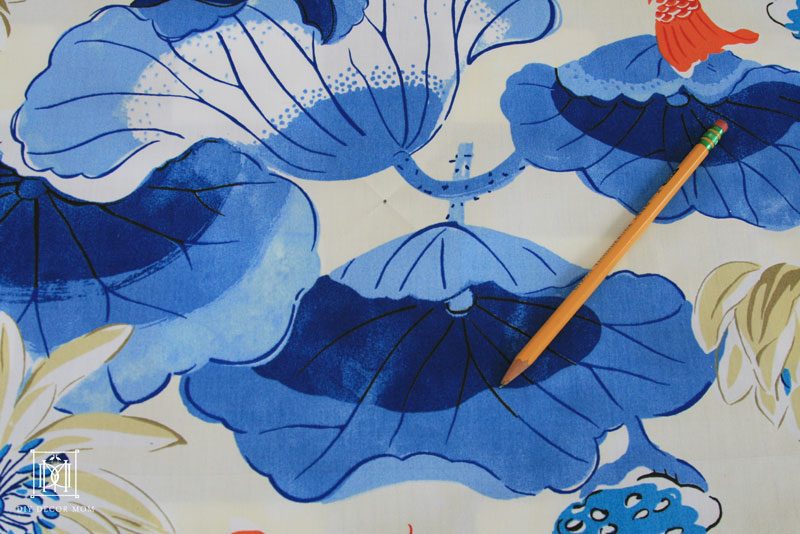
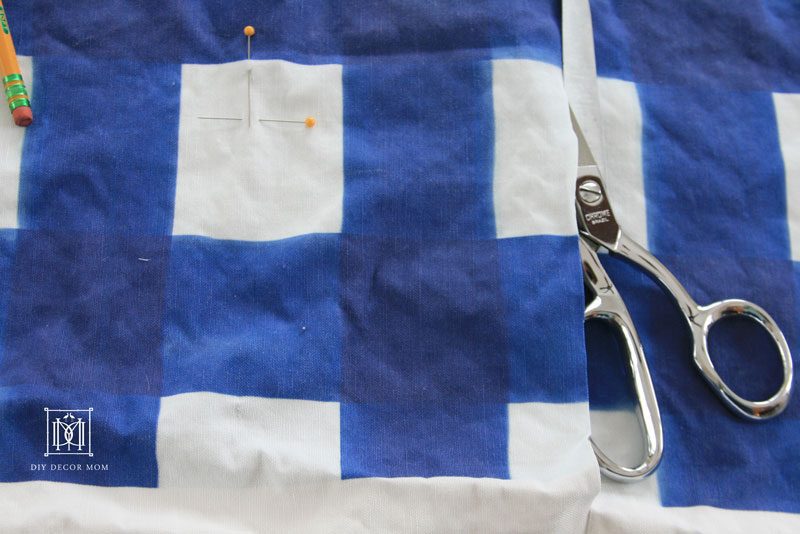
2.) To make sure they are perfectly square, fold one edge to the other, marking the center of the square with chalk or pen–you are going to want to know the perfect center for attaching the button later!
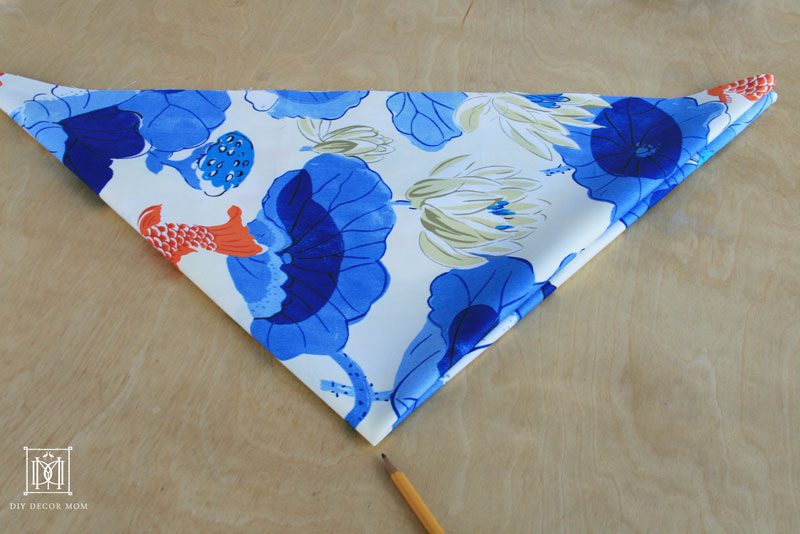
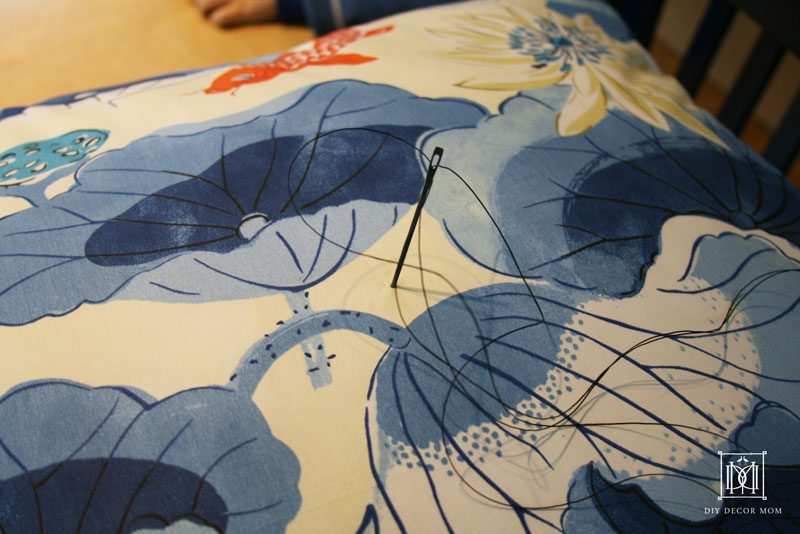
3.) Pin the two sides of the pillow together inside-out like so, and sew together leaving one side open.
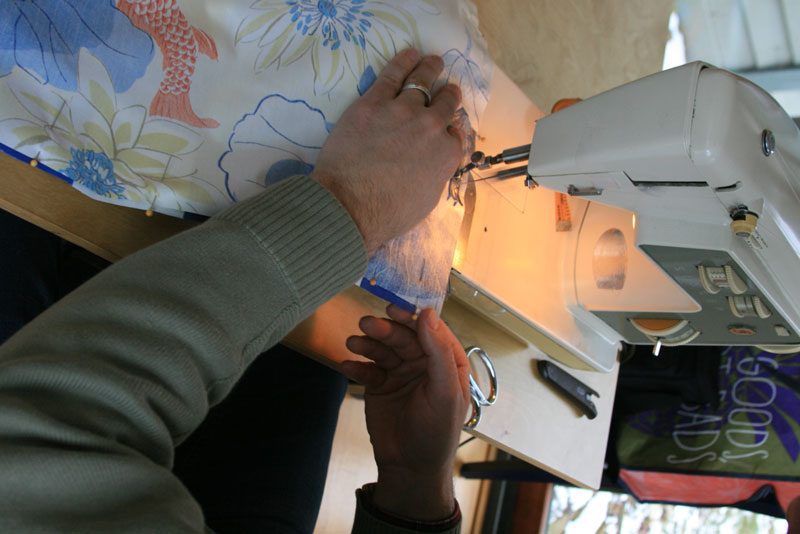
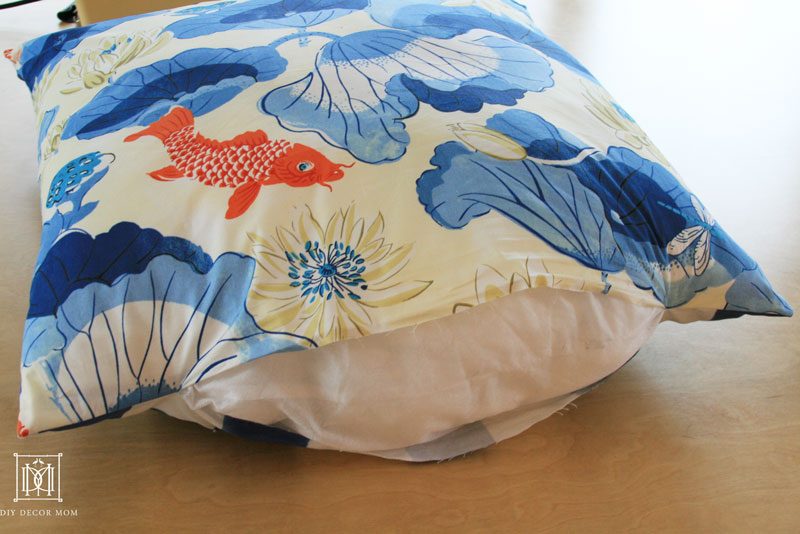
4.) Unpin three out of the four sides of the pillow, and pull the pillow case right-side-out. Next, stuff the euro insert into the pillow case. Re-pin the open side and sew it together by hand.
Part two: Make the buttons
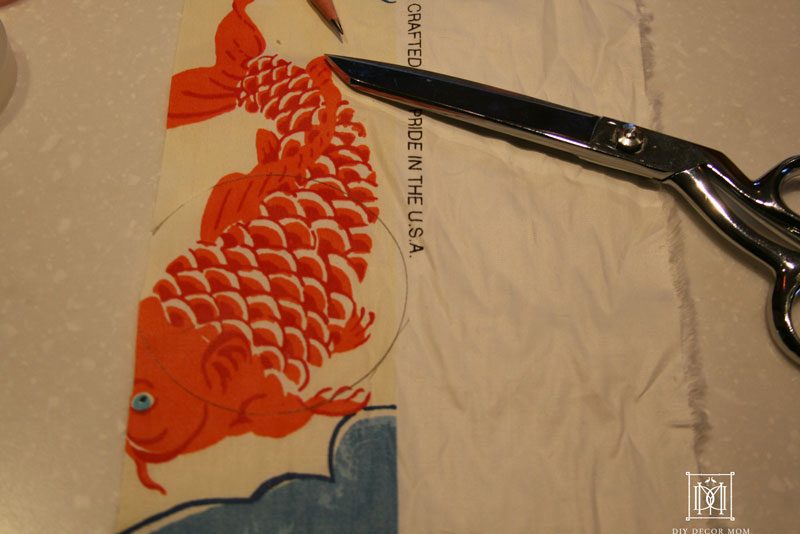
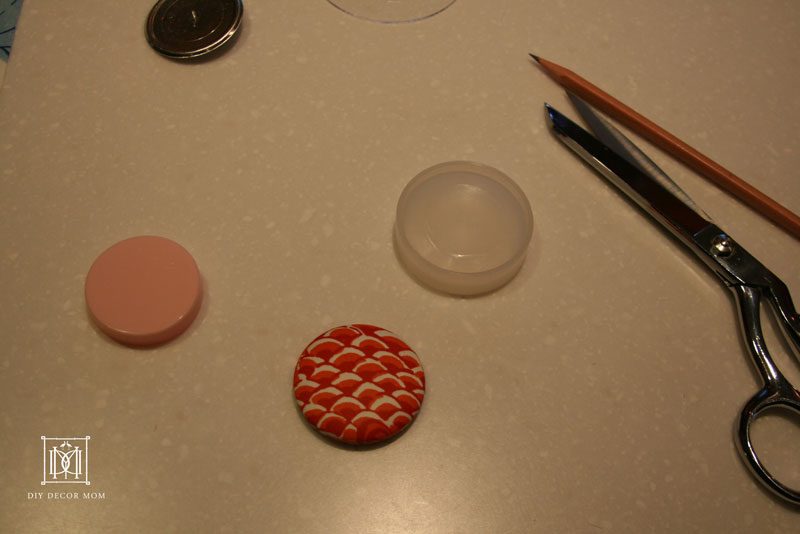
1.) Trace the outline of the large clear plastic ring (the button cover template) on your fabric–making sure to select and center the part of the fabric you want the button to show. Next, cut the shape out.
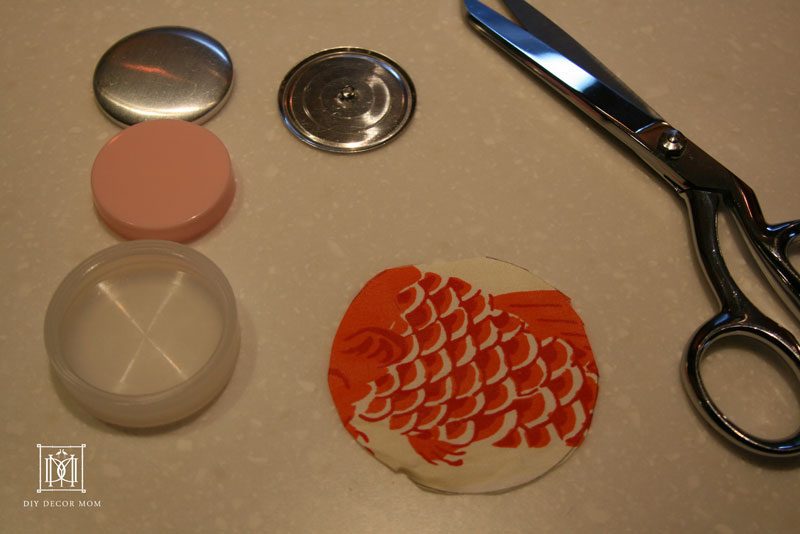
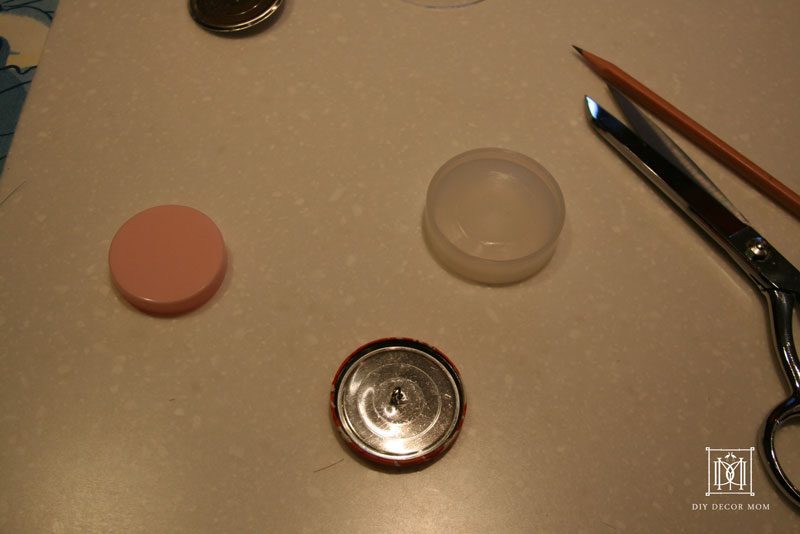
2.) Place the cut fabric right-side down into the clear plastic base. Put the top-half of the metal button (dome-side down) on top of the fabric, inside the rubber cup.
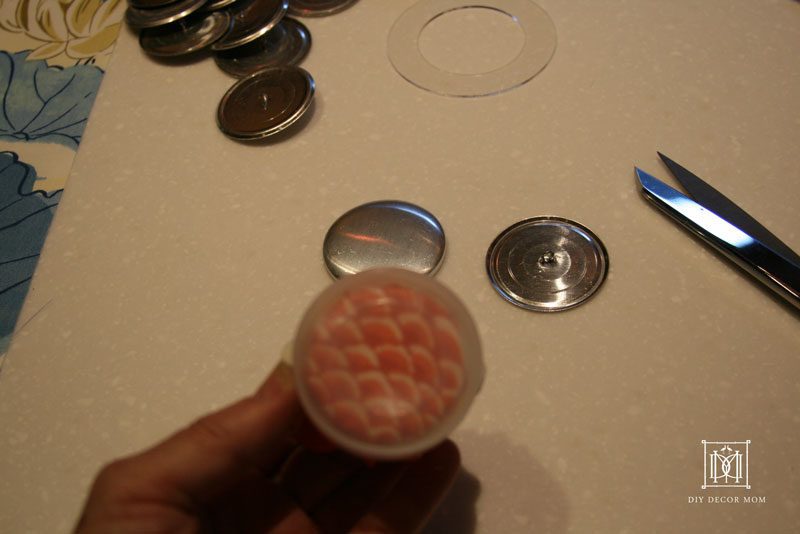
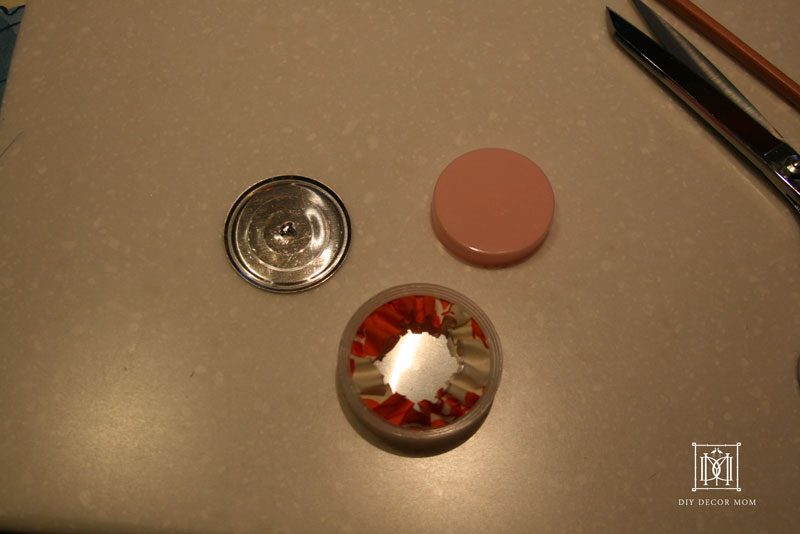
3.) Push the button down into the clear plastic cup, making sure all the sides are even. Put the bottom of the button with the shank on top of the rubber cup (over the fabric.) Place the pink cap over that, and push down firmly until the shank piece snaps into place forming the finished button.
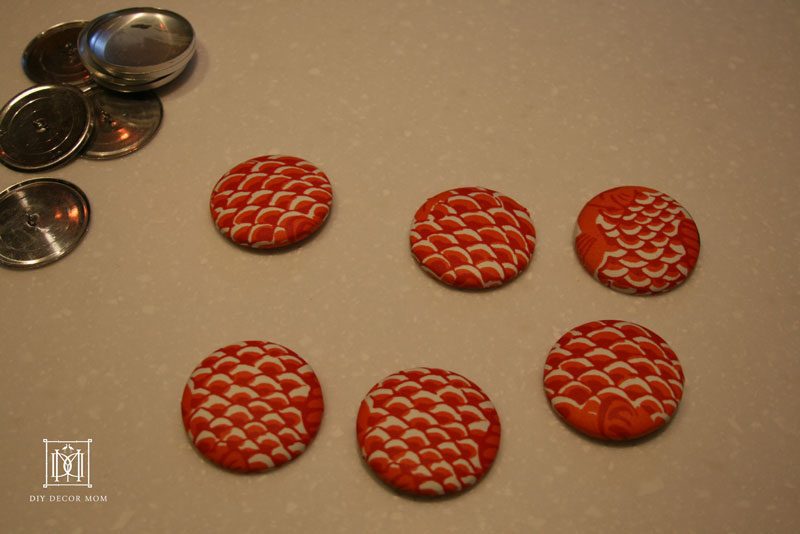
4.) Make all six buttons (one for each side of three pillows.)
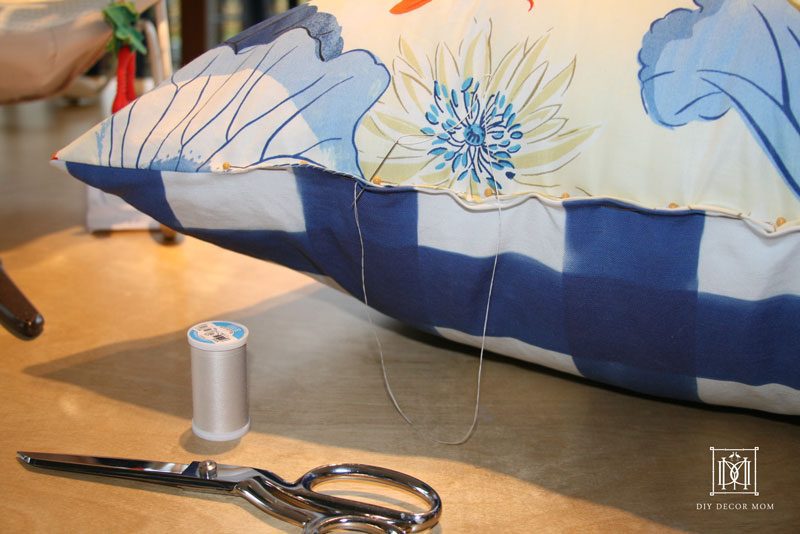
5.) Use heavy-duty upholstery thread to attach the buttons to the diy floor pillows.
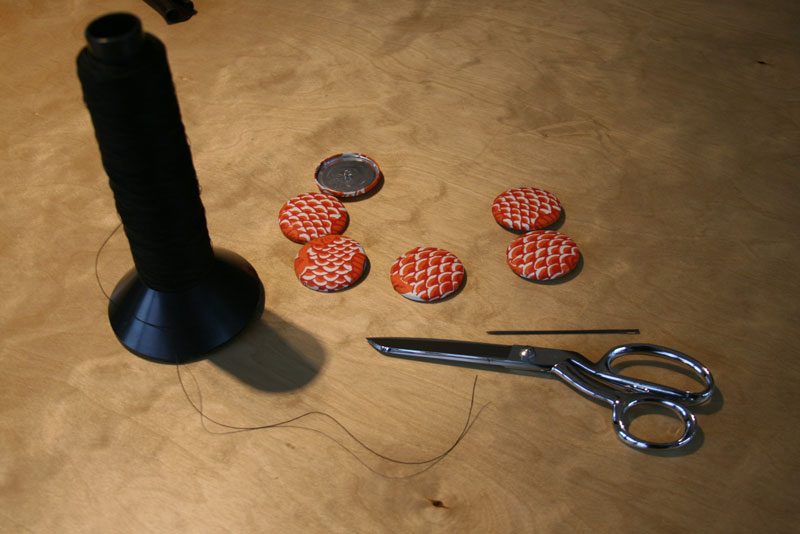
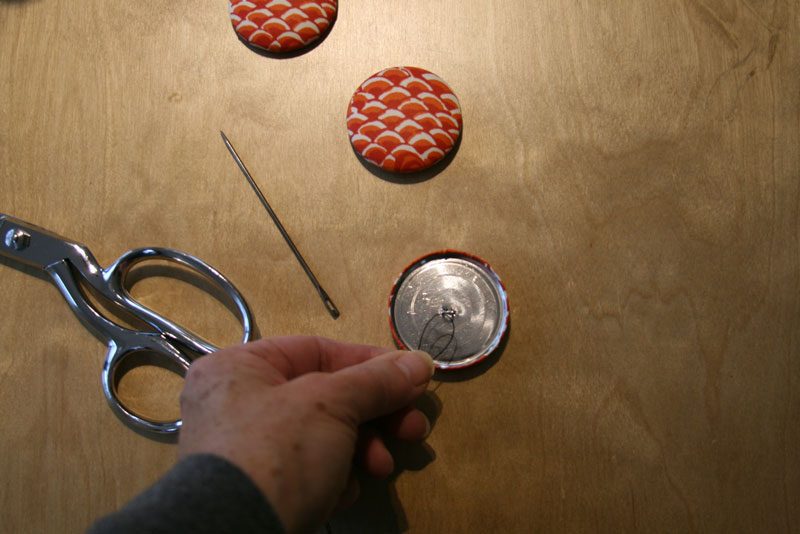
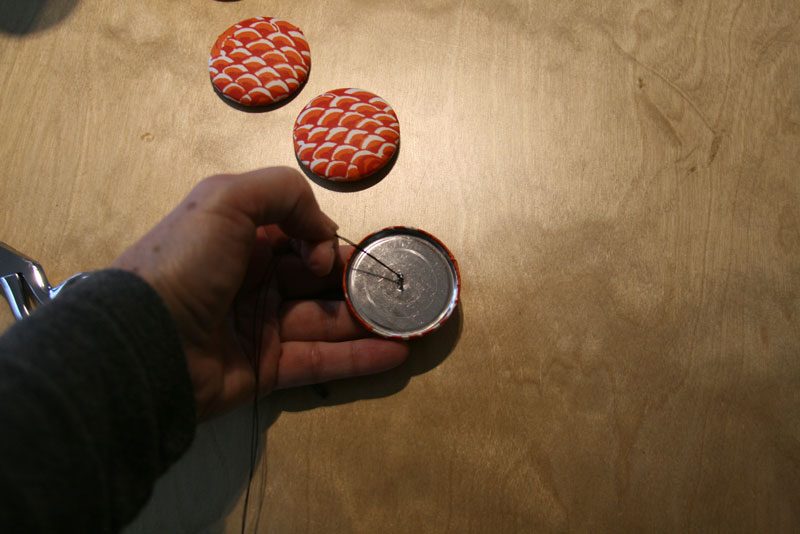
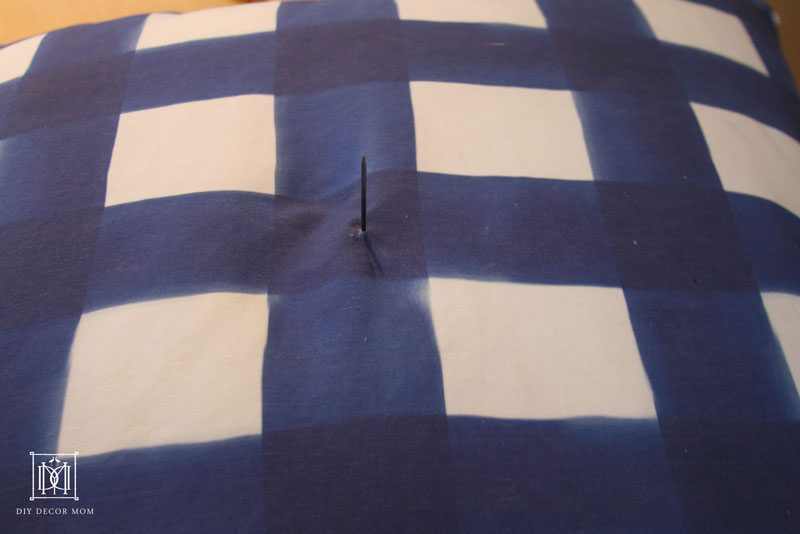
6.) Cut a length of thread, thread it through the eye of the shank, and knot several times. Repeat for each of the six buttons.
 7.) Thread both pieces through a large eye needle and insert in the center of the pillow going directly through all of the filling and coming out the center of the opposite side. Pull the thread through all the way so the button is tight on the first side.
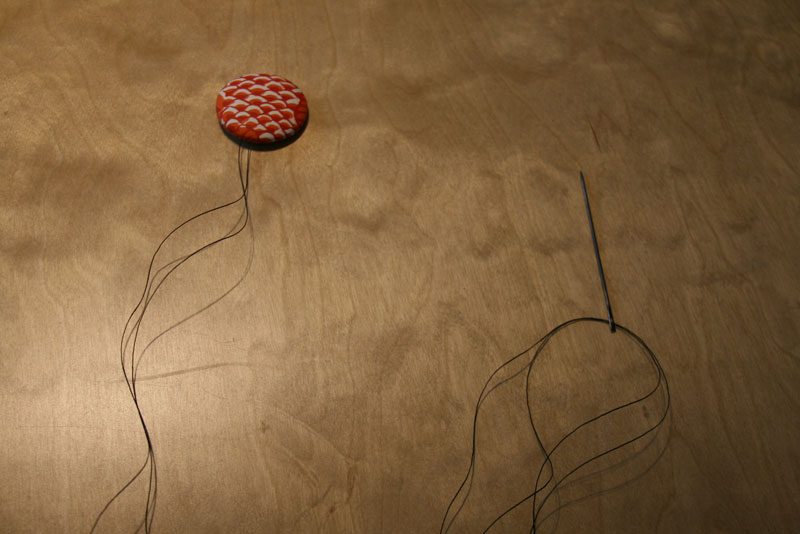
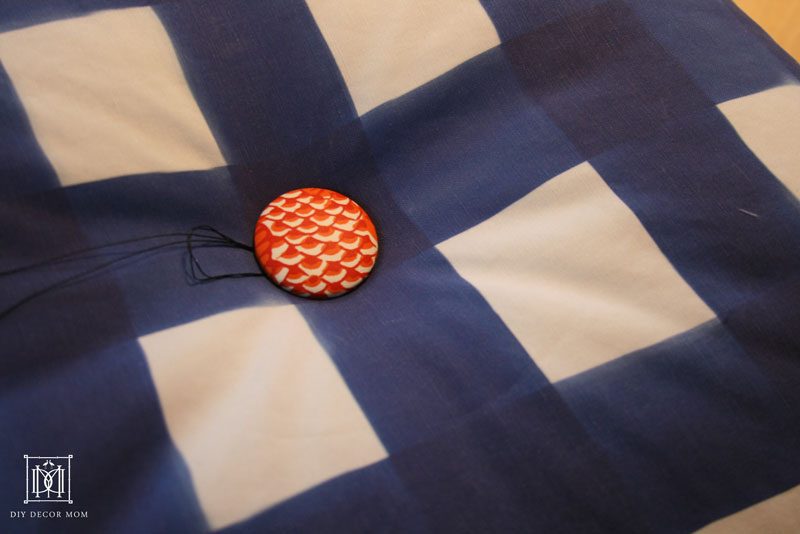
Flip the pillow and thread the needle through the shank of the second button. Pull taut until you get the desired amount of tufting. While holding tight, take out the needle and knot the thread repeatedly around the shank until it is secure. Finally, clip the excess thread.
VOILA! Now you have large floor pillows or giant floor cushions that your kids will love lounging on!
PIN THIS TO MAKE LATER!
SEE MORE DIY UPHOLSTERY PROJECTS HERE:
- How to Upholster a Bench
- DIY Upholstered Rocking Chair
- DIY Upholstered Cushion Makeover-
- DIY Upholstered Headboard
- DIY Upholstered Cushion Makeover--See how we made over our piano bench cushion!
- DIY Upholstered Cushion Makeover-
SEE OUR COMPLETE PLAYROOM MAKEOVER HERE!

This was helpful information for me. I’m glad I read your article. Thanks for sharing!
This actually doesn’t look as hard as I thought it would! Great post. Very very informative tips. Love this. Keep going.
Thank you Bettye! It truly wasn’t and my kids love them!