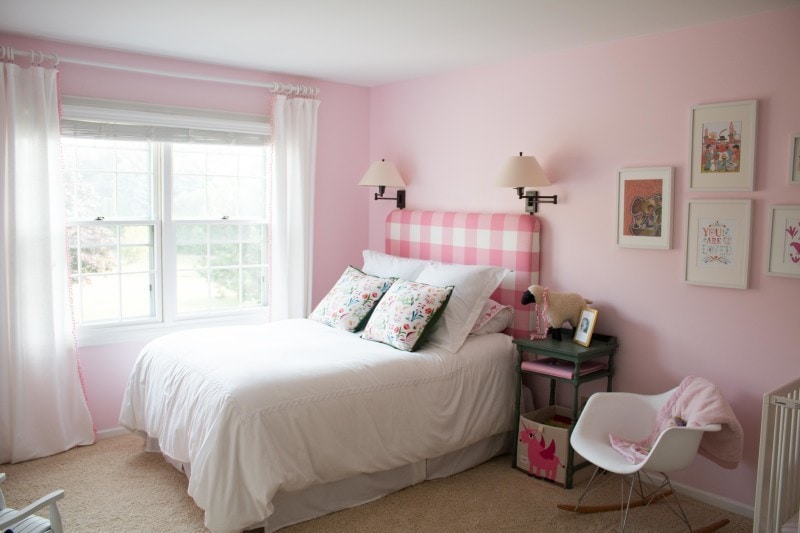
I recently reshot Bowie’s room so the pictures above are the updated ones, and the ones below are the original. I am happy to say that I have learned a bit about photography in the past ten months!
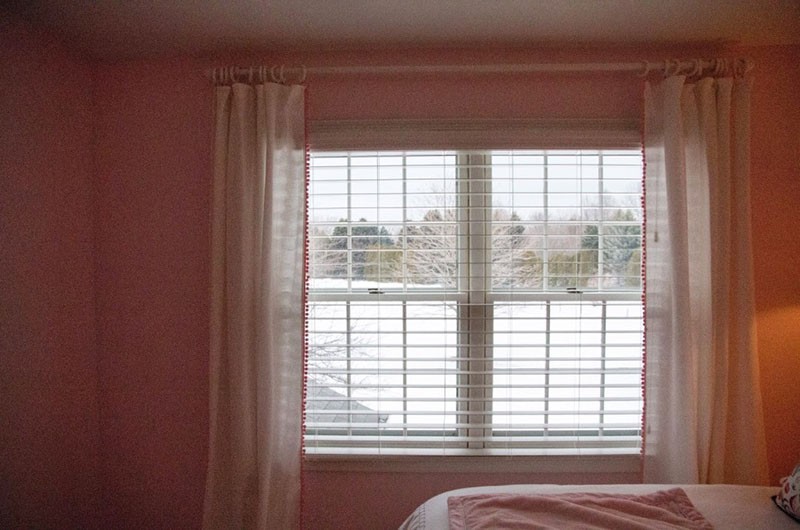
Next to painting, window treatments can really change a room. Luckily for us, this sucker was a pretty inexpensive DIY. The curtains themselves were cheap, and the curtain rings would have been if I hadn’t messed up at Ikea.
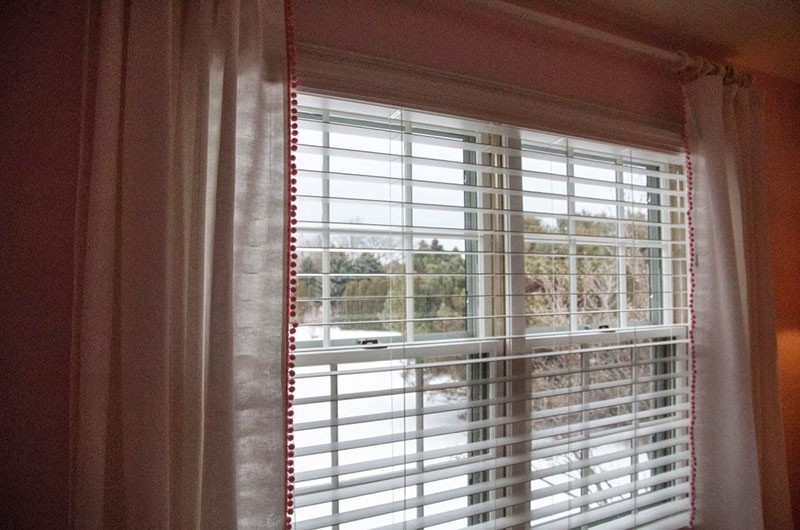
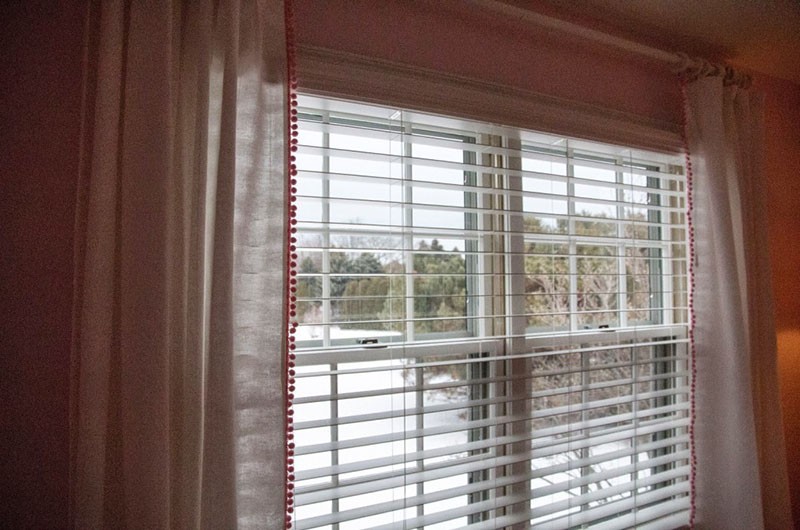
The ceilings in our house aren’t particularly high–8.5 or 9 feet. So, drawing your eye up to the ceiling as far as you can is really important. We found the same thing helped in our family room with painting the bookcases. Training your eye to go from floor to ceiling really helps.
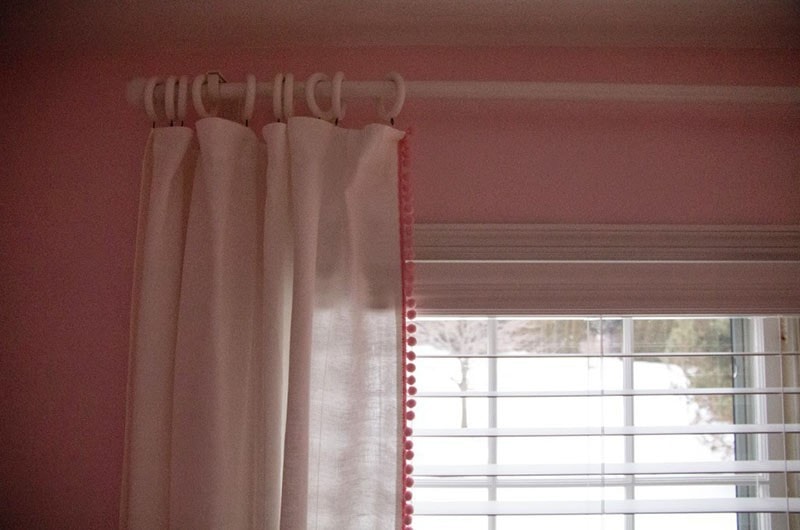
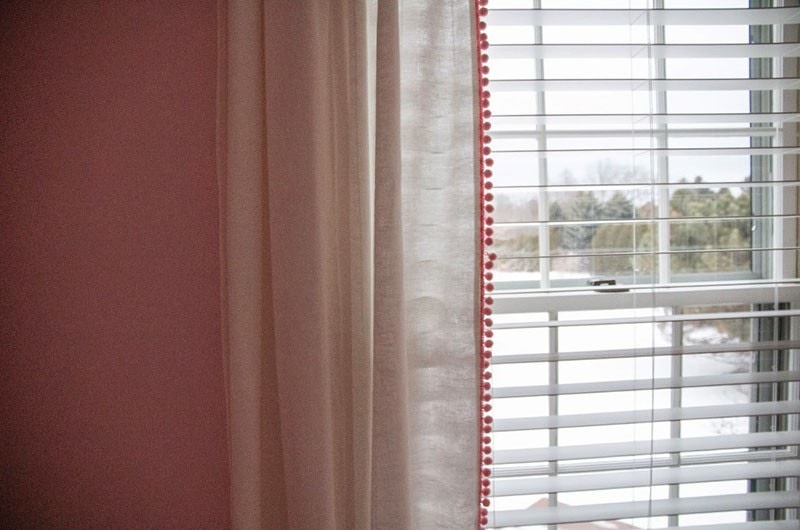
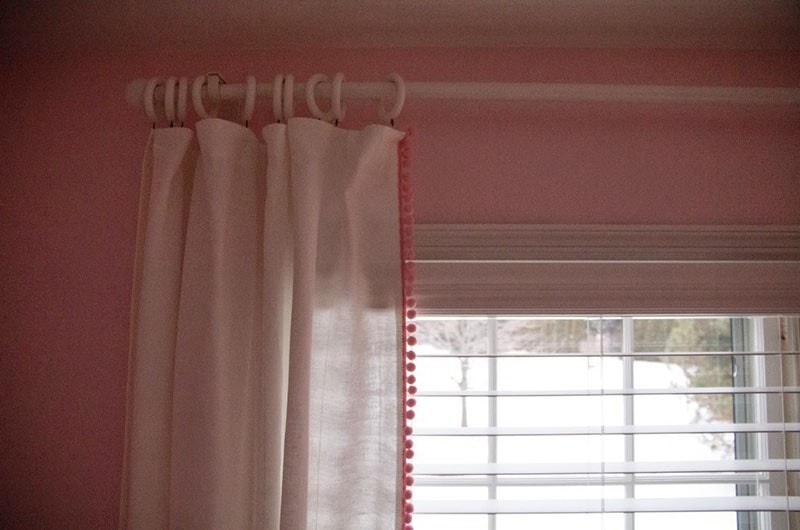
We used the Lenda Curtains from Ikea which were $19.99 for both panels. We initially went for the Ritva but ended up liking the texture of the Lenda better. We cut off the tags on top which was really easy, and then sewed on curtian rings from Ikea which were $3.99 for 10. I used two packs. I also bought the Ikea mounting hardware for the rod. You can’t really beat the price ($1.50 for each).
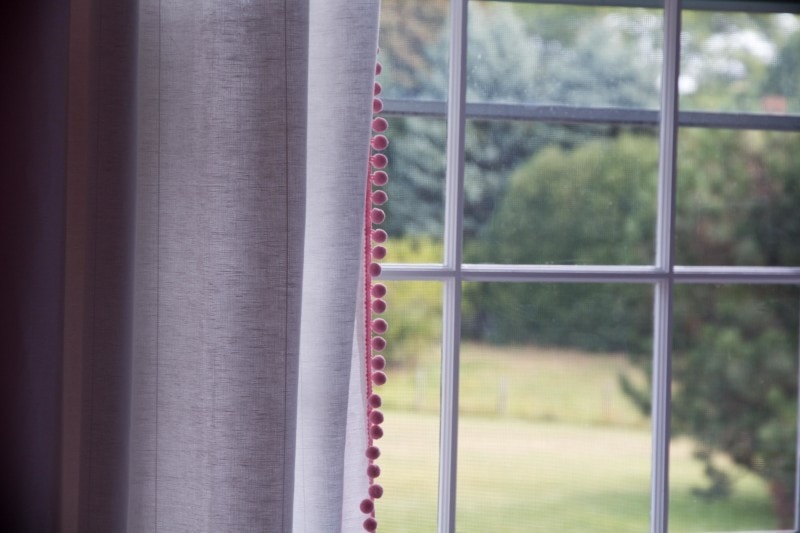
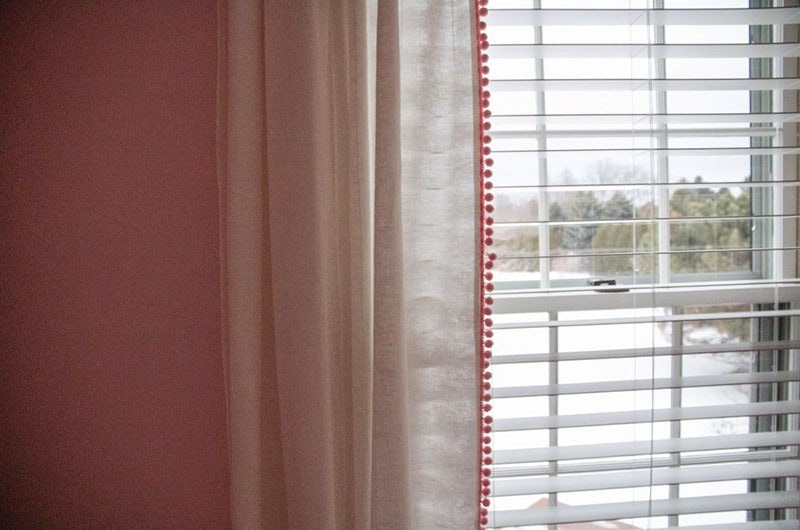
To zhush the curtains up, I added this pom pom trim from Joann fabrics in a lighter shade of pink (pretty much the lightest shade they have.) I think I paid something like $15 for six yards.
Now, I had bought a curtain rod (the Hugad which was the thicker one, and wrong) at Ikea but never measured that the curtain rings I bought would go over it. I should have bought the Racka which has a diameter half of the Hugad.) Ikea fail. Both are the same price at $3.99. So I got home (1.5 hr drive) and four weeks later when I got around to this project, I realized they didn’t fit. So off to Home Depot we went to get bigger curtain rings. We ended up buying 3 packs of these Martha Stewart wooden curtain rings for $8 a pop. Ouch! Then when we got home, we attached the Ikea curtain rings which my mother-in-law had sewn in, to the MS rings. And it looked just fine.
Here is the cost breakdown if you are curious:
Curtains $19.99 + curtain rod ($3.99) + curtain rings (Ikea $3.99 x 2) + curtain rings from MS ($7.97 x 3) + curtain rod hardware ($1.50 x 2) + pom pom trim ($15) = about $75. Now, if I hadn’t made the mistake about the curtain rings, it would have rung in at $50 which is much better but mistakes happen.
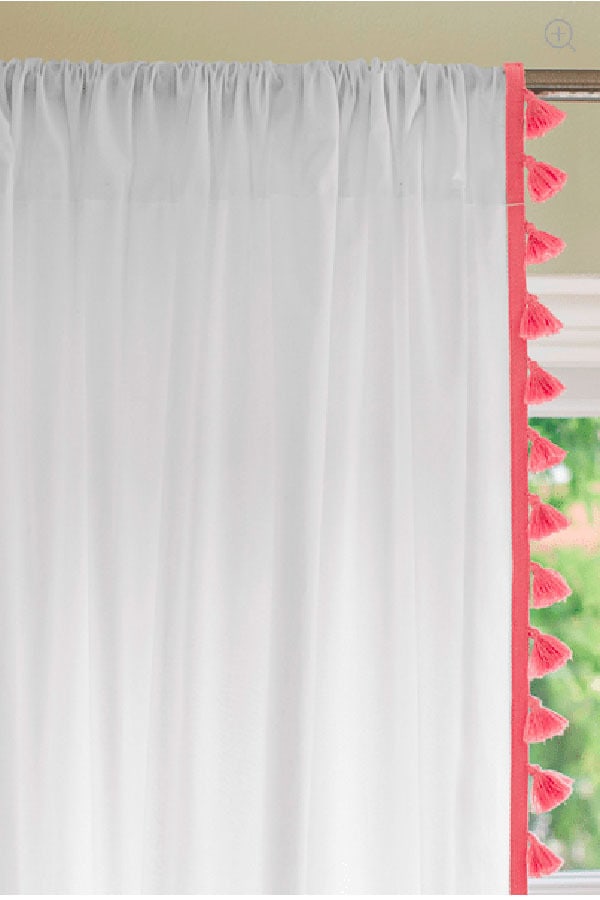
Considering the inspiration was these Serena & Lily curtains which retail for $98 a panel, this DIY was a steal even with the mistake. Consider the full set up cost for the Serena & Lily’s: $198 curtains plus all the hardware ($15 for the curtain rod, hardware, and rings) = $213. Even with my mistake, my total cost is 35% of the cost of the S&L set up.
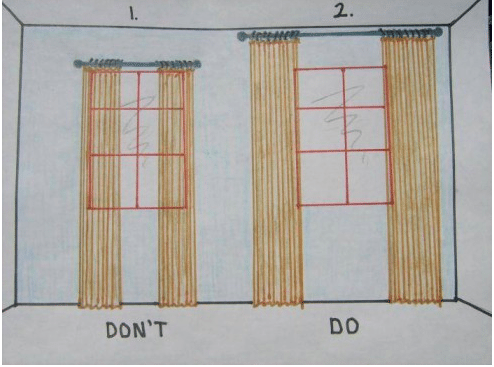
Remember to always hang your curtains them high and wide. Look at this illustration for a good representation:
image via
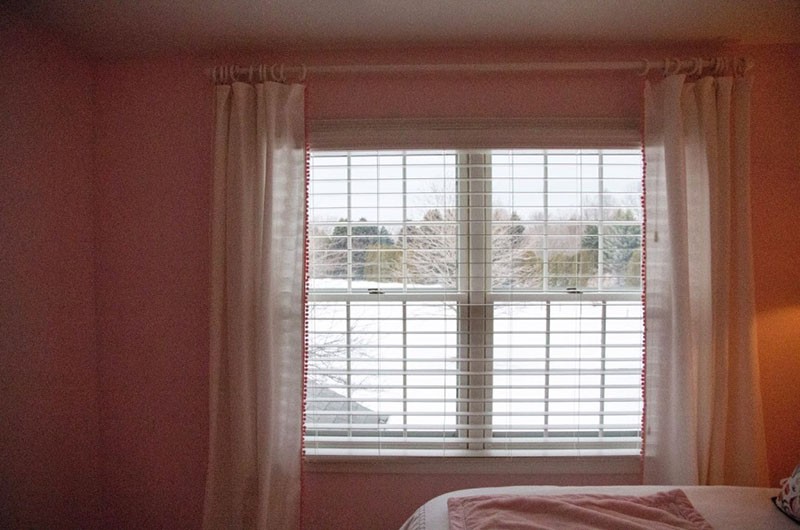
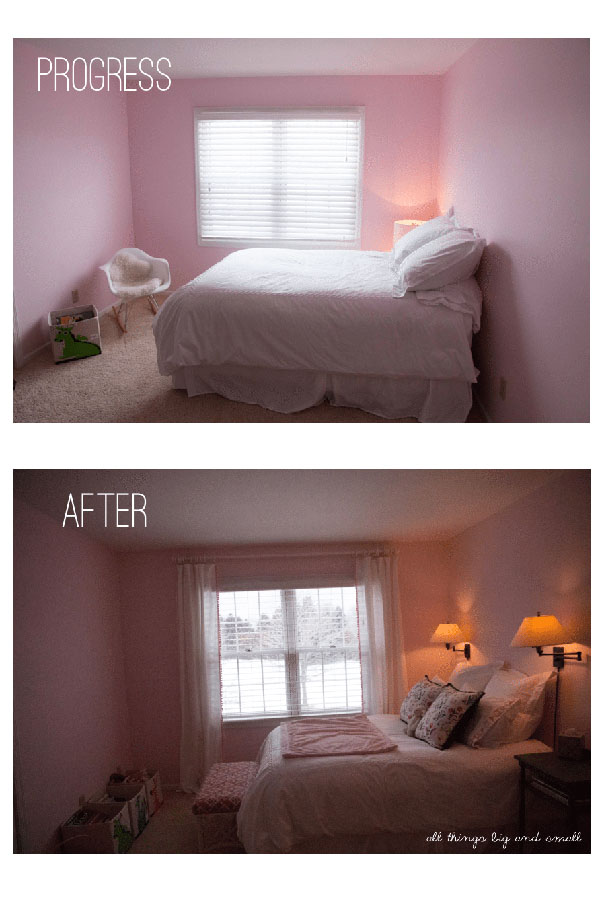
And the before and after:
For more of B’s room, see this post. And even more updated see this post on her DIY Upholstered Headboard. Sorry for the grainy photos, it is a north west facing room and with only one window, it is usually relatively dark in there.
Stay tuned for another room’s status reveal this week! Until then, we are headed to the library for storytime because we haven’t been at a toddler activity outside the house in two weeks and I am going stir crazy!
Oh, the high and wide trick. I didn't figure that out until all my curtains were hung. I need to go back and rehang them, but it's just so much work! Love your DIY curtains – they turned out fantastic!
Sara,
Thanks so much! I was really happy with how they turned out even with the whole ring fiasco! High and wide is so counterintuitive! And yes, it is such a pain in the butt to hang curtains. I bought some more Ikea curtains for other rooms in the house six months ago. They are still sitting in my office closet. Oops! I am hoping one day to convince the hubs to hang some more!
xo
Annie