DIY Faux Fireplace: How to Refinish a Vintage Mantel
The past week has been a whirlwind for the One Room Challenge! If you have been following along on Instagram, you know that my husband and I snuck off to visit our in-laws in England for a week! So, all of this was done literally the day before we left! It was a chaotic last few days between DIYing, watching our two children, packing, and cleaning the house! And good thing because now both kids are sick–one with croup and one with strep, so this would have had to be done in the past two days with sick kiddos!
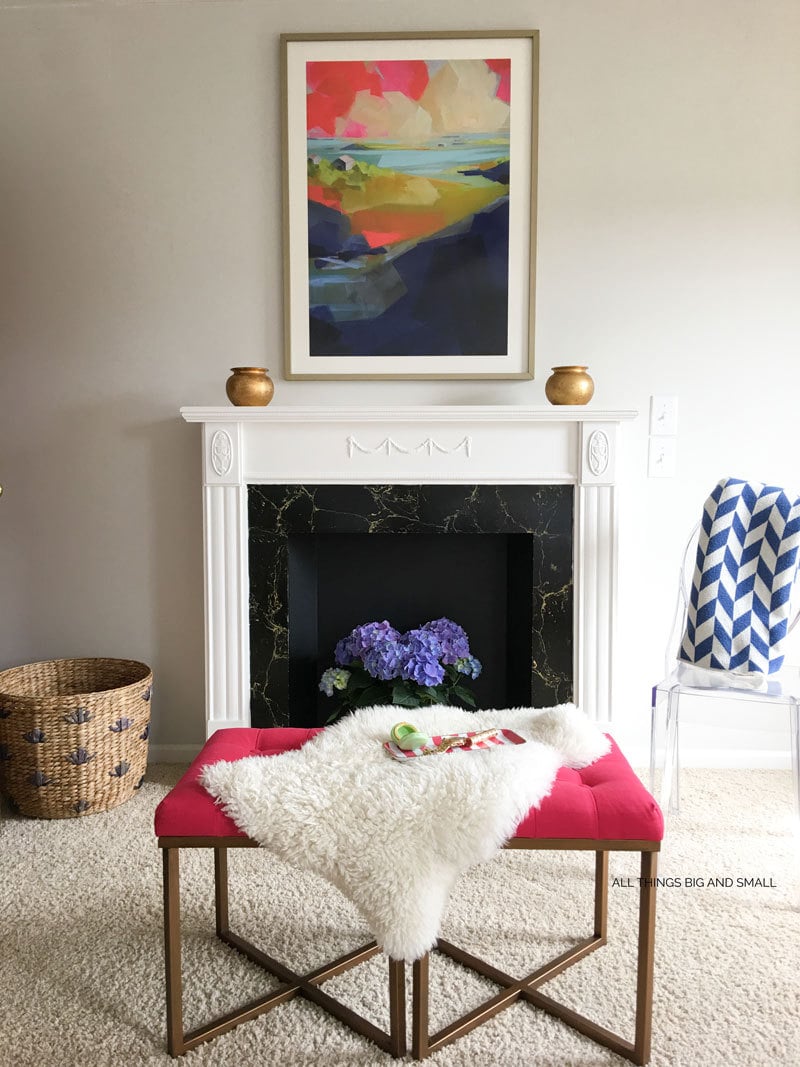
This used to be just a plain wall in our master bedroom with an ugly brown Ikea Malm dresser that I have had since college and nothing else. So when I started scheming for the ORC, and I found this vintage faux mantel in my mom’s storage unit, I grabbed it up! I knew it would add some much needed architectural interest in our master bedroom. And the Ikea Malm is on its way out–we are going to relocate it to the closet for the time being, and when we eventually do a whole closet makeover, that thing is on the curb!
*Affiliate links have been used. Read my my complete disclosure policy here.
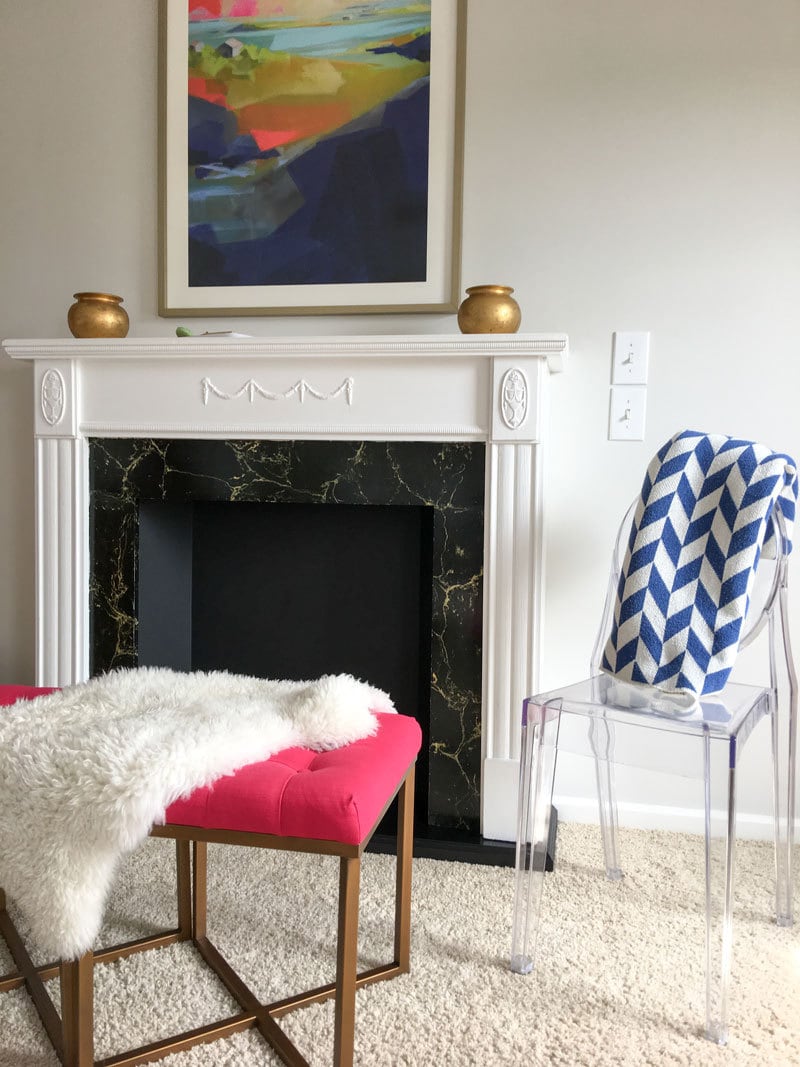
To make more of a sitting area, I brought up a ghost chair I had picked up years ago from Craigslist (you can easily grab this one here though). And my relocating my favorite stools it brought a fun dash of color, (seriously these could be called the traveling stools but that just sounds wrong 😉
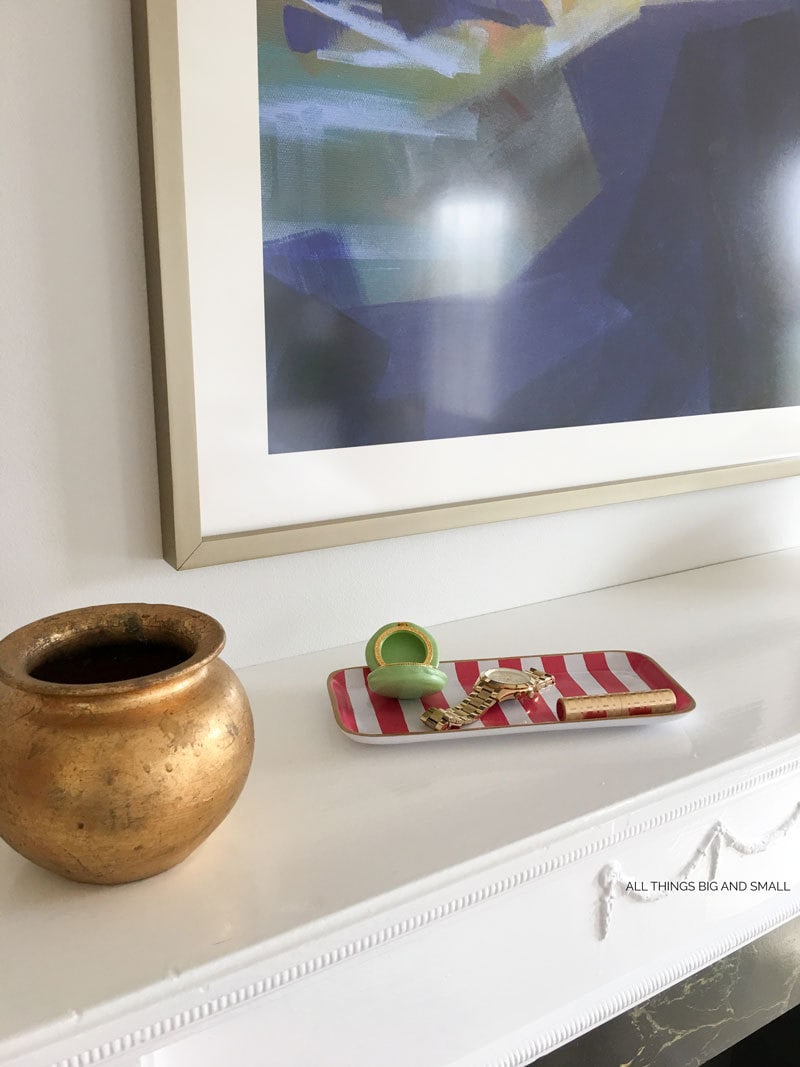
But even with the mantel alone, I knew I needed some big statement artwork that would provide color and a modern touch to balance the classic mantel. Fortunately, I was able to partner with the generous folks at Minted, when I reached out to them. I had fallen in love with their Gone Coastal print and knew I had to have it for our bedroom! As you all know, we love living along Lake Michigan so this coastal abstract is right up our alley! *I was given the artwork for a review but all thoughts an opinions are my own. I chose their matte brass frame in 30×42 and selected the UV Plexi-Glass and archival materials because this room gets so much sun everyday.
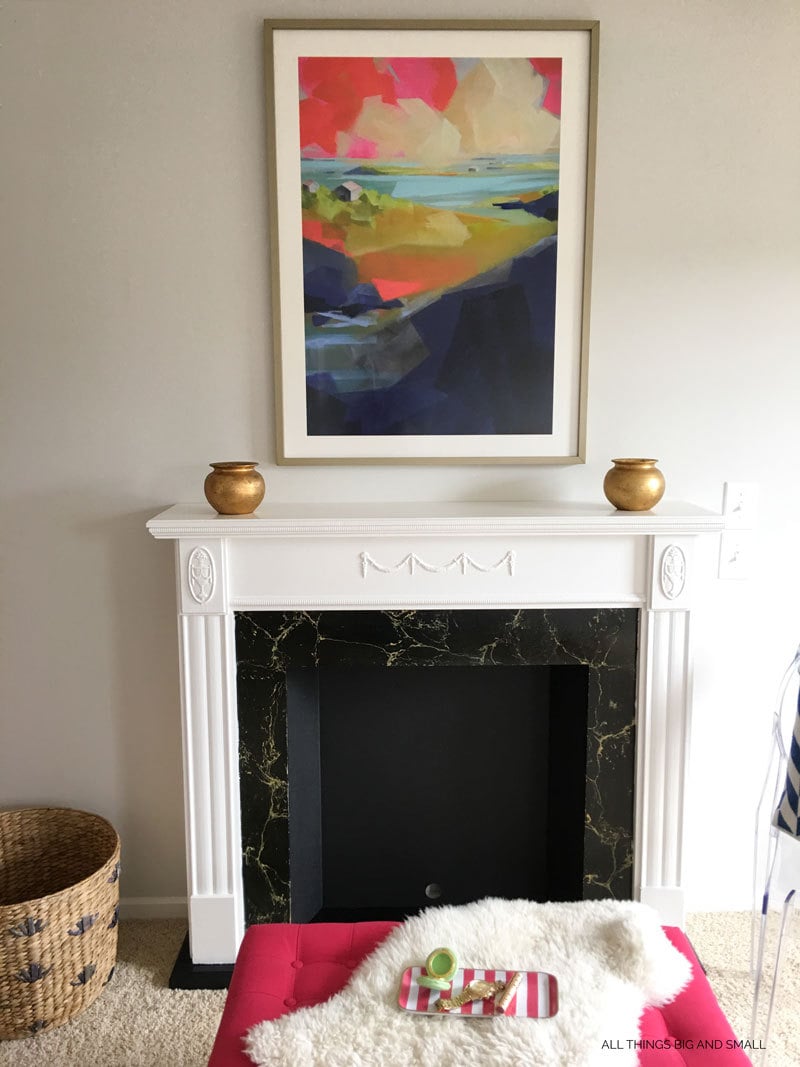
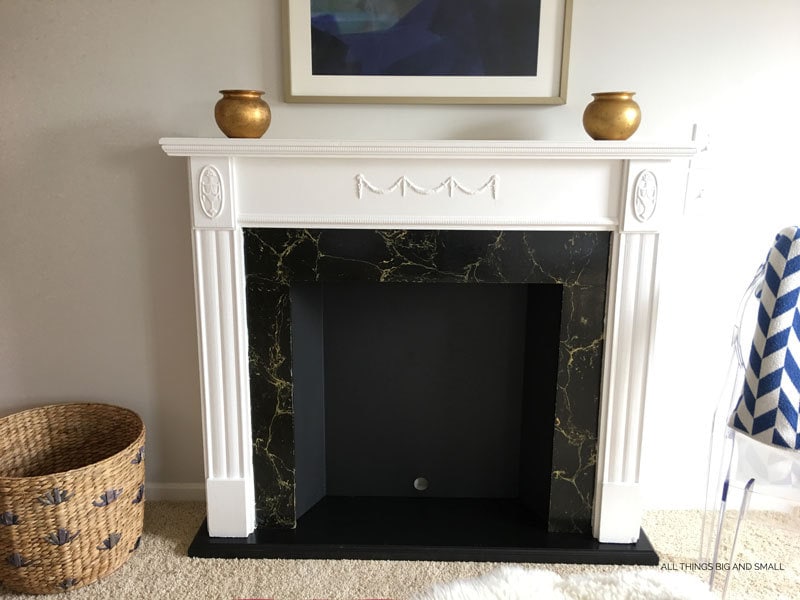
Well enough with the explaining, here’s the before and after of our faux fireplace and everything you will need to refinish your own vintage mantel!
DIY Faux Fireplace
SUPPLIES:
- Paint- black and white- I use Benjamin Moore Natura Semi-gloss in Simply White for the white, and Jet Black for the black
- Sandpaper– 150 and 50
- Spray paint– I used matte black
- MDF board or plywood
- Wall anchors– so important to remember with little ones!
- Wood putty – use the tube version so it stays good longer!
- Painters tape
- optional (a wire brush)
DIRECTIONS:
For the mantel:
1.) Prep: Sand down any uneven paint and use wood putty to fill any holes/ dings. I use 150 grit sandpaper in general to hit any surface irregularities before I paint any vintage pieces. And to protect the faux marble painting, I taped off the edges.
2.) Paint it! I always turn to my favorite semi-gloss for anything that is trim or cabinetry. Since it was already painted, I didn’t need to do a coat of primer which saved some time. Do two solid coats to cover any prior paint colors.
3.) Secure it to the wall with wall anchors. You don’t want it falling down on little ones!

For the fireplace back:
1.) Since there was a good but rusted back, we simply refinished it.
2.) First we detached it from the mantel, sanded it, and finally spray painted it. After letting it air-out and off gas for several days, we reattached it to the mantel.
For the base:
1.) The old base was too wide for our traffic pattern in our bedroom, and it was really beat up after being in storage units for the past 15 years. So, E decided to build his own with MDF board.
2.) We measured the dimensions we wanted–the same width as the mantel with an 1″ overhang on either side, and a few inches in front. This way, we could pull up stools right in front of the mantel and it wouldn’t impede the traffic flow.
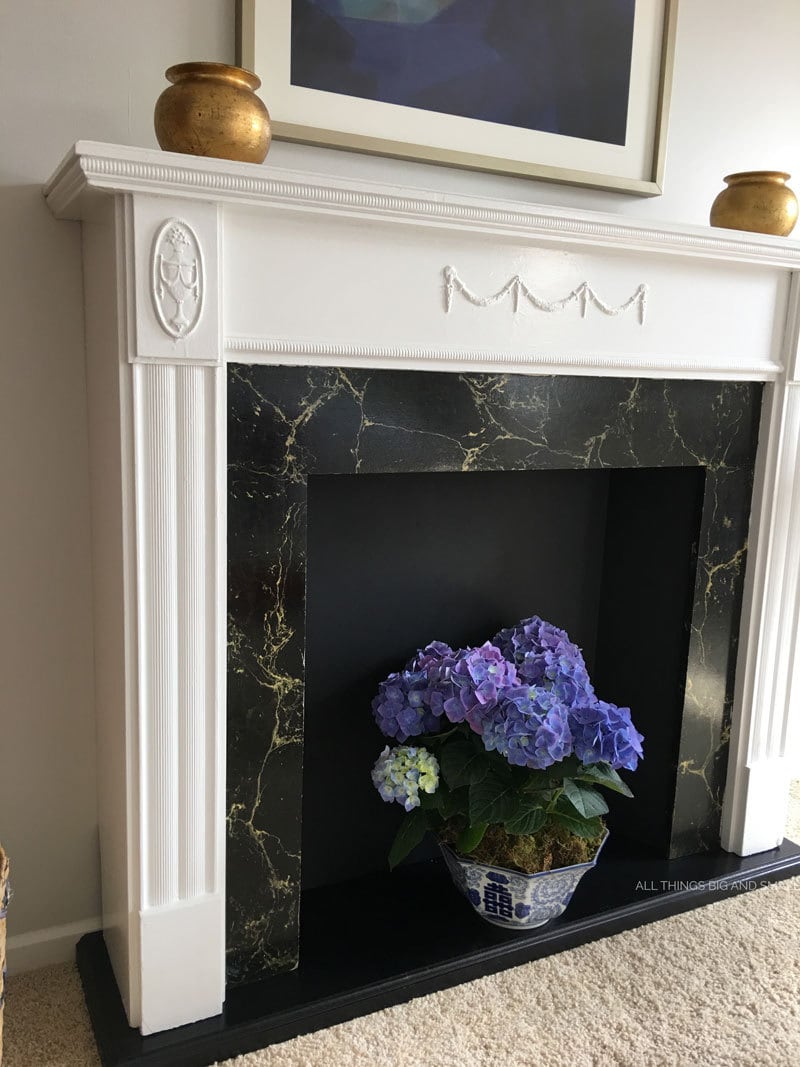
3.) He cut the MDF board and put a nice edge on it with his router downstairs in the workshop. Then, I got to painting it. The solid top only took 3 coats, but the sides where he had cut the MDF board soaked up paint and required six coats of semi-gloss in black.
4.) Reattachment wasn’t necessary. The original mantel had always floated on top of the board, so this one does the same. And since the mantel is anchored to the wall, the base isn’t going anywhere.
5.) To add a splash of color inside the mantel, I put some lovely spring hydrangeas in a blue and white pot.
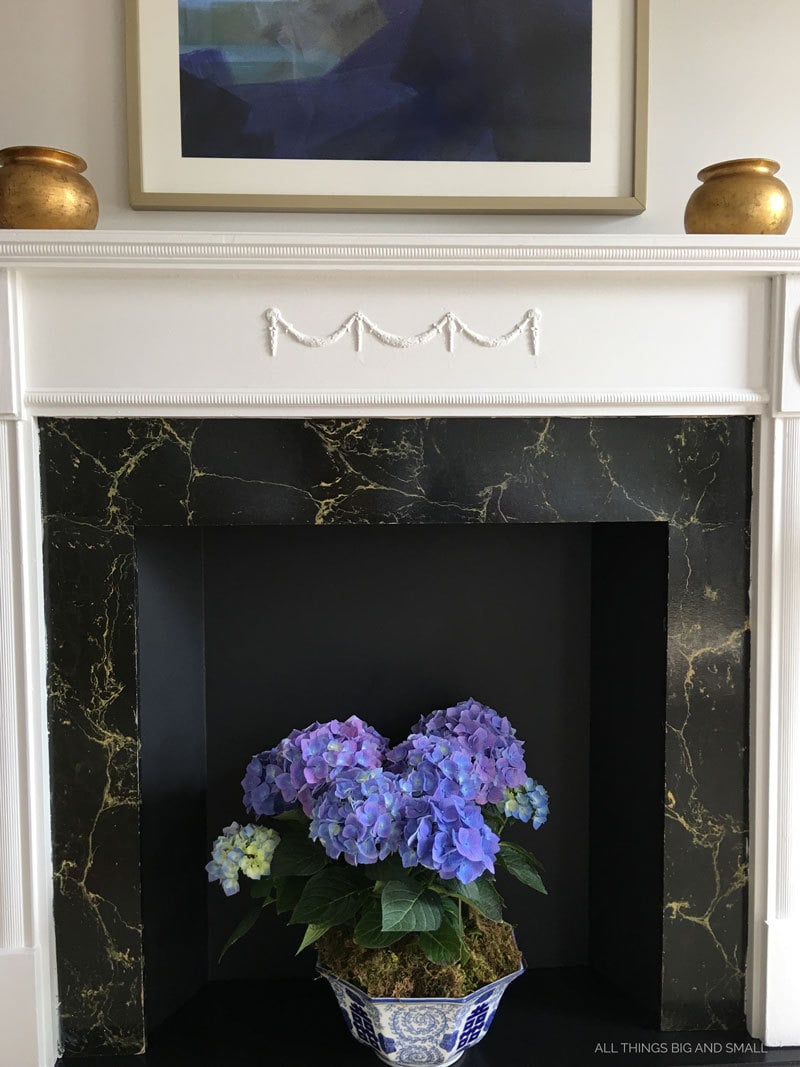
And there you have it! An easy DIY Faux Fireplace to make your room look super fancy! Just make sure everyone knows it is a faux fireplace and not a real one!
ORC Master Makeover Plan/ Progress:
1.) Replace Lighting (table lamps and overhead fan)
2.) Add curtains
3.) New bedding
4.) Add mirror and photography
5.) Install mantle and artwork
6.) New bedding
7.) Accent pieces
8.) Paint walls, paint woodwork, paint doors, paint windows
Now make sure to check out all the other amazing rooms this week on the One Room Challenge! Linking up with all the other guest participants at Calling It Home for the One Room Challenge! And to catch up and see the design scheme for the room go see Week One here.


love that! a mantle in the bedroom is so dreamy!
Everything is looking great so far! I really love that piece of art, too 🙂 Good Luck!
Looks great, I love that artwork! I was just in England too, it was a blast!
What a lovely mantel, and how awesome that you snagged it from mom!
What an awesome print! I love the colour you’ve brought in and the fireplace looks great 🙂
What a great addition! I love fireplaces in bedrooms. They add such a great feel to a room. Nice progress!
The mantle looks really cool!
The fireplace looks so good in the bedroom. I think it adds so much style and charm
Love the faux mantle! Always wanted a fireplace just for the mantle purpose. I am doing a faux mantle in my space too!