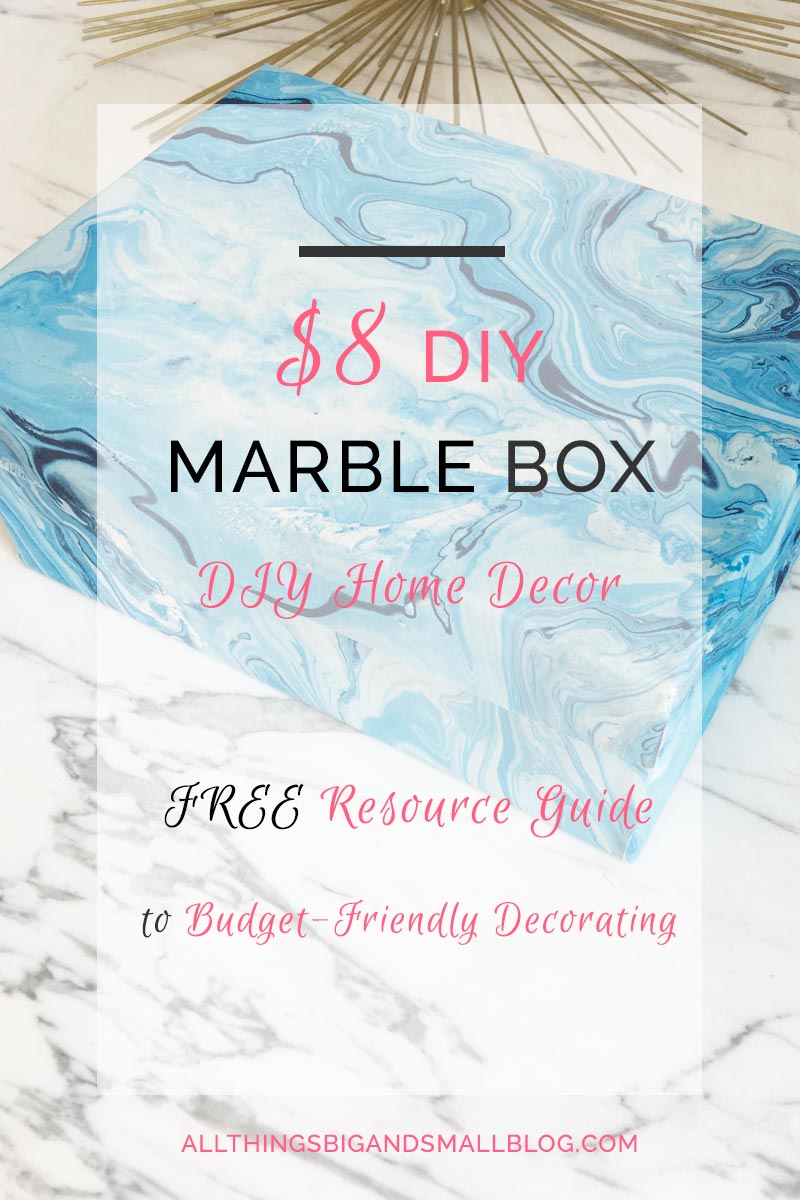
 Are you like me, and love looking at the beautifully decorated homes in House Beautiful but then scoff at the prices of the suggested accessories? Well, then this post is for you! Because this DIY cost only $8 and took less than 20 minutes to complete! There are tons of ways to accessorize and beautify your home with budget-friendly decor! And this DIY is a great one to try out if you want a quick and easy project!
This past weekend, when Jack was down and B was out on a walk I got to do a quick little DIY that I have been itching to do for a long time. I have always loved the look of marbled boxes but let’s be honest. A $100 box is sooo not going to happen in our house…I mean for $100 I can make a custom headboard!
So let’s get started!
HOW TO MAKE A DIY MARBLED BOX
MATERIALS:
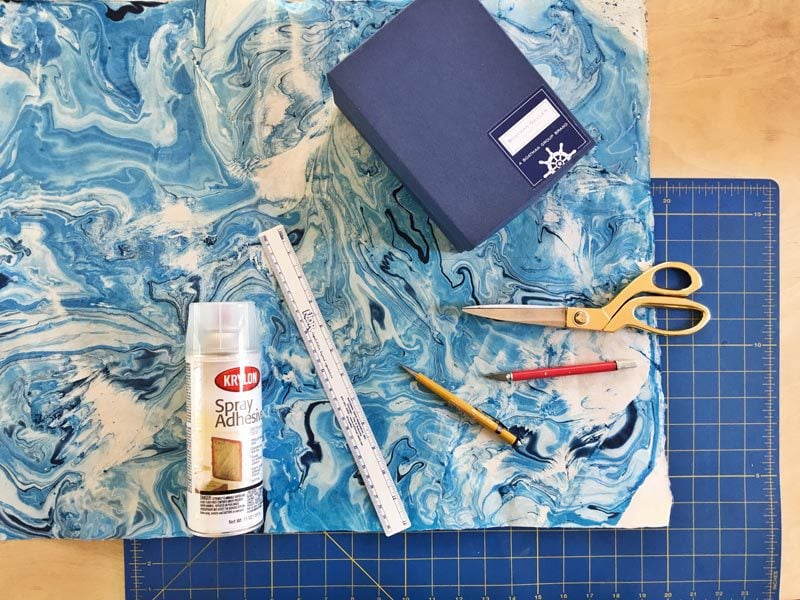
box (free any size cardboard box–the stiffer the better, Nike tennis shoes boxes work great too!) I used this one that came with Jack’s birth announcements
Decorative piece of paper mine is from here
X-acto knife or scissors
Spray adhesive (optional) and ModgPodg (mandatory)
Ruler
Cutting board or a cutting-safe surface
Pencil
PROCEDURE:
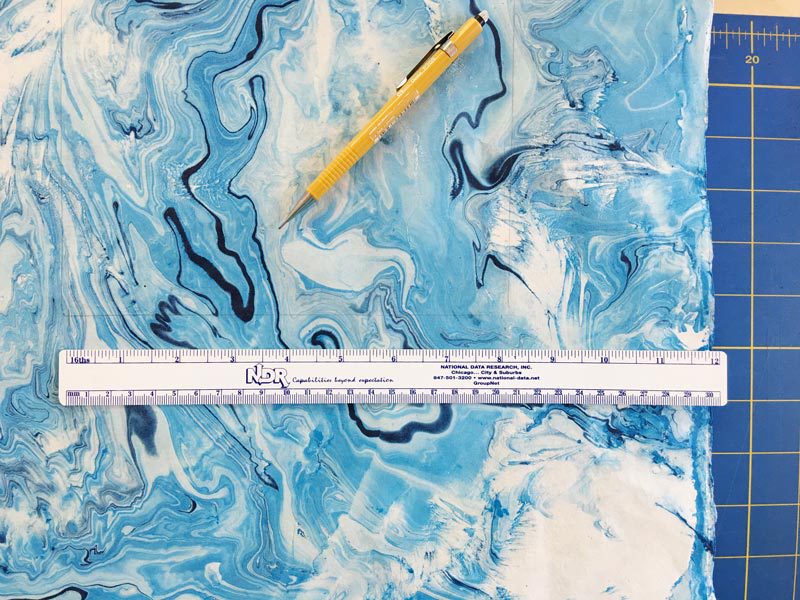
1.) Measure out the top of your box and the edges. Picture the edges of the top being flattened out, and add that measurement to the width and length of your box. See the diagram below. Add 1/4″ to each side so you can create a nice lip. Or you can cut it right to the edge on the top like I did (easier).
2.) Trace the edges lightly on your piece of marbled paper. Select the part of the paper that you want on top. I wanted a large variety of colors displayed on the top of the box, so I centered my cut out on that part of the paper.
3.) Cut it out with either scissors or an X-acto knife.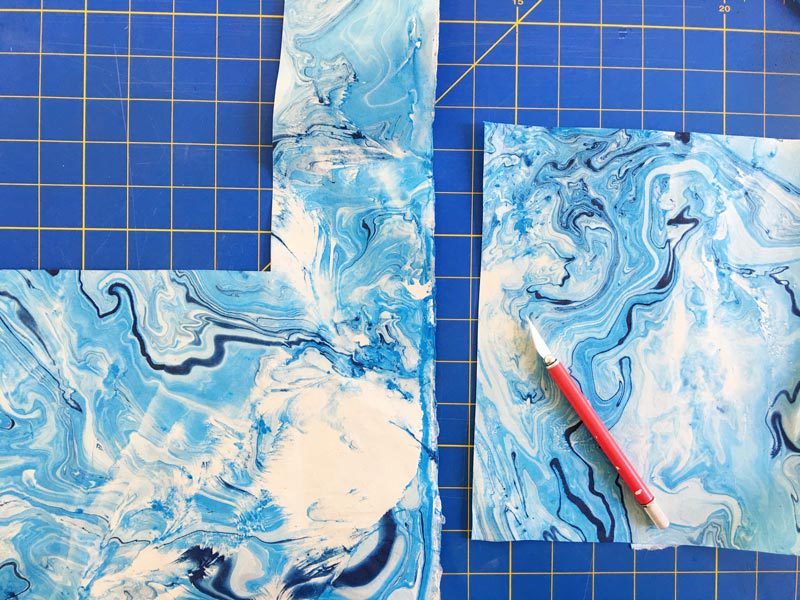
4.) Now, you are going to want to center the top of the box on the piece of paper you cut out. You are going to want to spray the top of the box and then put the box flat against the paper to secure it. To ensure that it is placed perfectly center, mark the sides of the box on the paper where you want it placed prior to spraying the adhesive.
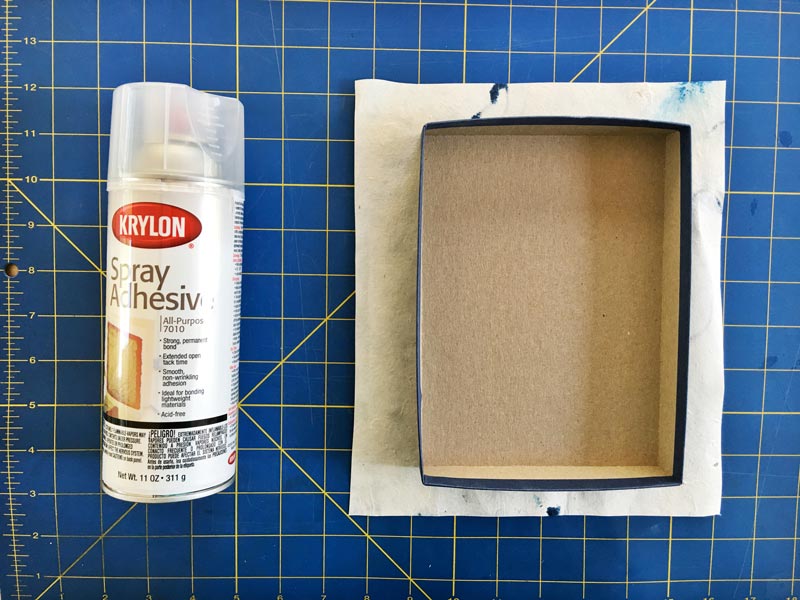
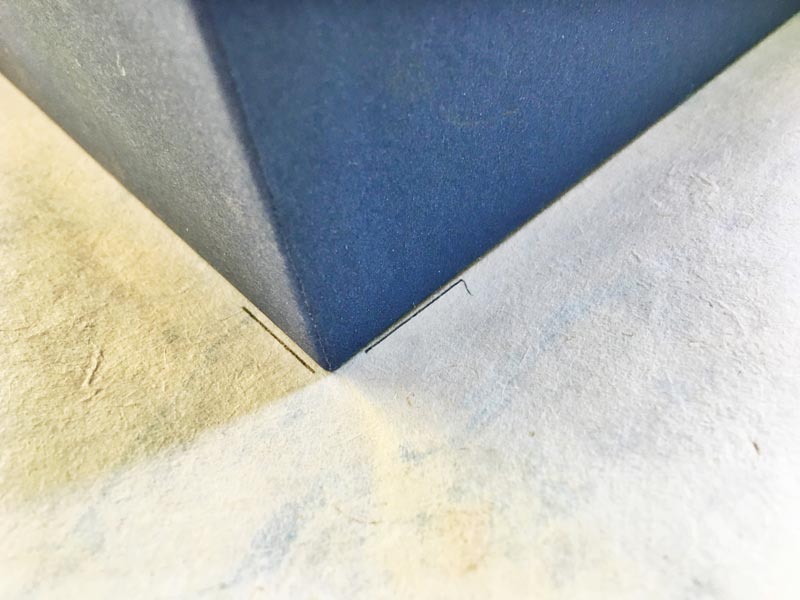
5.) Spray the box in a well-ventilated area on a surface that can get sticky. I used a broken down cardboard box from our recycling bin. First do the top, and then the sides of the box (opposite sides first.) Then the other two sides. Press the paper to the adhesive until it sticks (30 seconds to 1 minute.) UPDATE: You are going to want to ModgPodg the sides of the top on. The spray adhesive does not hold it well enough! The spray adhesive is fine for the bottom of the box, bottom sides, and top of the box; but not the top sides.
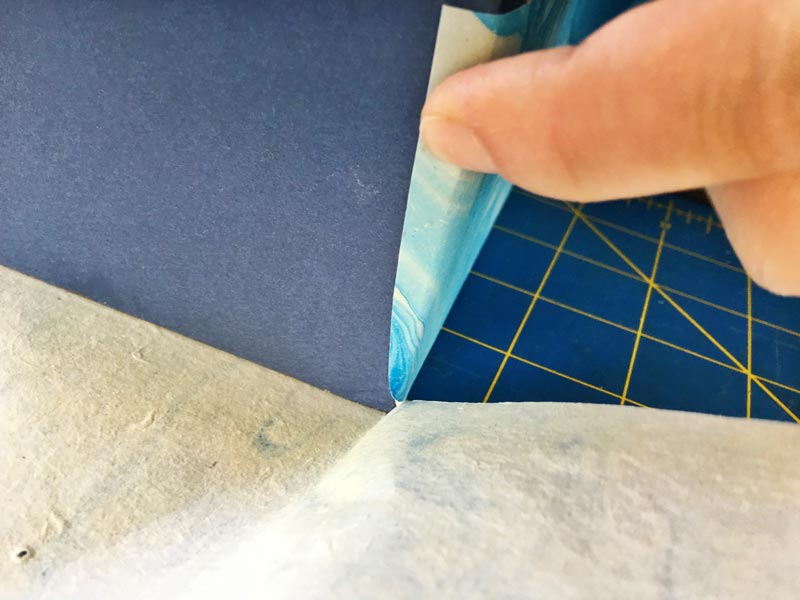
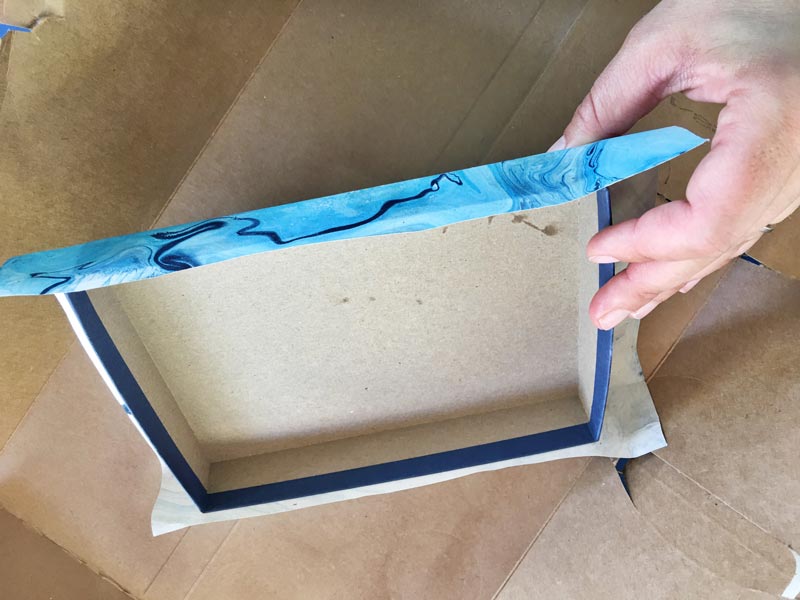
6.) To get nice sharp corners without a fold, and without any of the cardboard box showing through cut the edges of the paper underneath (you are going to place on piece of paper over the top of the other to create a nice edge) cut it a little larger than to the edge (like below.)
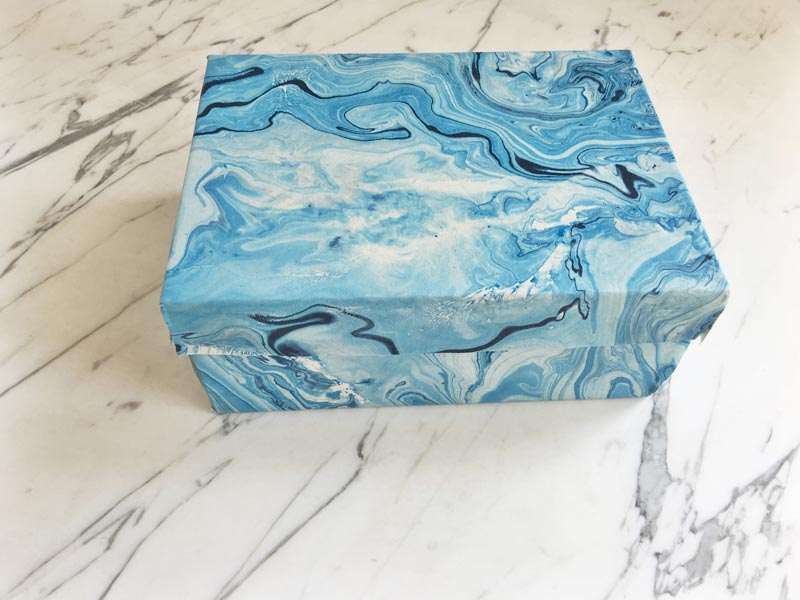
7.) Then repeat process for the bottom of the box. And VOILA!
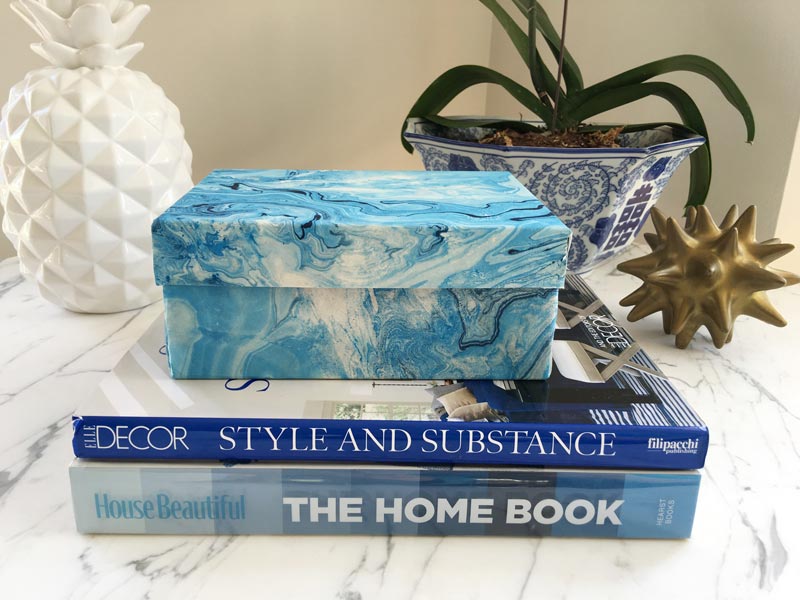
You now have a beautiful looks-way-more-expensive-than-it-is box that only cost you the cost of paper!
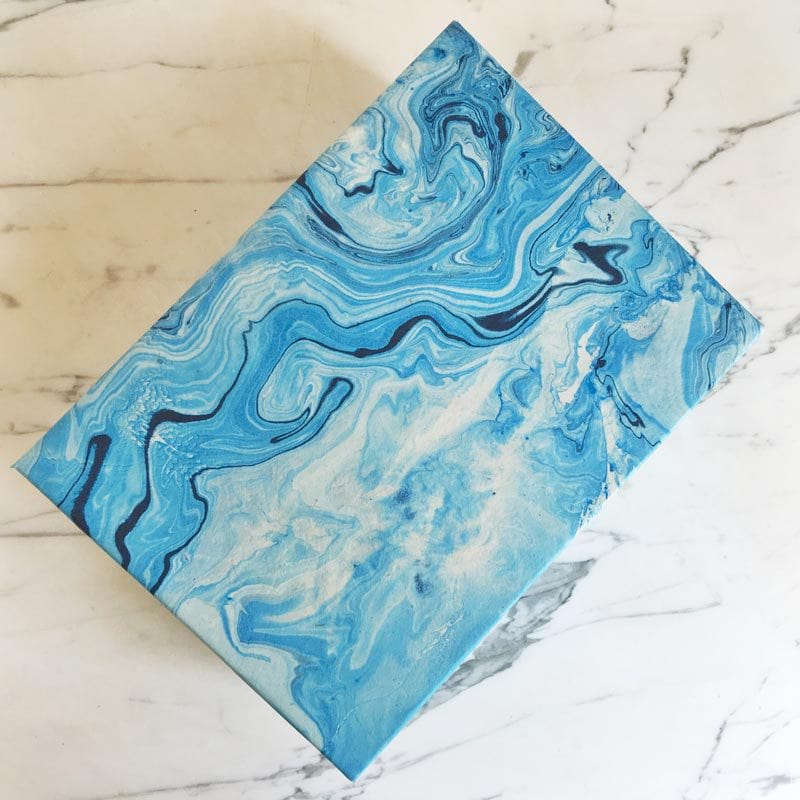
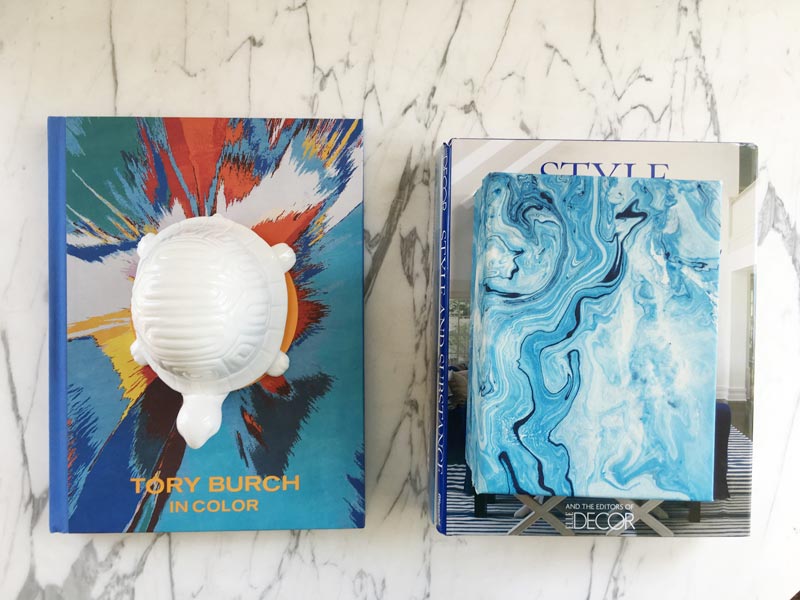
Tory burch book/ turtle (similar)/ Elle Decor Style & Substance (similar)
*affiliate links used
LIKE IT? PIN IT!
Thank you so much for supporting All Things Big and Small Blog–your support helps keep this blog running and cover the cost for DIY supplies 😉 And if you like this post, make sure to check out my free resource guide!
And if you like this post and want to read more about budget-friendly decorating check out Four DIY Projects Under $20, and my How to Accessorize Your House on a Budget, and my favorite Home Decor Resources!
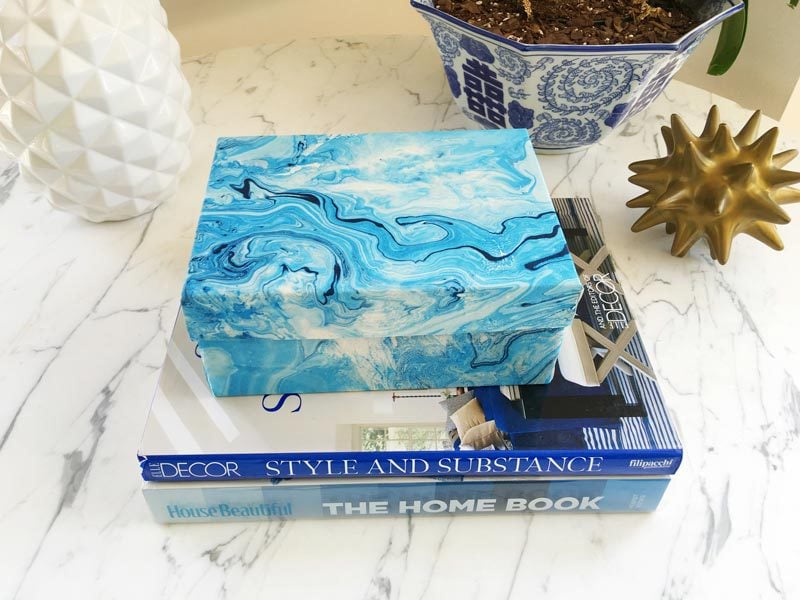

This looks like something you would be able to buy from West Elm or Target for $23923048
DIY goals! I actually think this would make a BRILLIANT addition to instagram flat lays, and I need some help in that department!
The DIY queen strikes again! This is adorable, seems pretty easy to pull off, and those boxes retail for like $20-25 so at $8 it’s a steal! Nice job, lady 🙂
That is fantastic!!! What a great tutorial. 🙂 I have a ton of boxes that I don’t know what to do with, I’m going to try this out this weekend.
I love it! What a unique way to add some color to a room.
This is super impressive. I did this for a blogging board to take pictures of, a marble flatlay if you will but I love how you did this for styling and plus you can store stuff inside 😉
I love marble!! Such pretty colors!
you are so right! This looks quick and easy and it came out beautiful. Thanks for the idea and tutorial!
You make everything look so easy!! I love your crafts and wish I could be you : )
Girl come over and help me with all my half completed DIY projects. You rock!
amazing how the right paper can be used in so many great ways! thanks for sharing on craft schooling sunday!
Love the impact of this easy DIY Thanks for sharing at the #InspirationSpotlight party. pinned & shared.