

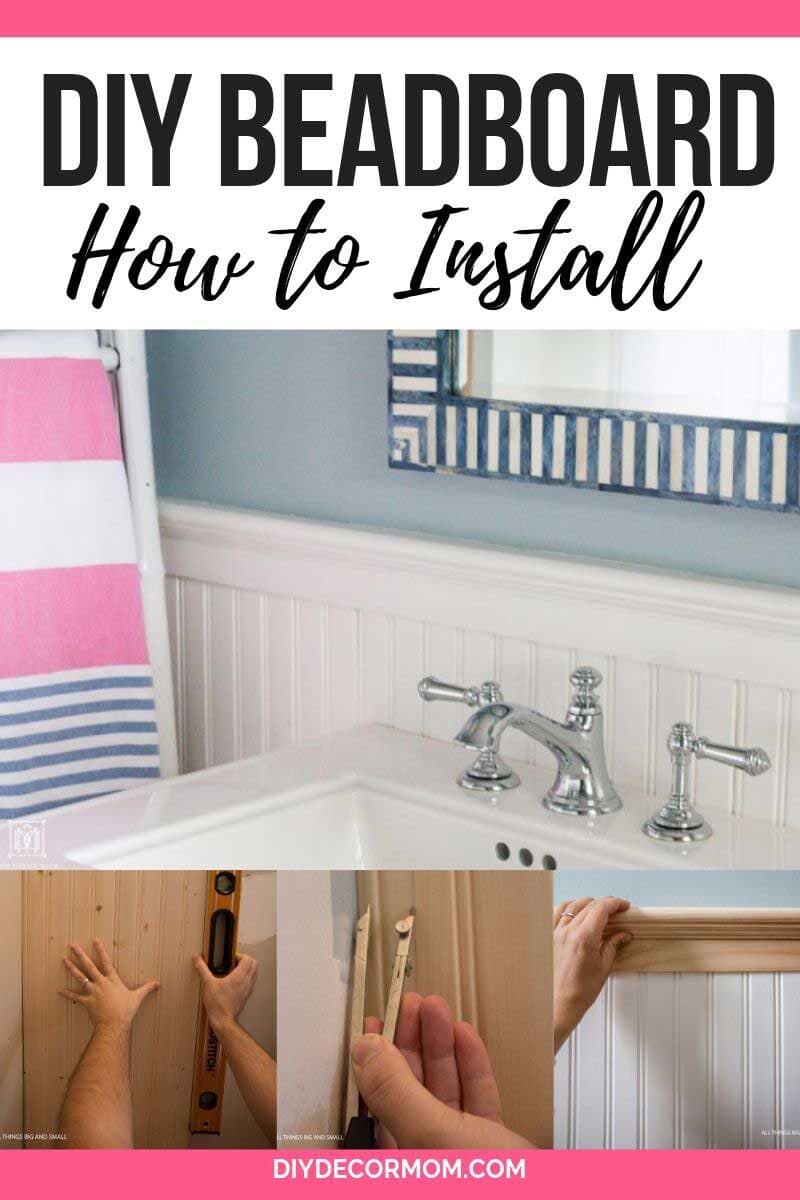
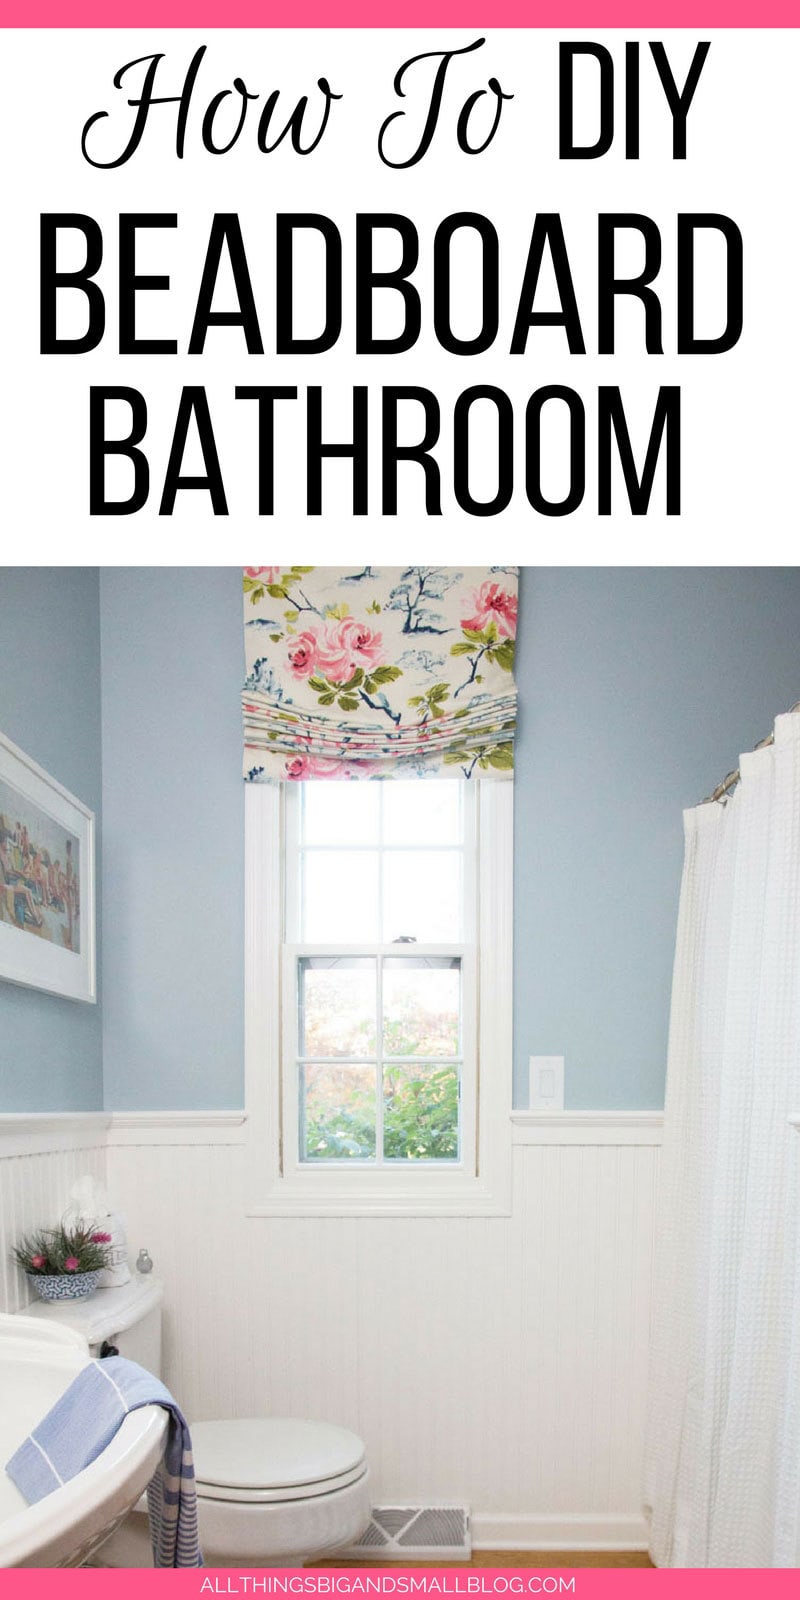
Beadboard Bathroom: How to install DIY Beadboard Bathroom so your bathroom looks amazing! See the step-by-step instructions on how to install beadboard in any room of your house, what tools you’ll need, and the tricks for doing corners and installing a trim cap! This entire bathroom makeover cost under $600 and shows you what a difference installing beadboard can make!
BEADBOARD BATHROOM
Installing beadboard in our downstairs bathroom (it’s right off of our beadboard mudroom hallway) was one of the best DIY Home Improvement projects we’ve ever done! The best part was that for a bathroom renovation it was super budget-friendly!
*This post was originally published in 2017 and has been updated with improvements since
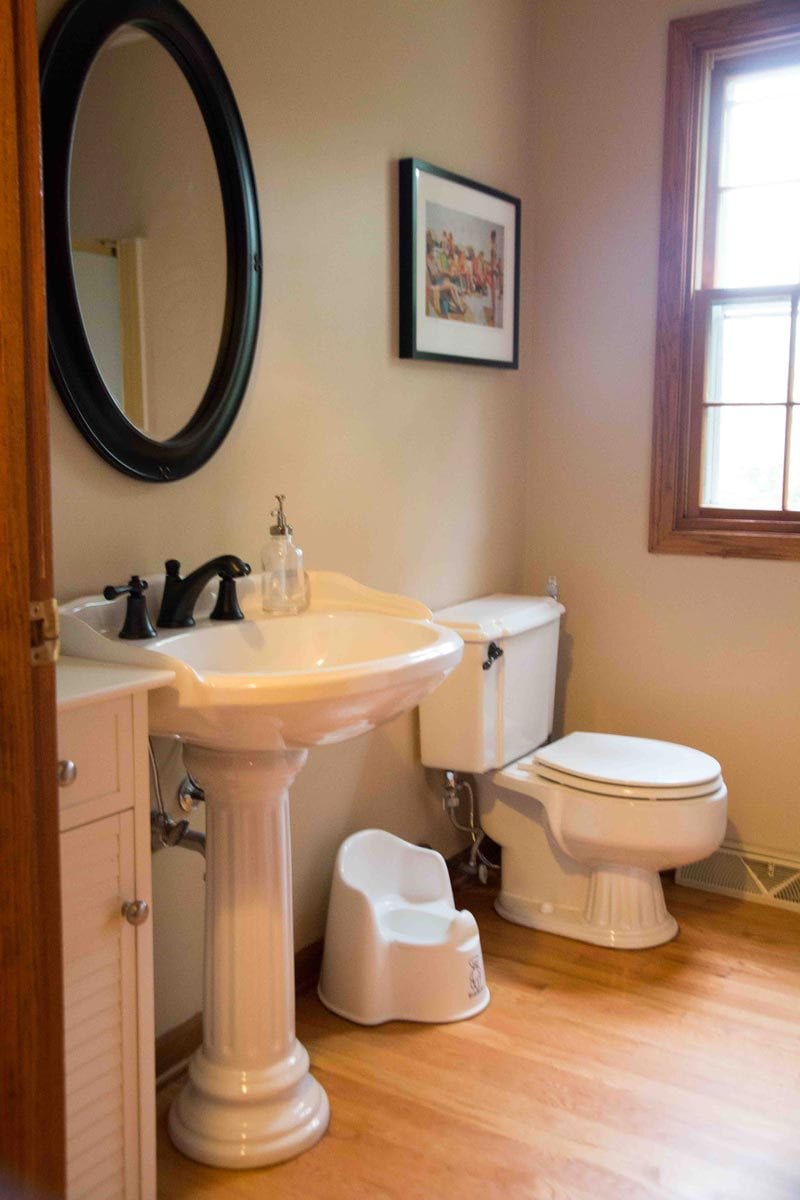
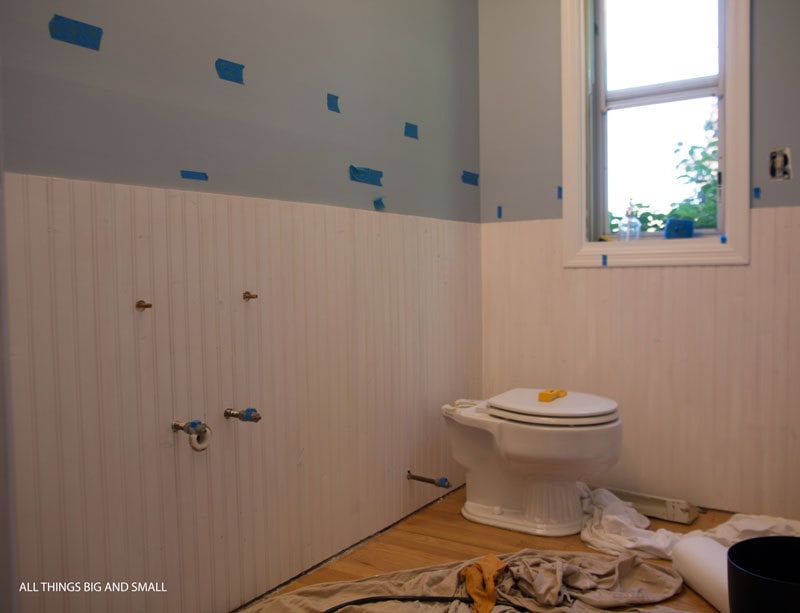
Remember, this is where we started…lots of brown! The room always felt dirty and we needed to upgrade it since it’s the only bathroom on the first floor (and the one 90% of people use and see!)
DIY BEADBOARD TUTORIAL
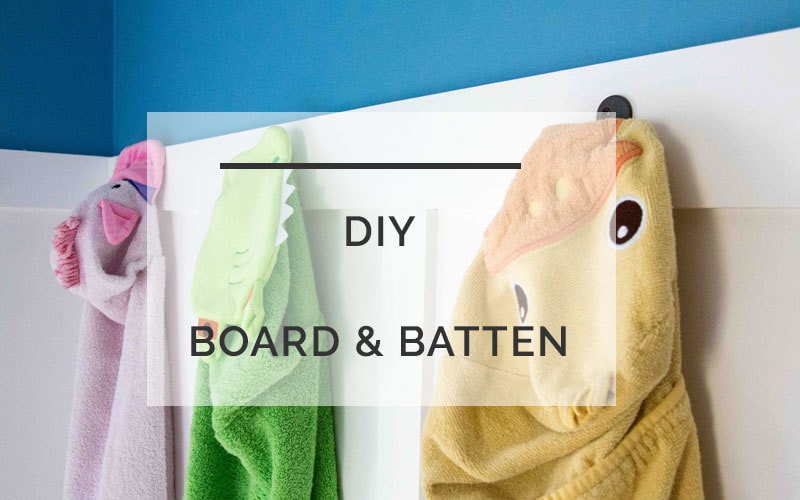
We’ve installed beadboard in two different rooms in our house (in addition to installing DIY Board and Batten in another bathroom, and DIY Wainscoting in our foyer and dining room.) But, this room definitely takes the cake for the most dramatic transformation. Even if you’re a beginner, this is a project you can do!
Do yourself a favor and buy this ahead of time–it’s perfect for filling all those tiny nail holes!
*affiliate links have been used at no additional cost to you see my disclosure policy here
MATERIALS FOR INSTALLING BEADBOARD:
- Level
- Compressor– we use this compressor for our nail gun
- Nail Gun- we held out buying this nail gun for too long and regretted it–you will use it all the time!
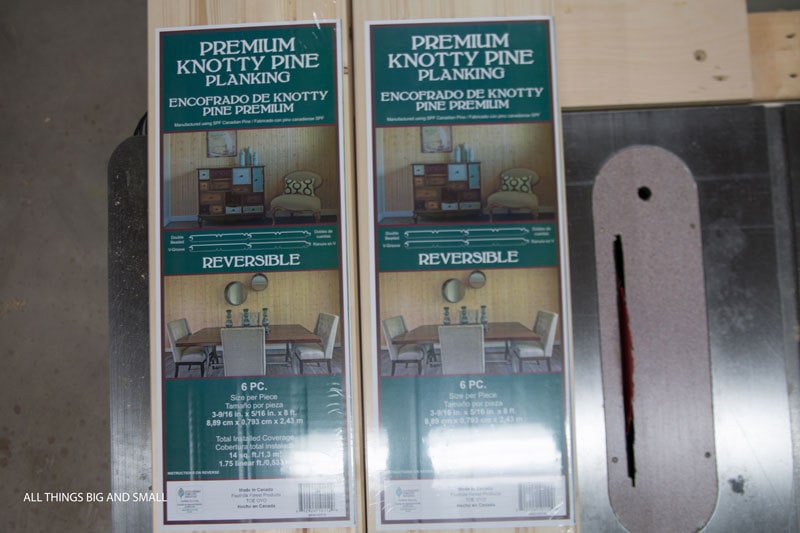
- Beadboard- sheets or individual planks (we preferred the individual planks for quality)
- Compass – or pencil and spacer to scribe inside corners
- Liquid Nails- by far the best brand we’ve used!
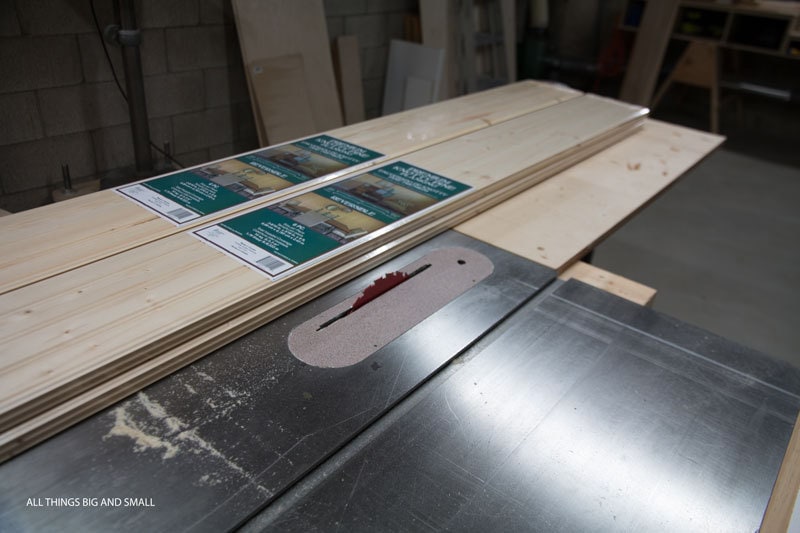
- Table Saw or Circular Saw or miter saw
- Primer
- Paint– we use Benjamin Moore semi-gloss in Simpy White
- Caulk
- Painter’s Tape
- 3M Patch Plus Primer–you guys I’m not joking about this! TOTAL GAMECHANGER!
HOW TO INSTALL BEADBOARD:

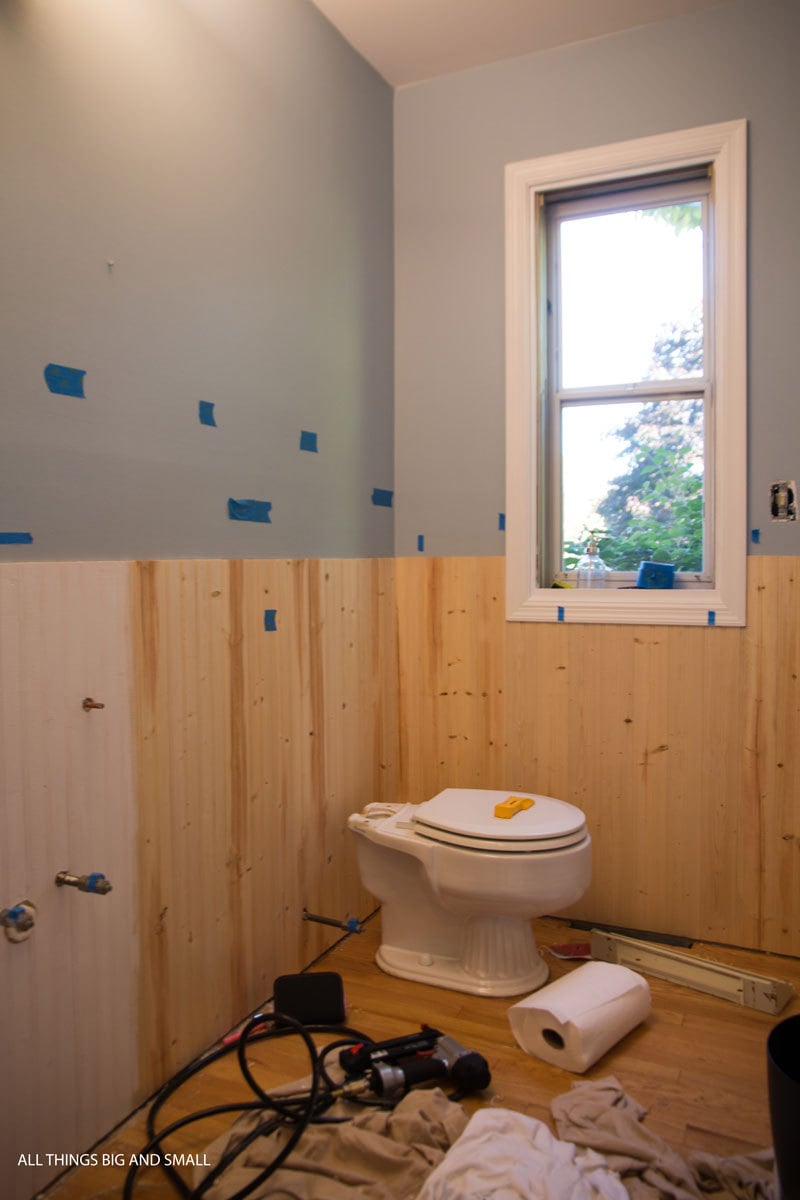
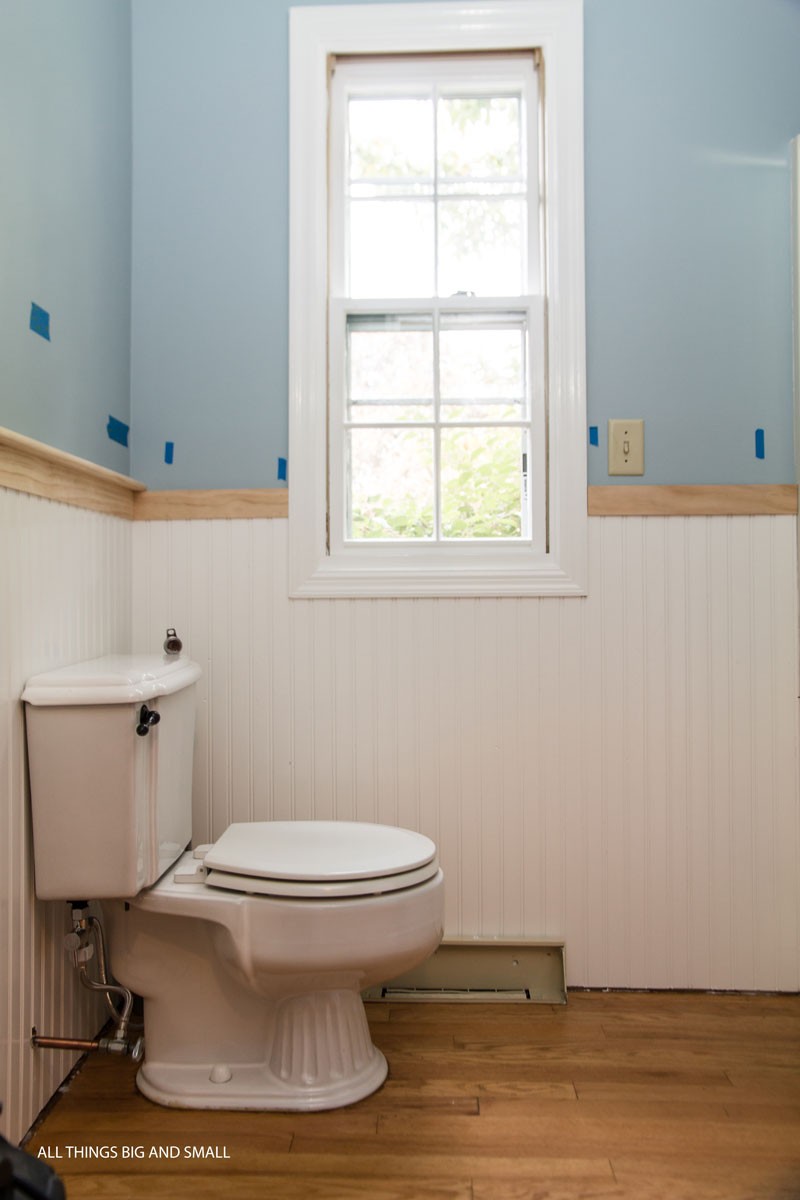
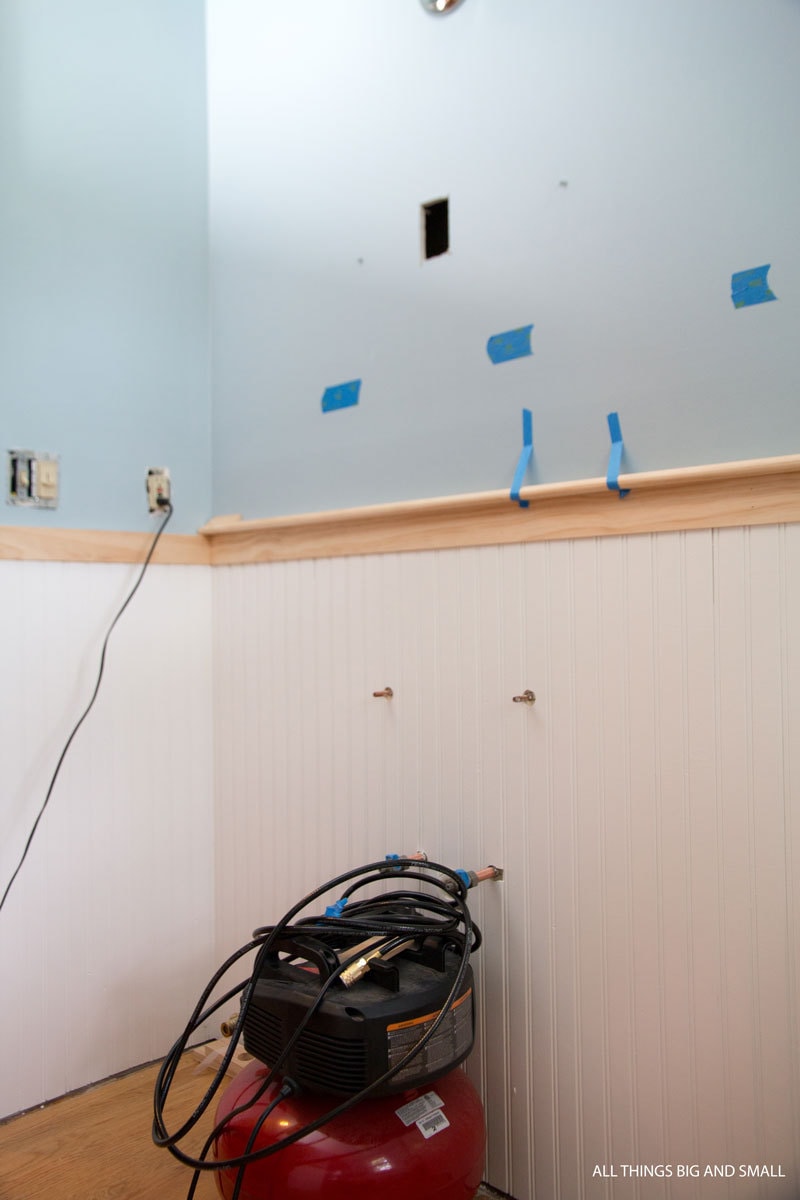
- First, you want to figure out the height of that you would like the beadboard and chair rail trim to reach. Since we were painting the room and the trim as well, I chose to paint the top of the room blue, and leave the original coat of paint on the bottom because it would be covered up by the beadboard. Next, we subtracted the width of the chair rail and baseboard and cut all our beadboard planks to length.
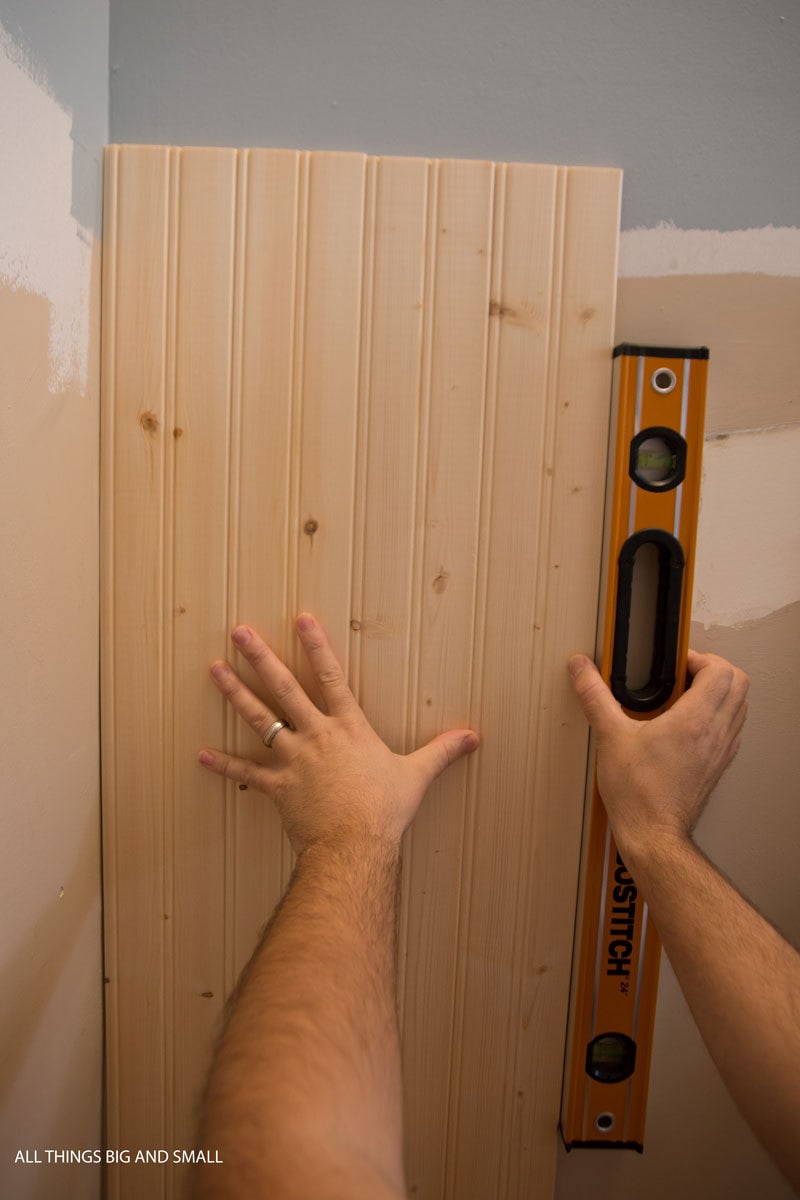
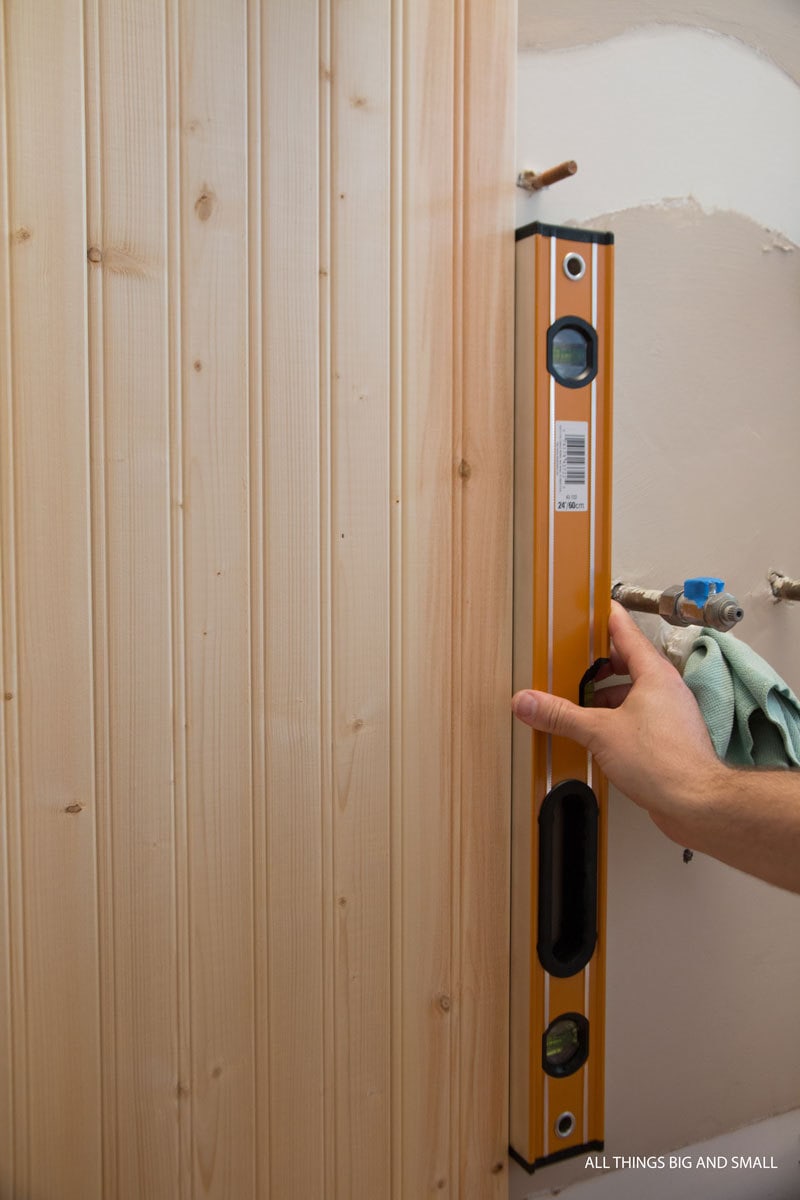
2. We started in one corner and worked our way around the room. It is important to make sure that your first board is flush to the corner and plumb (vertical). You can adjust the boards a bit as you go, but it’s much easier if your first board is straight. Use a level to check each board.
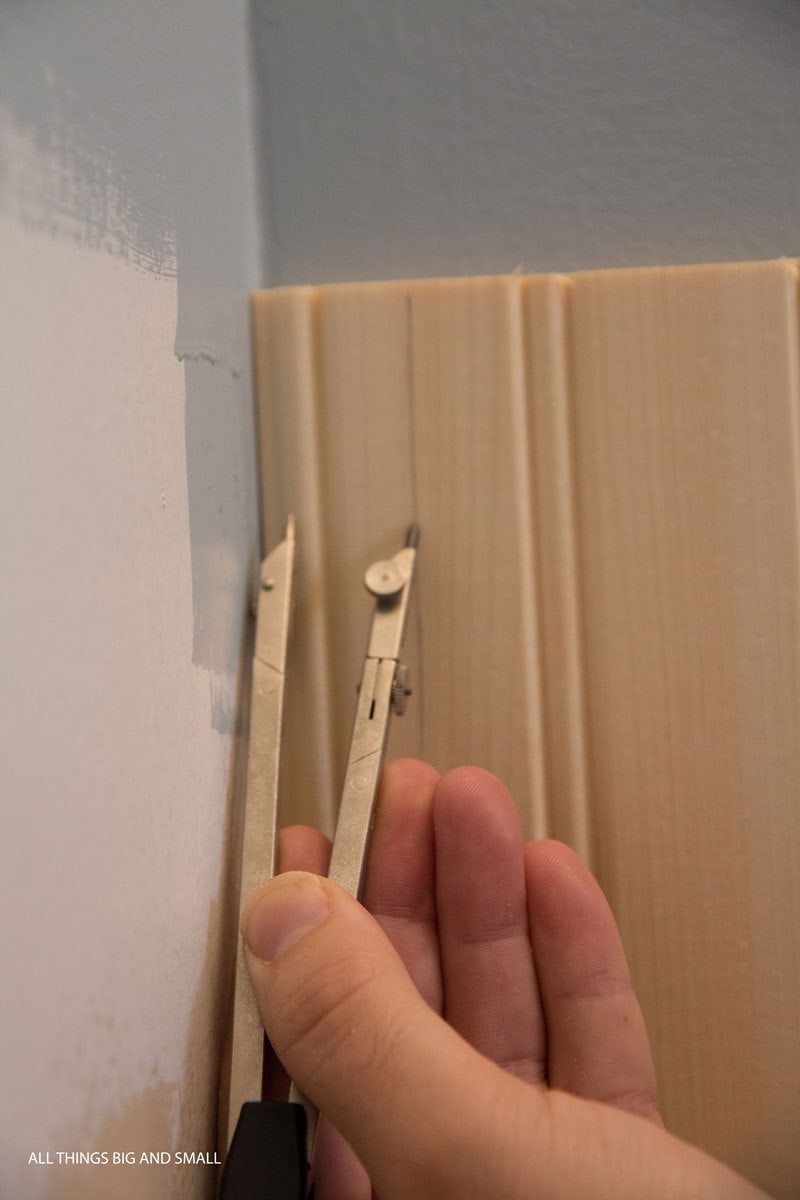
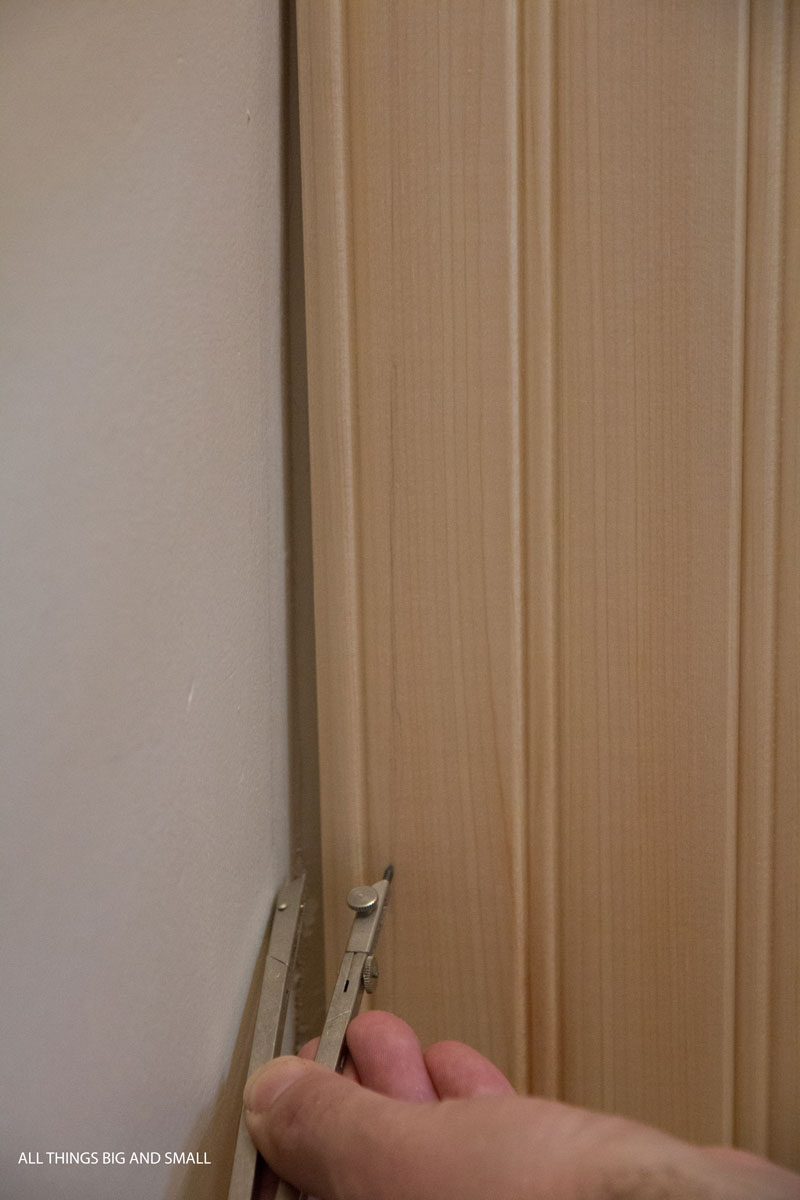
To fit the boards right into the corners of the room, my husband used a technique called scribing. Holding the first board vertical and up against the corner, he used a compass to mark a pencil line perfectly parallel to the wall (you can also use a pencil with a spacer taped to it – or buy a purpose-built scribe tool). He then cut the board along the pencil line, and it fits up flush against the corner (you only need to do this if there are gaps you would otherwise see.) Even though our house was built in 1988, it doesn’t mean all the walls are perfectly straight!
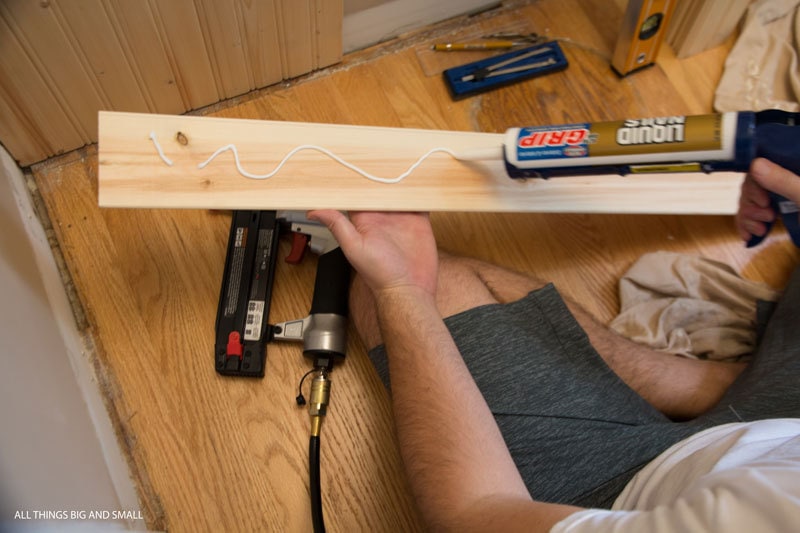
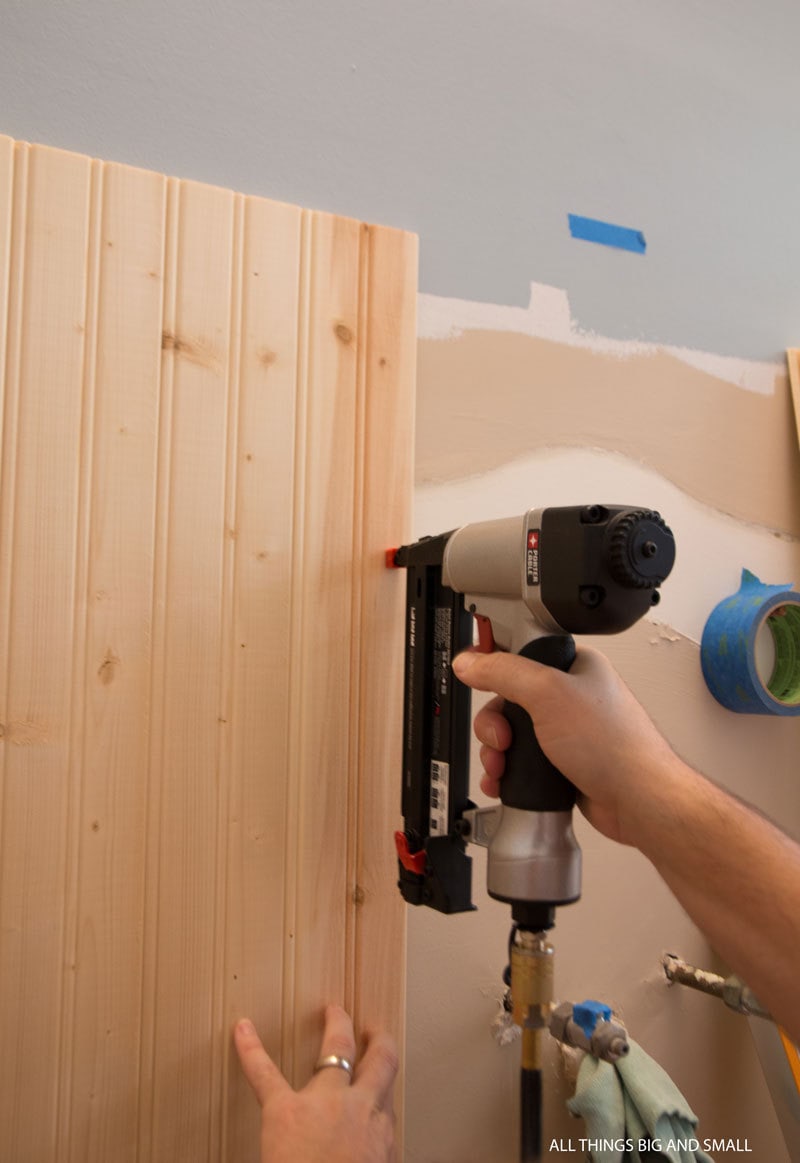
3. Once the first board is scribed to the corner we applied liquid nails construction adhesive to the back side. This is what permanently attaches the boards to the drywall.
Next, we press the board to the wall squishing the liquid nails flat and making sure the tongue-and-groove is aligned with the previous board.
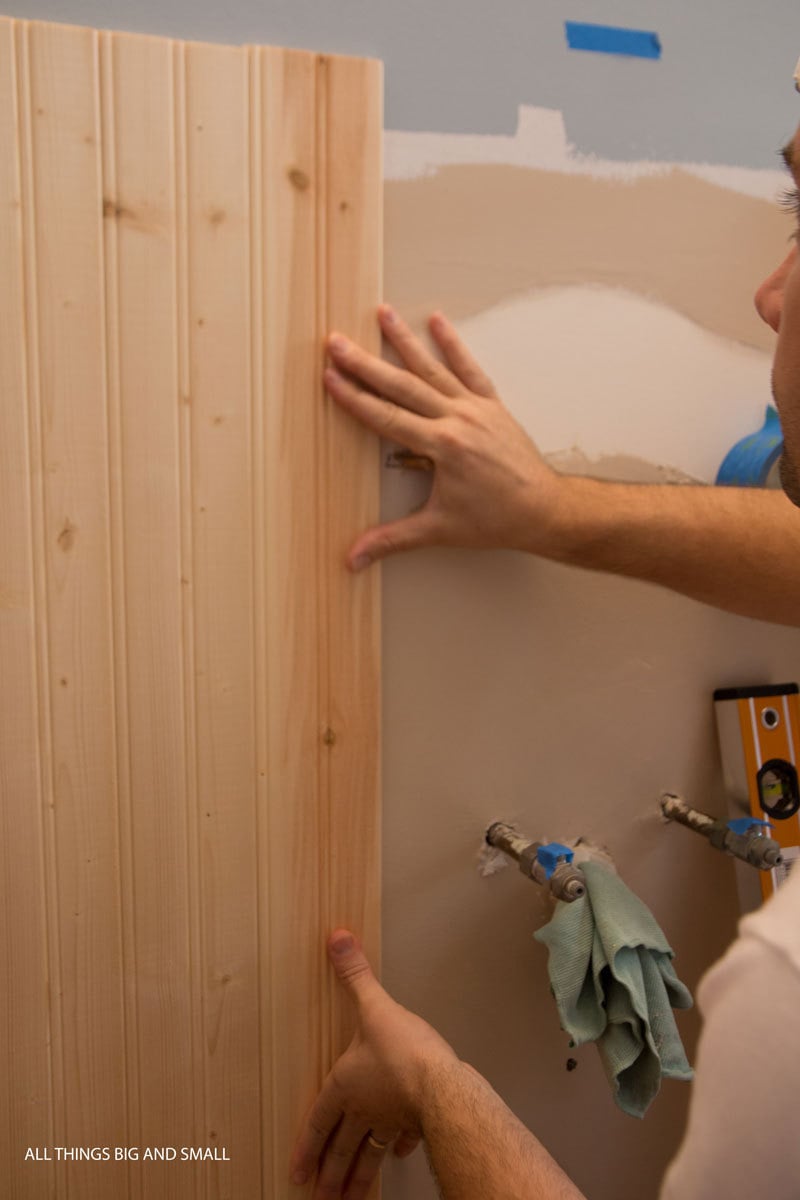
Check each board for plumb before nailing – you can make small adjustments with each board as you go.
Finally, we used 1-1/2in. 18 gauge pin nails to hold the boards to the drywall while the construction adhesive dried.
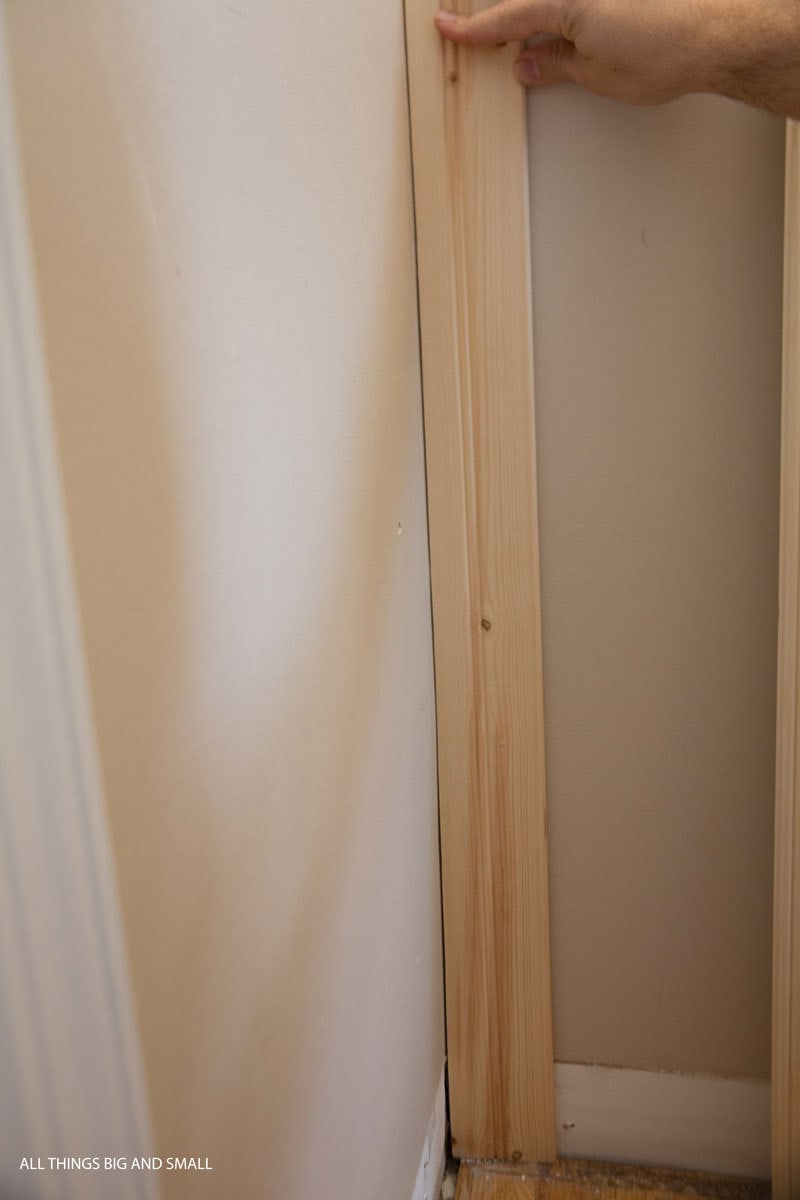
4. For outside corners, you have a couple of options. You can simply butt-joint the two boards and sand them smooth if you’re planning on painting like us – or you could miter the corner for a more seamless joint. My husband ended up cutting a corner board with a groove on either side that the tongue of the beadboard planks fit into.
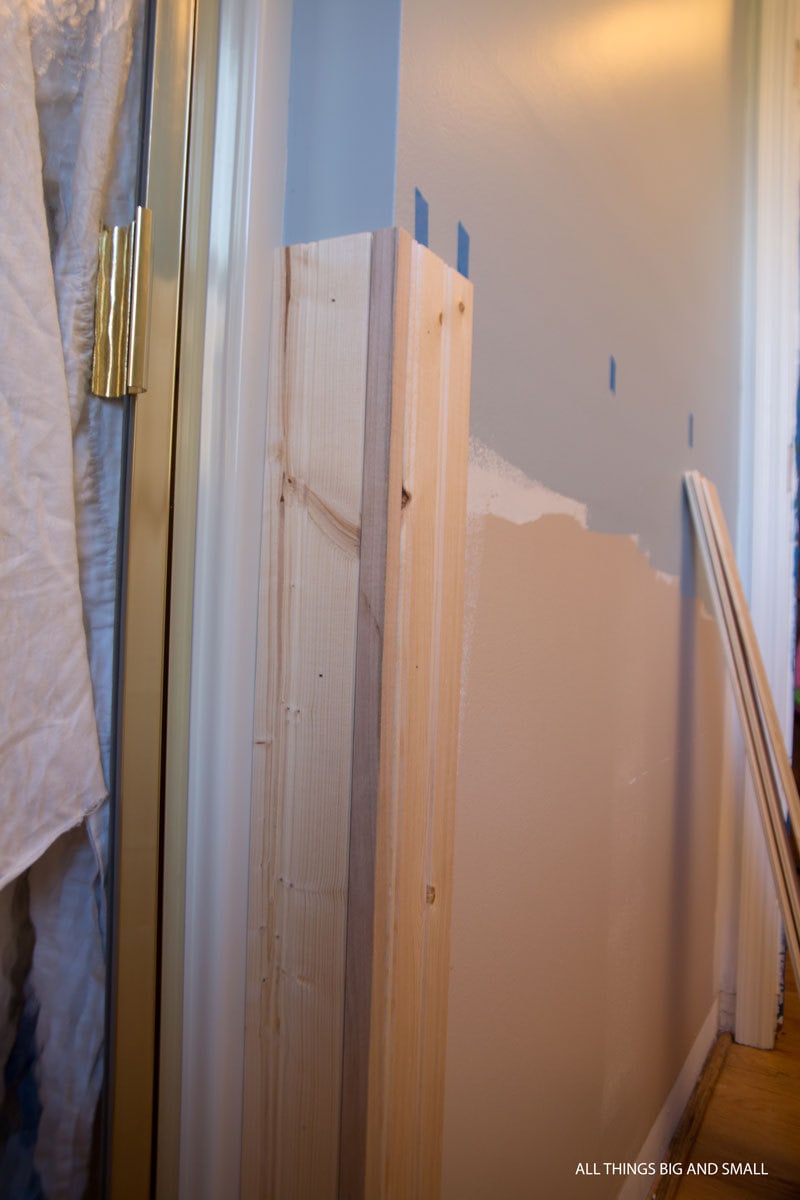 For inside corners, simply scribe the first board on the next wall the same way you first board to the wall when you started. Repeat all the way around the room. You’ll also have to make cutouts or notches in the planks any time you need to go around a pipe. The individual beadboard planks make this process much easier than it would be with a large sheet.
5. For the trim you can keep it as simple or make it as complex as you like depending on your taste. We opted for a three-piece chair rail and a simple baseboard/shoe. This is probably the most visible part of the trim as it’s pretty close to eye-level so take your time and make sure to “measure twice – cut once” as Norm Abram says.
PRO TIP: For a project like this, my husband always buys more trim than he needs as he will inevitably make a mistake marking or cutting and this saves him the headache of running back out to the store!

PRO TIP: Sometimes we like to will use blue tape to test-fit several pieces at a time before gluing/nailing. That way if small adjustments need to be made to the length or angle it’s not too late.
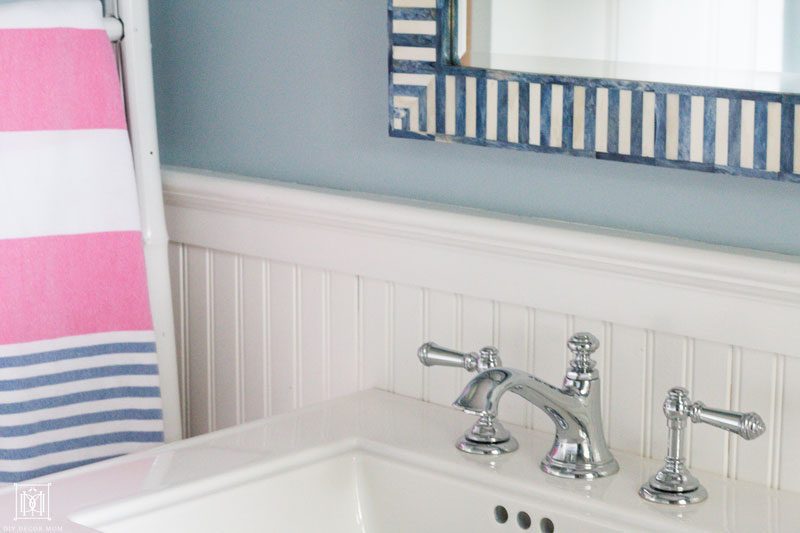
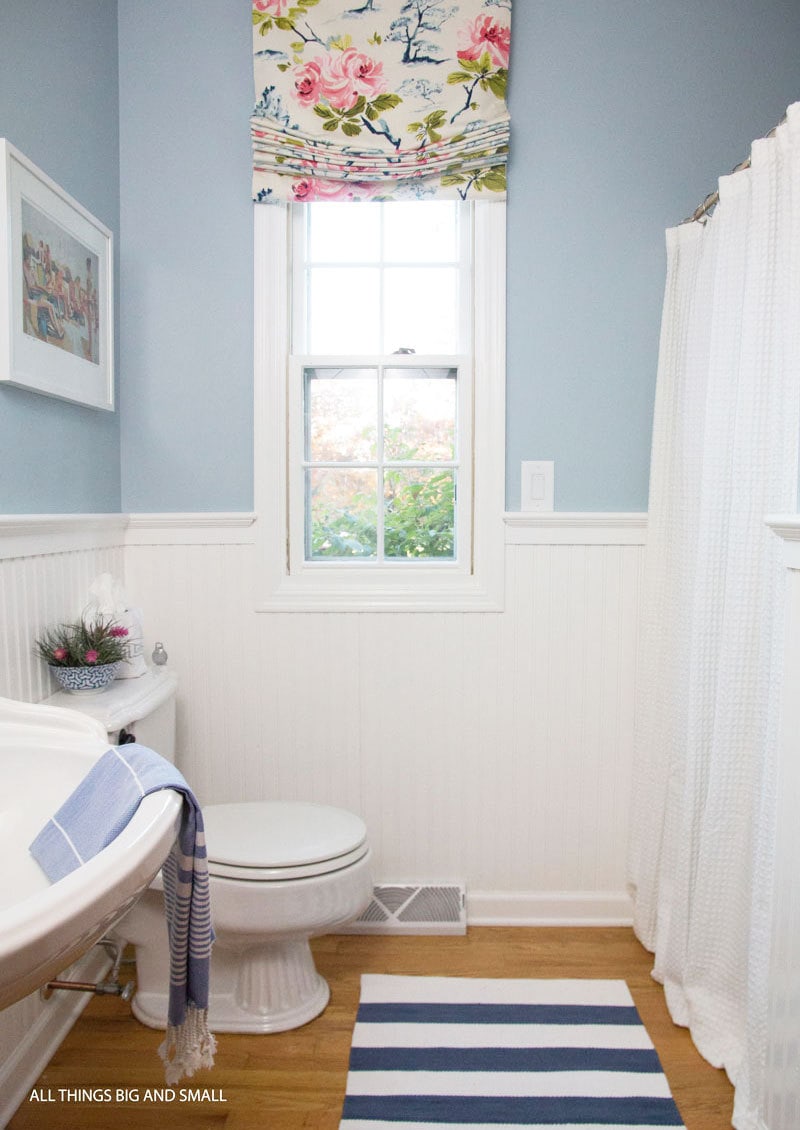
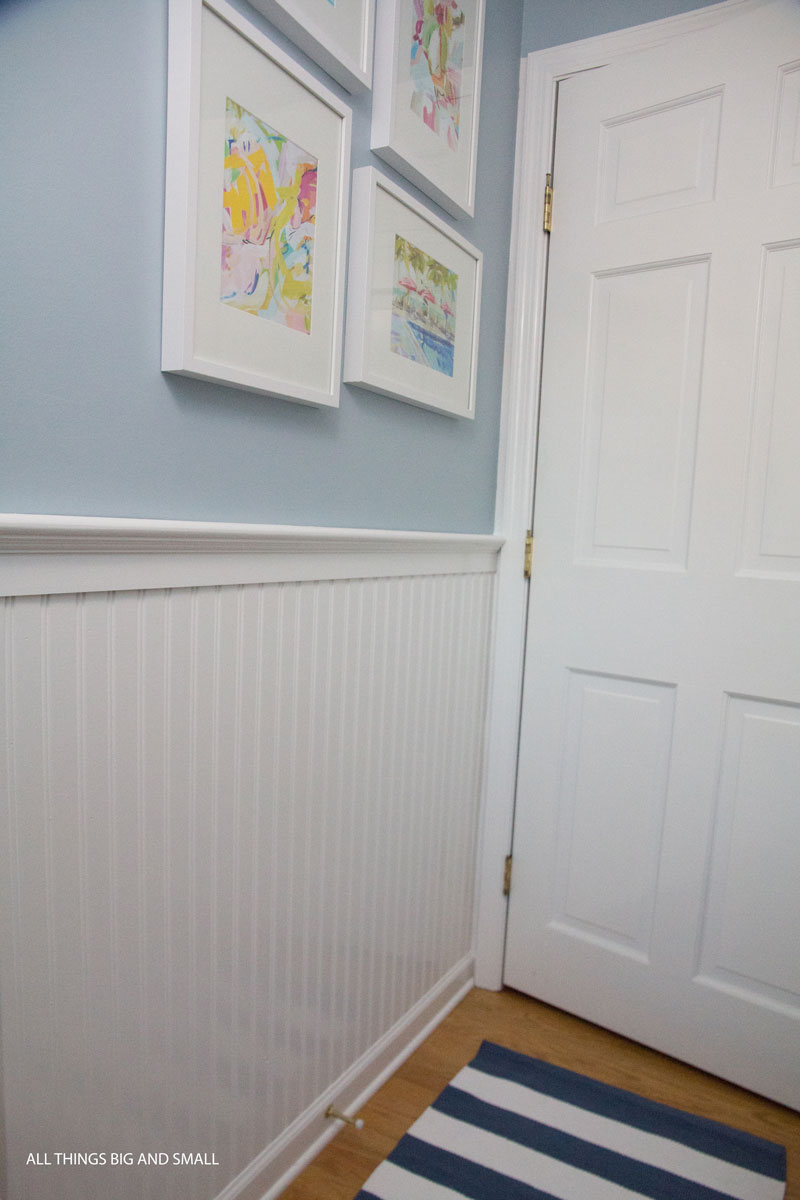
6. After priming and painting all the beadboard and the trim, the room looked completely different! We used primer and then Benjamin Moore Semi-Gloss paint in Simply White on all the trim and Farrow & Ball’s Parma Gray color matched to Benjamin Moore custom color for the top of the walls.
PSSST: See how the room looks today with a new toilet and sink!
SHOP THE ROOM

FAQs on Our BEADBOARD BATHROOM AND INSTALLING BEADBOARD
Is there a between beadboard and wainscoting?
Our foyer, which you can see in the picture below has wainscoting. It is also called paneling. You can see it is markedly different than beadboard, which is characterized by narrow grooves of wood placed in a tongue-and-groove manner.
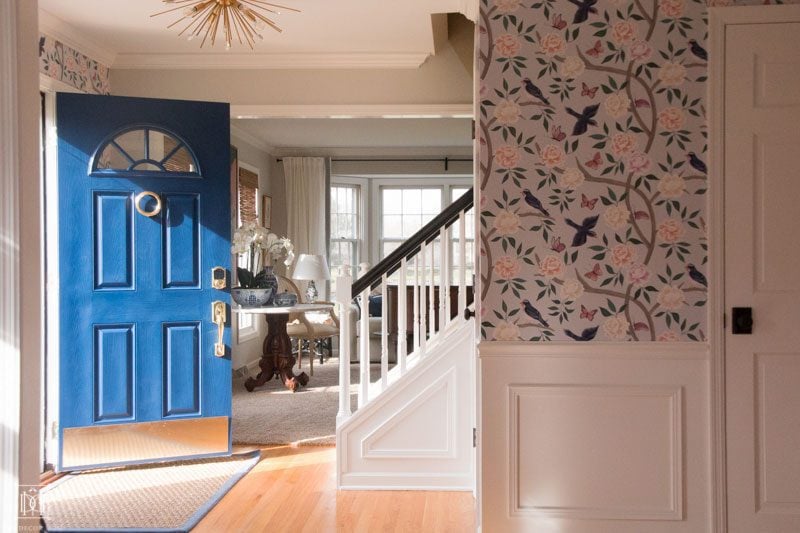
Wainscoting in our foyer
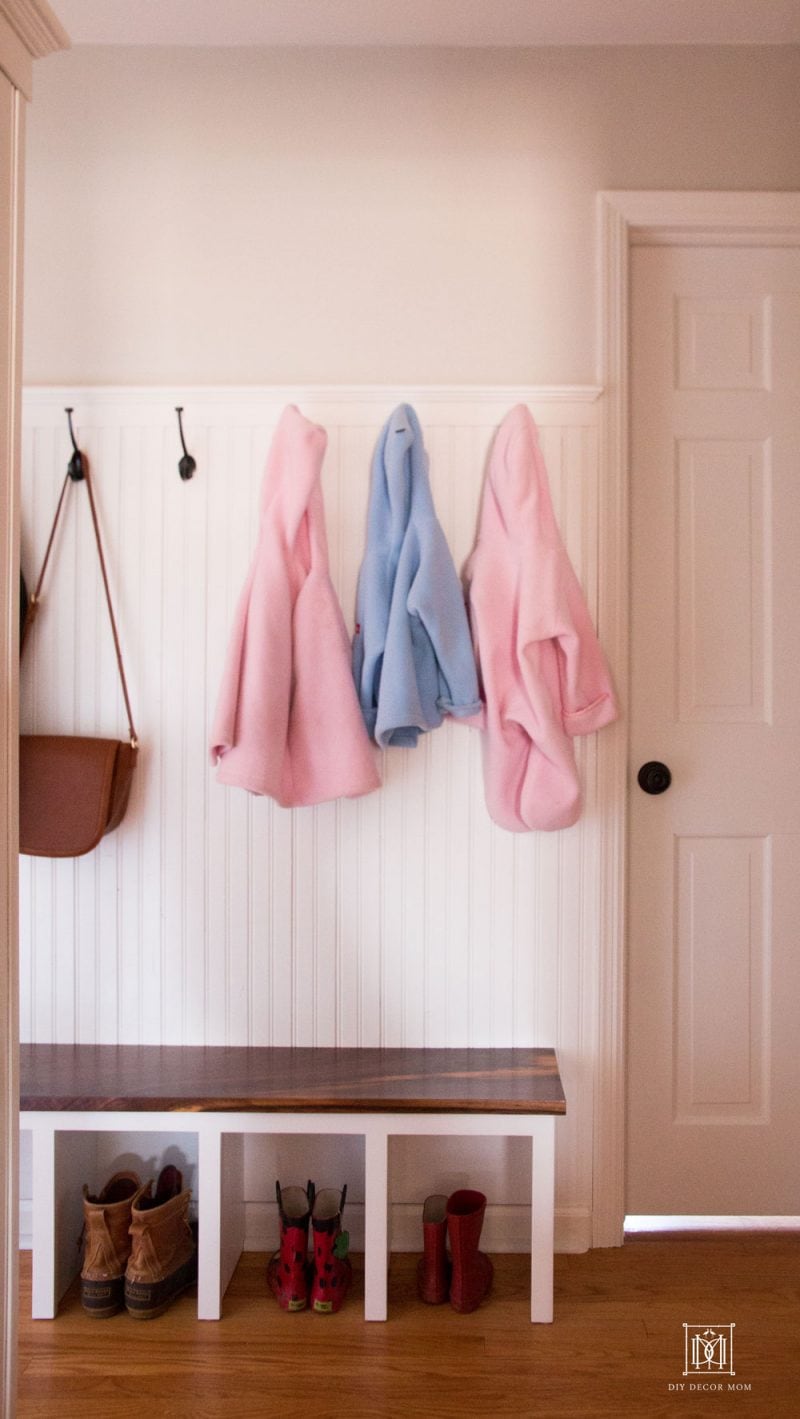
beadboard in our mudroom
Why did we choose beadboard for our bathroom?
In my opinion, wainscoting is more formal. We use it in the front of our house (in the foyer and the dining room.) Beadboard is more utilitarian and is known for putting up with abuse, so we used it in our bathroom and our mudroom. If you are considering installing beadboard in your bathroom, I would highly recommend it! In a house full of kids and a Great Dane, it’s held up really well over the last several years.
How high should beadboard be in a small bathroom?
It’s up to you how high you want your beadboard to be. For our bathroom (FYI we have standard 8 ft. walls, we used beadboard that goes up to 40″ with a total with the trim of 43″). For our mudroom/ back entryway we used taller beadboard at total height of 68″, and beadboard going up to 64″).
Want to DIY Your Bathroom? SEE ALL THE DIY POSTS FEATURED
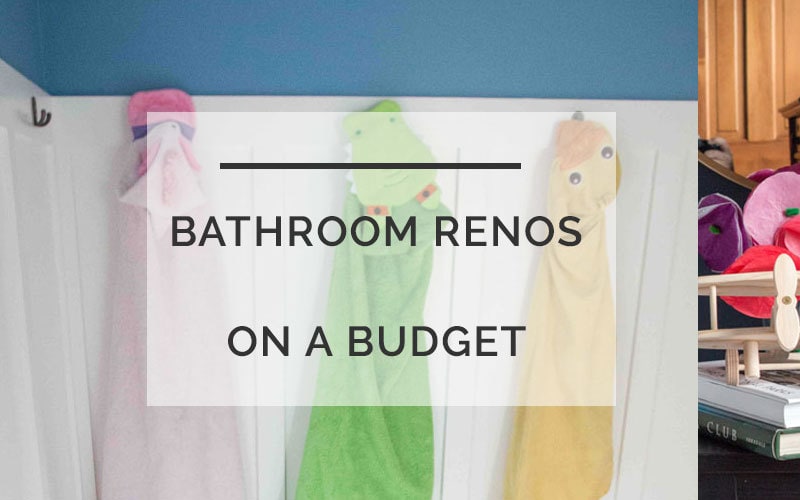
How to Reno a Bathroom on a Budget

20 Best Bathroom Makeovers that Won’t Bust Your Budget

What a difference with the railing. So pretty and love the roman shades.
sometimes I think beadboard looks very coastal, but you’ve made it look sophisticated! Love what you did!
Wonderful wall craft painting. It is very helpful resource for decorating any bathroom with my willing. I am very pleasant to read this gorgeous blog.