DIY Board and Batten: Want to learn how to install board and batten in your house? This great DIY home improvement project will upgrade your bathroom, hallway, or dining room and elevate the level of finish in your house! Better yet–it isn’t that expensive! See what materials are required, how to do it the easy (and cheap) way, and what mistakes to avoid below!
DIY BOARD AND BATTEN
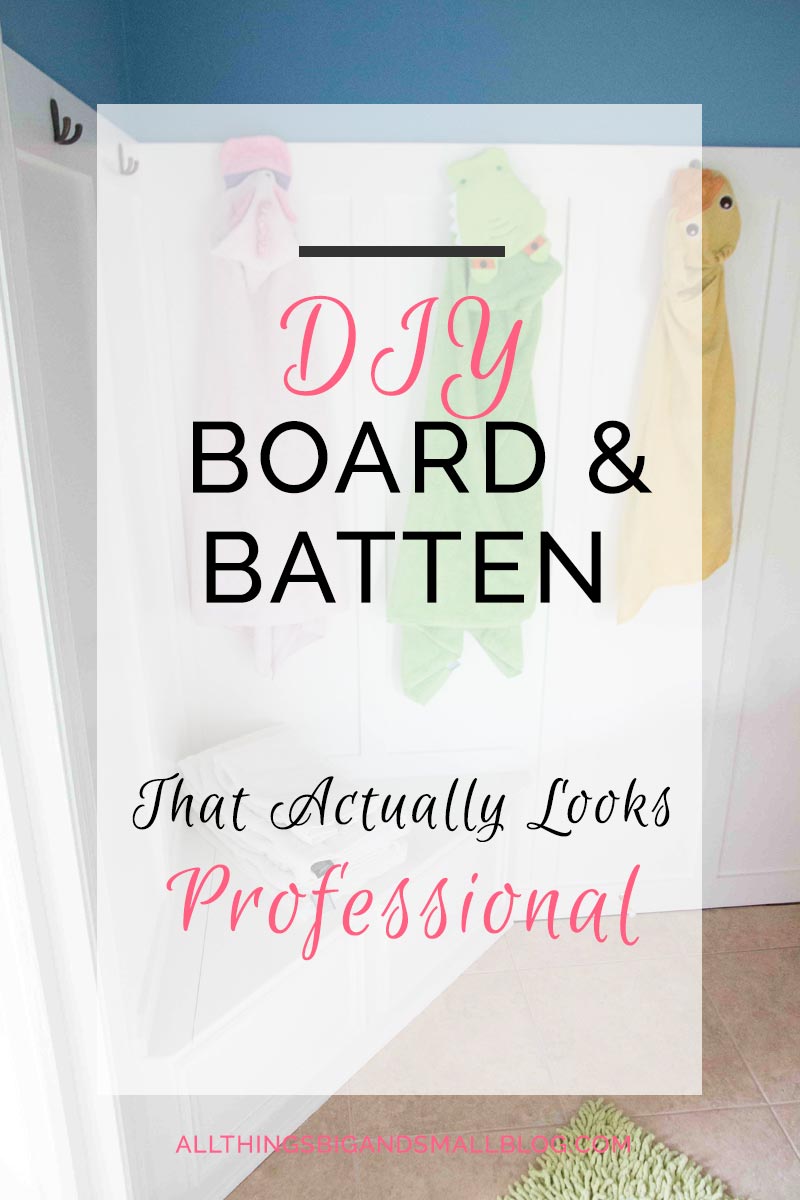
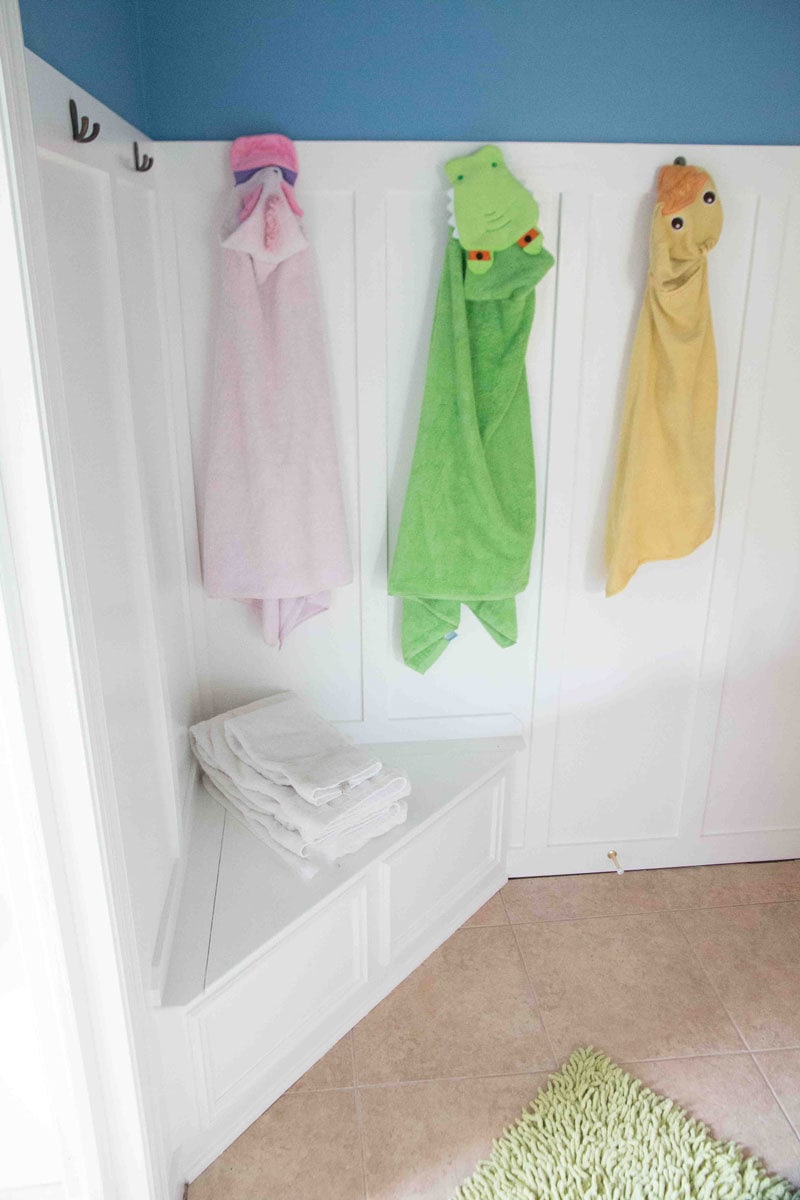
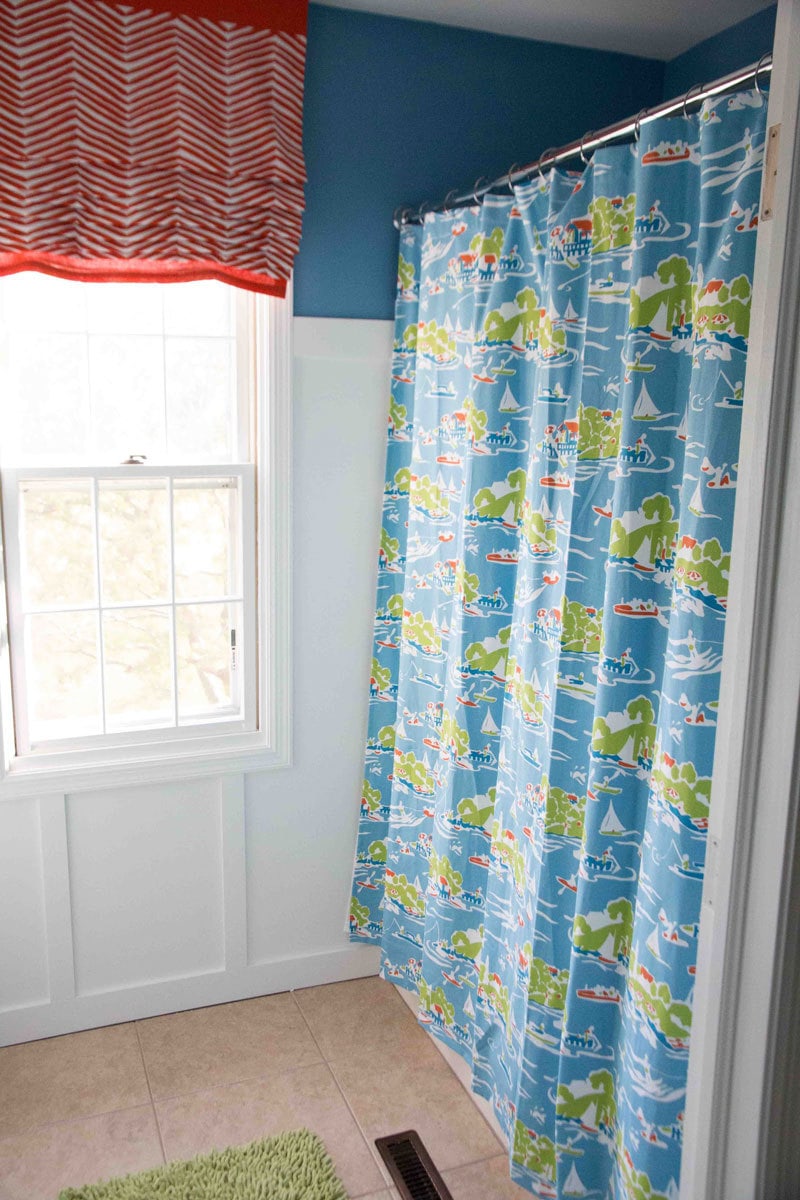
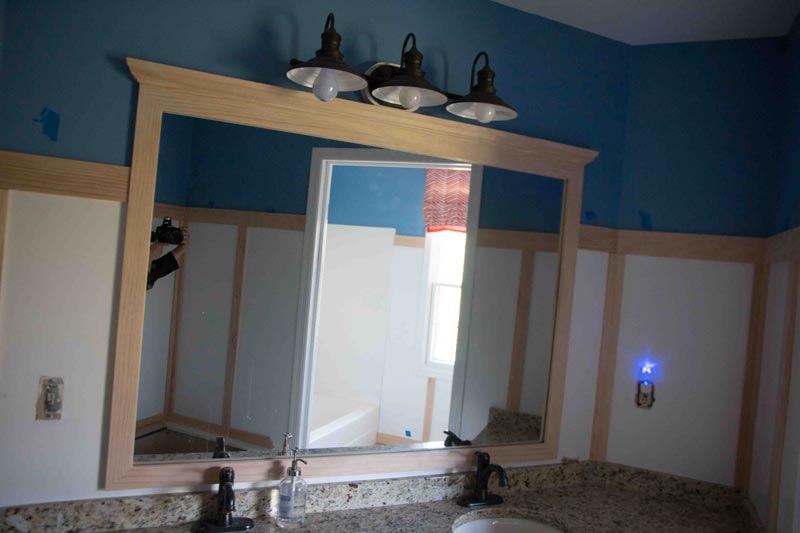
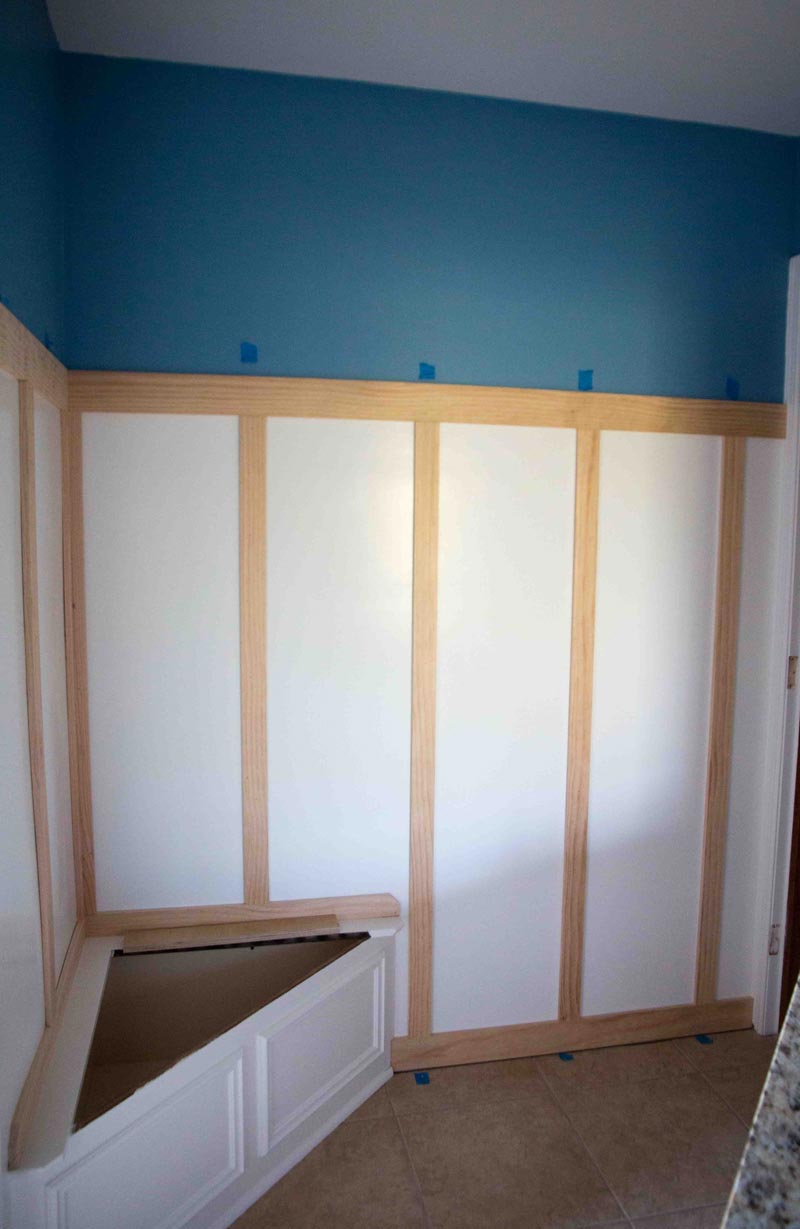
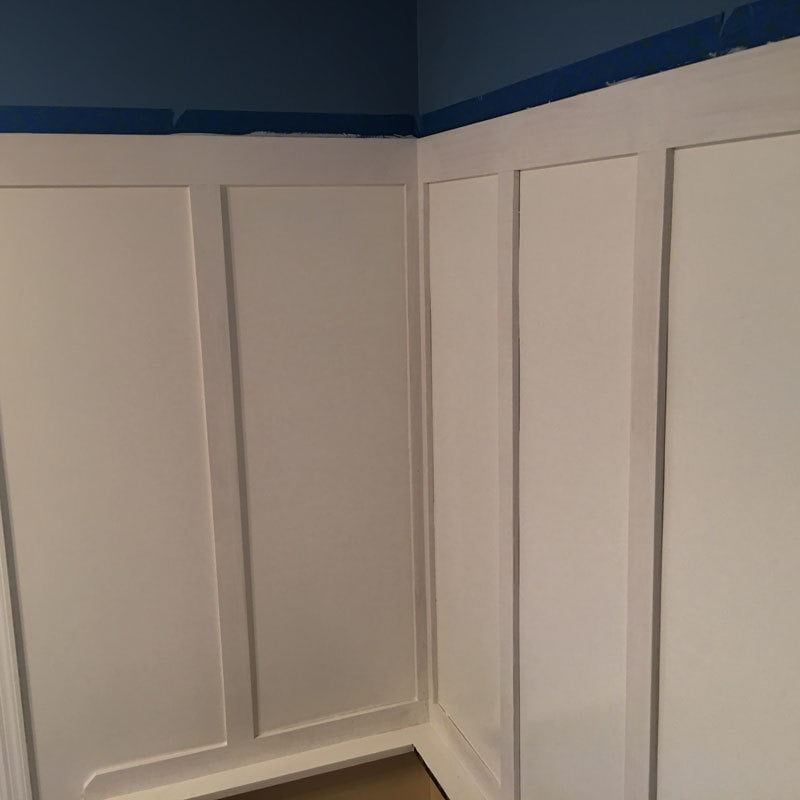
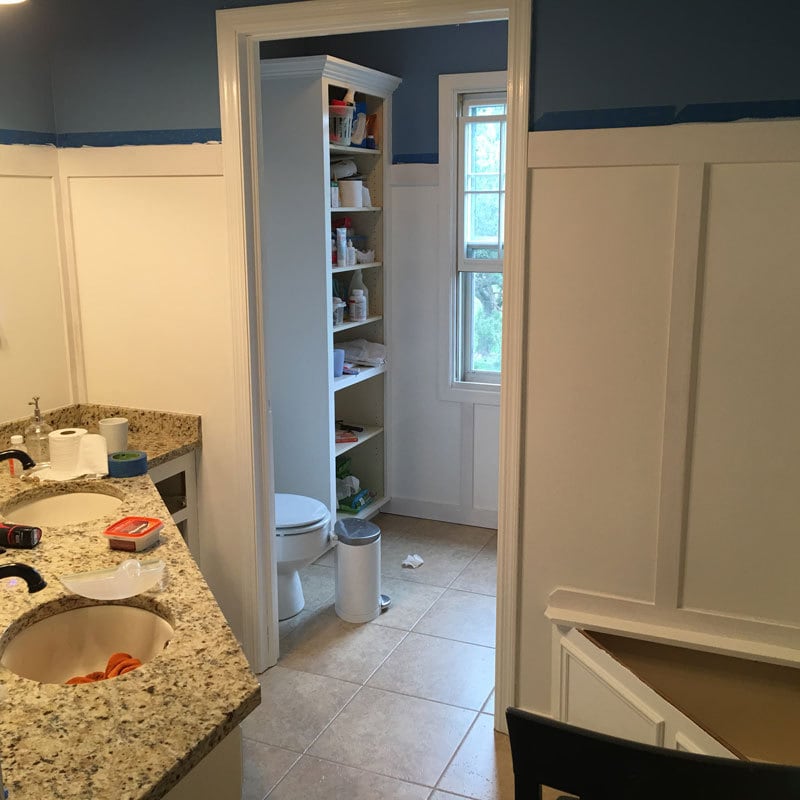
So many board and batten DIYs look great in photos but horrible in real life. This project is different. This board & batten actually looks professional in real life. The boards are nice and chunky, and while not being the whole nine yards (the wall is just painted white behind and not board;) it looks really good.
I will be the first to admit that when I first pinned DIY Board and Batten projects that inspired me for the One Room Challenge, and showed my husband he flat out refused. He wanted to do it, but he said that those jobs looked hack in real life. The boards were too narrow and the trim too flimsy. Instead, we used chunkier wood so it looks more substantial.
So I am not going to lie and tell you that this is a project that you can do in an hour. You can do that, but it won’t look like this. This took an entire weekend to do and a lot of planning–but it wasn’t hard! Here I’ll show you the cheat sheet to doing it faster and easier and share our exact dimensions, so you can do it yourself!
1.) Decide on the height of your top railing. There are short board and batten walls (more of a chair rail) and there are tall ones. I wanted a tall one. You all know how much I love the rule of thirds already. And this is no different. I used the rule of thirds (divide a wall into three and 2/3 of it will be your board and batten. I ended up making it a little higher than 1/3 for aesthetic purposes and lined it up with the paneling on the doors so it looked continuous. Morale of the story= rule of thirds plus take the surroundings into account.

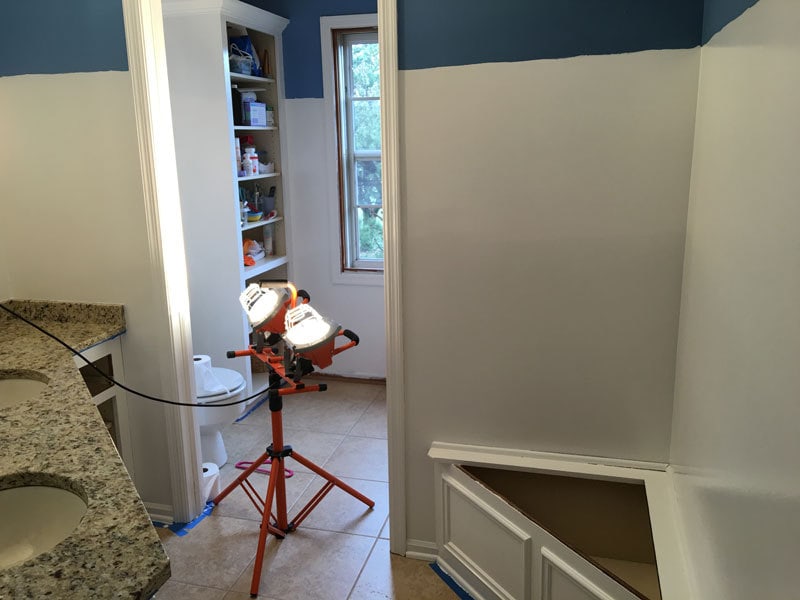
1.) Paint: I chose to paint the walls two colors, white on the lower section (which the board and batten) would cover in semi-gloss and the top in eggshell. I measured out the height of the center of the top horizontal railing, and painted to that line not being too careful since I knew it would be covered up with a piece of wood (the railing.)
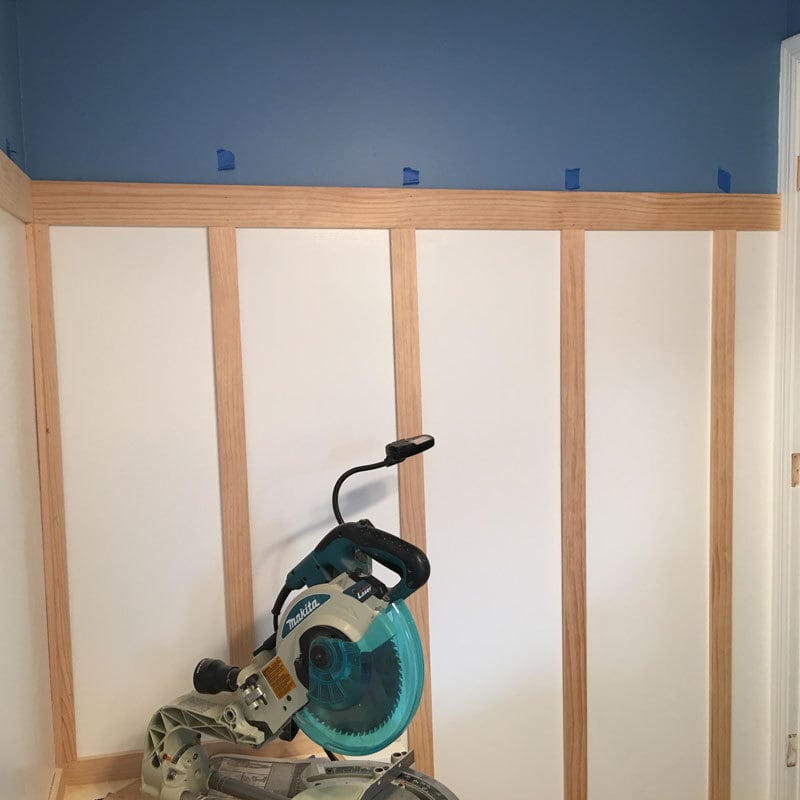
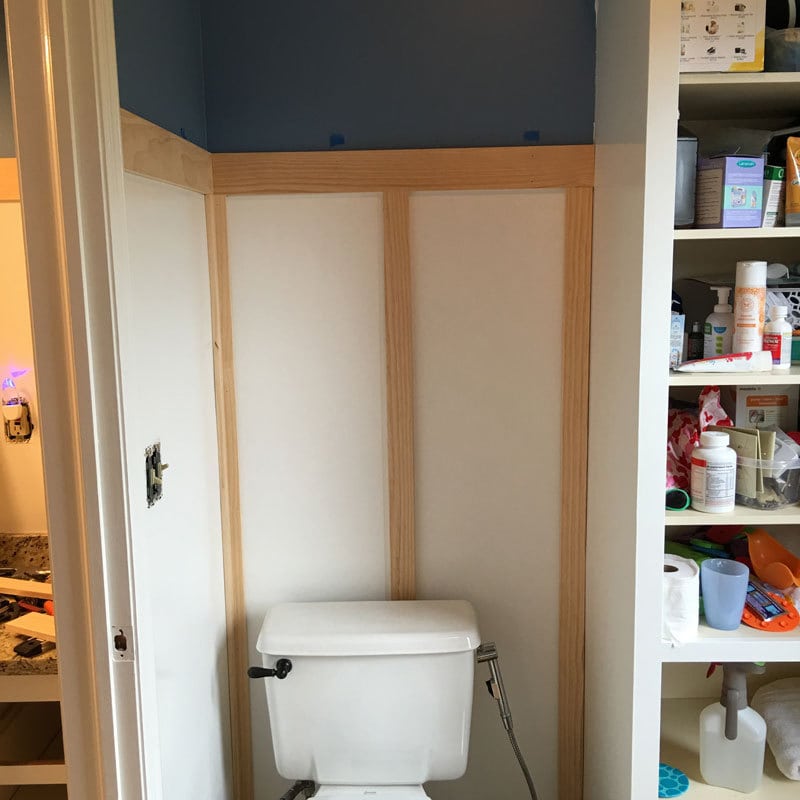
2.) Decide on widths. We tried several different widths and depths of board. We ended up going with a slightly wider top (horizontal board of 3.5″ wide and 1/2″ deep) and a trim that is the same depth as the trim (1/2″ deep and 2.25″ wide). The vertical trim is roughly the same width as the door frame as well. Even though the trim is different, it looks similar enough that the ugly door and window trim blend in.
3.) Spacing: Next, we decided on the spacing of the boards. Too many and it will look too busy, too few and it will look. To do this, we mocked up some prototypes in the correct widths and lengths. We decided to concentrate on the longest wall (the one pictured below) and base the rest of the bathroom off of it. Then, on the other walls we used the measurements as a ballpark. Because the other walls were so broken up, we just made sure it looked balanced and first added the vertical boards where we knew they were definitely needed (in the corners).

4.) Measure: Now, after your decisions are made it is time to measure. Measure twice and cut once is no joke. There is a lot of measuring too! All the heights are going to be the same, but the horizontal board lengths will change. Make all of your cuts or have your husband 😉
5.) Install: Now it is time for install. My job was marking out the studs ahead of time. This is the exact one I use. I used painters tape to indicate exactly where each of them was located, so my husband could come in with the nail gun. We chose to align the boards with the studs so they are extra secure.
6.) Secure, Glue, and Sand: After securing all of the boards to the studs, and gluing the boards that didn’t align with the studs, it was time to sand and paint. This was a really messy part, so be prepared for a lot of sawdust! After E, my husband finished sanding, I came in with the ShopVac and gave everything a once over, and then came back in with microfiber and water. You don’t need everything sparkling clean but you do want a clean surface for painting. You don’t want to be painting a bunch of wood that is covered in sawdust!
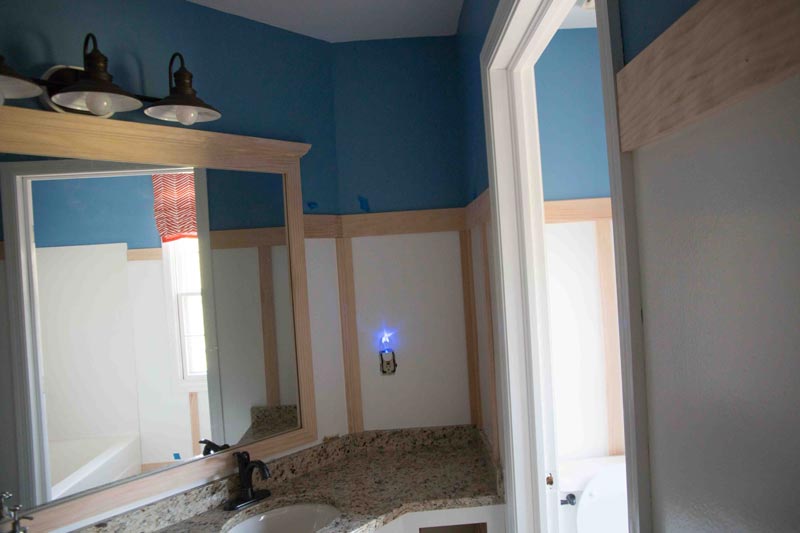
7.) Paint: Now it’s time to prime the wood–I use Zinsser Smart Prime (click on this for the picture but I was able to get it for half the price at our local paint store.) Smart Prime is the best as far as zero to low VOCs (see my best painting posts here.). Then I gave it all three coats of Natura semi-gloss Simply White (also zero VOC paint). With babies in the house we don’t mess around!
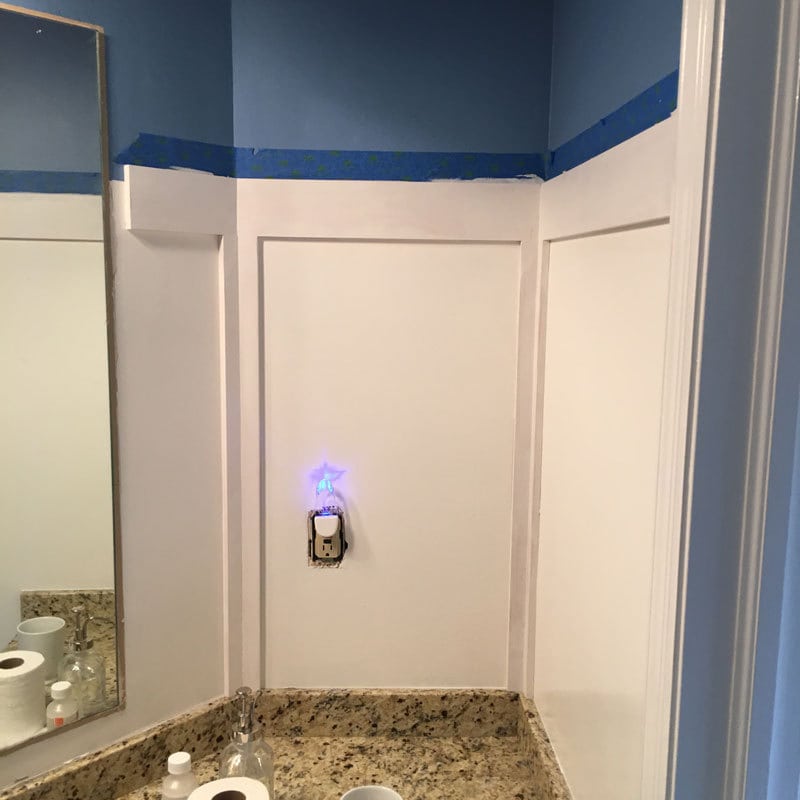
8.) Caulk time! Now, you could probably caulk between coats two and three; but, we didn’t because I painted while E was at work. It ended being absolutely fine though. Caulking is going to really make the boards look like a professional job. You want to fill in any gaping holes between the boards and the wall. You an also fill any nail holes at this time as well with either caulk or wood putty.
9.) Clean it Up and enjoy!
IF YOU LIKE THIS, PLEASE PIN IT! And if you want to see more posts like this, scroll down–full bathroom process start to finish!
Week 1: Design Scheme
Week 2: Details and Color Scheme
Week 4: Progress Painting
Week 5: Board & Batten Progress plus Curtains

It looks so good! My husband’s standards are so much higher than mine too when it comes to carpentry and construction.. he just refinished our dining room set and built a breakfast nook this weekend and it took so long but came out perfect. If I were to do it it would’ve looked really bad because I have no patience and always take shortcuts.
This is insanely impressive and adds so much to the space. I am saving this for my hopefully someday soon!
oh my this looks so good! Who knew what a difference the board and batten would make??
I do believe you are a spacial genius. I really love the way the boards look. How do you even dream these things up? It’s unreal to me. I want to be able to visualize these things so much. Props, Annie!
Wow, it looks amazing and totally professional!
Mechanical engineer husband for the win!! I love your honesty in the time it takes for this project, but doing it YOUR way, aka the right way, is the only way to do it.
I love the look of board and batten! You guys did a fabulous job. The bathroom turned out so well!
(Side note…how are you finding the time to write all your posts?! You are rocking it lady!)
I honestly think this is what our “kids” bathroom needs! We have a jack n jill bath that the boys will use, with a double sink just like yours and even with very similar granite! Right now, the wood is still that oak-y color and the walls are taupe and it’s… a lot of beige. I don’t love it. But I DO love this! However, unlike your hubs, Kirk is NOT handy at all so I’ll have to show this to my stepdad (who was also an engineer!) and see if it’s feasible in that bathroom!
Totally just pinned this, you guys rock! Love this tutorial and you’re so lucky your hubby is committed to doing things right ;).
Erin, Attention to Darling
http://www.attentiontodarling.com