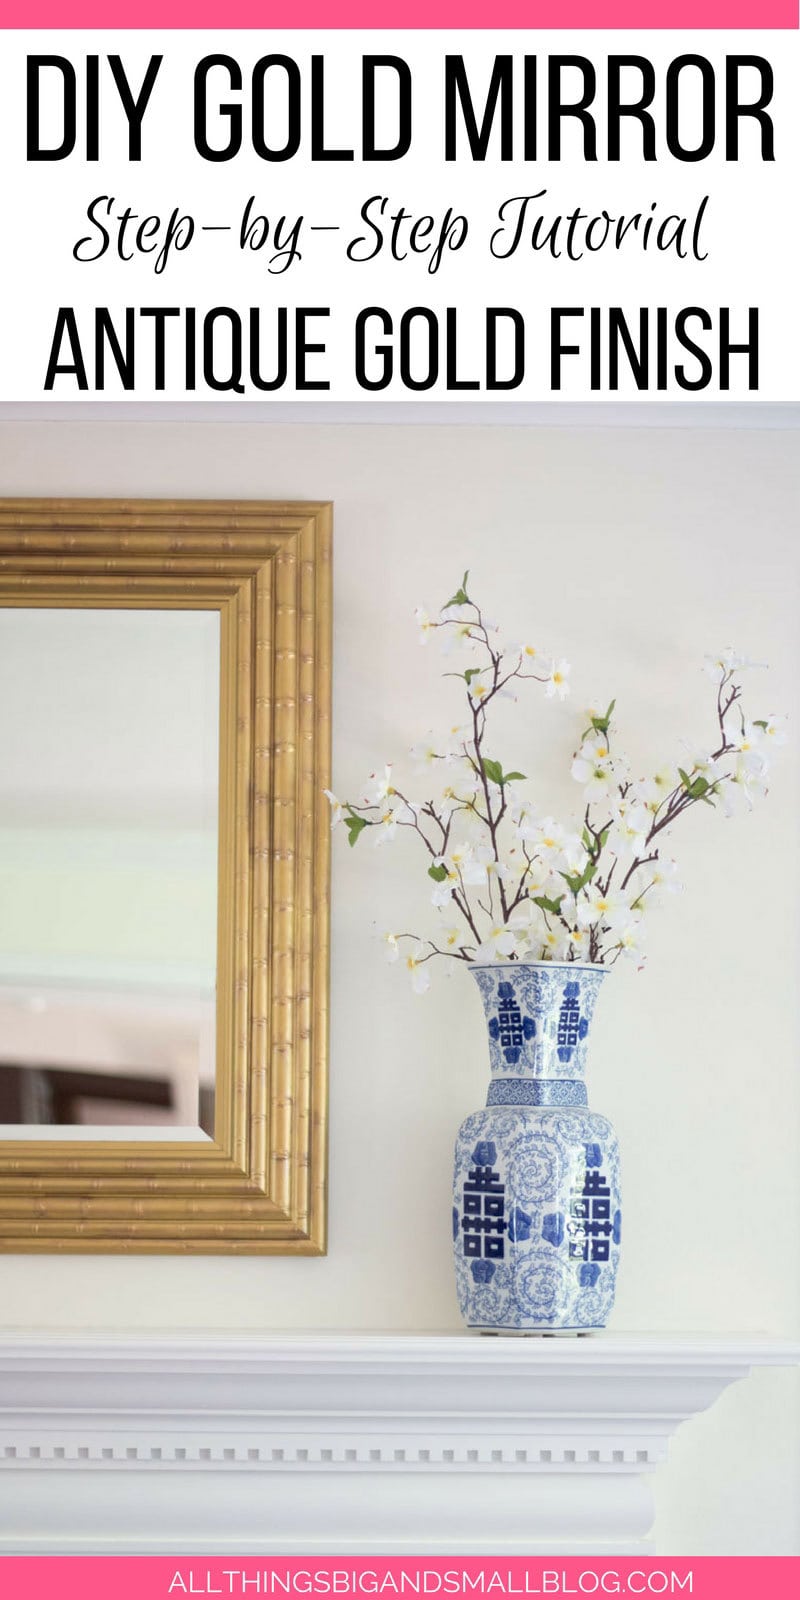
Gold Mirror: How to DIY a gold finish and totally revamp a mirror. I love shopping at Homegoods and thrift stores for mirrors; but, I am not always in love with the finishes. Luckily, I know that as long as the glass is good, I can change the rest! This DIY finish was such an easy way to completely change the finish of this decorative mirror, so I did it on two different mirrors! I opted for a different finish for each gold mirror so you can see how easily customizable it is to your own home’s decor! And the best part was that each mirror’s makeover only cost $6-12.
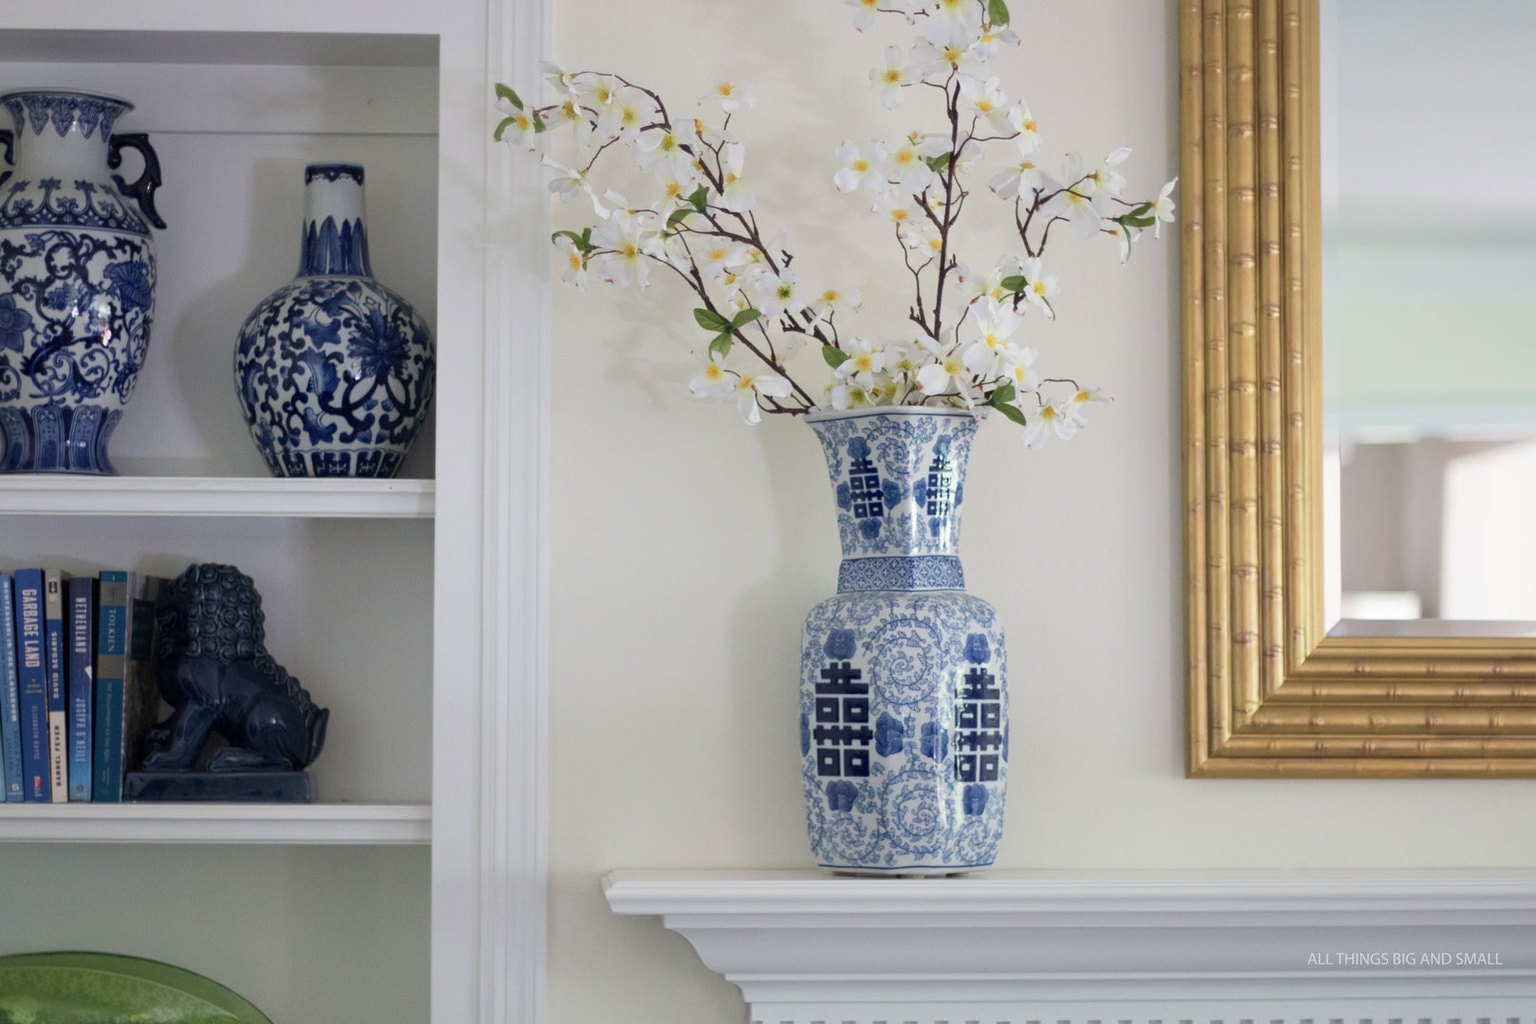
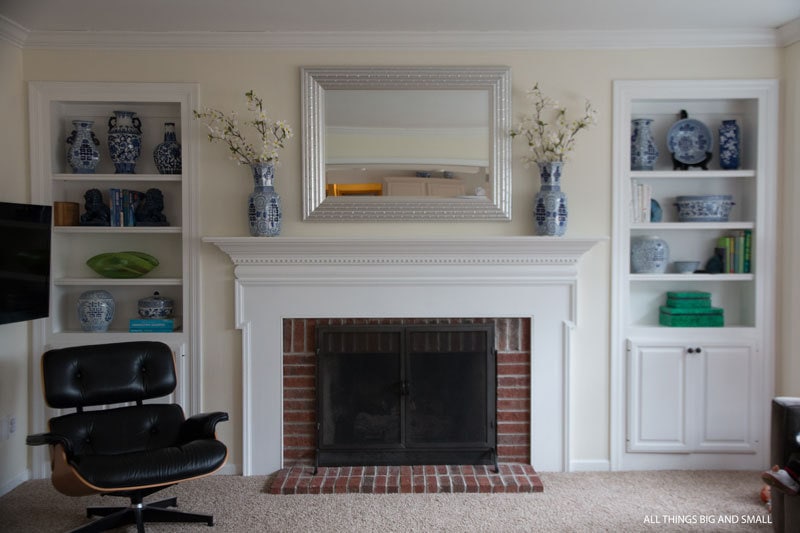
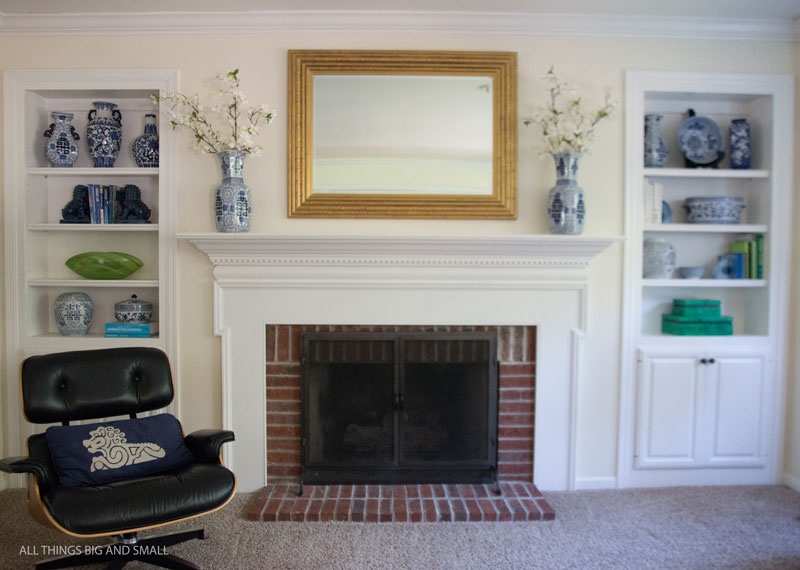
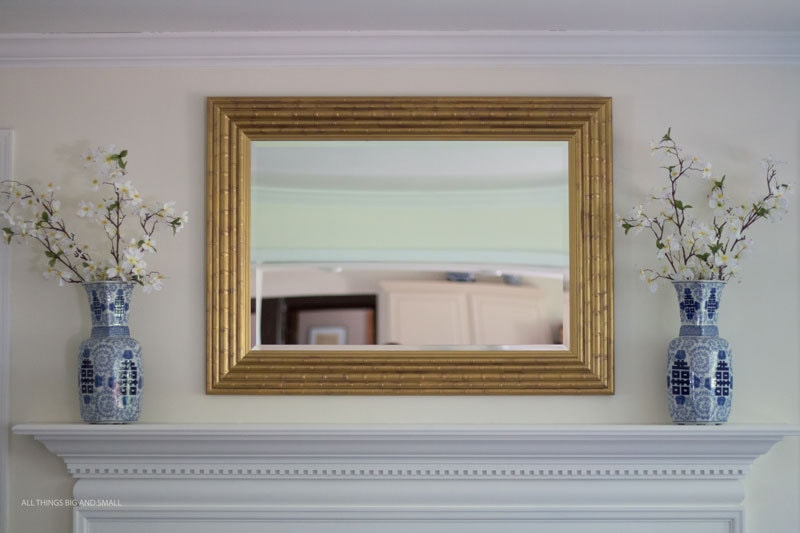
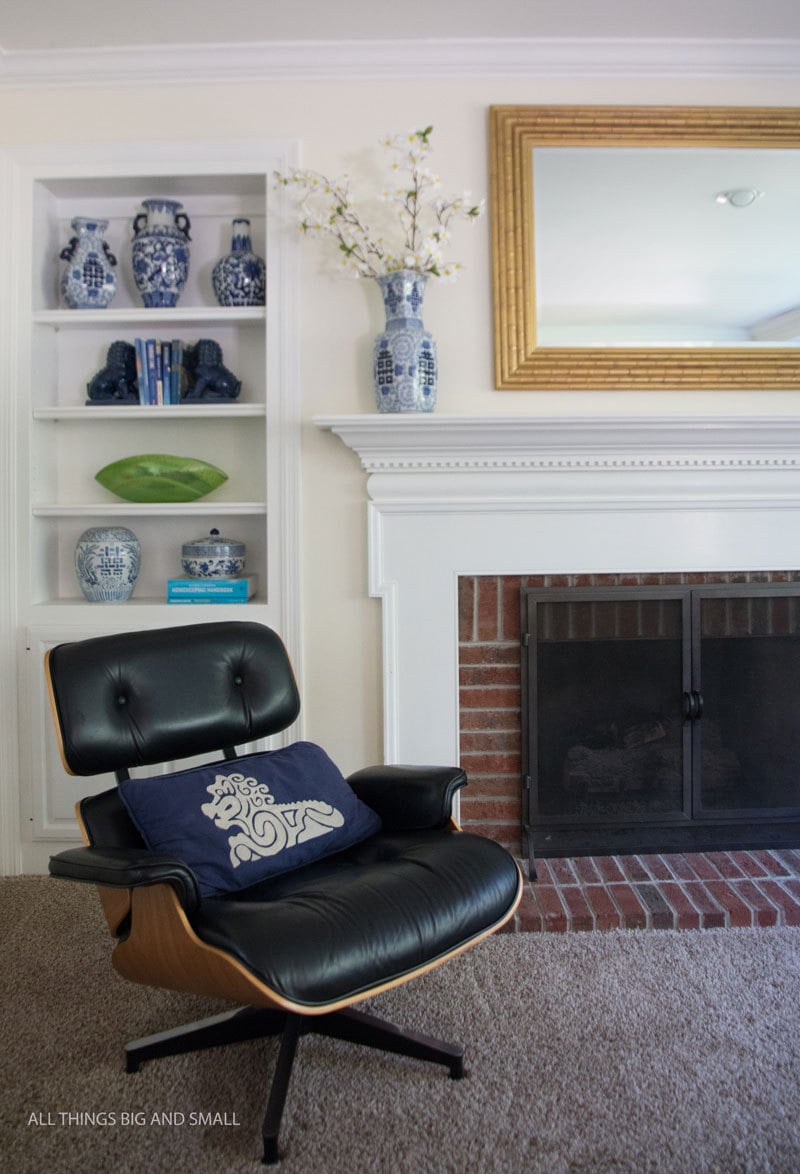
I picked up the faux bamboo mirror at Homegoods for $29.99 which was such a steal for such a large mirror. I knew when I saw it that silver was not the right color, and that I could easily make it into a gold mirror that would be perfect for over our family room fireplace. I had been eyeing several gold bamboo ones for months that we too expensive for our budget–and which cost on average 10x what this one did! It just shows that you can usually DIY a solution! Below you can see the silver mirror before , and then the finished product after–a gold mirror for a total of $42. Not bad for a $12 makeover!
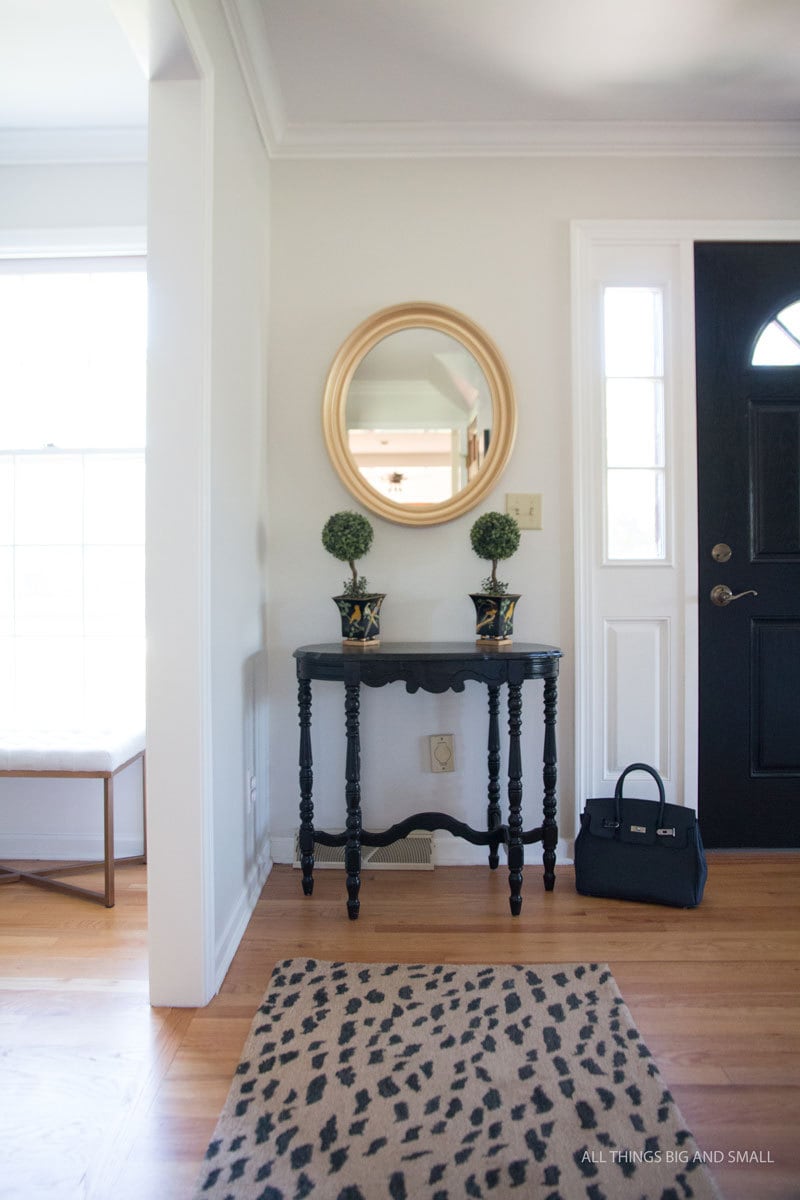
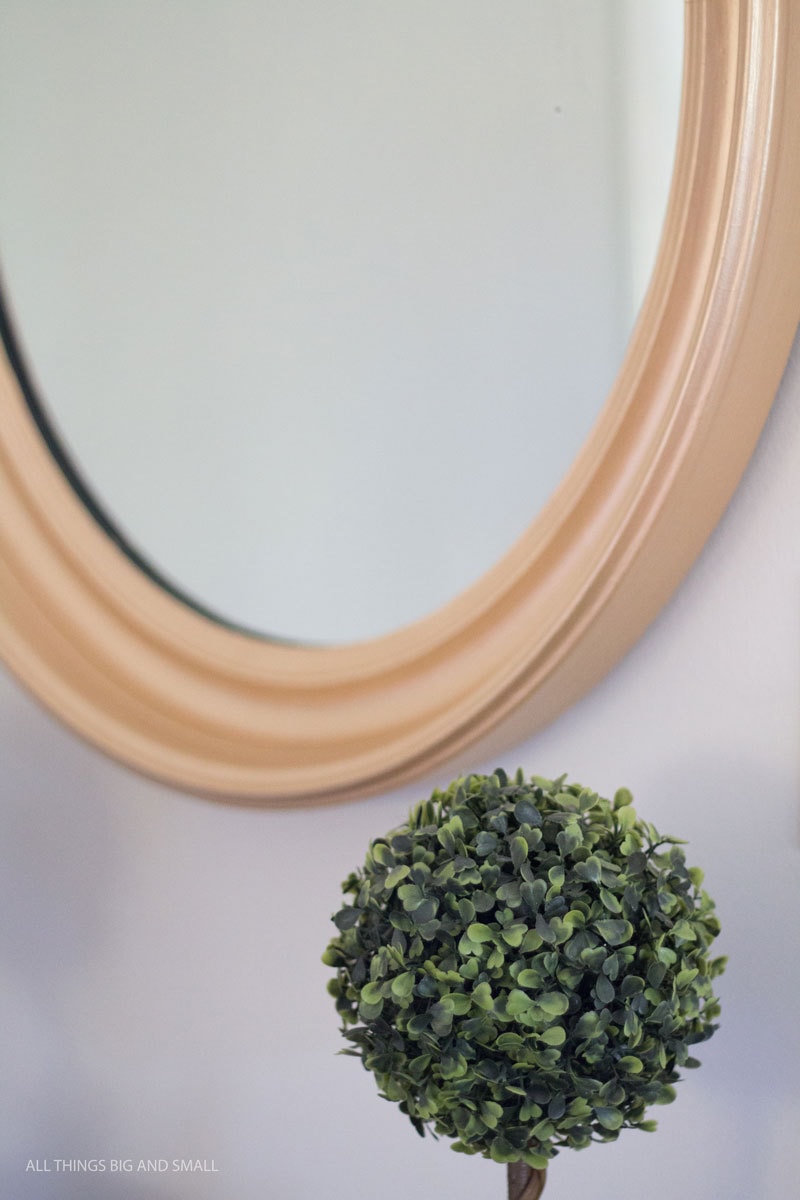
I also made over another silver mirror that I picked up at a thrift store for $20, with the same paints in a different shade for $6! I replaced our sunburst star mirror in the entryway with the finished new round gold mirror which fits the space much better. You might remember seeing bits of the entryway in my How To Paint a Fiberglass Door or How to Refinish Vintage Furniture two of my most popular posts! PSSST! You can get all the tips and tricks on how to paint your whole house for free in my E-Book (download it now!)
DIY GOLD MIRROR
MATERIALS FOR YOUR GOLD MIRROR
Acrylic Paint- I used three different colors from this brand (DecoArt Metallic Lustre for the lowlights for the bamboo gold mirror, Vintage Brass for the base and highlights), and Soft Gold for the round gold mirror)
Primer- this is my favorite primer to use because it’s nontoxic and covers well–I use it for everything!
Paper or cardboard
Paper Towel or Rags
Paintbrush or Foam paintbrush
DIY GOLD MIRROR DIRECTIONS
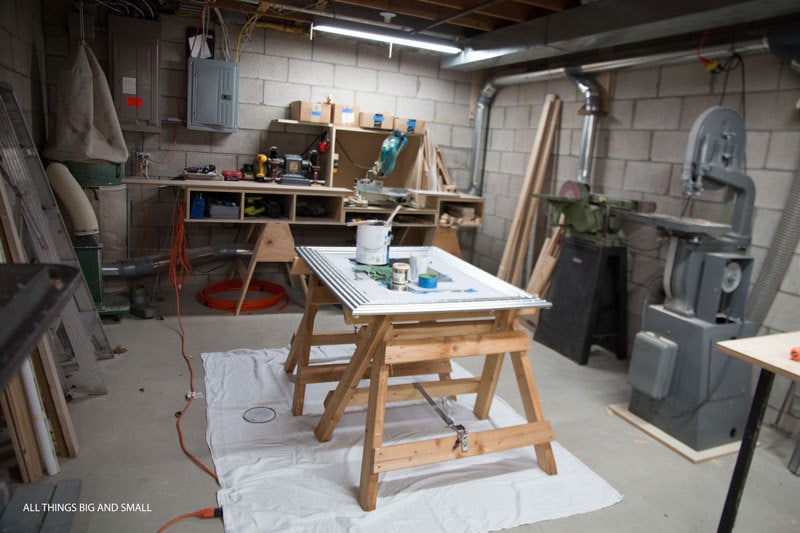
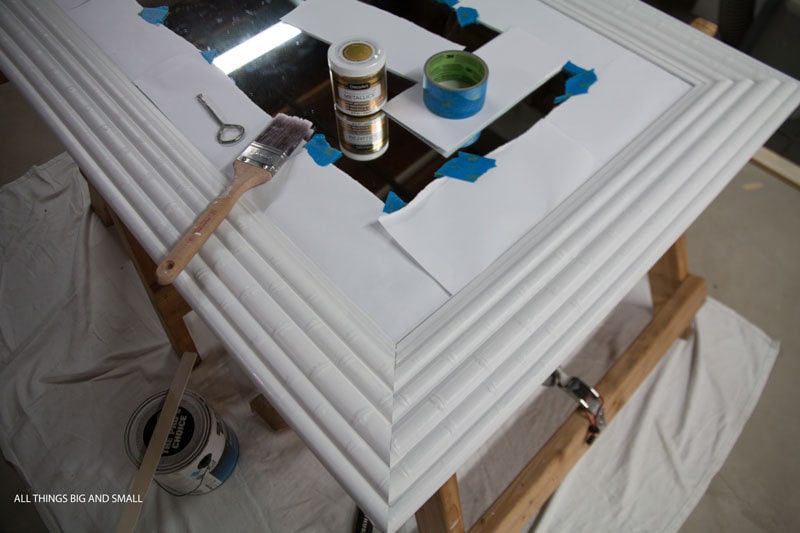
1. Setup: I set up in our workshop downstairs, using two sawhorses with a drop cloth underneath to avoid paint drips. To keep the paint on the glass to a minimum, I ripped several pieces of paper and slid them between frame and the glass, securing it with painters tape.
2. Wipe down the mirror with a damp microfiber cloth and water and vinegar solution (if necessary). Then prime the mirror, working in one direction (along the grain of the mirror) applying an even coat.
3.) Apply the first coat of acrylic paint–evenly coating the frame. Let is dry, and wait at least four hours (make sure it isn’t tacky when you apply your second coat.) Then apply another. I did two coats total of acrylic paint ensure I got good coverage.
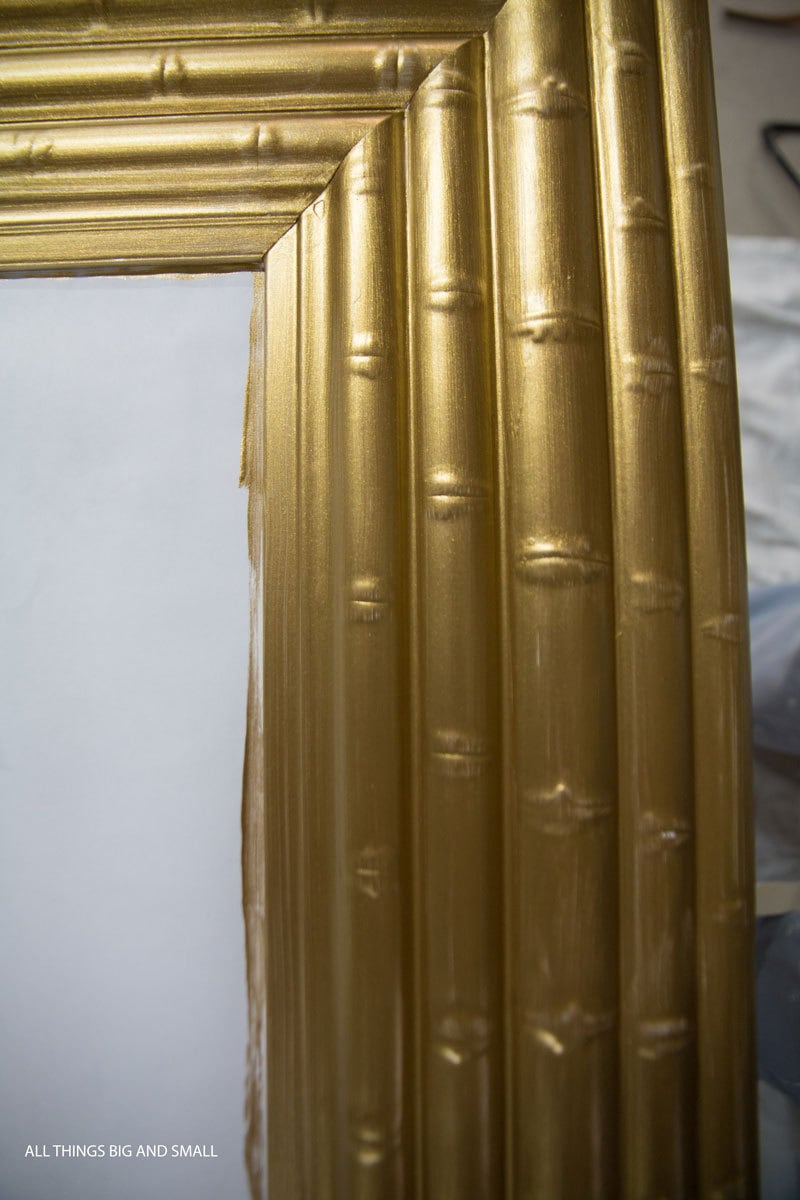
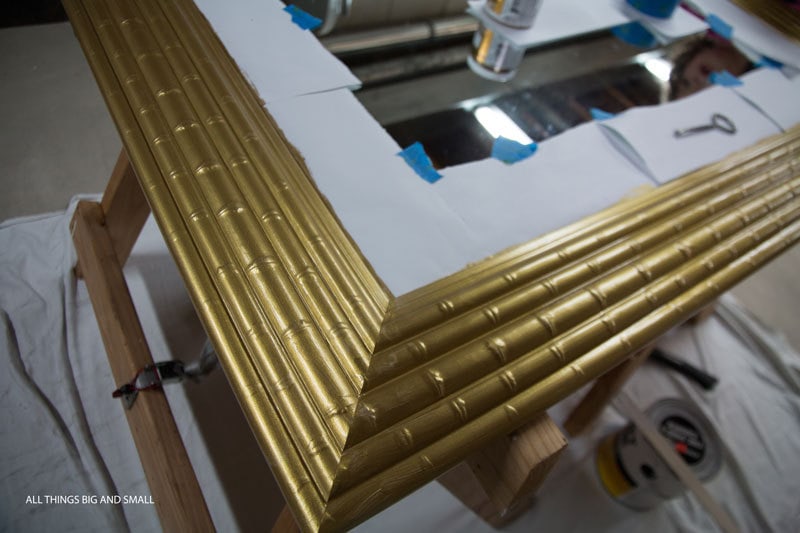
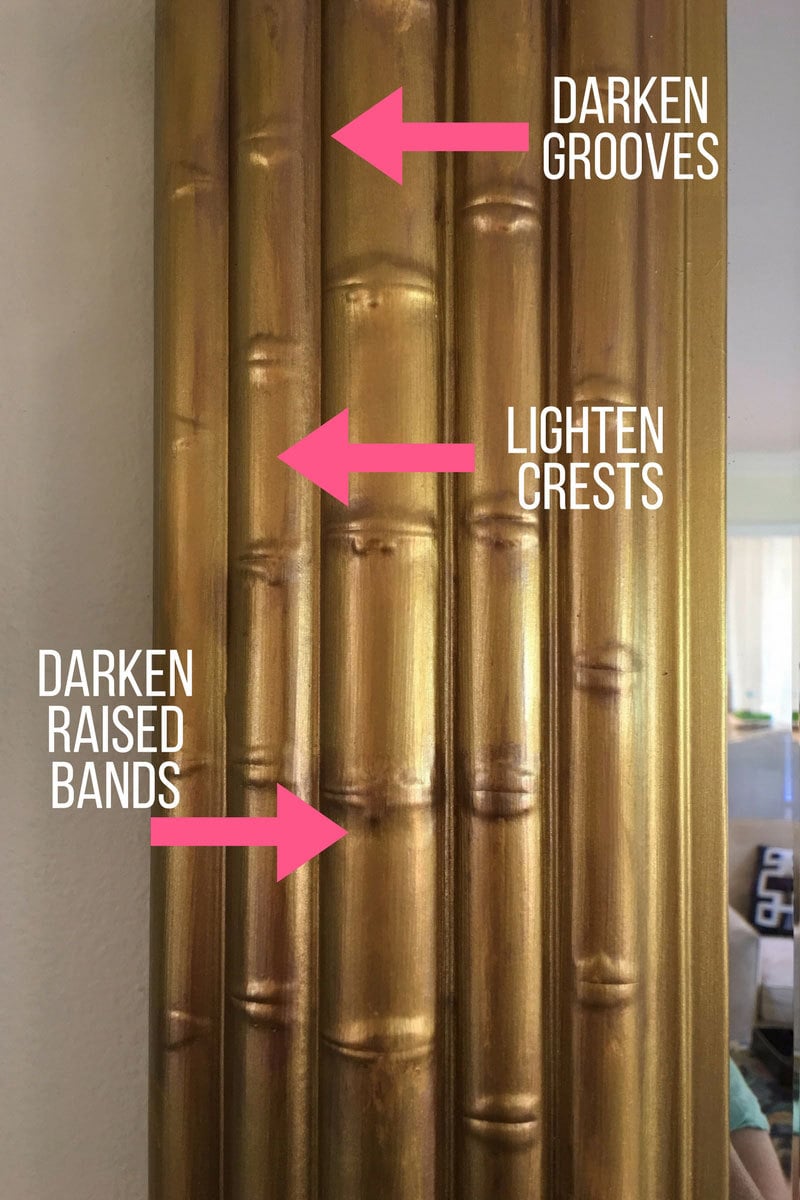
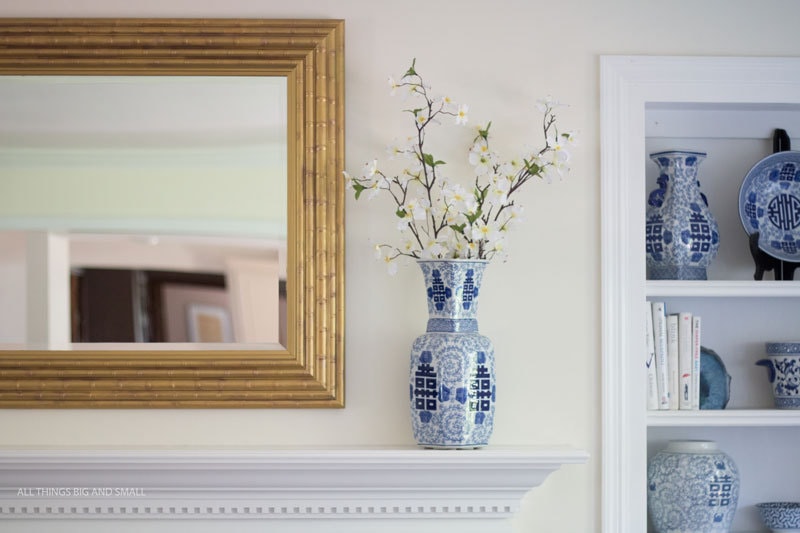
4. So far you have a nice solid color on the frame; but, it is most likely quite one-dimensional. For my round gold mirror, that was fine; but, for the bamboo gold mirror I wanted a more layered look. Next, I applied a darker complementary color in streaks with a rag, and then buffed it off with a second rag. Apply the darker color in the valleys/ grooves and then again at the corners and raised bands.
5. Now you have what I call a base and low lights. Now it is time for highlights. Using a third clean rag, draw light streaks on top in the middle of some of the bamboo rods (see the picture two down). I recommend either using the same color as the “base” (the first two coats you applied) or a shade on lighter than the base.
6. Let the paint harden overnight. Finally, scrape the paint off any parts of the glass that you have painted accidentally using a razor blade. Wipe down your mirror with your favorite glass cleaner (I recommend Norwex enviro cloth and then polishing cloth.) And voila! You have a completely different looking mirror!
 You can see above how much extra color and depth I added with the lowlights and highlights.
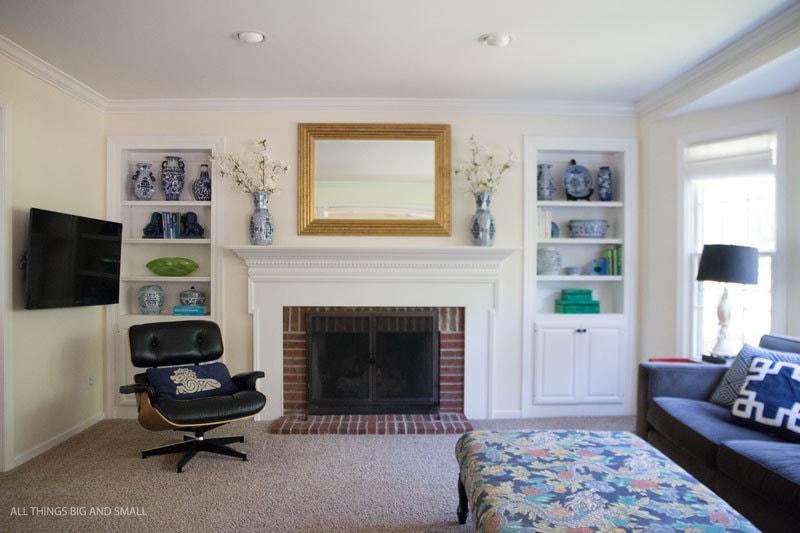
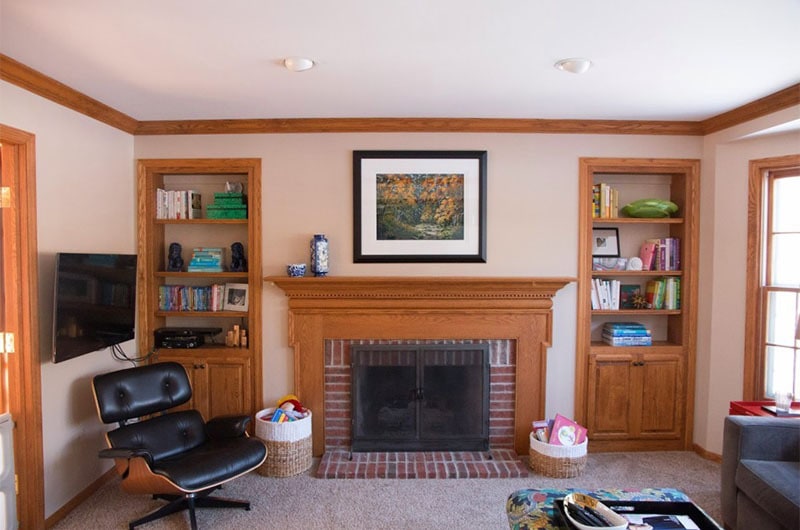
Now, see how it looks in our family room! It is so much better, and it ties in nicely with our living room’s brand new faux bamboo frames that hold our DIY black and white art. Our family room is still a work-in-progress but it looks so much better than where it started before I painted all the wood work! Yikes! Can you believe it’s the same room? Now if only I could DIY a new sectional and install wood floors 😉
So tell me, have you ever changed the finish on a mirror in your house? What is your favorite source for a gold mirror?

Beautiful guide and gorgeous results Annie, thanks for sharing!
Oh my this is beyond gorgeous, thanks for sharing!
Thanks so much Joan!
Beautiful! Great mirror DIY. I’m going to give this a try on a couple of mirrors. When I follow the link for DecoArt Metallic Luster used for lowlights, it is a wax. Is this what you used instead of an acrylic? Just wondering if the acrylic paint used to highlight touched any of the waxed area and if it bonded.
Many thanks!
Hi Leslie! Thanks so much for making sure! Yes, that is the exact product I used. I didn’t realize it was a wax and not an acrylic! I must have too many paints in my stash! Let me know how it turns out, and make sure to tag me on @diydecormom on Instagram! I would love to see how they turn out! I just did the same exact process on another mirror!