*Black and white art: This is a sponsored post with Framebridge. I only choose brands that I truly love to partner with. All thoughts and opinions are my own.
Black and White Art: Easy DIY Abstract Art that anyone can do! If your bare walls are driving you nuts; and you have no budget for original art–then why not make some of your own? You can specify the colors, dimensions, even the medium of art you want! And it costs only a few dollars (instead of hundreds of dollars!)
Every time we have company over and we sit in our formal living room, I get questions on where we got the black and white art prints. When I tell them that it is an easy DIY they are blown away. Well friends, here’s the secret…it’s not hard at all! And having art on your walls will elevate your entire space!
Art makes a house a home. It shows what you value, what makes you happy, and let’s face it, it’s what you see 90% of your time–so it is a worthwhile investment (of time and money!) I never took any art courses in college or high school (heck, I took art history so I wouldn’t have to pick up a paint brush!) So don’t think you need any background in art to do this!
BLACK & WHITE ART: EASY ABSTRACT ART
SUPPLIES:
- Card stock computer paper– you can always practice on even cheaper regular computer paper
- Black Acrylic Paint in Satin– you hardly need any of this, and it will cost $3 tops
- Inexpensive paint brush set– I use a hand-me-down set from my mother-in-law but you can pick up one for cheap (like $5)
- Custom mats and frames from Framebridge– this is the key to the project! Using beautiful frames and mats makes all the difference!
- Washable glass dish or Paint Tray
DIRECTIONS:
Making black and white art couldn’t be easier. You really can’t mess it up–and if you don’t like how it turned out, just start over again! It is just inexpensive paper and black paint! As you may have seen on my Instagram Insta-stories, you can even do this with a four year old next to you. I wouldn’t necessarily recommend it; but, it can be done! They key comes with how you frame it–pick a mat and frame of outstanding quality and it looks like a million bucks!
PSSSTTT! If you don’t feel up to making them yourself, download copies of my black and white art prints below PLUS gain access to over 20 printables to organize your home!!

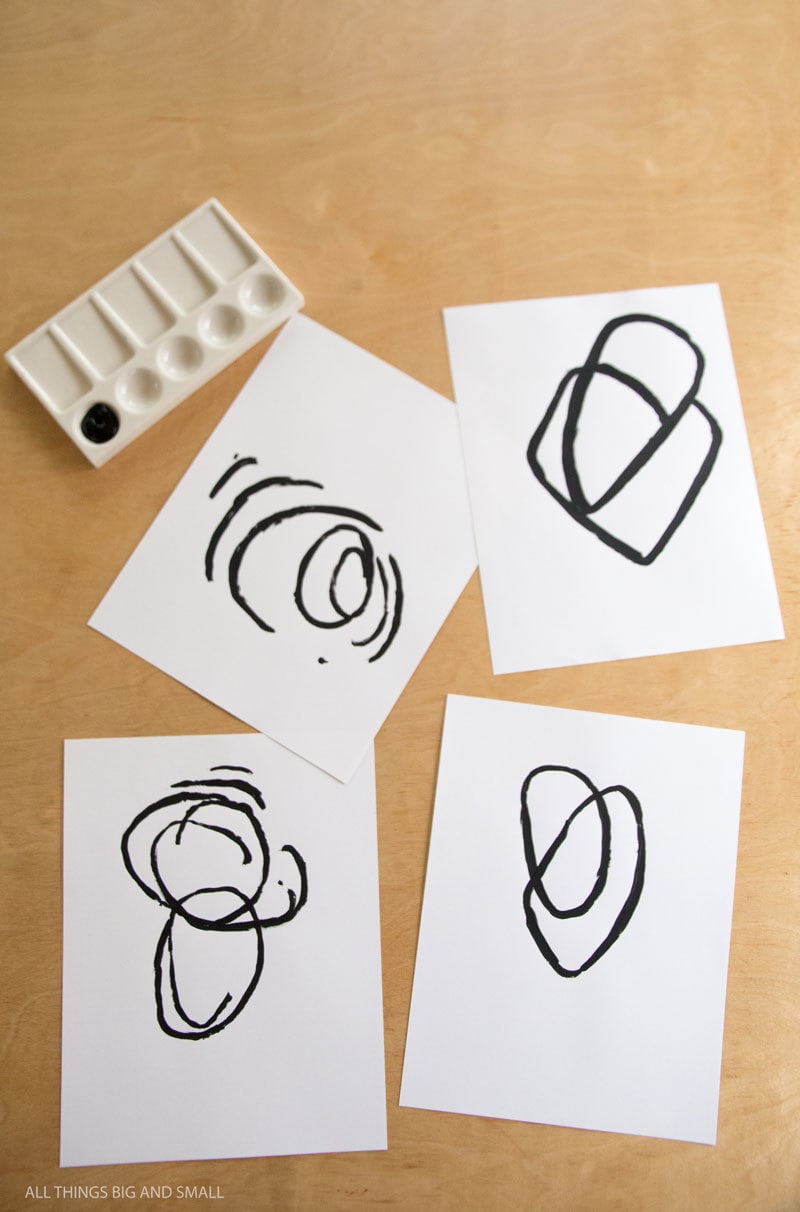
1.) Start with a general idea of the sizes and shapes you want. I wanted a collection of four to six prints that I could arrange in pairs or a grid. You are going to want some similarity between the shapes; but, have them different enough to be interesting. Start experimenting with the size and thickness of the lines you want. Believe me, I threw a lot of sheets of paper out!
2.) Once I finished one shape, I put it aside. By varying the thickness of your strokes and going back and adding width to narrow portions, it will make the art look more authentic.
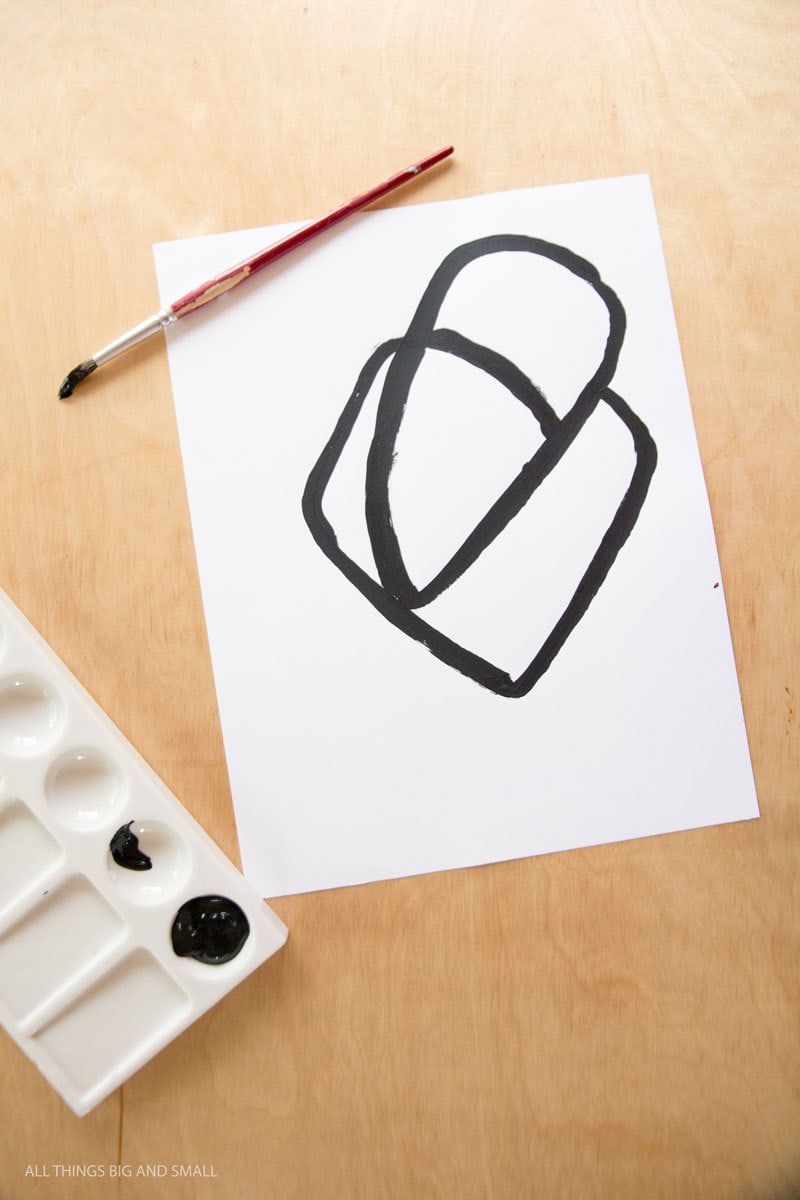
3.) I ended up with four shapes that I liked. Then I decided how I wanted them hung (which was the top and bottom of each piece.) You can see that they are are circular but they vary in shapes and size.
PSSSTTT! If you don’t feel up to making them yourself, download copies of my black and white prints below PLUS gain access to over 20 printables to organize your home!!

4.) Now came the easiest part–getting them framed! I was completely blown away by the quality of the frames and mats that came back. Framebridge’s support team even contacted me regarding my specifications, asking how much of a border I wanted, and confirming details. They sent out packaging for me to send my original art back in, and a couple of weeks later, I received my brand new matted and framed artwork!
Below, you can see what they sent me: clear plastic covers for each individual piece of art, a shipping label, and a sheet for any directions for the designers. I chose to choose my frames beforehand, but you can also leave it up to the experts! I have full confidence in them!
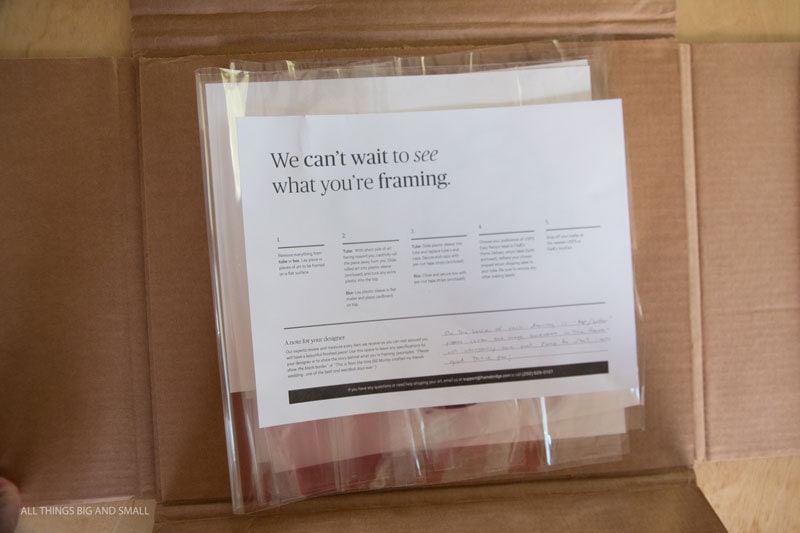
I wrote my directions for the designers, sealed each print in a plastic bag, and mailed it back!
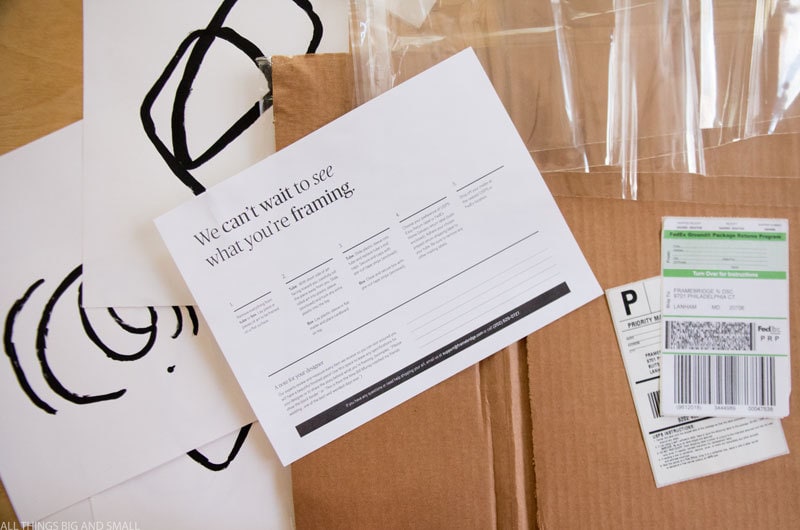
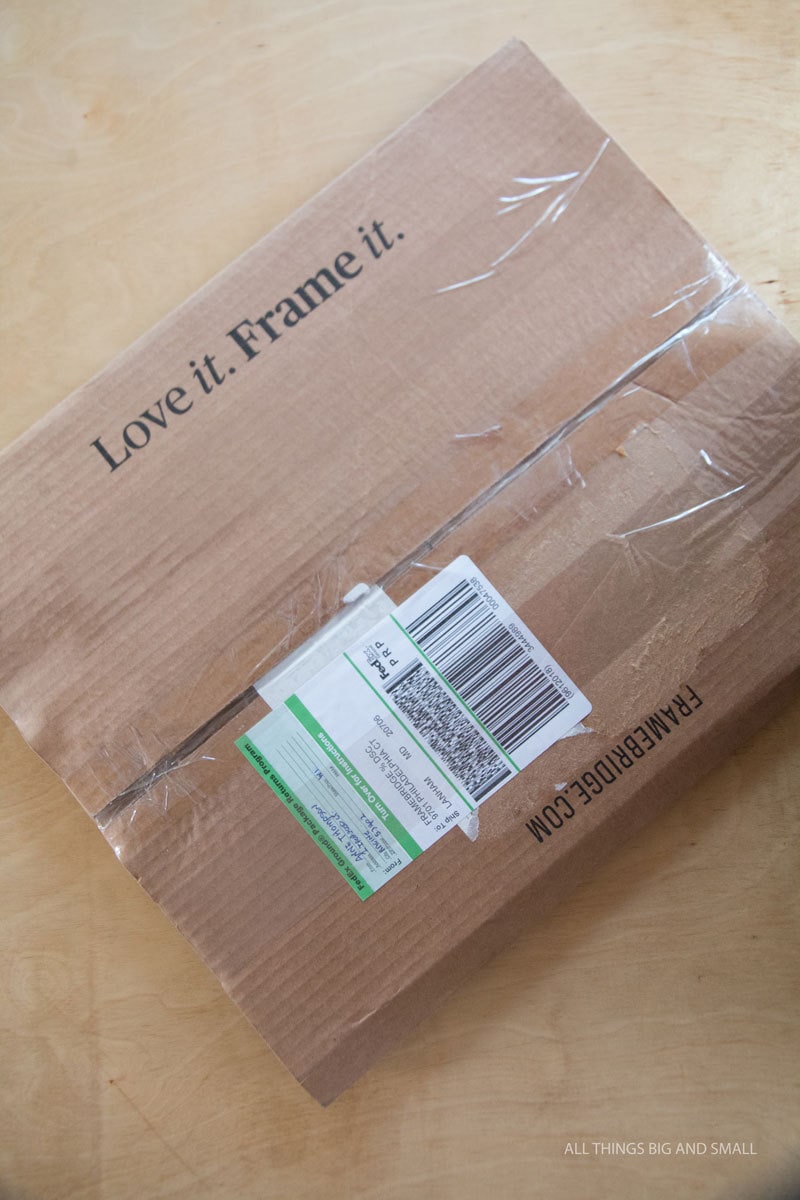
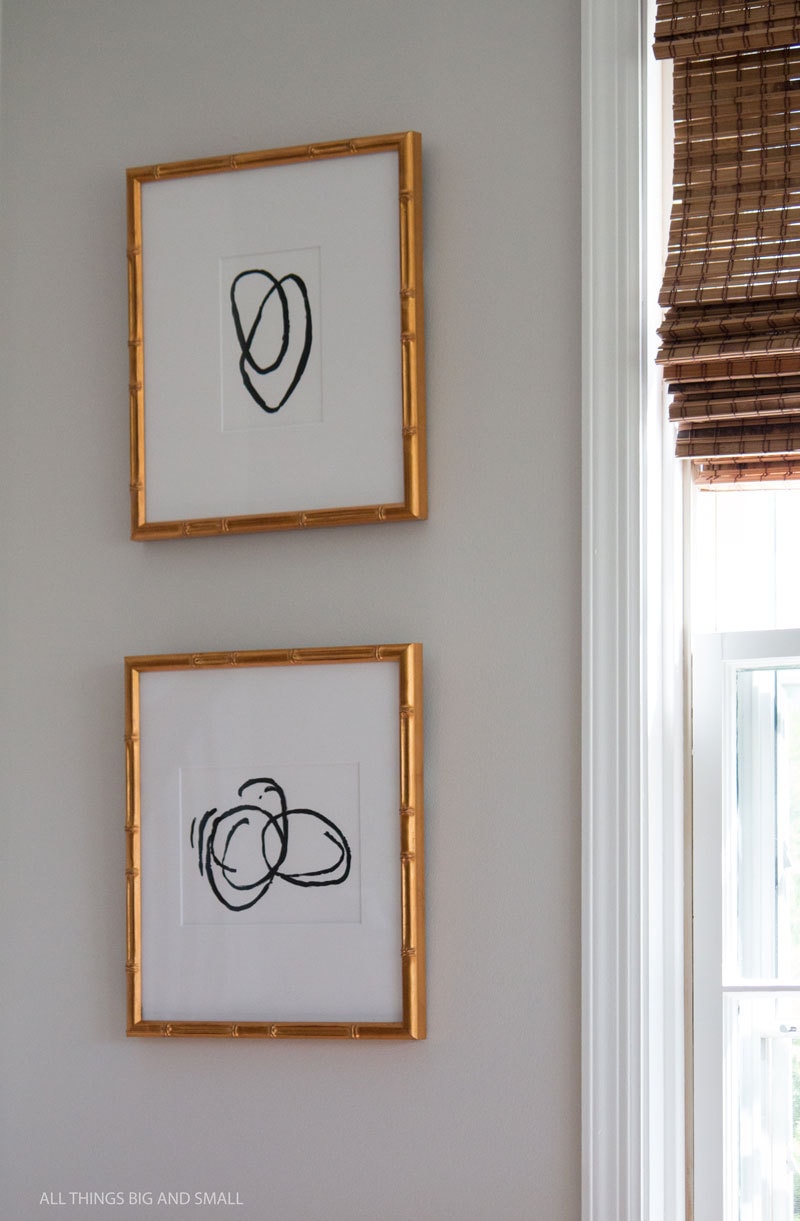
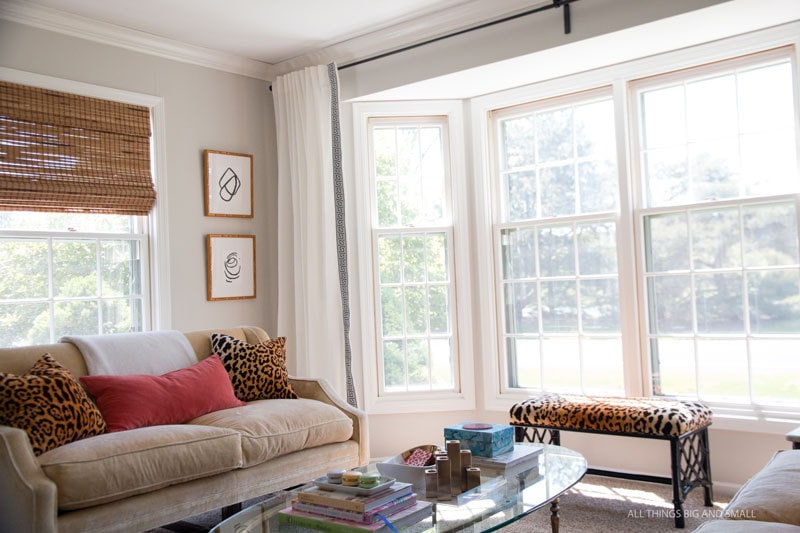
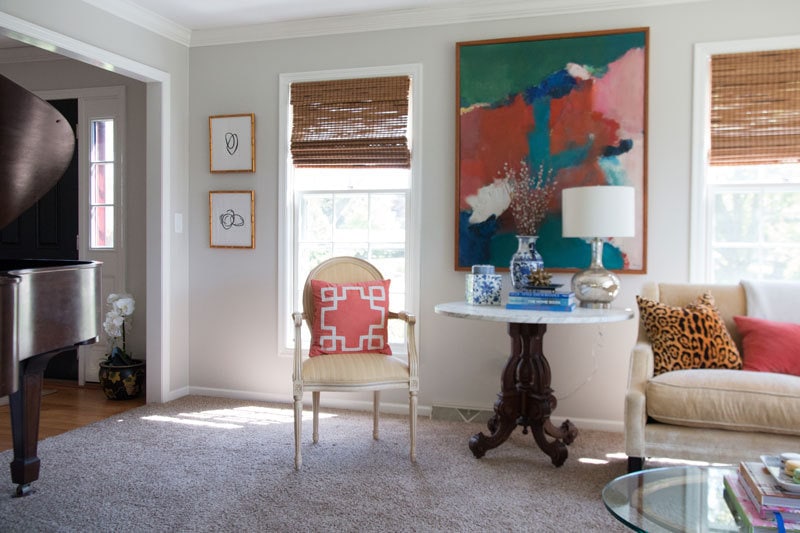
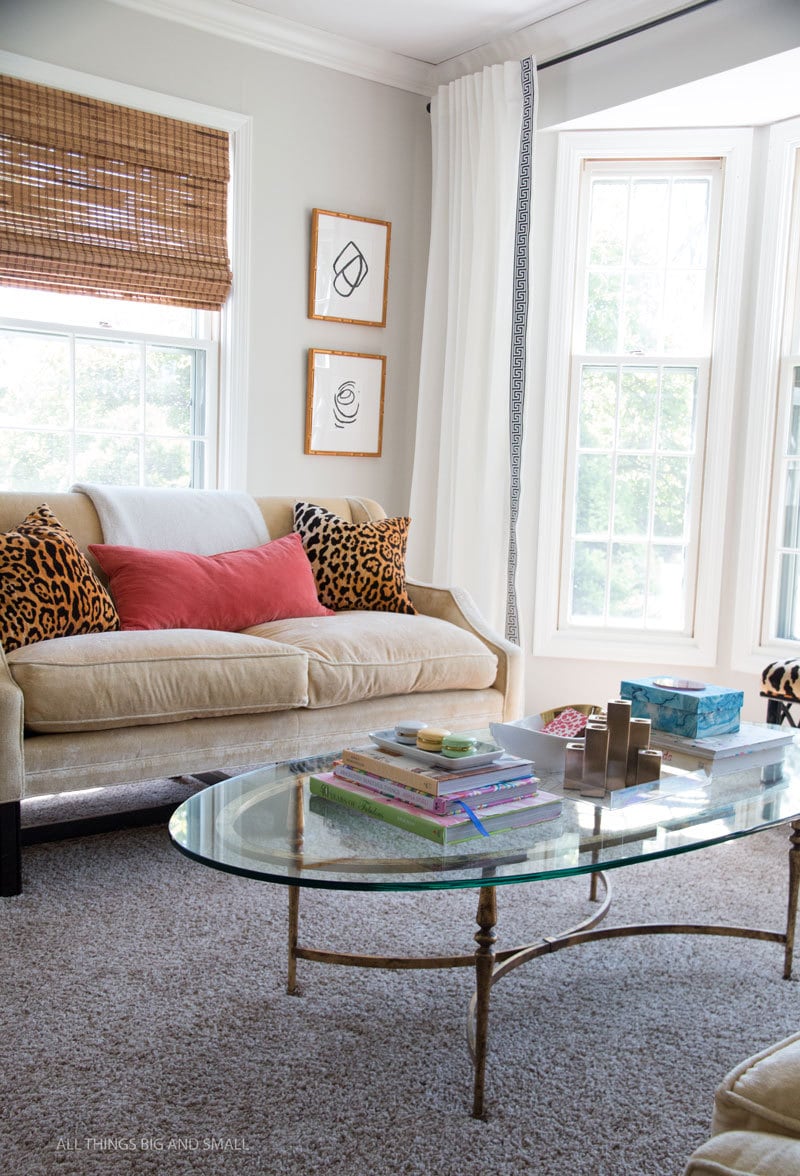
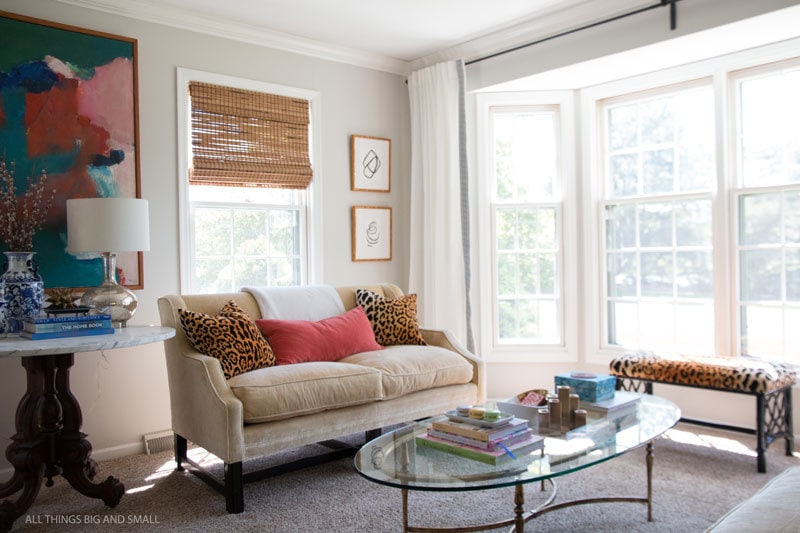
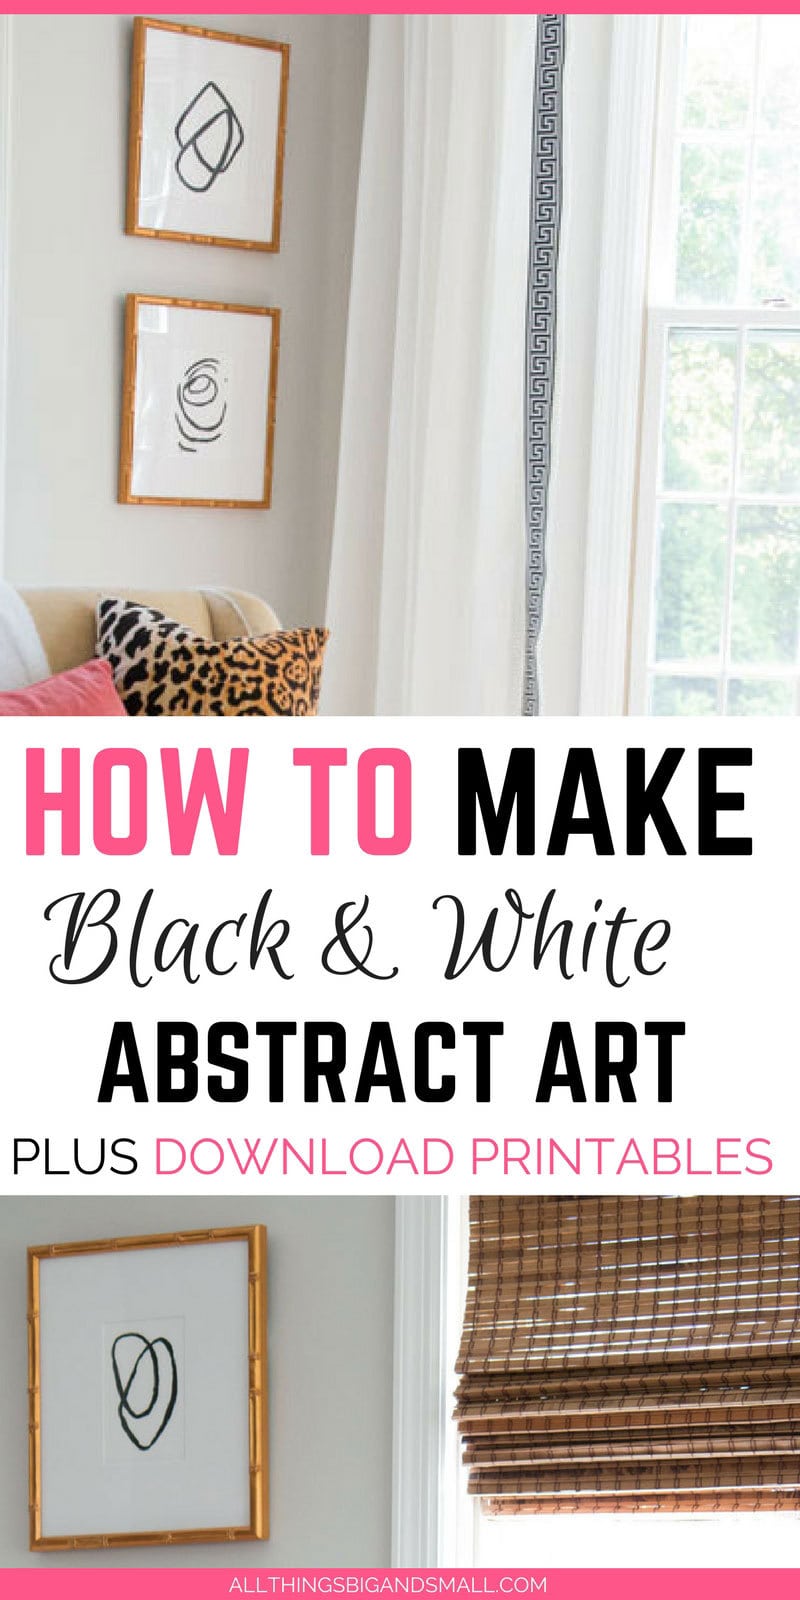
And when I received the box in the mail a few weeks later, I wasted no time in getting them up on the walls! You know how I love gold, so of course I had to pick out the Mandalay. The gold bamboo frame has been on my wish list since they first opened, and I was happy to have somewhere to put them! They make my DIY black and white art look super luxe!
Each print I made measured about 8″x11.5″ but they expertly custom cropped them to make the pieces look way nicer!
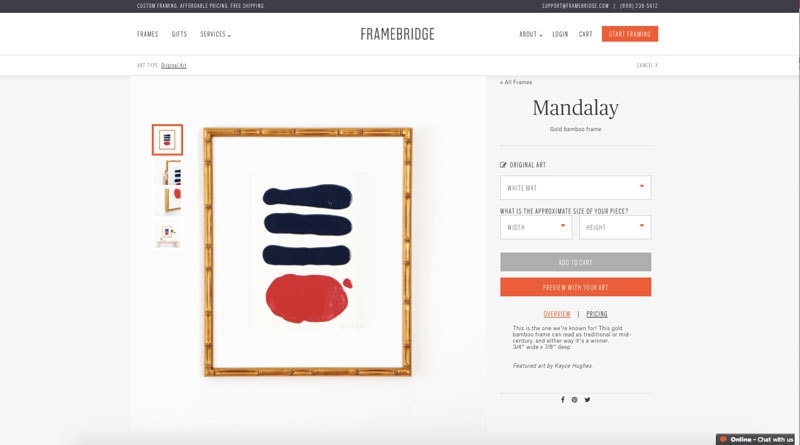
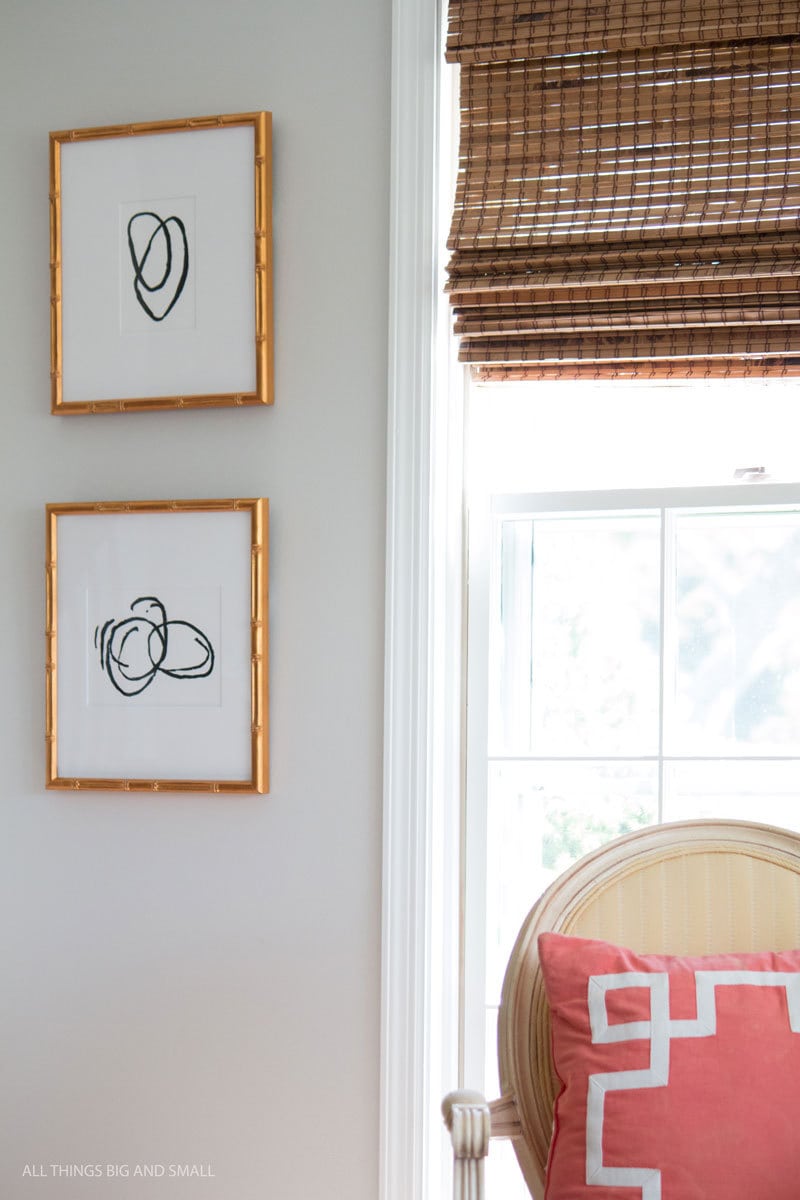
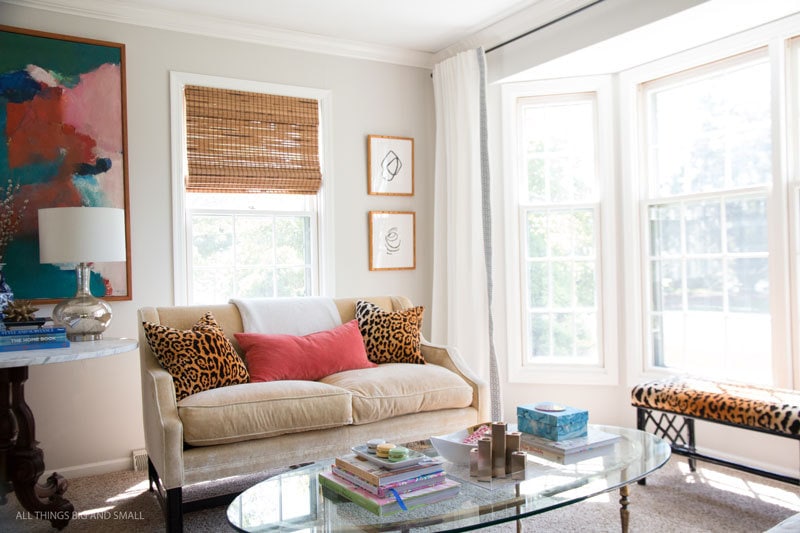
The gold frames (they are a bit darker in person than they appeared on my computer screen) ended up tying in perfectly with my bamboo shades, the frame of our original art (center of the room), the DIY Leopard pillows, and DIY Chinoiserie bench, and really pulled the entire room together.
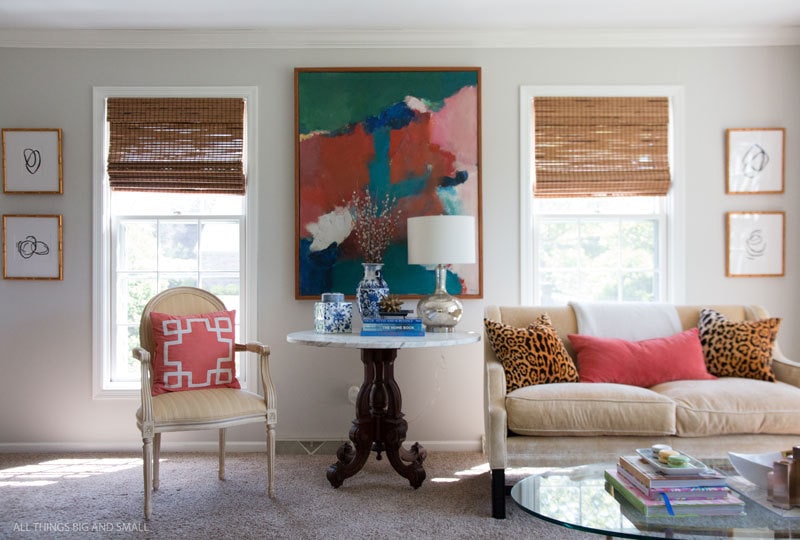
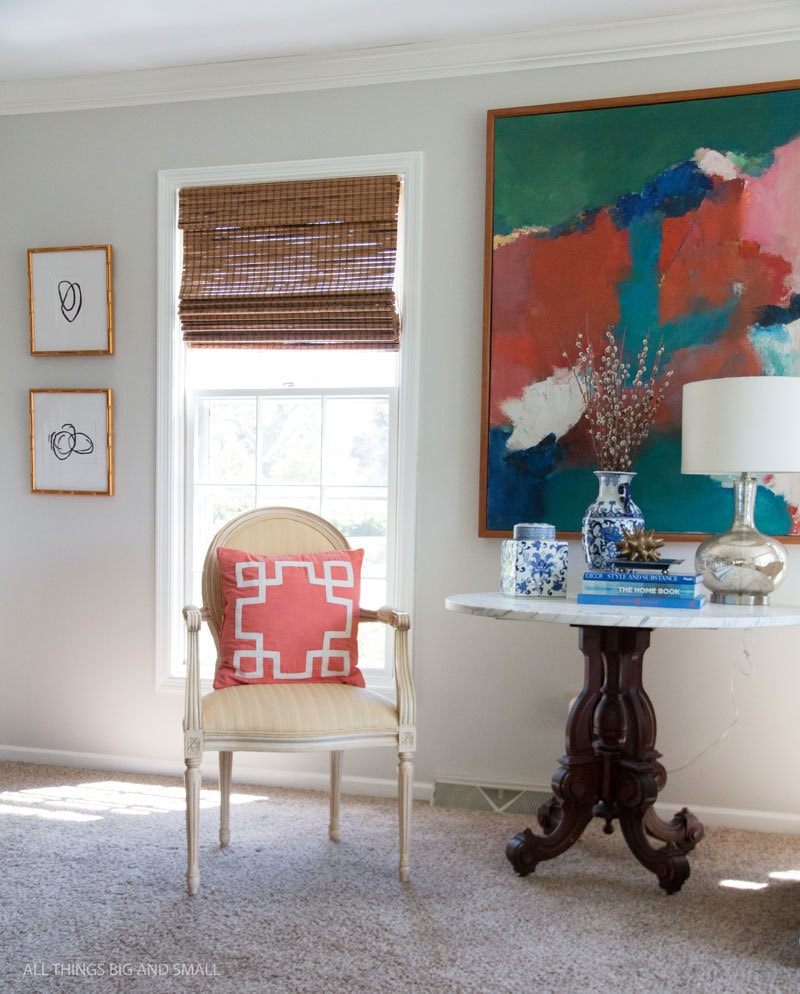
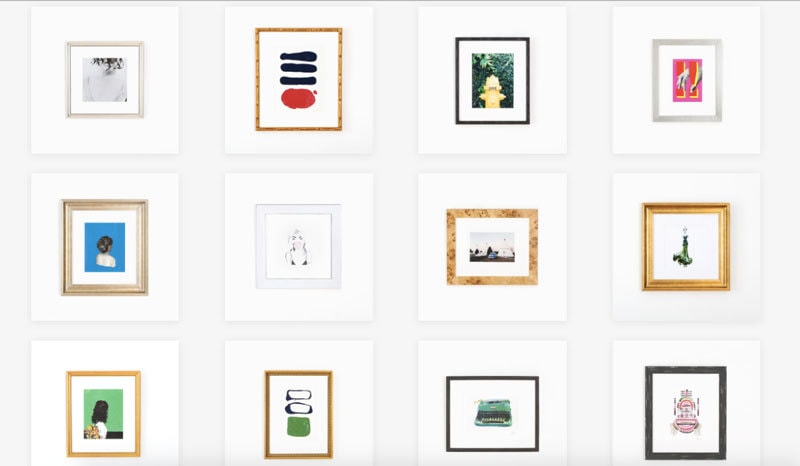
Of course the biggest problem is that now I want to upgrade all the frames in our house! Let’s just say they make my frames in the next room look super hack! If you are interested in making some more budget friendly art–all of these projects would look amazing in Framebridge’s frames. White, gold, black, brass, they have even have burled wood (which I am dying to use in our guest room!) And what I loved most was the amazing service–it was so easy!
PSSSTTT! If you don’t feel up to making them yourself, download copies of my black and white art prints below PLUS gain access to over 20 printables to organize your home!!

OTHER DIY ARTWORK PROJECTS
All of these DIY art projects are super easy and would look amazing in any of the frames from Framebridge!
- DIY Nautical Art
- DIY Pineapple Art
- DIY Gray Malin Art
- DIY Otomi Art
- Budget Friendly Art for gallery walls
SHOP THE POST
- Wall Color: Benjamin Moore Balboa Mist
- Sofas (inherited but here, here and here)
- Chair (inherited) similar here and here
- Coffee Table (inherited but similar here and here on sale!)
- Leopard Pillows (DIY here)
- Benches old Target find (similar here and here and I love this one!)
- Coral pillows Home Goods find but similar here
- Accessories:
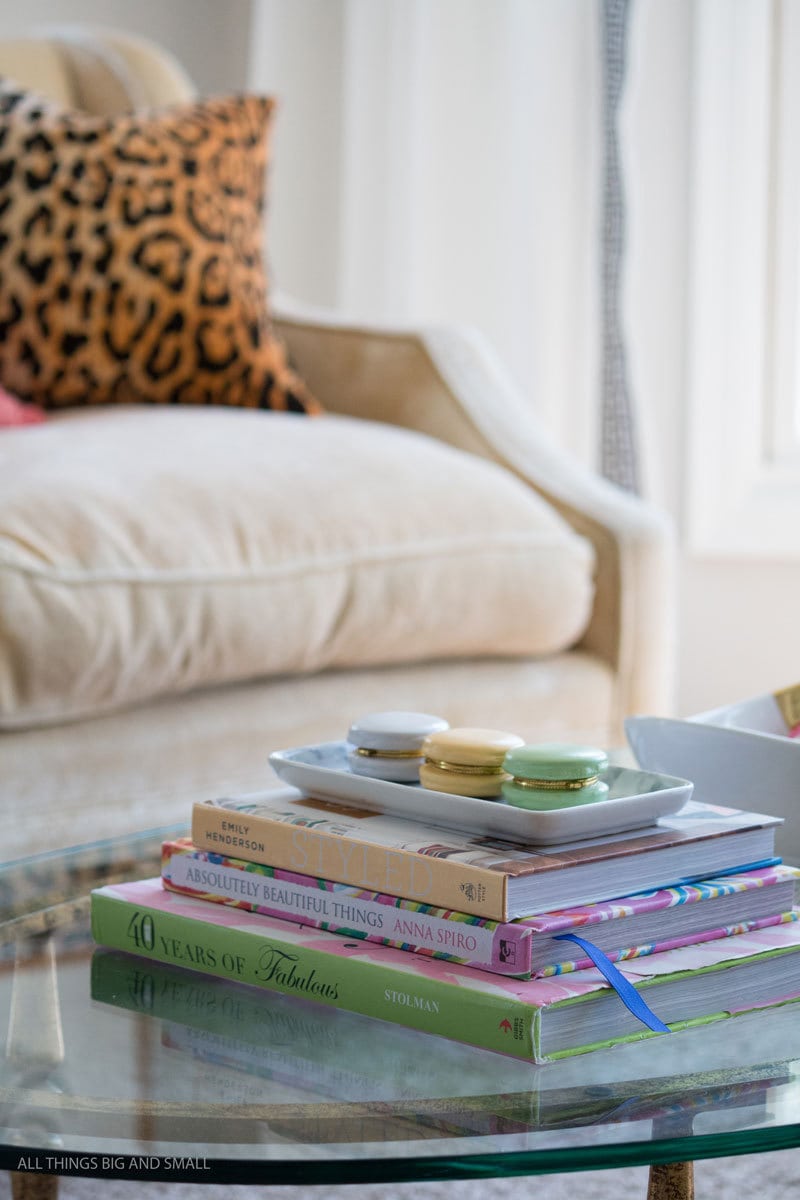
- Books: Beaches by Gray Malin, Modern Mix by Eddie Ross, Kips Bay Showhouse, Styled by Emily Henderson
- Macarons and similar
- DIY Gold & Lucite Tray
- Gold dipped bowl from Target (similar here)
- Faux Agate Coasters from Target (similar here)
- Gold urchin (size large used but I would recommend smaller)
- Brass Candlestick (Target)
- DIY Marbleized Box
- Blue tassel earrings (budget friendly too!)
- Lamps (similar and similar)
- Piano cushion DIY
- Blinds
- Faux sheepskin throw


This looks so high end! I can’t even believe that it is DIY!
What a neat idea. So fun to get them framed so nicely! And conveniently…which is ideal when framing. 🙂
oh this is SO chic!! I want to do this to my flat!! x
Wow! So simple. The gold frames really make them stand out! LOVE!!!
I’ve never heard of Framebridge – what a cool concept!
This is so amazing! I would have never known it was a DIY!
Well now I want to go make my own art!! You make it look so easy!
I have so many pieces I need to use that framing service for! Thank you for sharing that with us.
Your art is gorgeous. You are packed full of inspiration, Annie!
I love Framebridge and can’t get over these sweet prints!!!
This is such a good idea! We need more artwork on our walls but don’t have it in the budget right now. I’m going to do this with A as a project.
P.S. I think we have the same exact coffee table. 🙂
I love the frames that you put around it! It looks so good:)
obsessed! going to try this. those frames are great!
Such a great idea.