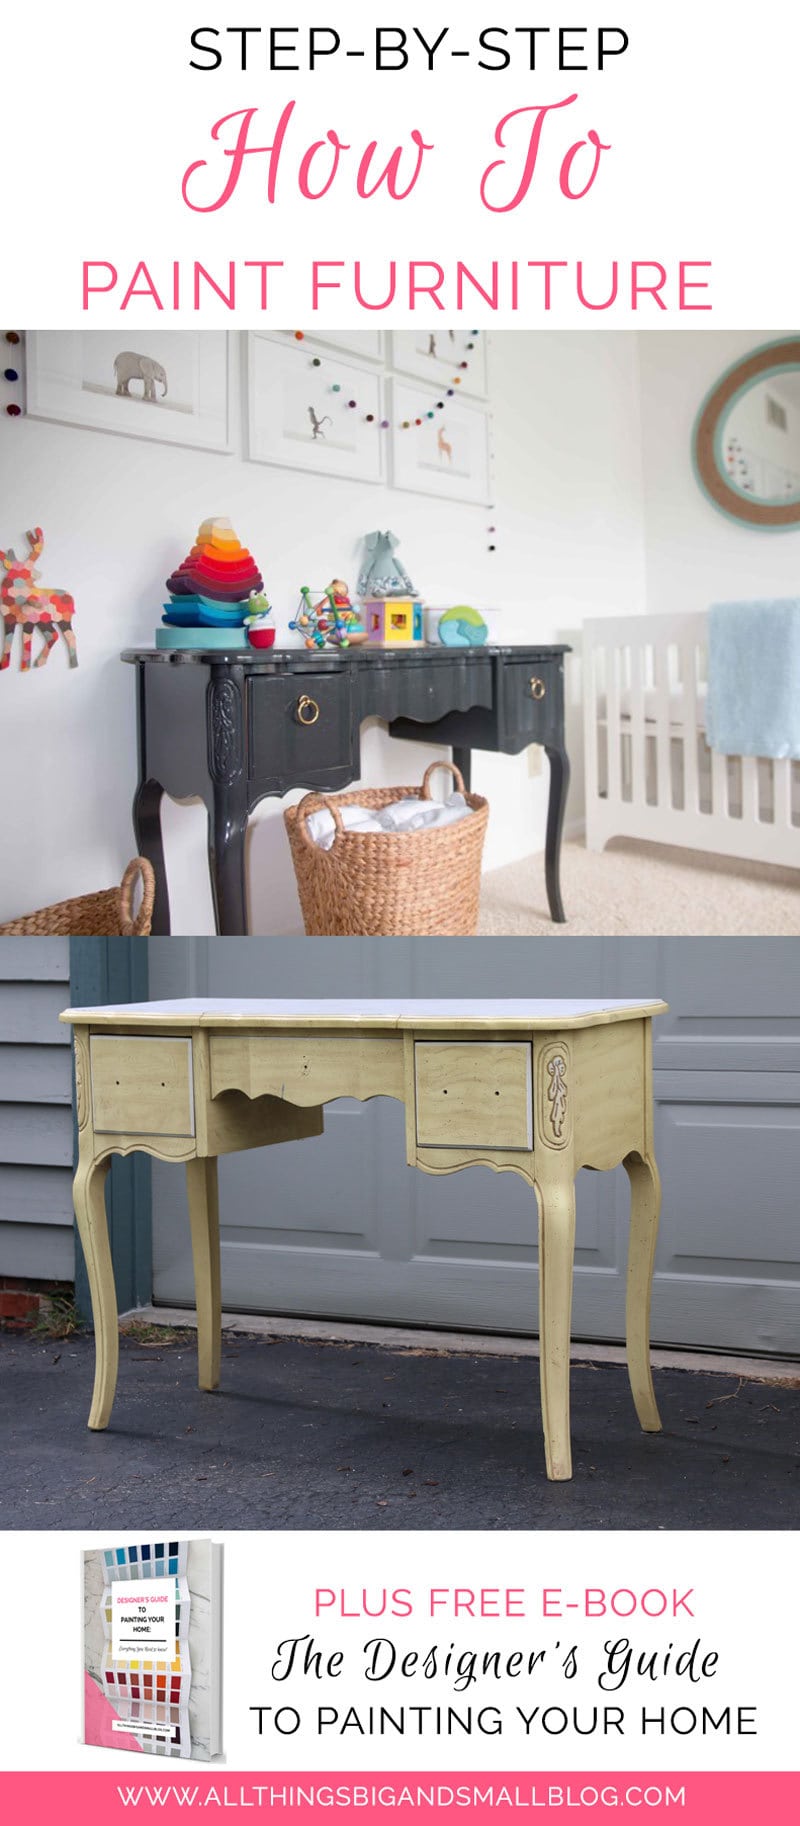
How To Paint Furniture: Over the past six years, we have refinished a lot of pieces of furniture–you name it, we’ve painted it–chairs, coffee tables, dressers, and console tables! It’s not hard to refinish vintage furniture with the right tools, and is a great way to furnish your home on a budget while adding that vintage flair! In this tutorial, we’ll share all the materials you’ll need to paint furniture using two techniques–by hand and with a paint sprayer. We’ll cover all the tools, materials, and paints to use as well as the best techniques for getting a flawless finish that lasts!
HOW TO PAINT FURNITURE
After refinishing dozens of pieces of furniture and sharing them online, some of the most common questions I get are about finding vintage pieces on Facebook Marketplace and how to repaint them. But before we get into the tutorial, though, I’ll answer some of the most common questions I get asked.
Is it better to spray paint or to use a roller?
When we first began, we used to refinish and repaint vintage furniture by hand (with a foam paint roller and a paint brush.) We got a beautiful high gloss finish–and those pieces have definitely held up well over time. But, as we got more advanced with our DIY skills, we started to use a paint sprayer (it’s not hard and only costs under $100). In my opinion, if you are looking for a high gloss finish, it’s better to spray than to paint by hand–but you can do either and get fantastic results. But you’ll get a better finish with fewer coats by spraying. But, we’ll cover both techniques of repainting here so you can choose whichever one you want.
What paint sprayer should I use?
We have three paint sprayers in our house (remember, this is my job) but the one we use 99% of the time is this one–we’ve had it for five years and it continues to work really well on spray painting small pieces of furniture. It’s very affordable and is in my opinion worth its weight in gold! (INSERT LINK)
Can I use spray paint to refinish furniture?
Yes, you certainly can use spray paint to refinish vintage furniture. We’ve done that on several pieces of furniture over the years–namely our breakfast room chairs. Using spray paint is great for small pieces of furniture but not good for large pieces of furniture like a dresser. Furthermore, you’ll get a more professional high finish using a paint sprayer and some high gloss paint.
No, you always want to prep the furniture by cleaning it and sanding it properly before sanding. Failing to do so will lead to an uneven and poor paint job.
MATERIALS FOR REPAINTING FURNITURE
Jump ahead to...
*affiliate links have been used at no additional cost to you, however by clicking on them and purchasing them you help support the site. Read my full disclosure policy.
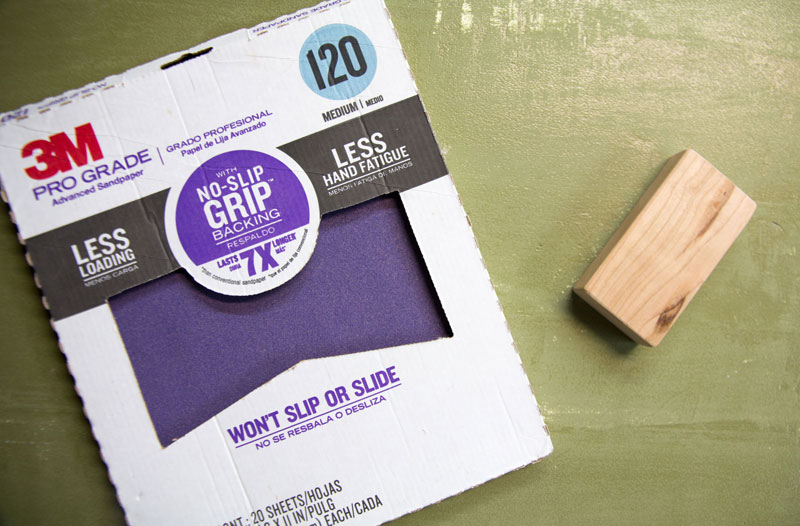
- Sandpaper
- I use this 120 grit sandpaper to sand all of my furniture
- Wood Filler
- (optional) use only if you need to repair holes
- Primer
- you want to use a good primer, after making the mistake and using another one I ALWAYS use Zinsser Smart Prime–it is no to low VOC and covers the best
- Paint
- For furniture, I use Benjamin Moore Semi-Gloss Natura in semi-gloss or Benjamin Moore Advanced which is a low VOC cabinet paint. Natura is their zero VOC line of paints.
- Paint Brush- use a 3″ angled trim brush
- I use this one (Purdy 3″ angle)
DIRECTIONS FOR REFINISHING FURNITURE
PREPARING VINTAGE FURNITURE:
1.) Sand furniture with a relatively high grit sand paper. I used 120 for this piece, and used it for the vintage dresser and the table as well. You can always use a sanding block to make the horizontal surfaces go faster or use a sanding sponge.
2.) Then wipe it down with either a damp rag or cloth or a tacky cloth.

PRIMING VINTAGE FURNITURE
I always prime surfaces if they haven’t been painted recently. But, since the vintage table was going a darker color and had been recently painted, I skipped it. It is up to you. However, for my other projects like my vintage dresser and vintage changing table, I chose to prime it beforehand to ensure an even surface.
PAINTING VINTAGE PIECES BY HAND
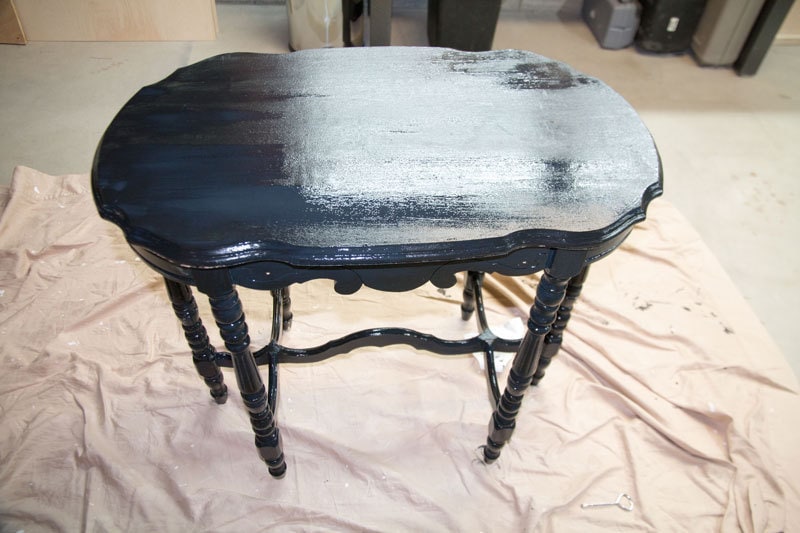
- For this piece, because the table had quite a few nicks and wasn’t in perfect shape, I chose to use semi-gloss which still gave it a nice glossy finish. In the past to paint other furniture pieces, I have successfully used a high-gloss cabinet paint with great results.
- Use a foam brush and a small paint brush to get into all of the corners. For my high gloss pieces, I used a foam roller on the horizontal surfaces and skipped the brush, utilizing several foam brushes instead in order to avoid any brush strokes. Semi-gloss is more forgiving so you can use a brush. For high gloss, I would most definitely urge you to use an inexpensive foam brush and a foam roller with little to no nap. Plan on a good two coats. The vintage dresser and table both required three coats of paint for solid coverage.
- Let the piece dry at least 24 hours before you use it. For my high gloss pieces, I waited 48 hours for the paint to harden before placing anything on it. I did notice a little bit of stickiness with the vintage dresser, so the more coats you put on, make sure to give it more time. You worked so hard for it, don’t let impatience ruin it!
HOW TO USE A PAINT SPRAYER TO REFINISH FURNITURE
1.)
WHAT TYPE OF PAINT SHOULD I USE?
- What type of use is the furniture going to get to use? This will determine whether or not you need “cabinet paint.”
- Hard daily use like a kitchen cabinet–> cabinet paint
- more irregular light use e.g. an occasional table –> semi-gloss
- What level of glossiness do you want? This will determine whether or not you need “cabinet paint.”
- Mirror-like finish–> high gloss
- Glossy finish –> semi-gloss
- What type of shape is your piece of furniture in?
-
- Perfect or really good–> you can use high gloss
- Not so perfect –> semi-gloss is more forgiving
-
**PRO TIP: High gloss finish tends to draw your eye to any imperfections and will show wear more easily. Another good thing to remember is that the darker the paint, the more glaring the mistakes.
SOME FUN DIY REPAINTED FURNITURE PIECES
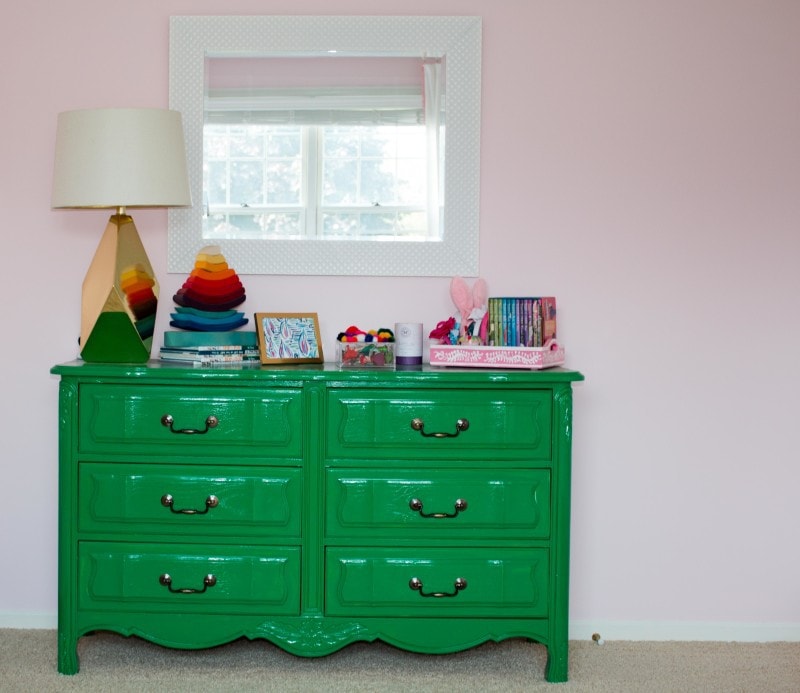
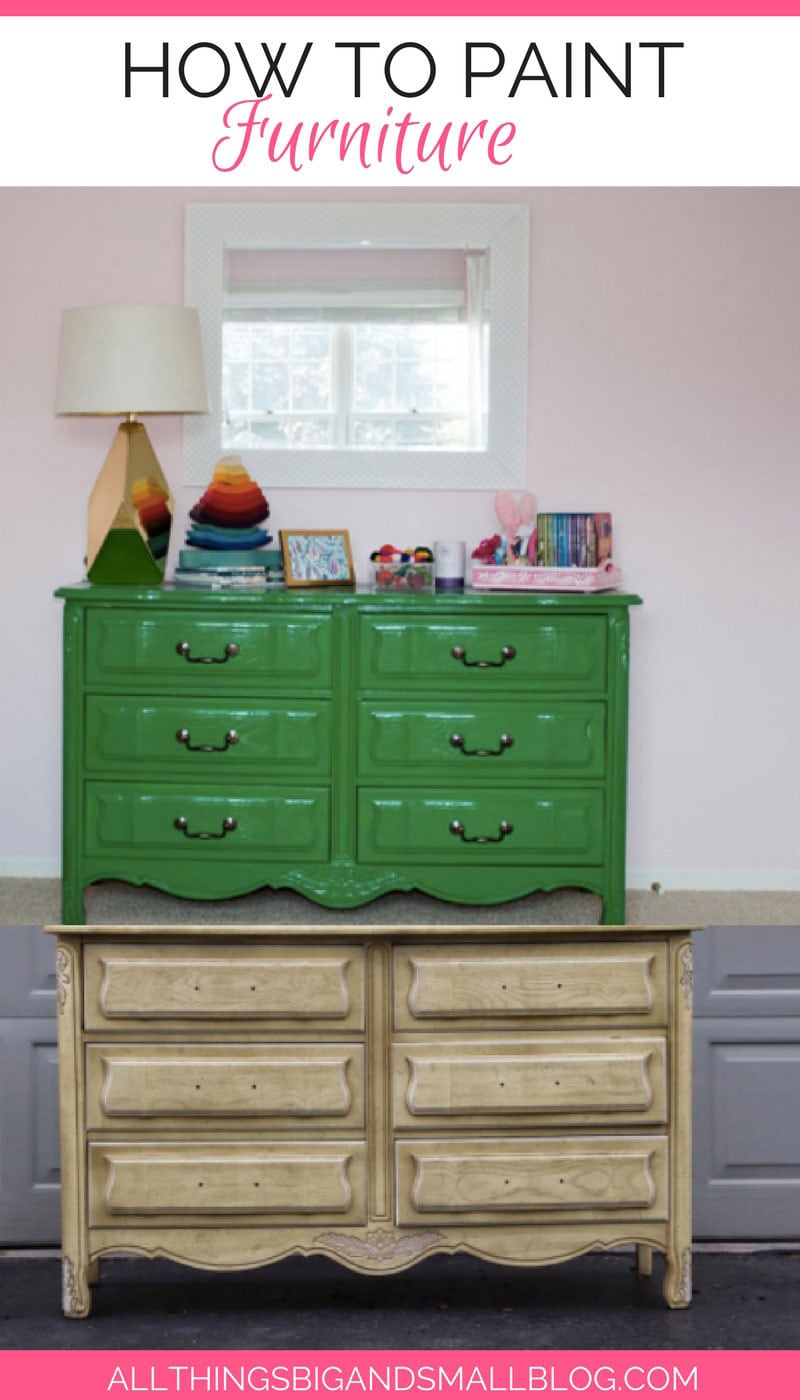
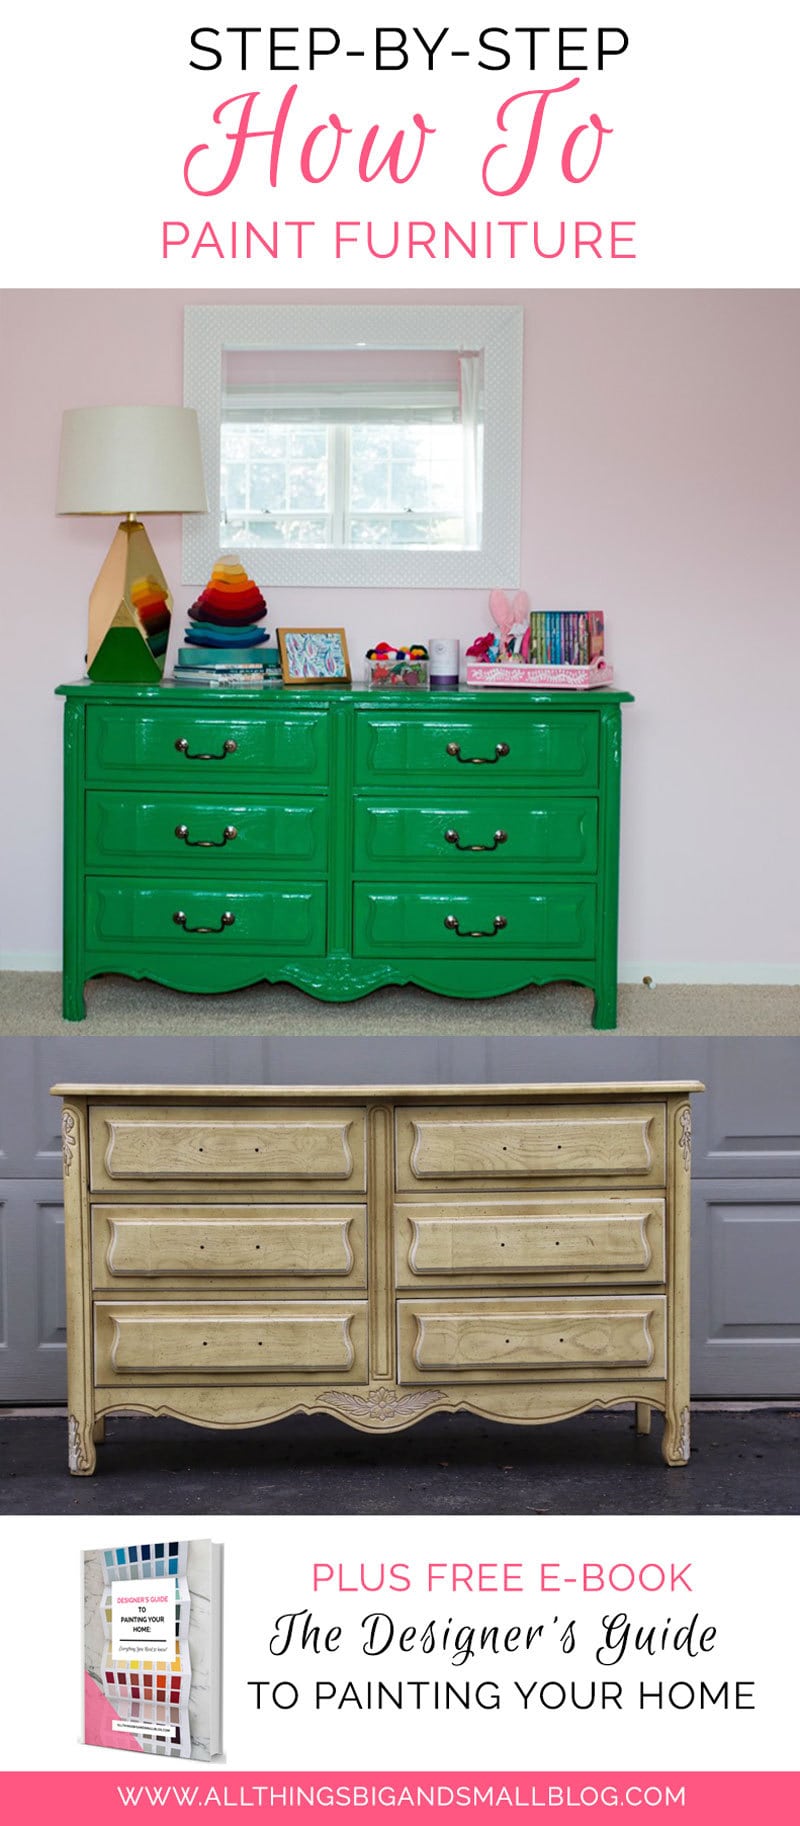
Before and After Vintage Dresser – high gloss cabinet paint
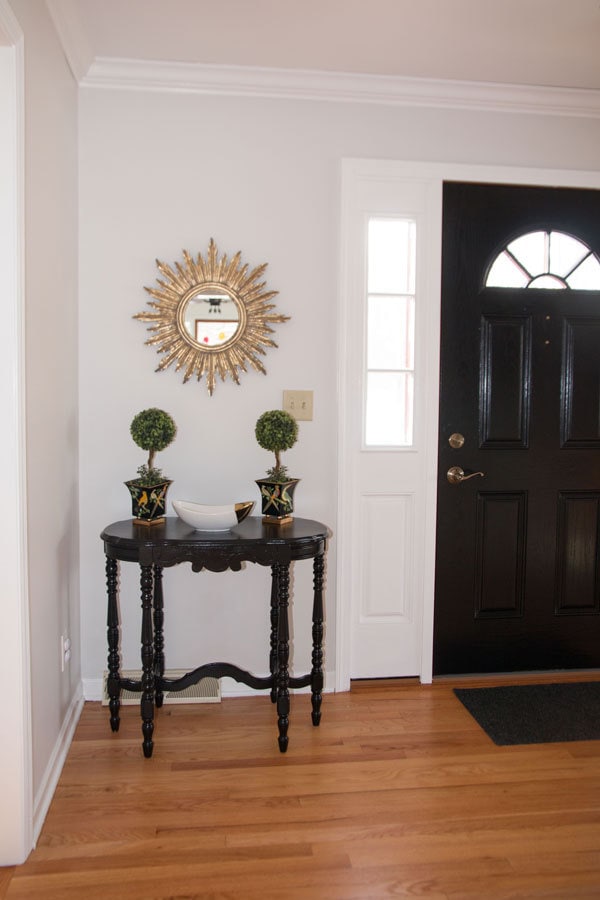
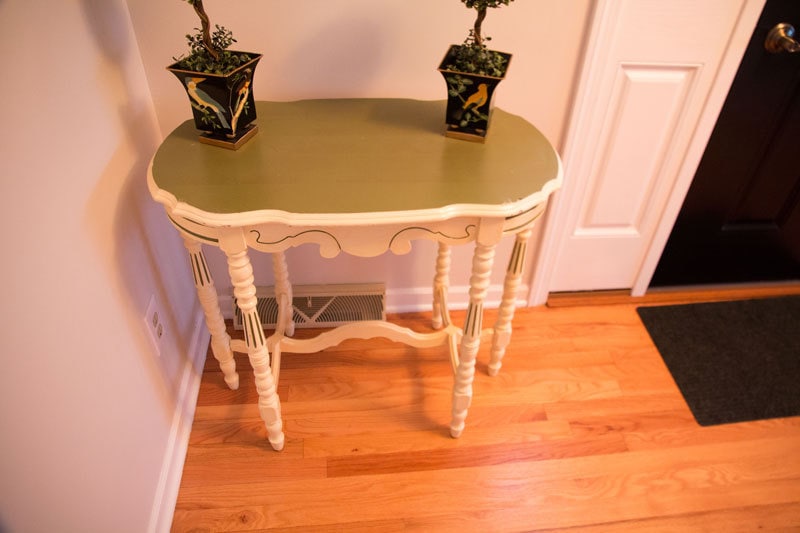
I used Benjamin Moore Advance Cabinet paint for the Vintage Table and the vintage dresser. I chose cabinet paint because of the expected heavy use both objects would get. However, I really wanted a mirror like finish on the tabletops which were in impeccable shape, so I compromised: cabinet paint in high gloss.

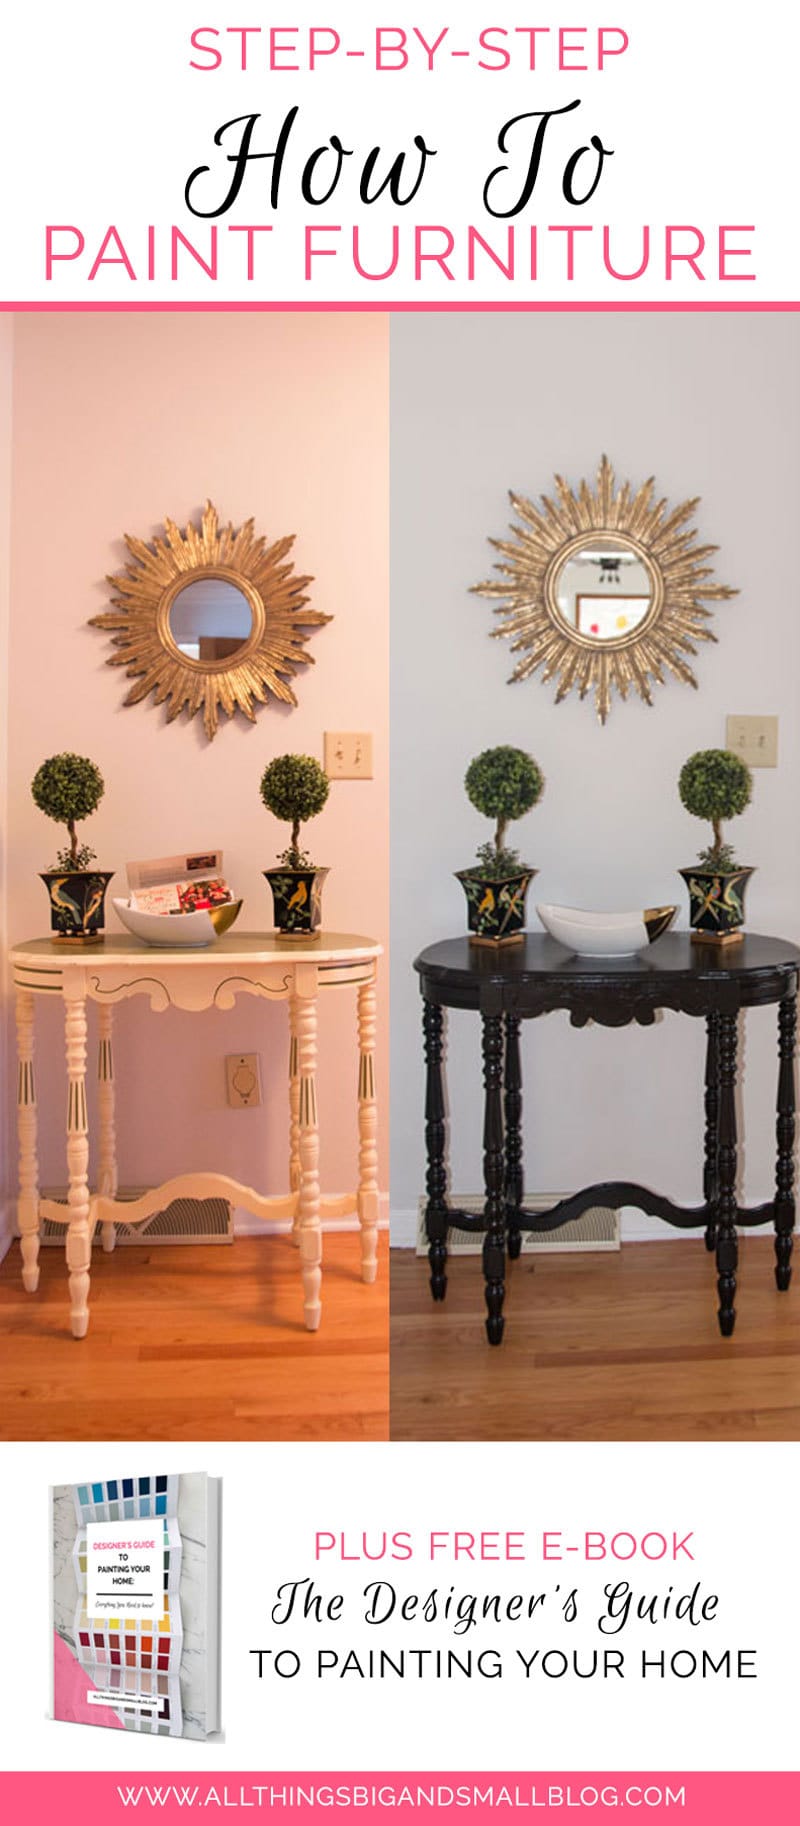
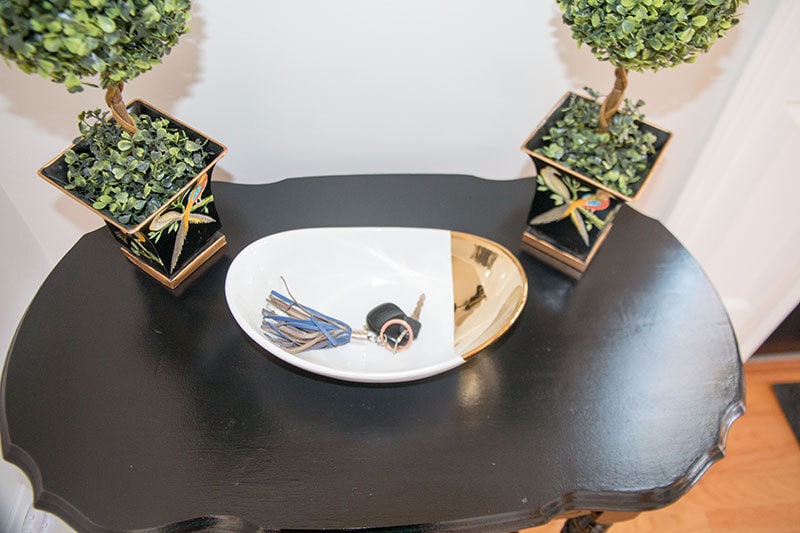
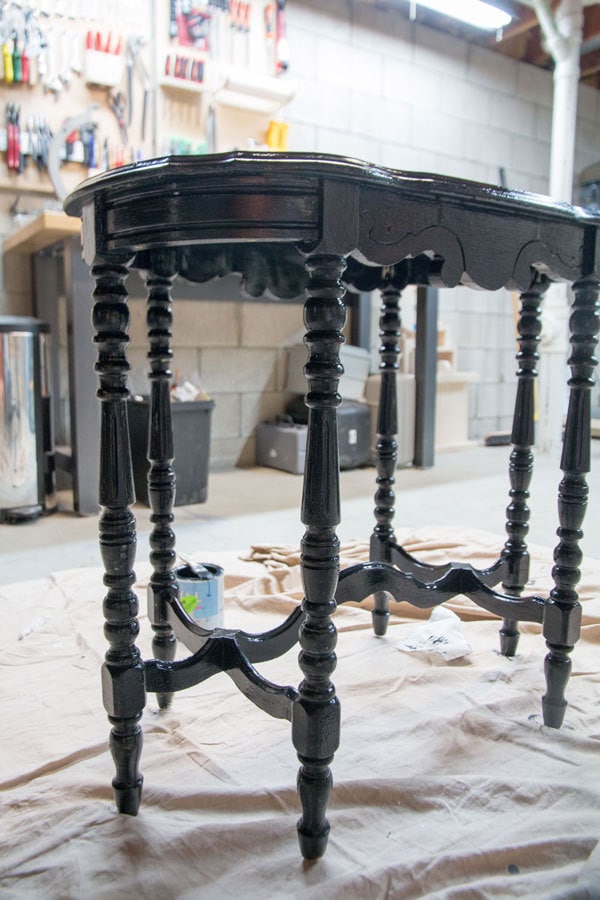
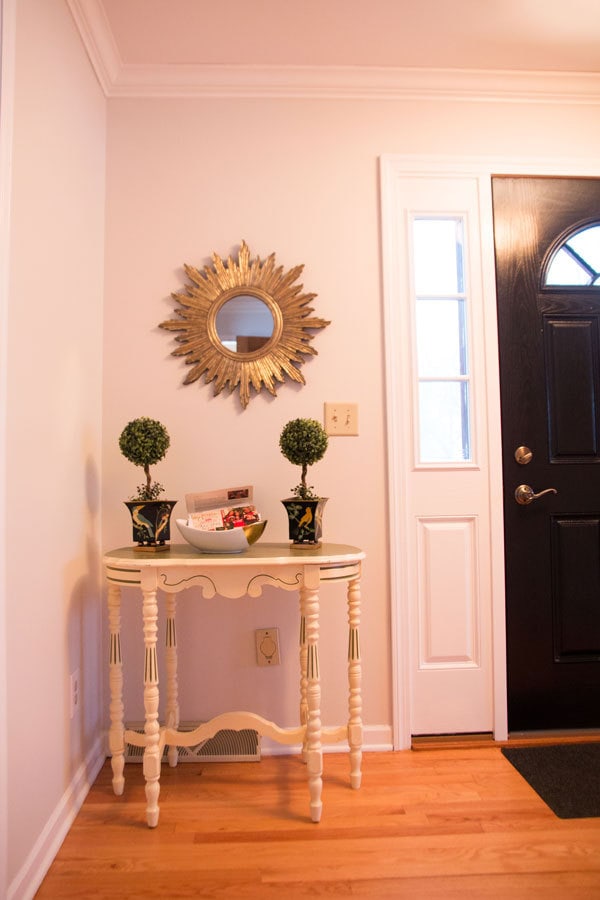
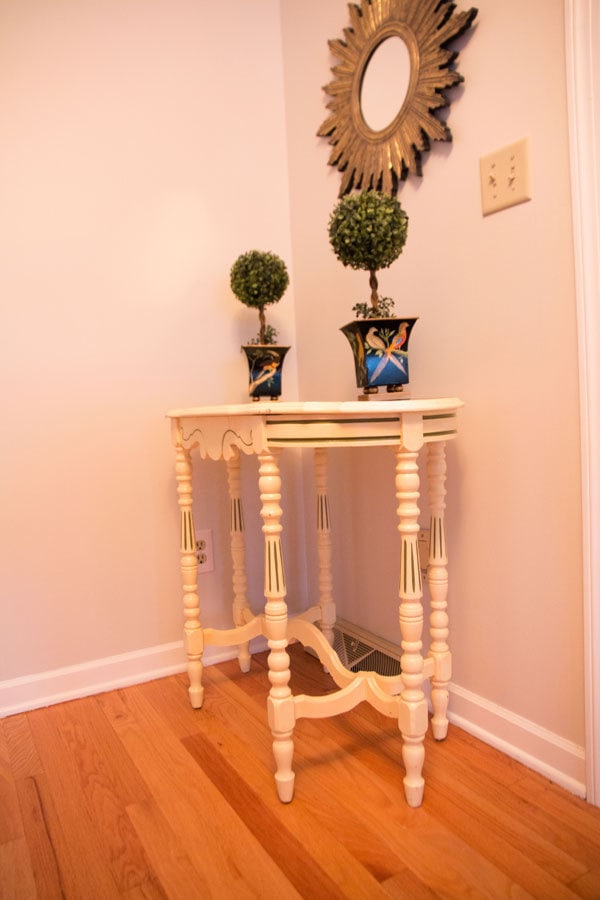
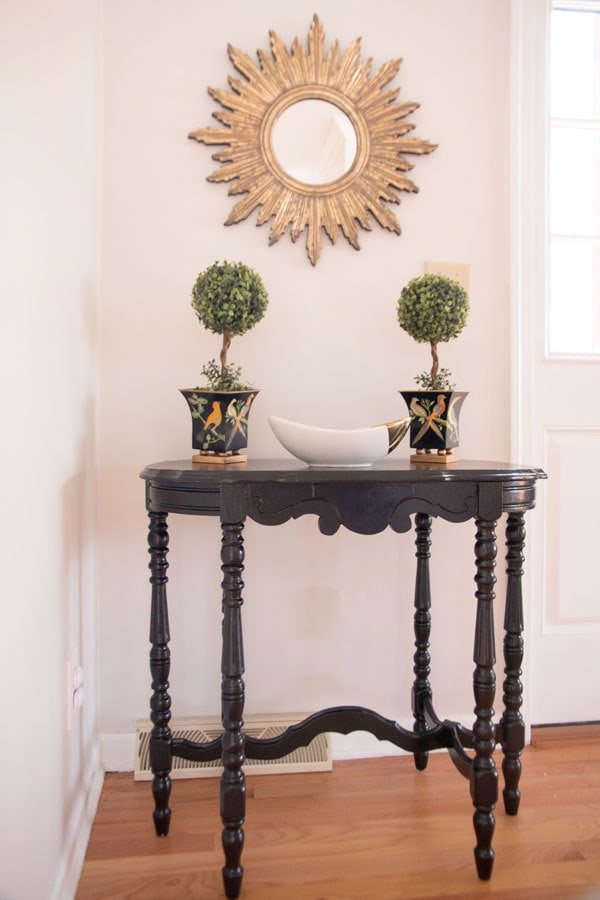
Vintage Table Before & After– high gloss cabinet paint

Upholstered Bench DIY with spraypaint
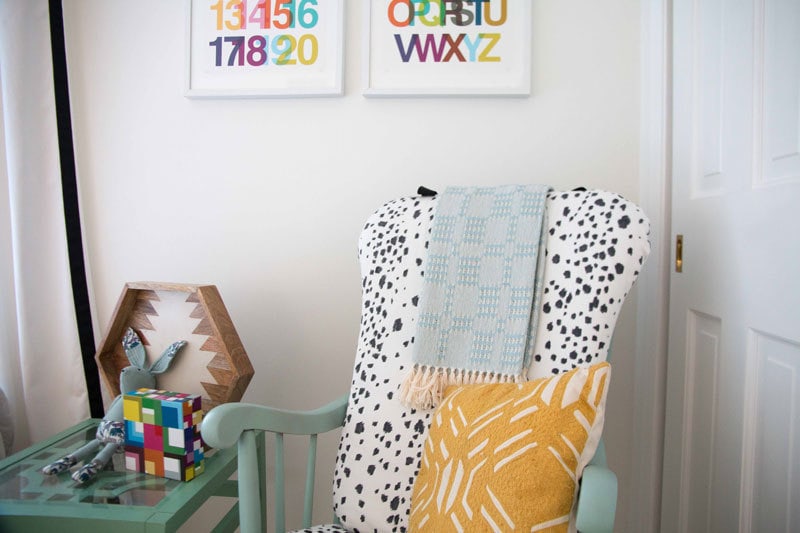
DIY Upholstered Rocking Chair– spraypaint
Pretty good for under $10 project, right? Seeing as this is how it began?
And for the full before and after:


The black looks so much better! Thanks for sharing your tips
Thanks for sharing your experiences. I’m doing some research on painting. I have an old coffee table and I want to paint it. Now I know how to do that.
What type of brush works best for these type of projects?
SO CUTE! Thank you for sharing. I am currently in the middle of my dresser project, and now I feel inspired, so I guess I’ll finish 🙂
I agree–love the black.
You got this! Can’t wait to see how it turns out!
Thank you! A black piece is always timeless 😉