Girls Bunk Room Reveal: More than six weeks in the making, and truly a labor of love by my husband for our two oldest girls (ages 7 and 2.5), the girls bunk room is finished! We started this right after Christmas and finished the end of February. Most of the building and painting was done in 4-5 weeks; but, we had to wait on some materials to come in before we could call it “finished” and photograph it! While their shared girls bedroom before the makeover wasn’t bad by any means (it was one of my favorite rooms in the house, we knew we wanted something that fit our growing girls better!)
GIRLS BUNK ROOM REVEAL
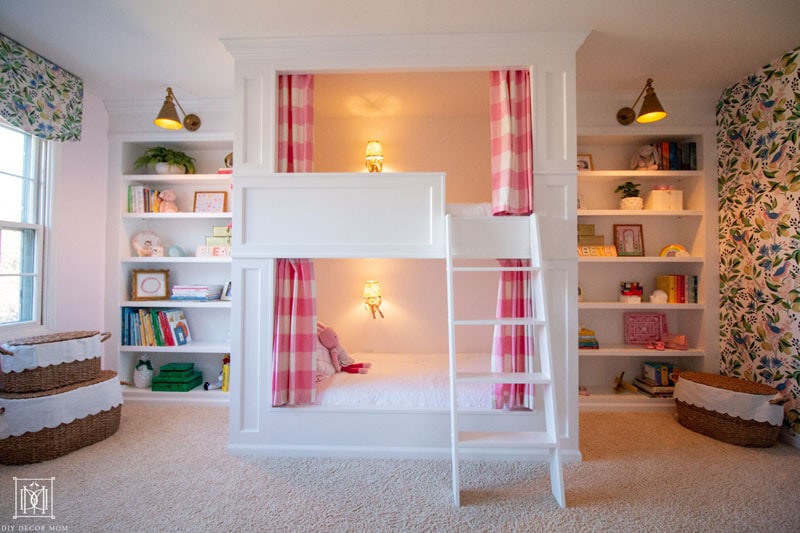
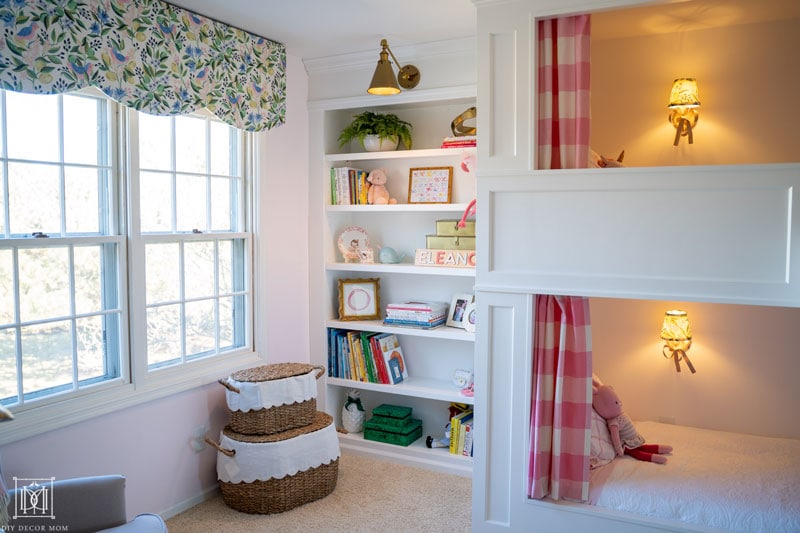
Our two oldest girls, Elizabeth “Bowe” and Eleanor “Brooke” (you might see their full names on the bookshelves) share this room. When they started sharing a room last year (a couple of months before our fourth child, Caroline, was born) we promised them that they would have bunk beds. Because of their age difference, our eldest, Elizabeth Bowe, likes going to bed slightly later than Brooke (age 2.5).
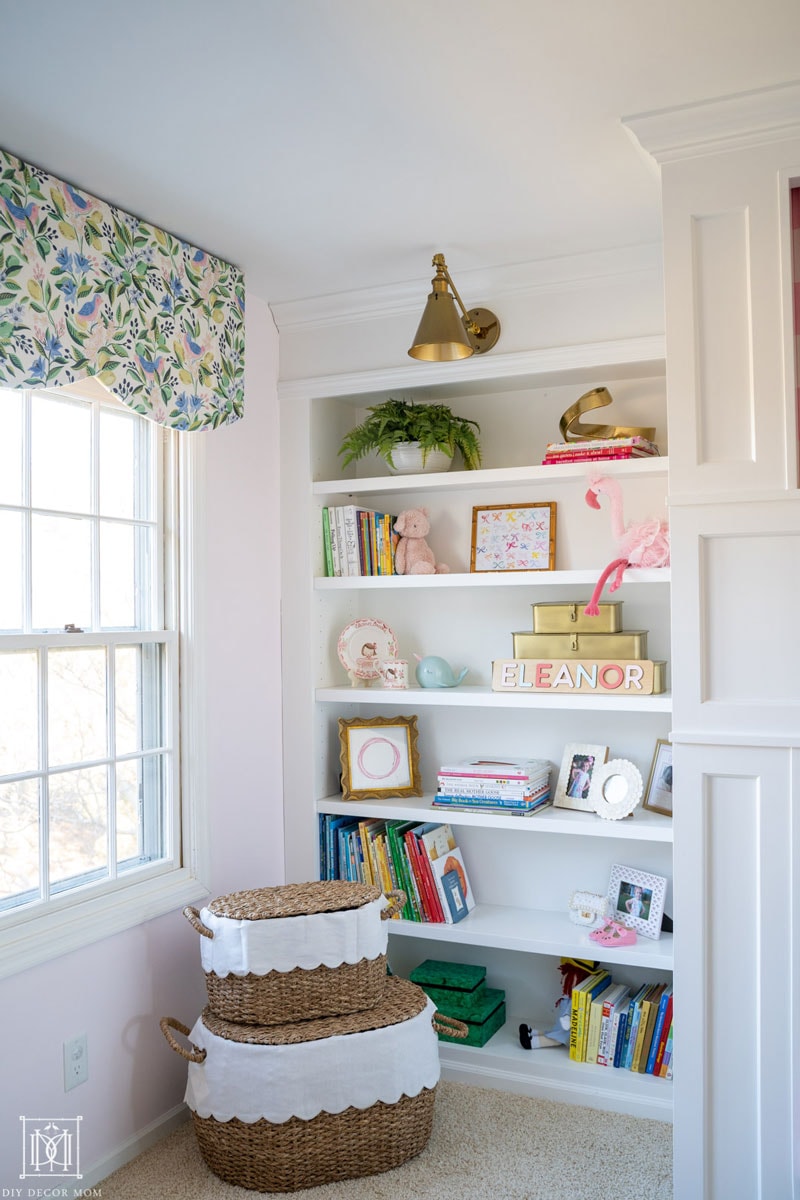
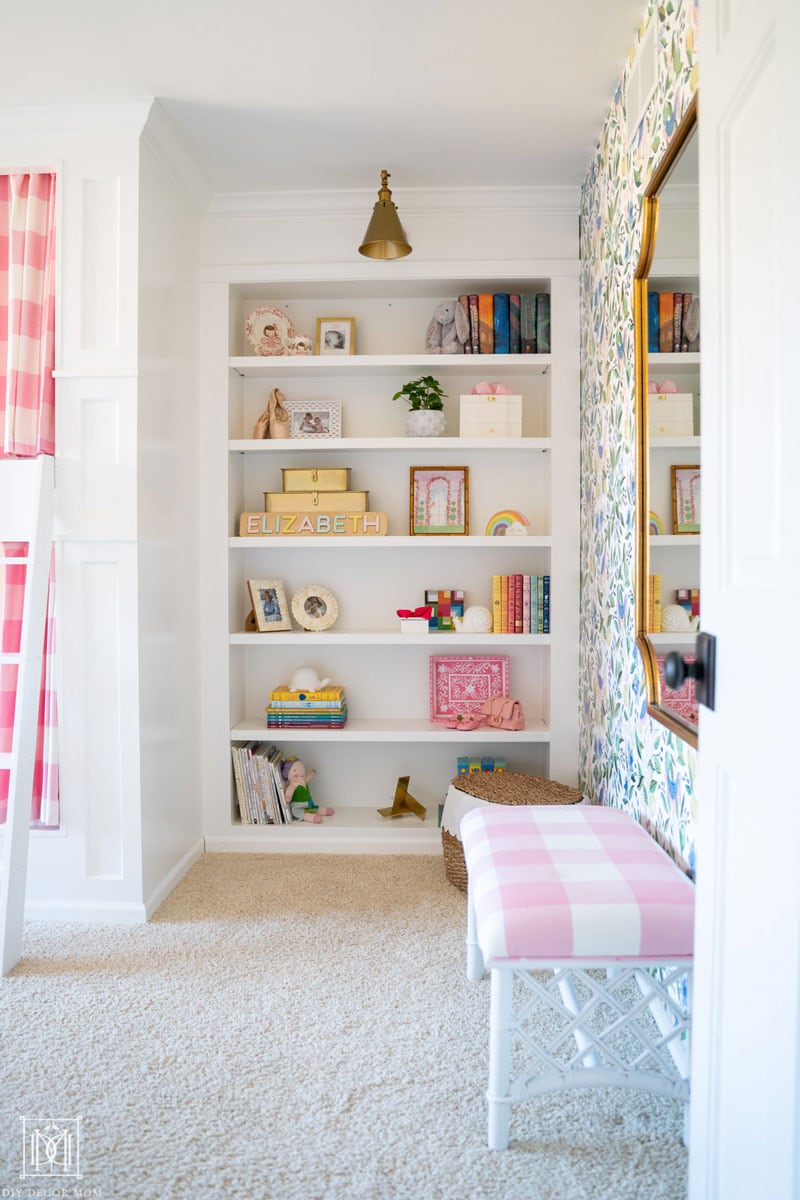 See how we made these DIY Built-in Bookshelves here
*This post contains affiliate links at no cost to you. See my complete disclosure policy here.
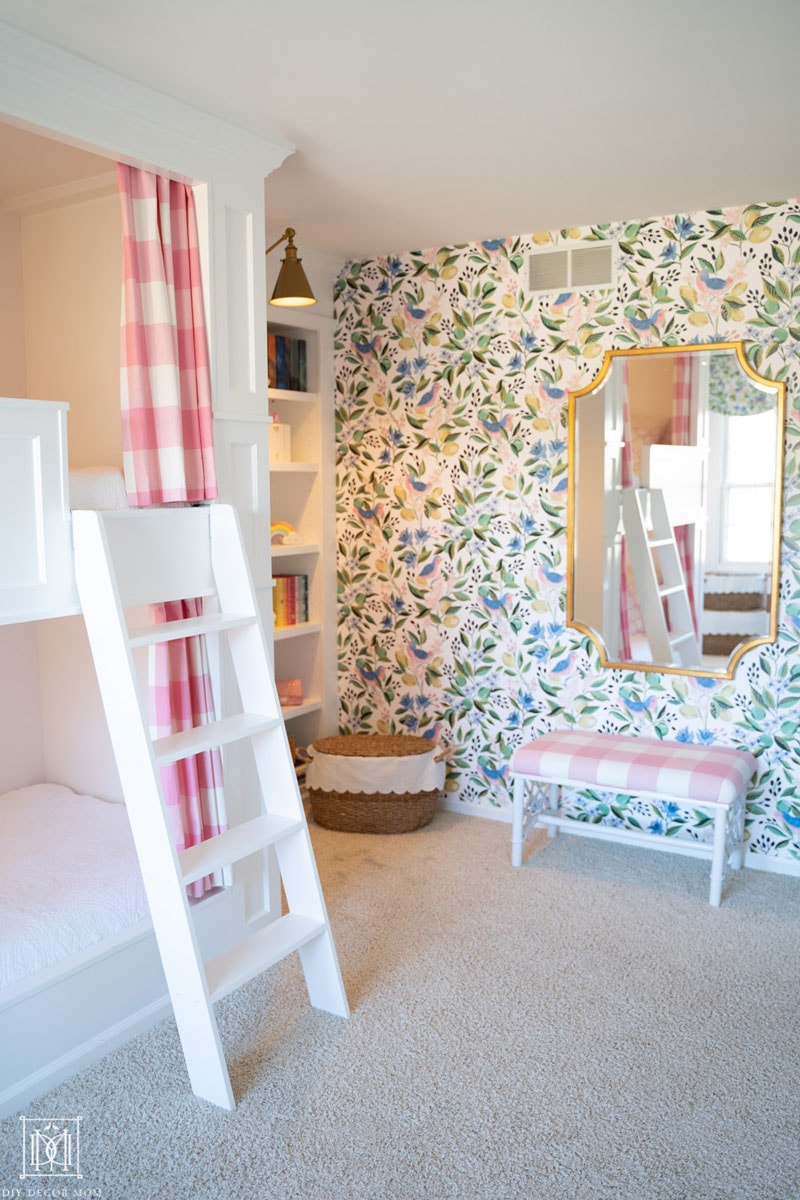
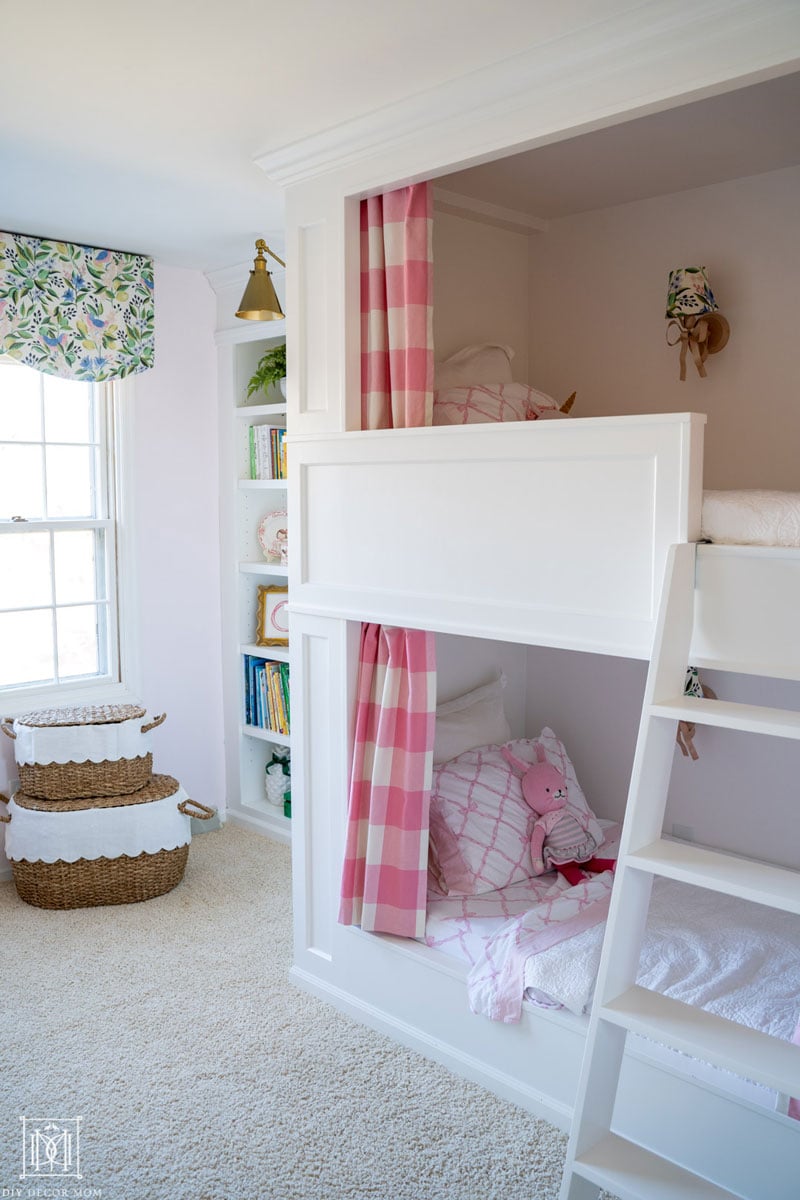
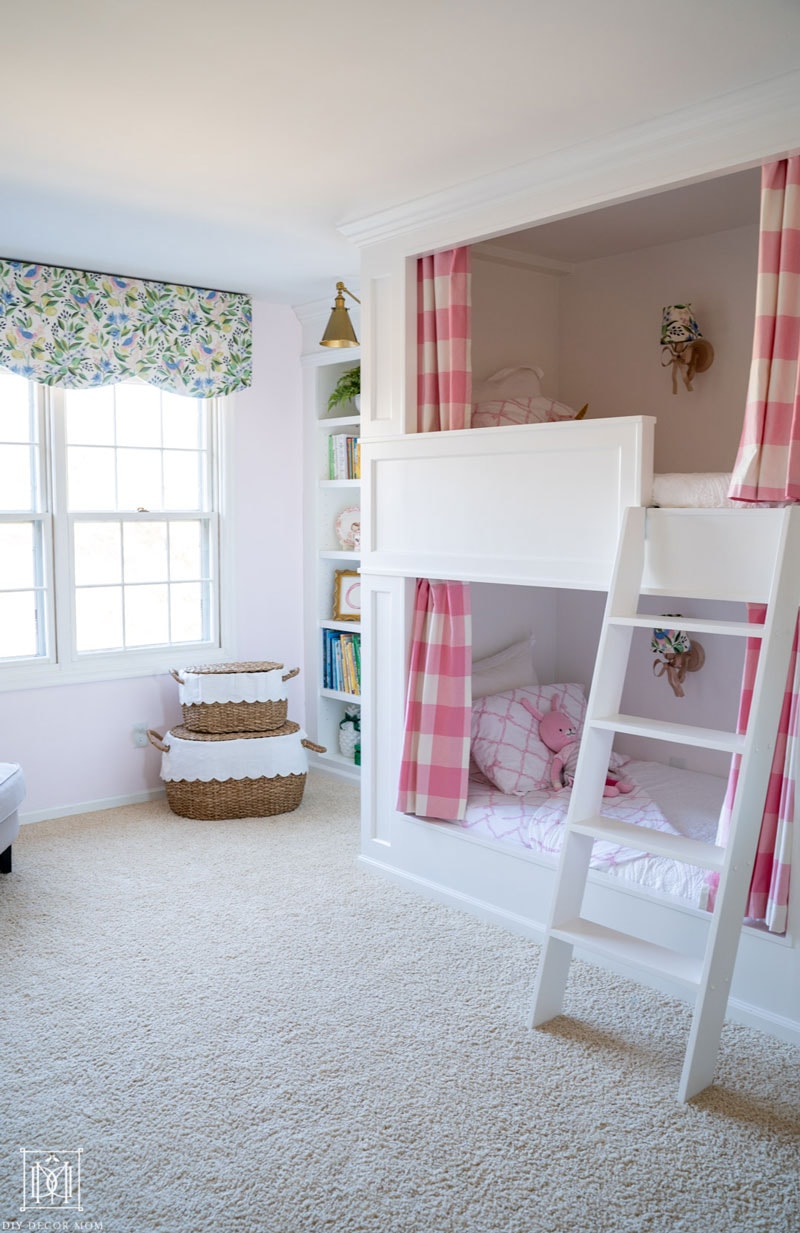 See how we made this scalloped DIY Cornice Board Here
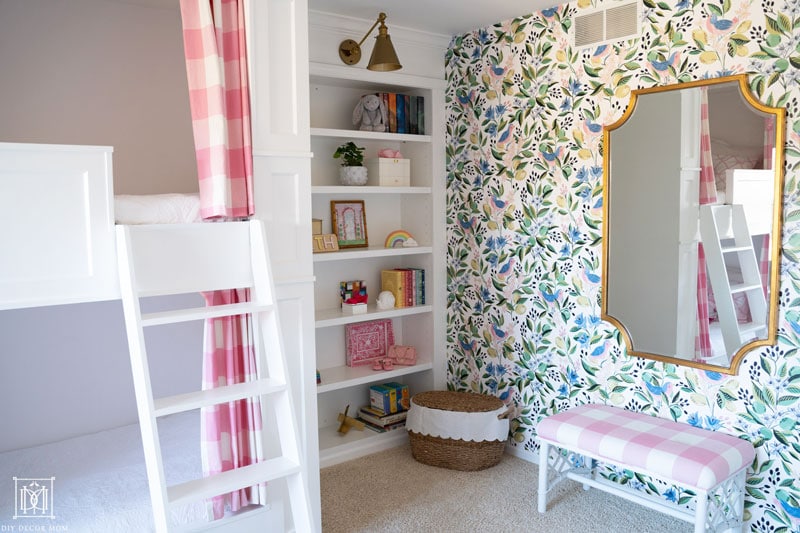
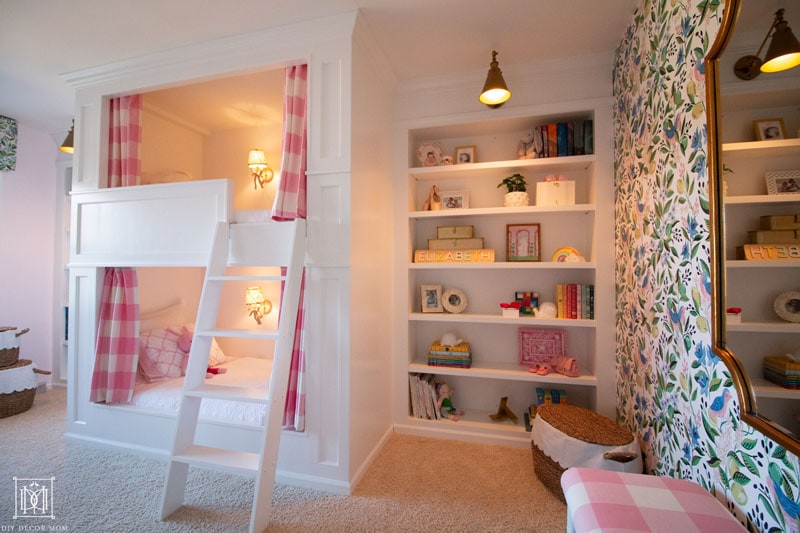
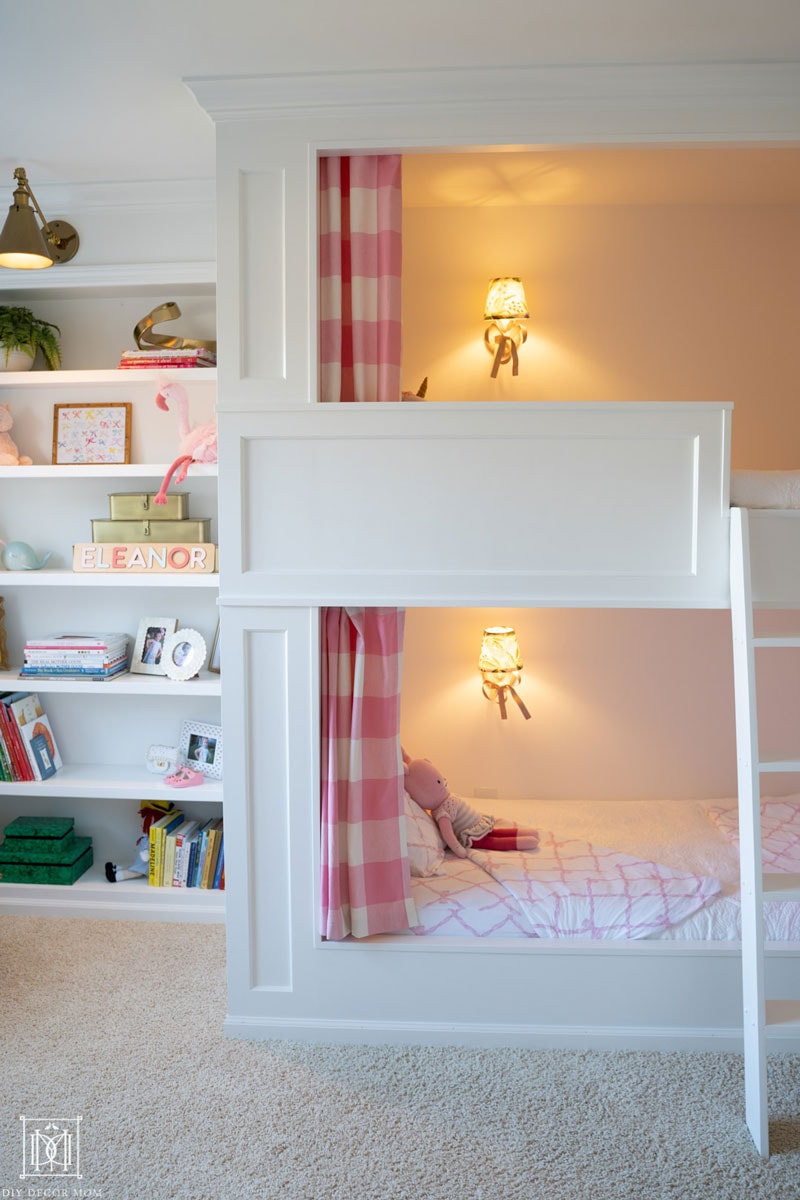
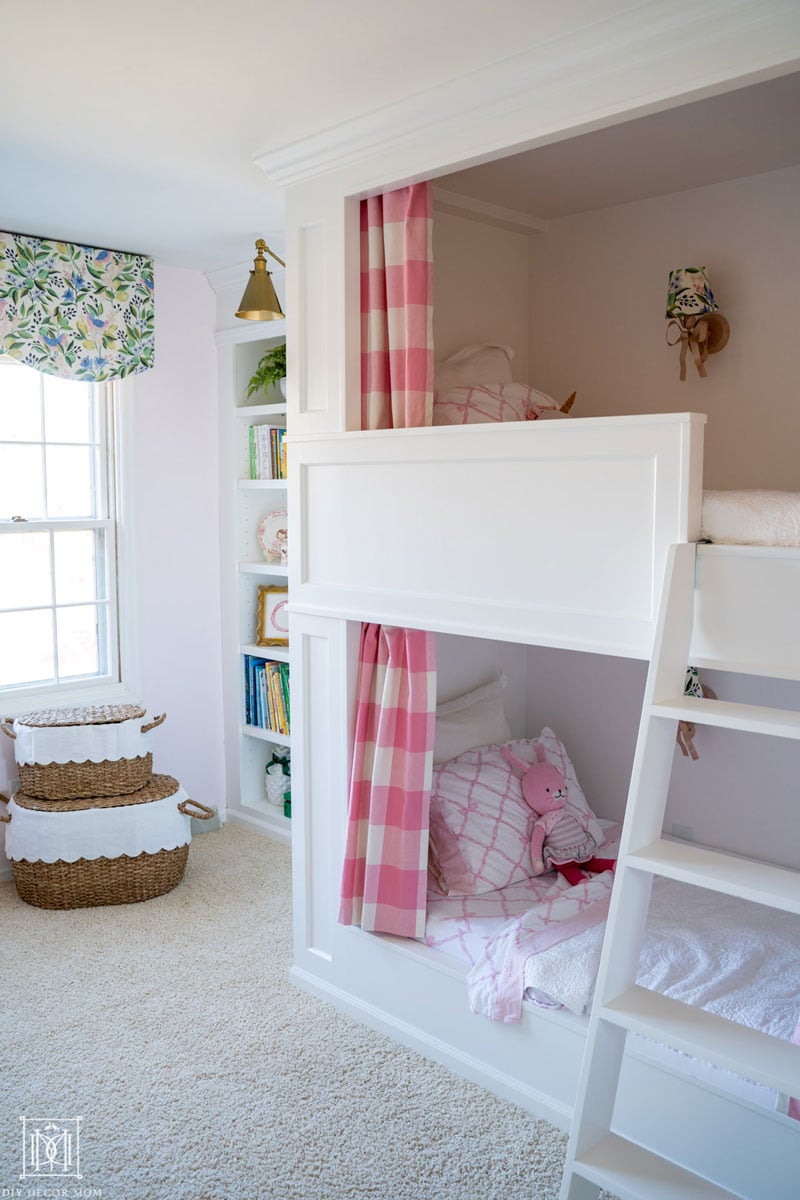
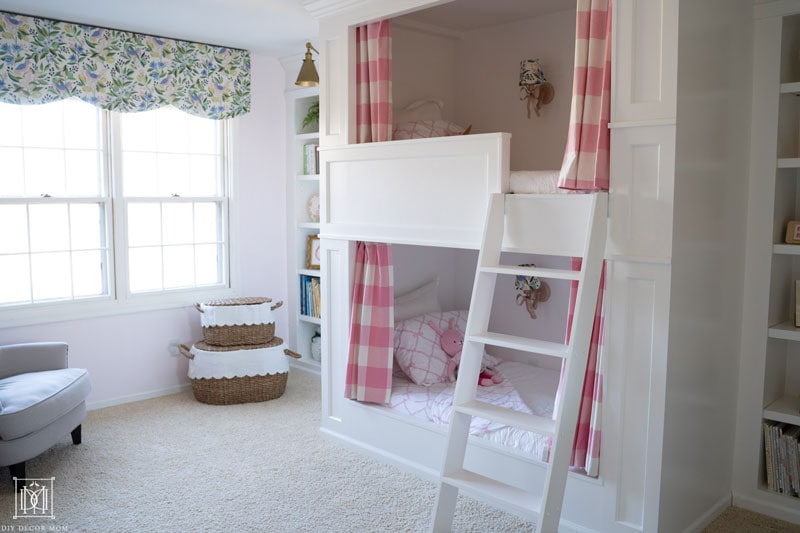 See how we built the built-in bunk beds here
Before they started sharing a room, she used to read in her bed late at night. So when they combined rooms, we promised her that one day she would have a bunk bed and she could keep her reading light on late at night. She also requested curtains so she could have privacy. So we worked those two design elements into the plans (and rewired the lights so they could be turned on and off separately)! And those two features have been so key! We put Brooke to bed around 7:30 and then put Bowe to bed around 8. By 8 PM, Brooke is usually asleep, so Bowe climbs up her ladder, gets under the covers and turns her nightlight on and pulls the curtains. She can stay up (as long as is reasonable) in there and read, and Brooke is none the wiser! It is the perfect solution.
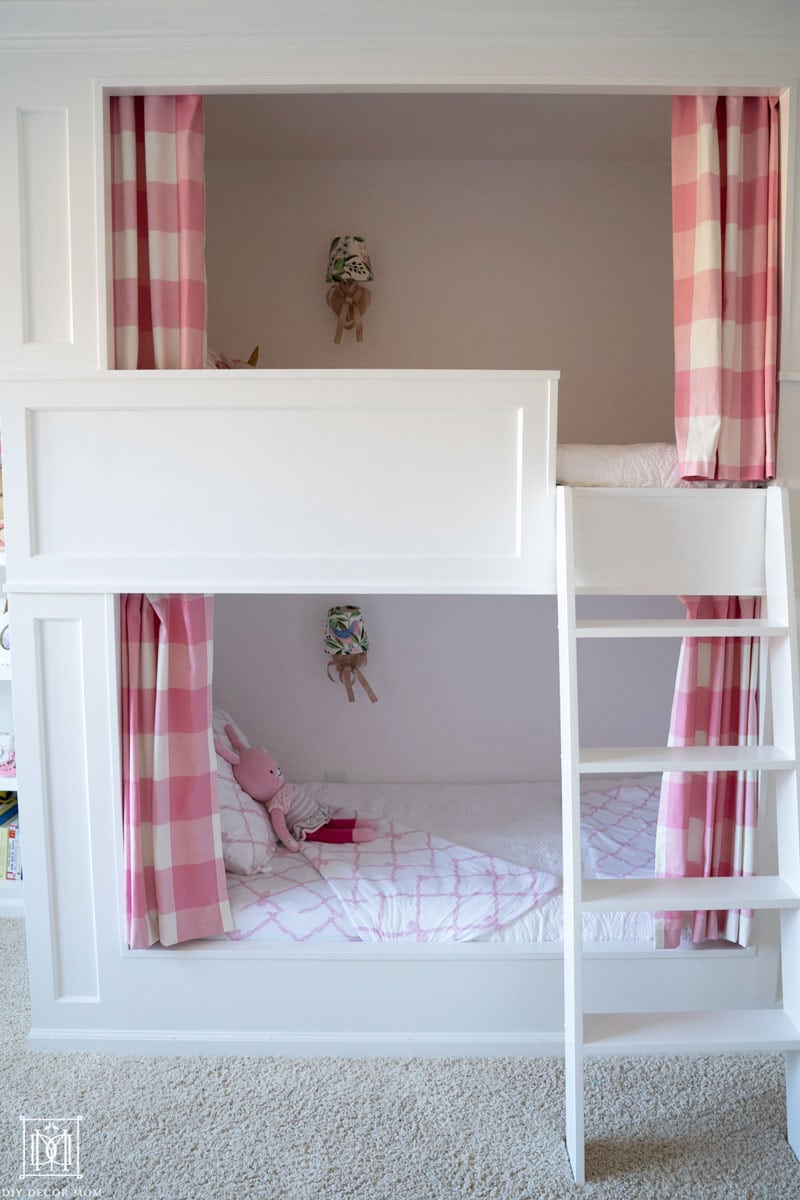
We couldn’t be happier with the results, but I cannot go any farther without expressing my thanks. This room was a family affair. My husband built and painted all the bunk beds, and DIYed the electrical (including cutting a whole in our garage ceiling to access the electrical behind the girls’ exterior wall.) My mother-in-law sewed the bunk bed curtains, sewed the pillows, and helped me style the bookshelves. And together, my husband and my mother-in-law built and covered the window valance/ cornice box and covered the lampshades with fabric. Lastly, my father-in-law researched and bought the adapter for the girls’ bow lights, helping retrofit them so they could have individual switches and be turned on by the girls (not switched at a light switch!)
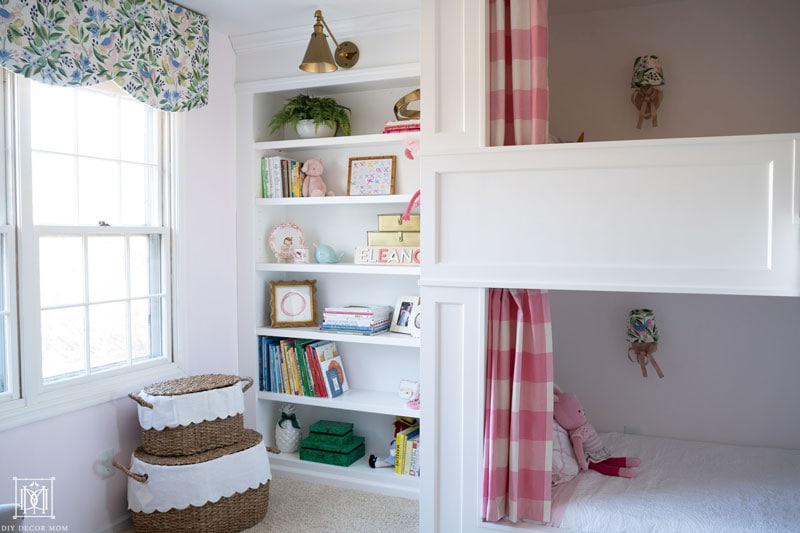
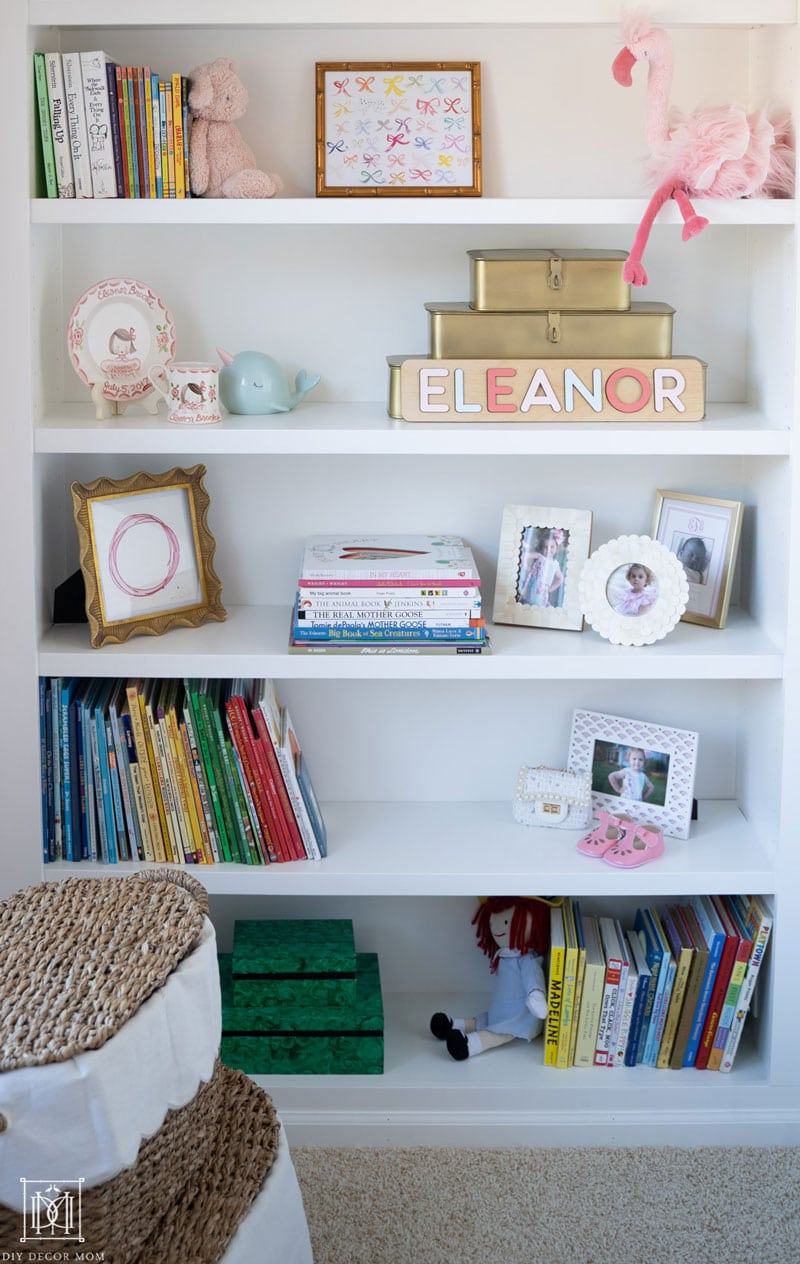
Like I said, this was a FAMILY AFFAIR! And what did I do…well, I kept the kids alive and photographed! I tell you this so you have realistic expectations. With four kids, one of us has to be “on” the kids while the other DIYs. And we have help. Up until this pandemic, we’ve had our nanny who comes 20 hours a week and when we are DIYing, often family help on the weekends! It was a lot of work; but, it was worth it!
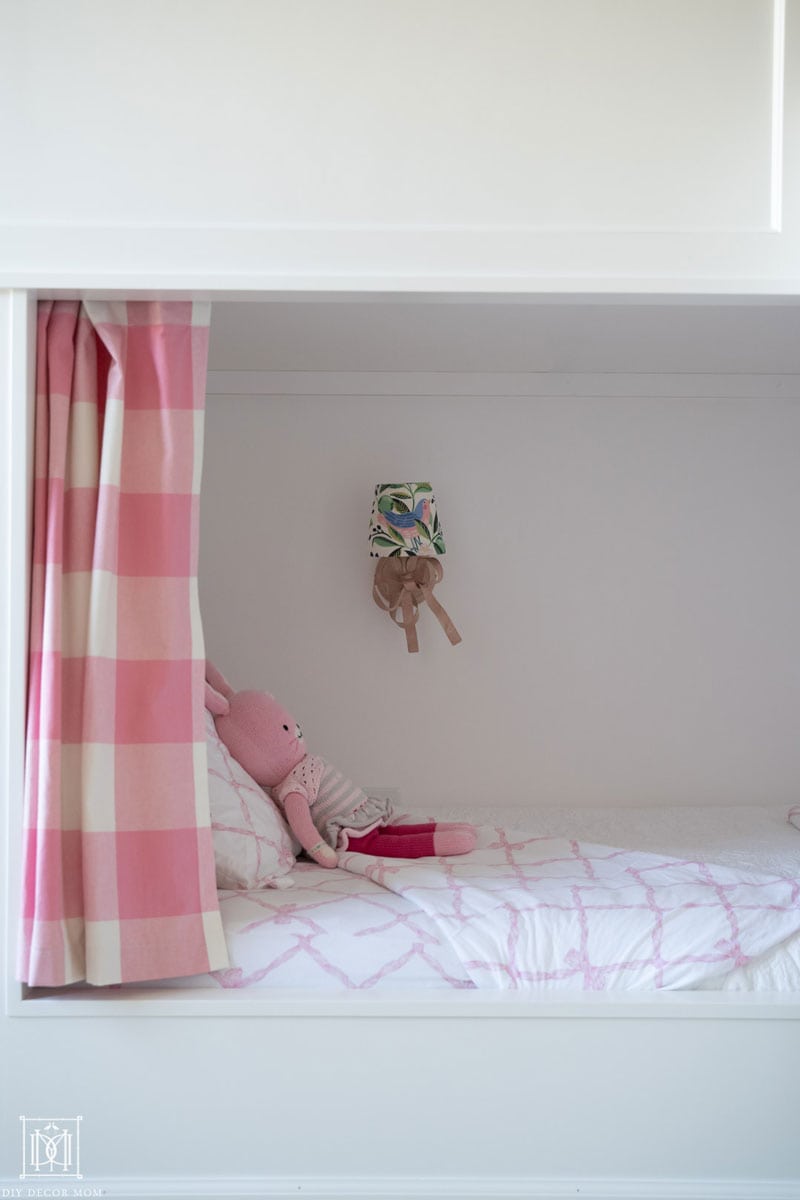

To say the girls love the room would be an understatement. They are head over heels for their bunk beds and even Jack sleeps in there quite regularly. He put a sleeping bag on the floor and slept most of the first week there. Since then, he has moved back to his own bed after trying and failing to convince Elizabeth Bowe to let him “borrow” her top bunk for a night 😉
One day, he will have his own bunk bed…but, that’s a long way down the line!
Alright, so let’s talk about what we did:
What We Did/ Project Tutorials To Come:
- DIY Built-in Bunk Beds
- Bunk Bed Curtains
- Scalloped DIY Cornice Board
- DIY Bunk Bed Ladder
- Built-in Bookshelves
- DIY Fabric Covered Lampshades
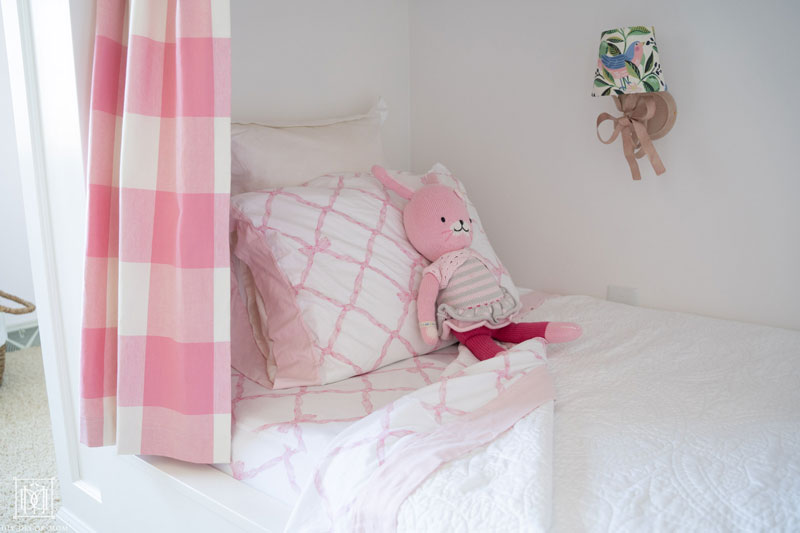
In the coming weeks, we will be writing all the content for these tutorials and linking them here, and we will discuss why and how we chose certain design elements. But for now, I wanted to share all the resources we used and share the reveal photos because I have received a lot of questions.
Overall Design Scheme:
I’ve always loved a light pink and green room. You can see from the first iteration of the room, I’ve always loved this combo. Here’s Bowe’s first “big girl room,” then the “shared girls bedroom,” and finally the “girls bedroom updates.” When the girls combined rooms (Brooke moved into the big girls’ room, we decided we wanted everything equal as much as possible. This also leant itself well to making sure everything is equal design-wise.

We wanted to put the two beds in a bunk in the middle of the room because the window placement wouldn’t allow for a bed to be placed against it. Originally, we were going to make two desks under the bookcases on either side of the bunk; but, because of their ages (and small likelihood of homework every being accomplished in their bedrooms,) we opted to save the floor space and do floor to ceiling bookcases for their books and treasures instead.

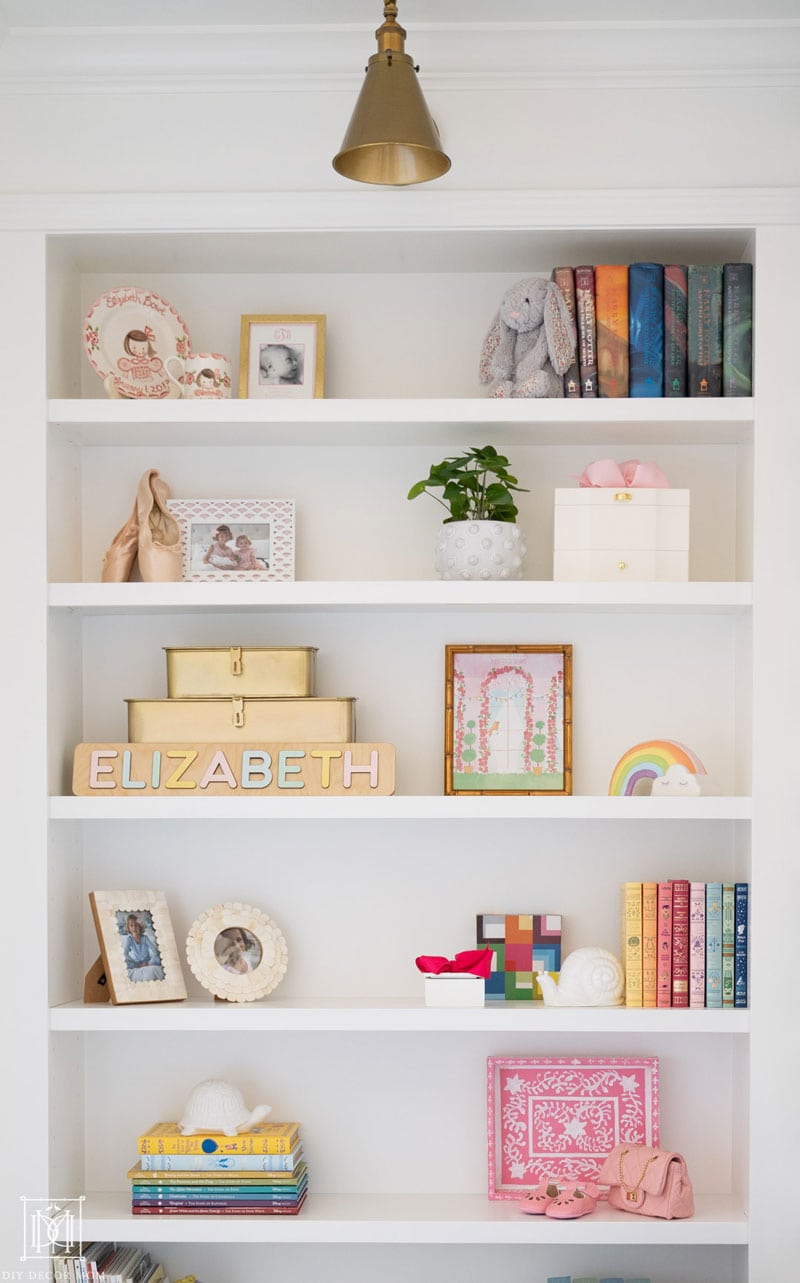

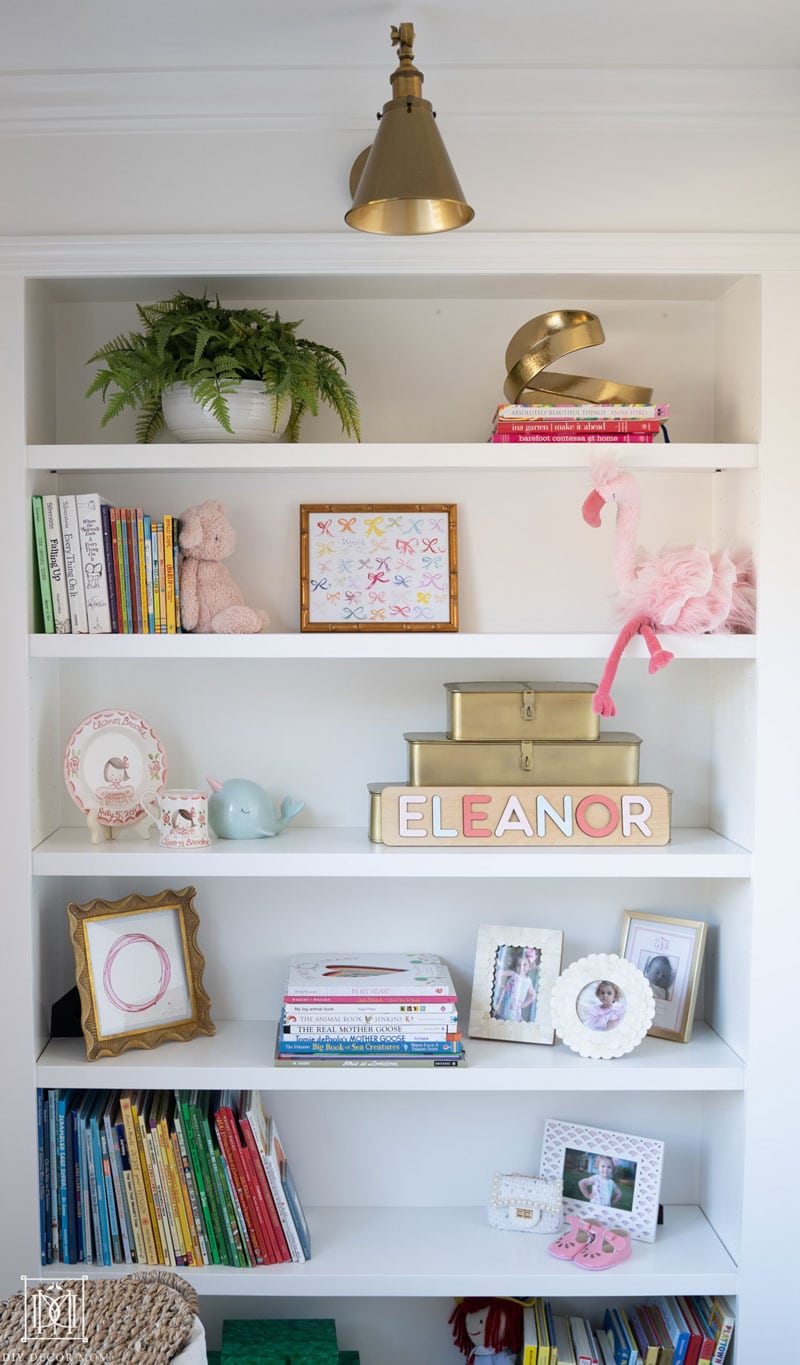
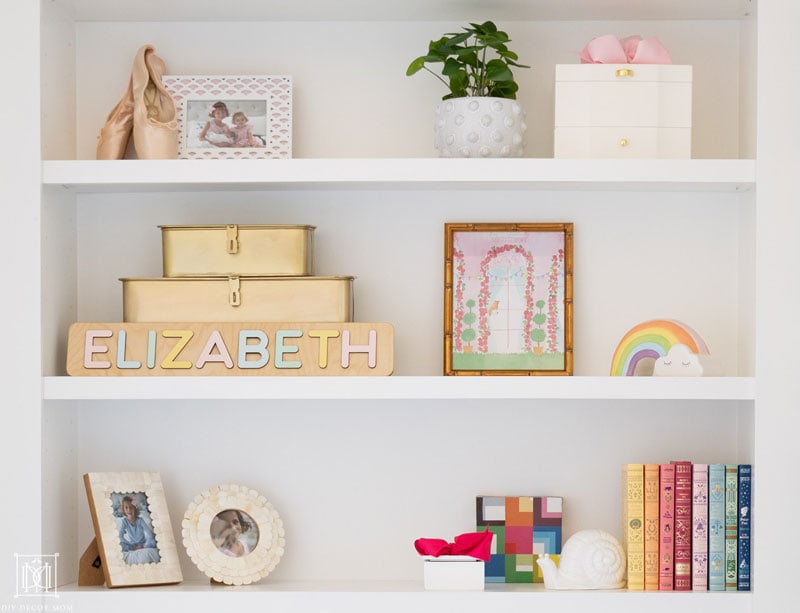
So you will see that Eleanor Brooke has her bookcase (and her dollhouse which isn’t pictured) on her side, and Elizabeth Bowe (she is going by Eliza these days) on the right side. Each girl has their own photographs, name puzzle, and their personal “treasures” there.
Reading Nook:
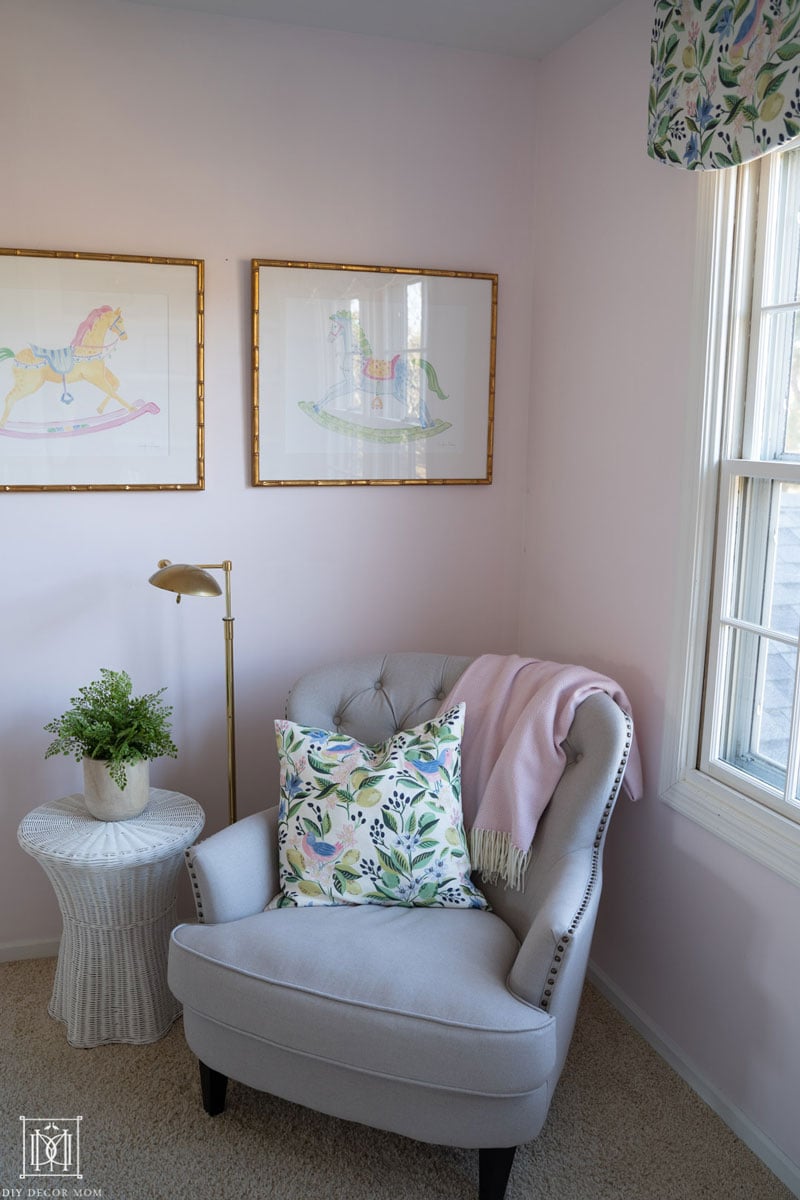
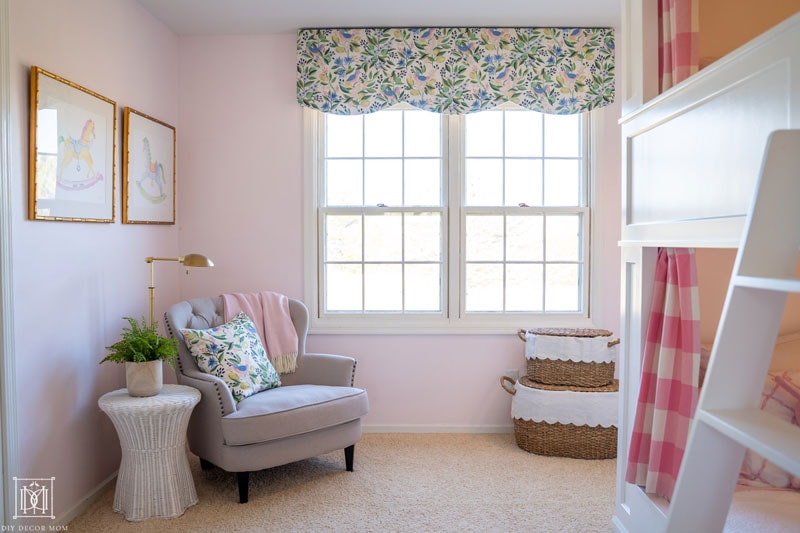
Originally, we thought we would put a large dollhouse where the chair is now; but, we are happy we left it in the playroom and brought in a reading chair. Most nights we read to Brooke in her bed (and the big kids get big kid story time in Jack’s bedroom with a chapter book.) So we don’t use it often, but it is nice to have a space to sit down in the room. And as Brooke makes her transition to no naps (and experiments with leaving her bed at night), the reading chair is very convenient to sit down, read on my Kindle and drink a glass of wine 😉
Toy Storage:
Most of the girls toys are in the playroom; however, special ones like American Girl dolls and stuffed animals are stored in their bedroom. The scalloped baskets are good storage–although, I wouldn’t recommend them for heavily used items. It is a bit cumbersome to get the top on and off, so they are more “pretty storage” than “functional storage.”
 Clothes:
We previously had a large dresser for Elizabeth Bowe in their bedroom (this green vintage one), and it is currently in Jack’s room. Brooke has a dresser in the closet and we plan on gutting it, putting in Elfa shelves, and putting Ikea wire shelves on the bottom. So the closet right now is about 40% full, and 25% utilized effectively! It’s one of our next projects. Obviously, with two girls there are a lot of clothes; but, we haven’t had an issue yet.
DIY Projects (We have already shared, but are shown above)
- Wallpaper:
- DIY Upholstered Bench
- This bench was one of the first projects we ever did for the blog! It’s the original one!
- DIY Upholstered Headboard (our first pink and white buffalo check project)–we donated it but we are still using the same pattern
- DIY Window Valance (this will be updated with detailed instructions on making your own scalloped box) but you can see how to make a square one here
- Best Pink Paint Colors: This is the second pink we have used in here.
