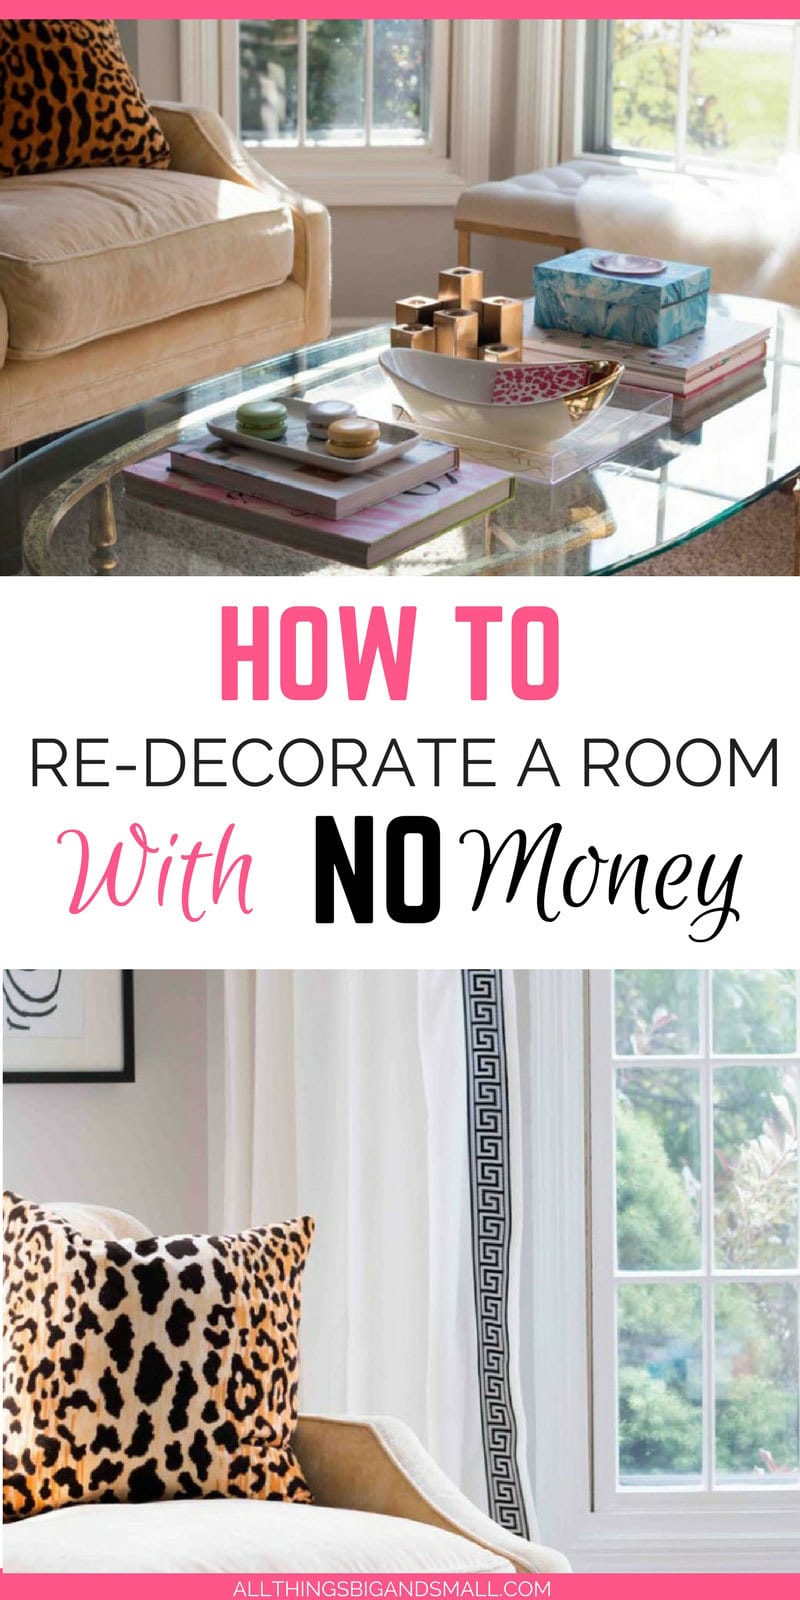
Raise your hand if you have a room that looks fine but not great–it works well enough; but, you don’t love it. I am pretty sure all of us are raising our hands now. We all have that room in our house that we don’t quite use to its potential, that works well enough but we aren’t in love with it, or that room that needs a makeover but we don’t have the budget. Today, I am going to share my top three tips for fixing that room design layout that just doesn’t feel and look right! Our homes are where we spend most of our time (and if you are a SAHM like 95% of your time) and we want them to be their absolute best for our families!
*all sources are listed below. affiliate links have been used at no additional cost to you. see my complete disclosure policy
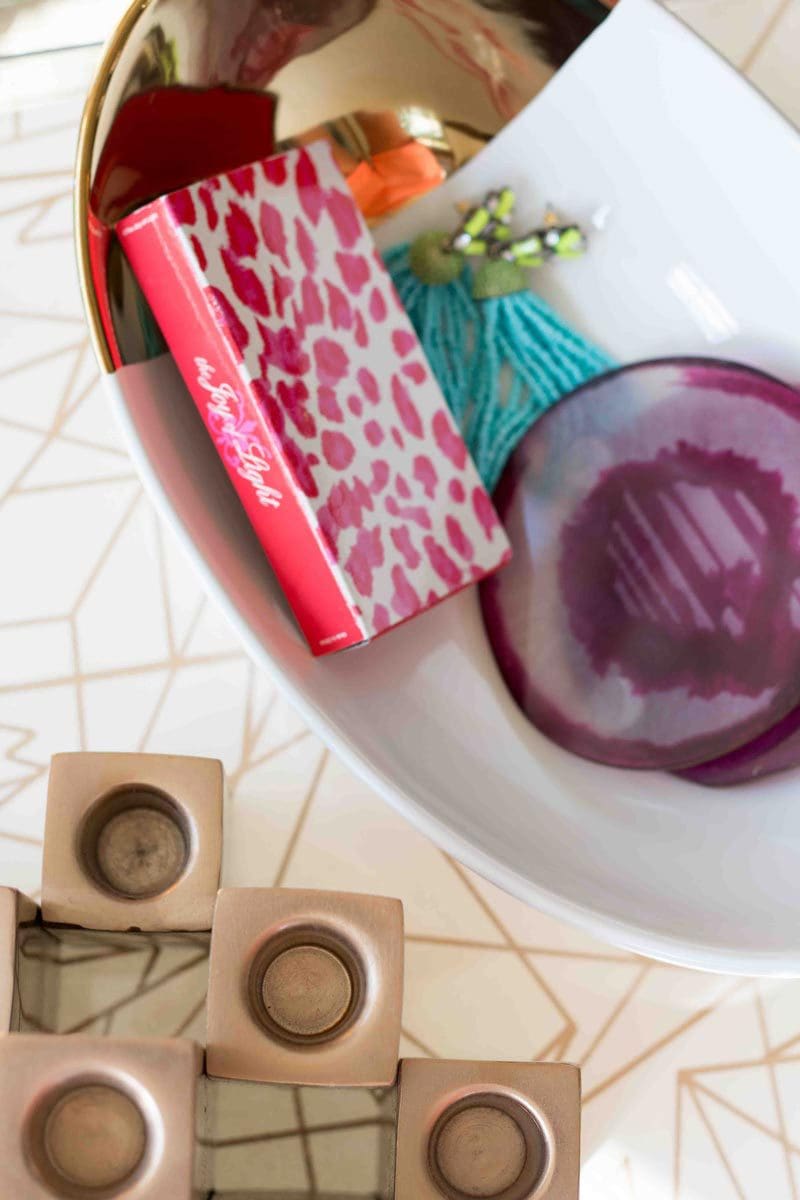
*for full source list, scroll to the bottom
ROOM DESIGN LAYOUT SECRETS
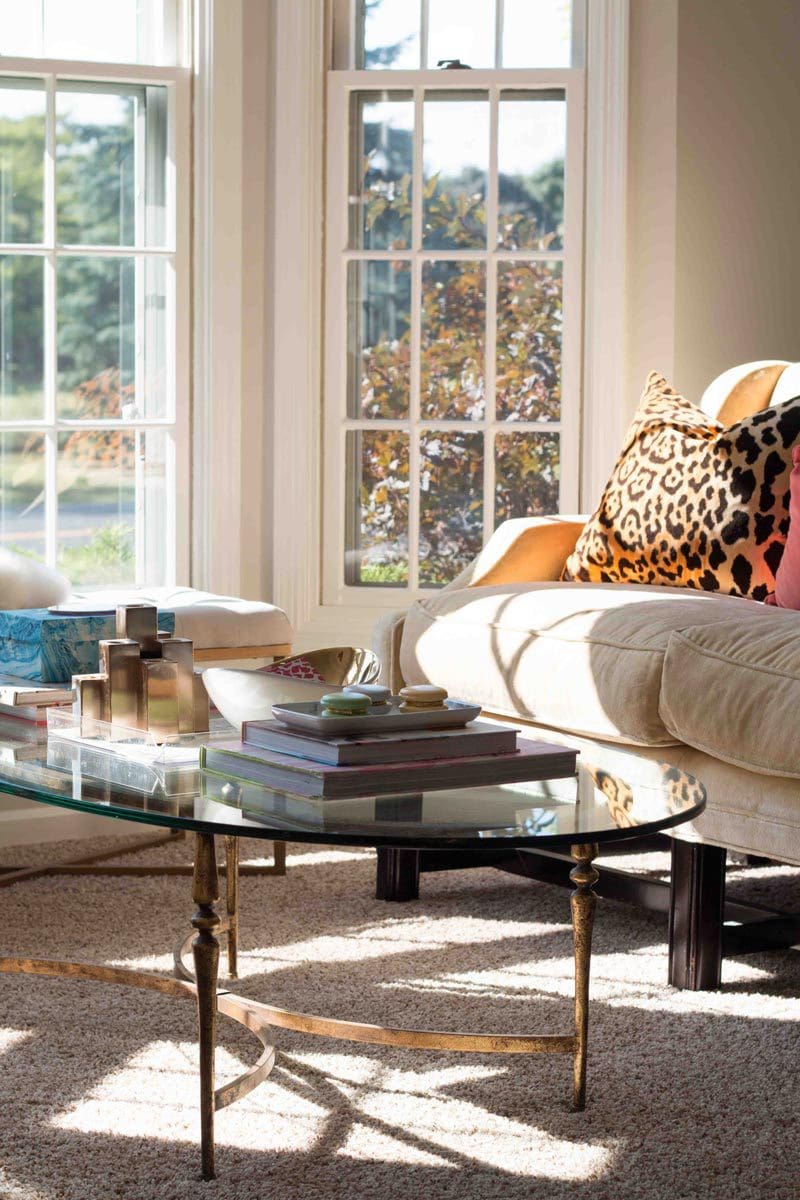
Now, before we launch into some room design layout best kept secrets, I want to say that these pictures are not perfect! This room still has a lot of work to go: an area rug (one day hardwoods), art, replacing the beige outlets and light switches, reupholstering chairs, lighting… However, it is so much better than it was before and we use it all the time now–as I type now I am sitting in here whereas before we never used it! And these fixes cost absolutely no money!
My blog is not a blog about a family with endless amounts of cash to redo rooms, renovate their house, or endless time! If you have those resources, that is awesome but the reality is that most of us don’t have a magazine spread’s budget. We try to DIY everything we can to save money, decorate on a shoestring budget, and make what we have inherited and what we can make or find work for us! (And of course add my favorite inexpensive accent pieces!) So these are my top actionable tips for making your room design layout and what you have work!
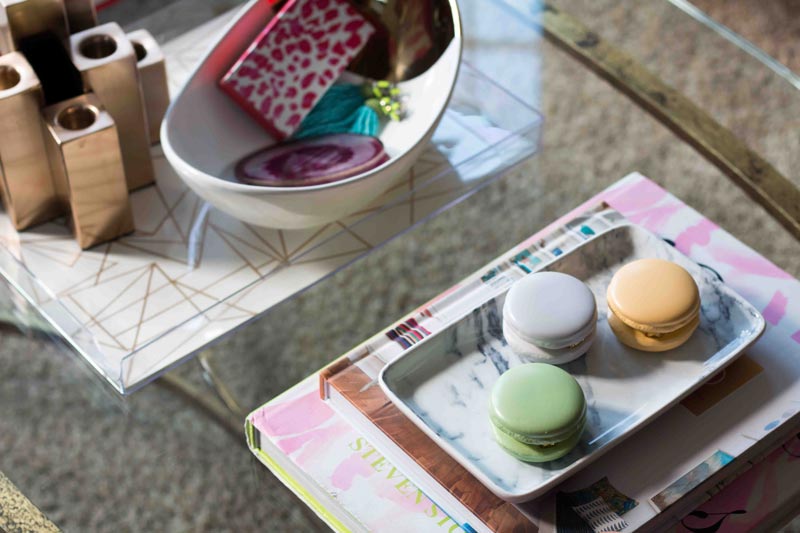
ROOM DESIGN LAYOUT: 3 QUICK FIXES
1.) MOVE THE FURNITURE
Identify what the problem with the room is–is your traffic flow bad? Is it hard to have a conversation? Does it feel lopsided? In our living room, we had a huge open space to encourage movement from the family room through and to the front door; but, it ended up destroying any space for natural conversation. Sitting in the room felt unnatural, there was no place you could curl up with a friend and a cup of coffee and really hang out.
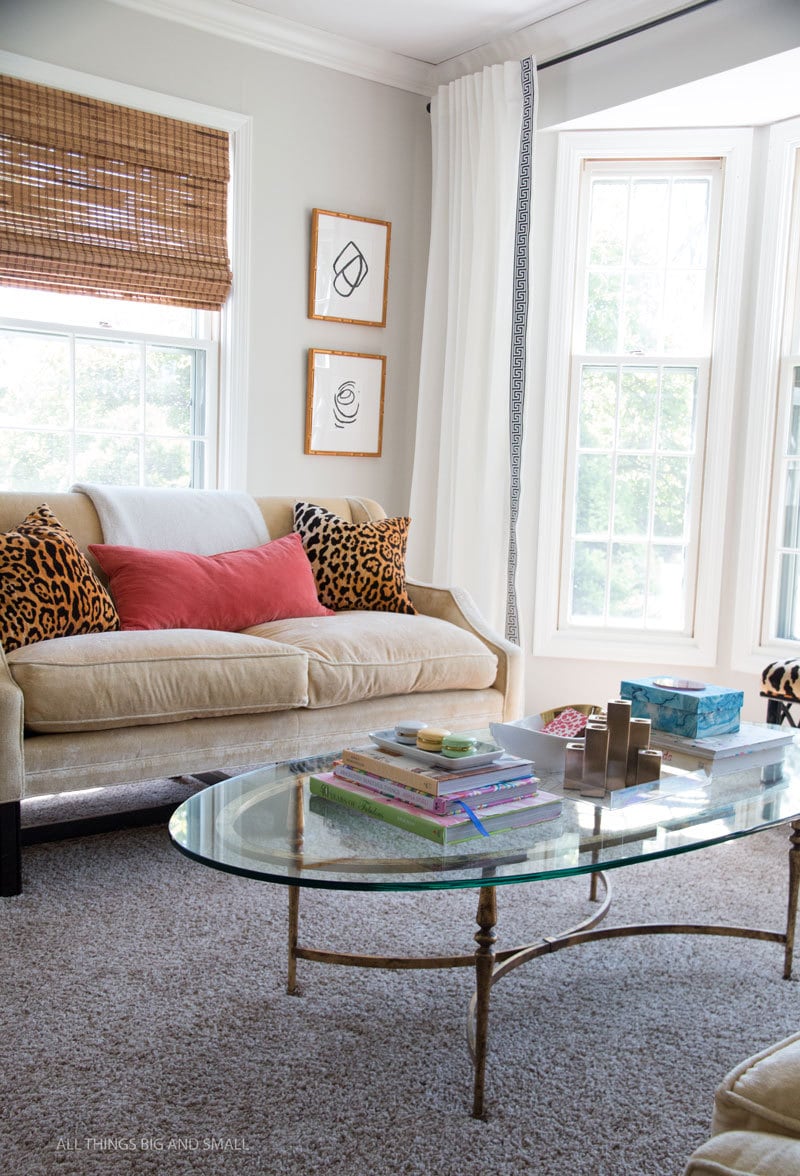
When my friend came over, I asked her what she thought I should do in the room. The room was perfectly fine and photographed well, but in reality didn’t work that great. Having a fresh set of eyes made all the difference. If you can and have a friend who has a great eye, ask her a favor and come over. While the kids were playing in the other room, we were able to move all the furniture around! Yes, I know I have the best friends! She pointed out that the two problems with the room were:
1) Lack of a comfortable intimate seating area,
2) View points–we should be focusing on two view points for the room (out the bay window and its beautiful landscape, and the view from our family room into the living room.)
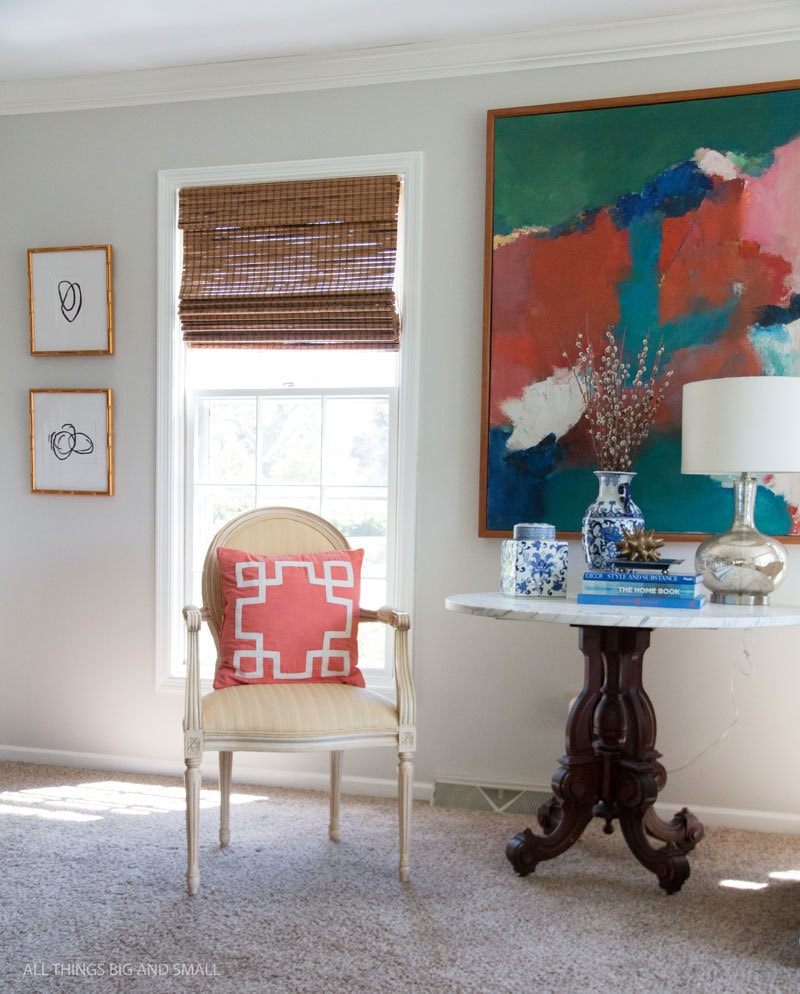
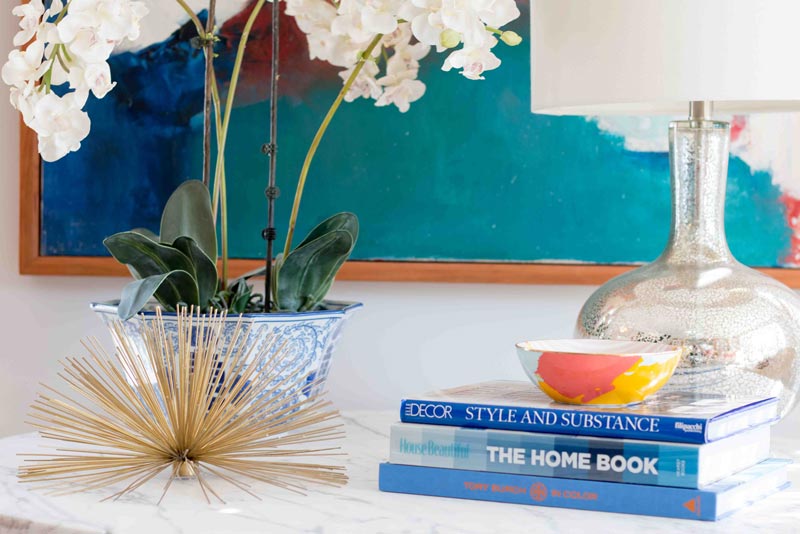
If you don’t have a good friend to ask, then I want you to question all of your assumptions–why does that table have to go in that corner? Is there somewhere else it would work better? We ended up moving the big marble table (which we made with a yard sale slab of marble for $18 and a hand-me-down base of a table) from the corner of the room to the center of the room under the painting. This created a beautiful focal point from the family room. The marble table and the painting (an original family piece from E’s great aunt who was an artist) are the two stars of the room and should be together!
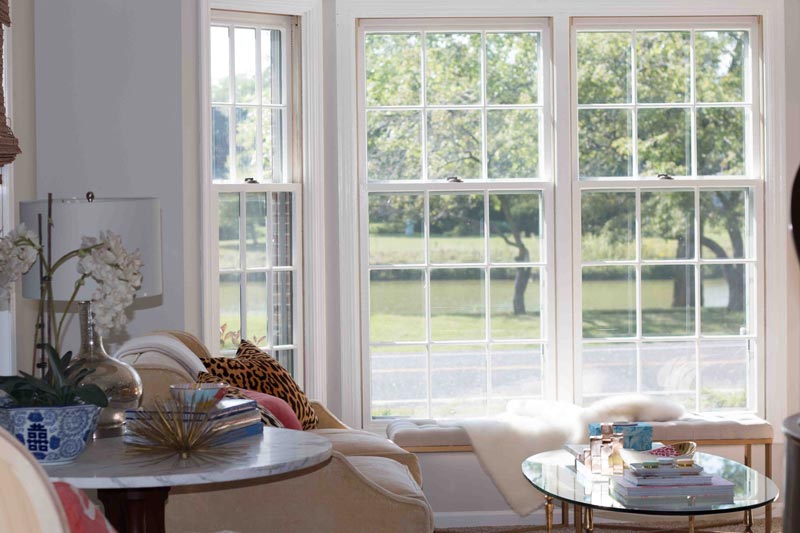
Next, she pointed out that the bay window view should be what we want to center the sitting area around. By simply turning the sofas perpendicular to the windows (and floating them out from the walls) we created a more intimate seating area. Now the living room has a more natural area where you could sit and chat and we use it a lot more. I still made sure to arrange my furniture according to these principles too and this classic rule!
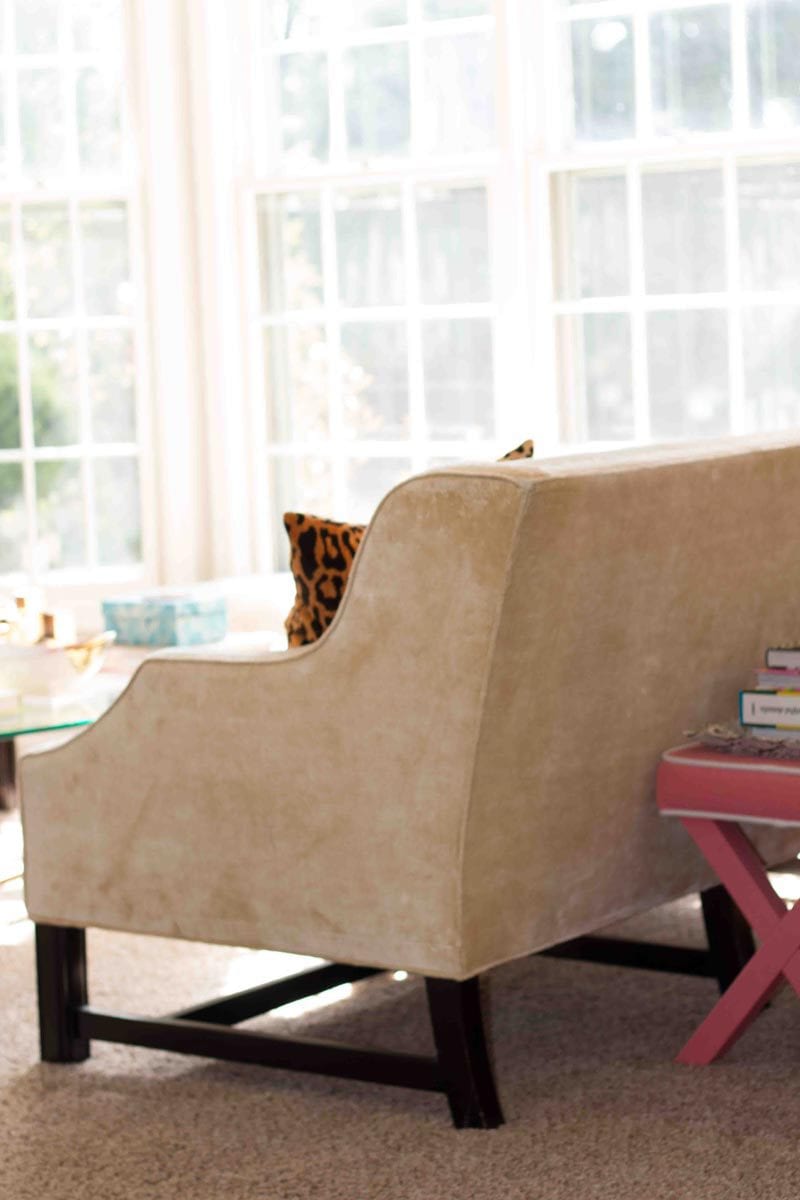
As we arranged the furniture we played with it, substituting pieces from different rooms to find the best mix.
2.) SWITCH OUT THE PILLOWS & FURNITURE
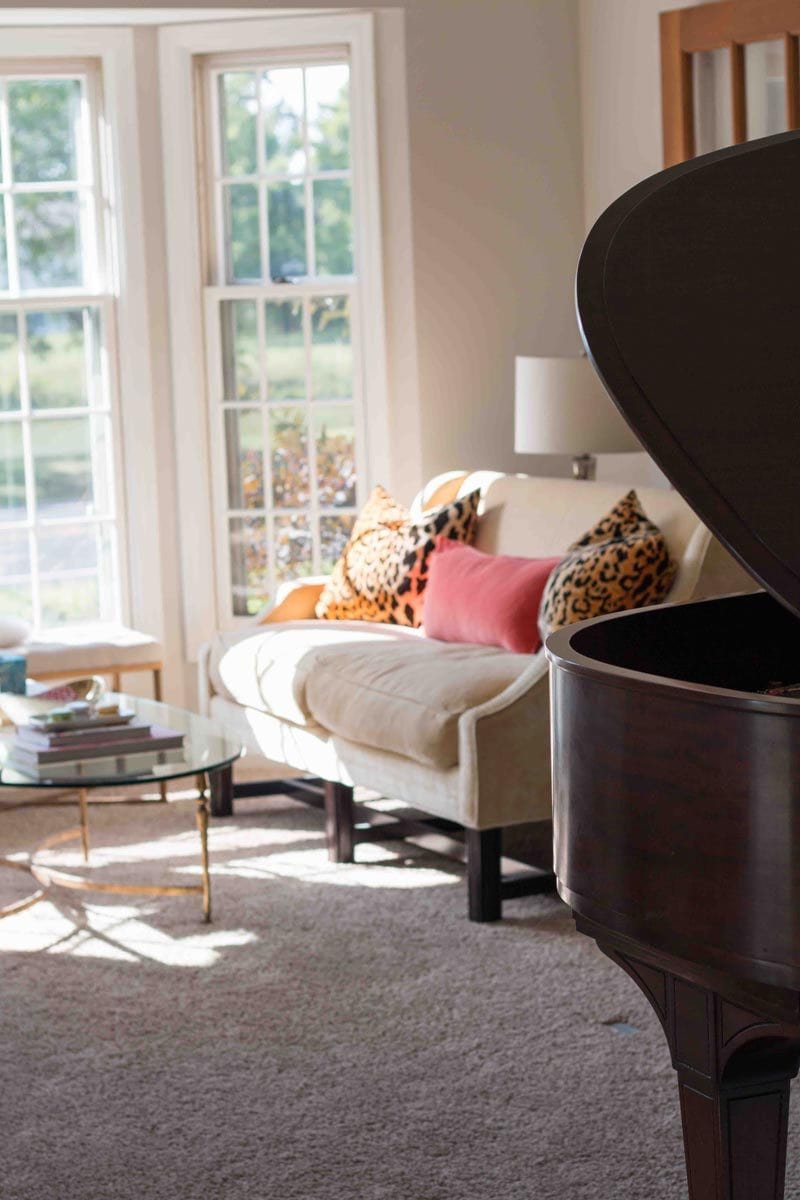
There were no additional pieces of furniture or accessories brought in for this room re-do. I grabbed the benches (similar *affiliate link here, and here ) from our bedroom, and I moved around the chair and sofa (similar budget friendly option and similar). While I didn’t change the patterns or pillow arrangements, I have in other rooms and had great success. Here are my favorite designer throw pillows under $25! (Click the pillow to go straight to the source!)
If you are stuck on deciding what to do, grab some from another room and switch them up. All it costs is you walking around your house! When designing a room, I always try to remember the rule of threes: three colors to a room/ three patterns to a room. This room has three main colors: salmon, grey (walls), and yellow (sofas, chairs). As far as textures/ metallics there are golds, wood tones, and velvet. If you are stuck, make sure to check out my guide to mixing patterns like a pro.
3.) REMOVE ACCESSORIES & LAYER BACK IN: HIT REFRESH!

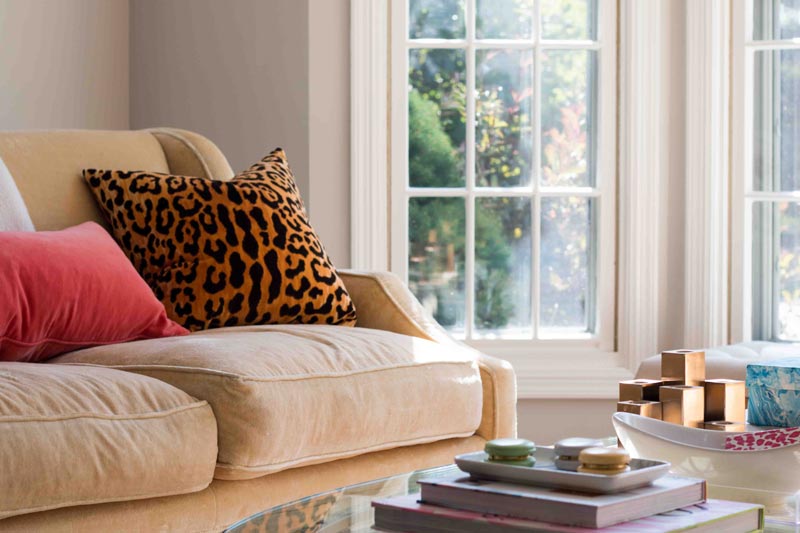
While at Haven Conference, a DIY and Home Decor Conference for bloggers and designers, I attended a seminar led by Matthew Mead and Janet Coon of Shabby Fufu on styling for photography. The same principles apply when designing your room. They both said that when they are doing a magazine or blog photo shoot, they remove all the accessories and then slowly add them back in. It is called layering by the experts. Over time our rooms and all the surfaces in them become so cluttered. From time we need a room refresh! Gather all of your accessories from the room in one spot (sound familiar?)
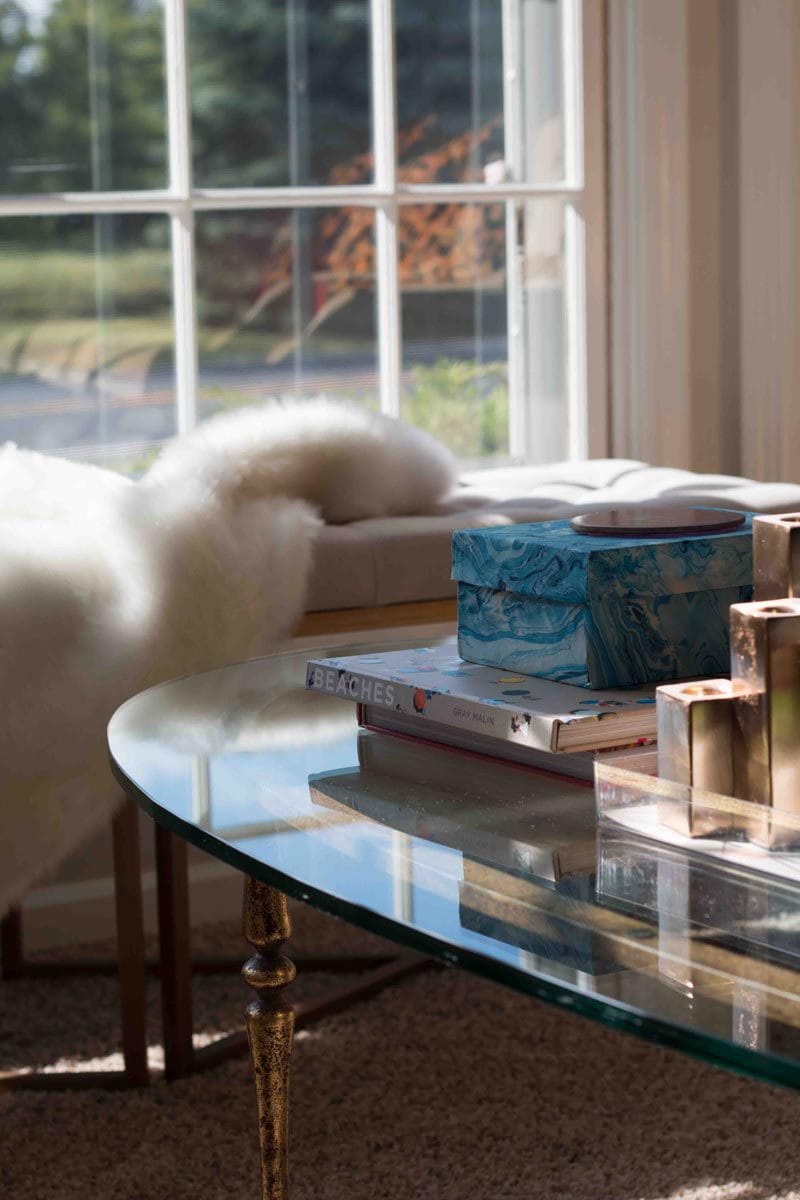
Then start adding them back in one by one. If you want tips on how to style your bookcase, learn my five steps here! The same principles apply to styling your accessories (my budget friendly guide). Just because you love an object doesn’t mean it should be in there (sorry to say that!) And once the room is emptied, the room will feel so clean!
And if you care to know, no, I don’t usually have these beautiful trinkets displayed carefully out on our coffee table within reach of Jack. Because well, that would drive me crazy! Usually, anything pretty is out of reach of him. I keep coffee table books out on the tables because they are beautiful, provide inspiration, and also are kid friendly!

(see all sources below)
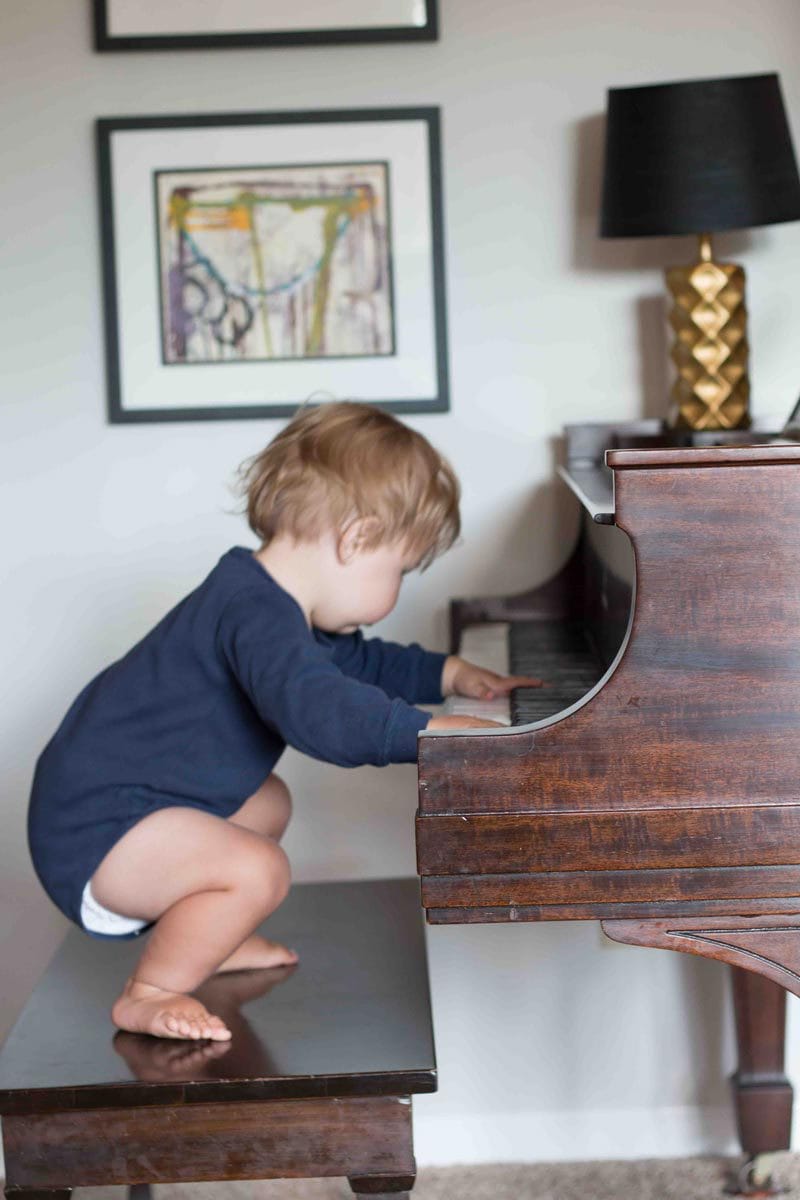
It is going to take a little experimentation and don’t expect to get it on your first shot! I tried three different things in front of the window before I found something I liked.*** And to just keep it real–this little guy was doing this the majority of time I was shooting the photos! He certainly isn’t afraid to try new things (and bang on the piano) and neither should you be! Our homes are meant to be lived in, even if that means throwing my DIY Upholstered Cushions on the floor every single day! If you enjoyed this post, make sure to check out some of the other posts in the series below and my full source list!
Ugh! Such an old picture of Jack! Can’t believe he was once soo little!
DESIGNER SECRETS SERIES–read them all!
- Designer Secrets: How to Style a Bookshelf in 5 Steps
- How to Accessorize Your Home On a Budget
- Designer Secrets: How to Mix Patterns–A Foolproof Formula for Fabrics
- Designer Secrets: The Number One Design Tip Everyone Should Know
- Designer Secrets: Mistakes You Are Making
- Designer Secrets: How to Make a Room Look Bigger
SOURCES–SHOP THE ROOM DESIGN LAYOUT POST
- Wall Color: Benjamin Moore Balboa Mist
- Sofas (inherited but here, here and here)
- Chair (inherited) similar here and here
- Coffee Table (inherited but similar here and here on sale!)
- Leopard Pillows (DIY here)
- Benches old Target find (similar here and here and I love this one!)
- Coral pillows Home Goods find but similar here
- Accessories:
- Books: Beaches by Gray Malin, Modern Mix by Eddie Ross, Kips Bay Showhouse, Styled by Emily Henderson
- Macarons and similar
- DIY Gold & Lucite Tray
- Gold dipped bowl from Target (similar here)
- Faux Agate Coasters from Target (similar here)
- Gold urchin (size large used but I would recommend smaller)
- Brass Candlestick (Target)
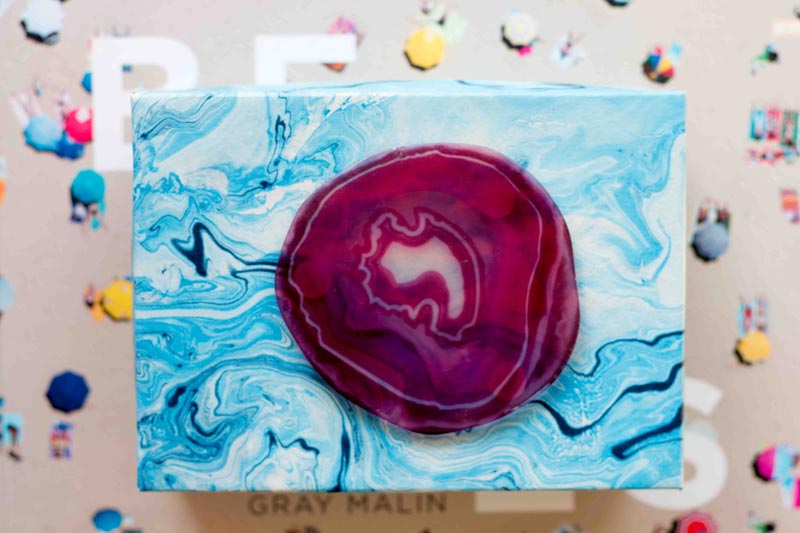
- DIY Marbleized Box
- Blue tassel earrings (budget friendly too!)
- Lamps (similar and similar)
- Piano cushion DIY
- DIY Greek Key Curtains, see all my Curtain Tricks here

These are such great tips! I love that everything you suggested is budget-friendly. Thanks for all of the great ideas! 🙂
Brooke | http://www.beautydecorandmore.com
I appreciate, cause I found just what I was looking for. You have ended my 4 day long hunt! God Bless you man. Have a nice day. Bye geagededeaaafgeb
You are hands down my favorite home decor blogger! Can’t you come to my house and help me with my problem rooms!? They are my office/guest rooms and the girls’ room – going thread this post again with a friend over to help.
They are all great ideas! Looking forward to revise them all and like you said having a fresh set of eyes from a friend will help a lot. Thank you!